Hey there friends! As promised I’m finally sharing the second half of our bathroom refresh! If you missed part 1 check it out here! We are still seriously loving this space!
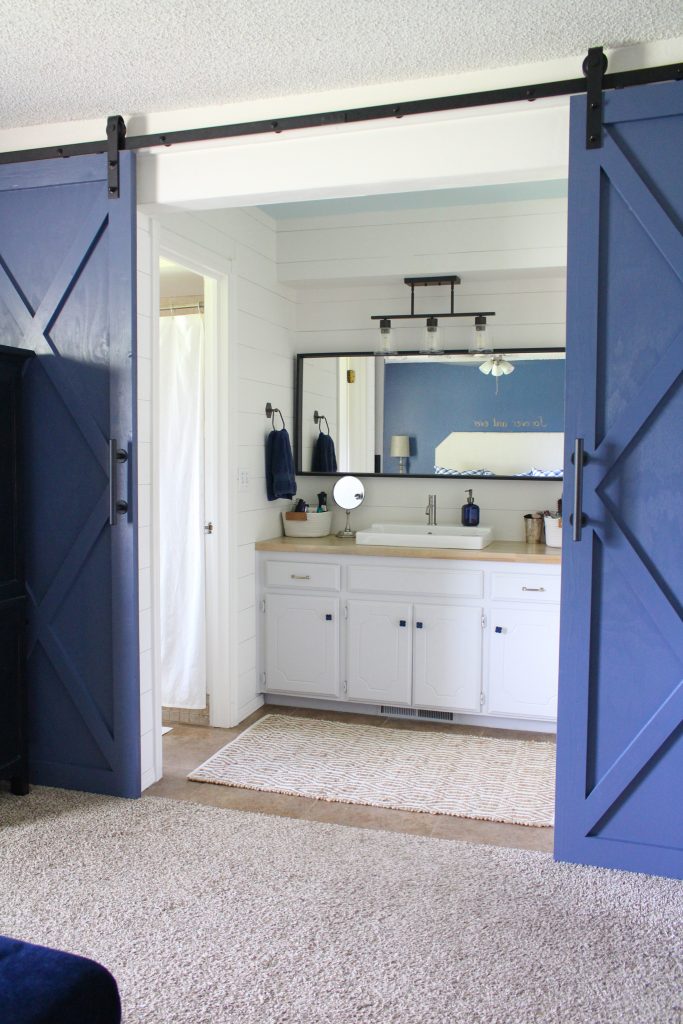
Shortly after we finished it I realized that the connected toilet/shower room just wasn’t living up to it’s neighbor, so I decided to get it a little refresh also! But, having just finished a pretty big update for the other space, I really didn’t want to spend a lot of money, so I got creative!
Really, giving myself a super tight, use what you have budget, is one of my favorite challenges because I HAVE to get creative! Which is fun to me! Here is the before in case you need a reminder.
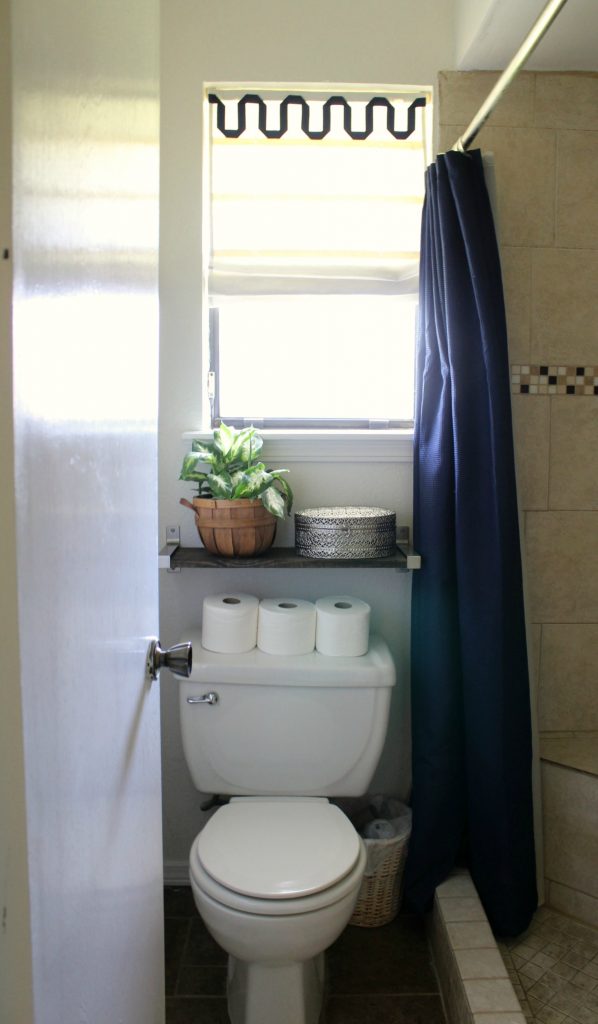
I had not refreshed this space for quite a while, so it was definitely time. Here’s the after!
Some affiliate links used for your convenience. If you purchase from these links frazzled JOY receives a small commission at no cost to you. Thanks for supporting what we do around here! See disclosures for more details.
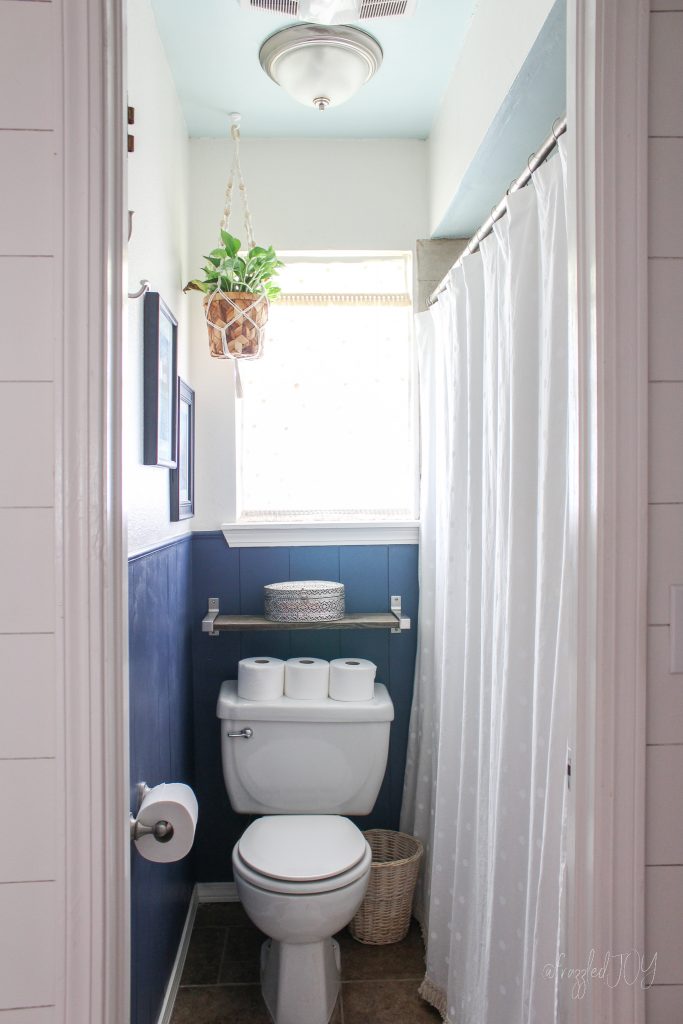
I started with patching and repairing and re-scraping the ceiling, including the ceiling of the shower. This was my first ceiling scraping project and honestly I didn’t do a great job. And, when you installed the new exhaust fan, there was a bit of damage that never got repaired. It’s all good now! Next up, painting the ceiling to match the other space!
Then I turned to the walls. I know, I know, I said I would probably never shiplap again, at least not with this wood or this method. But…I had several pieces of wood leftover, sooooo.
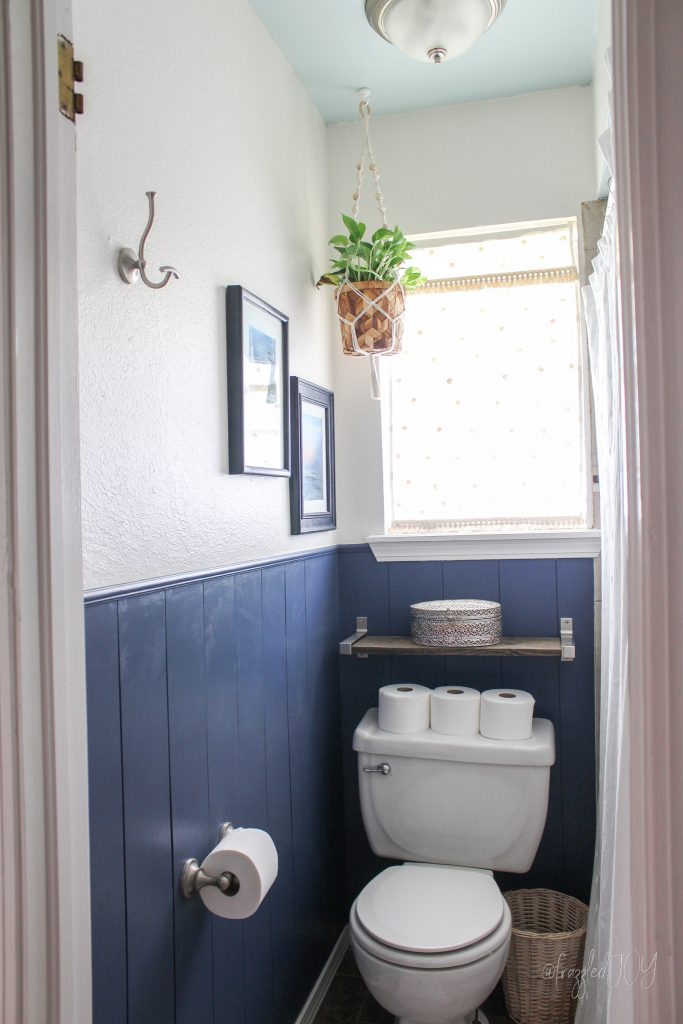
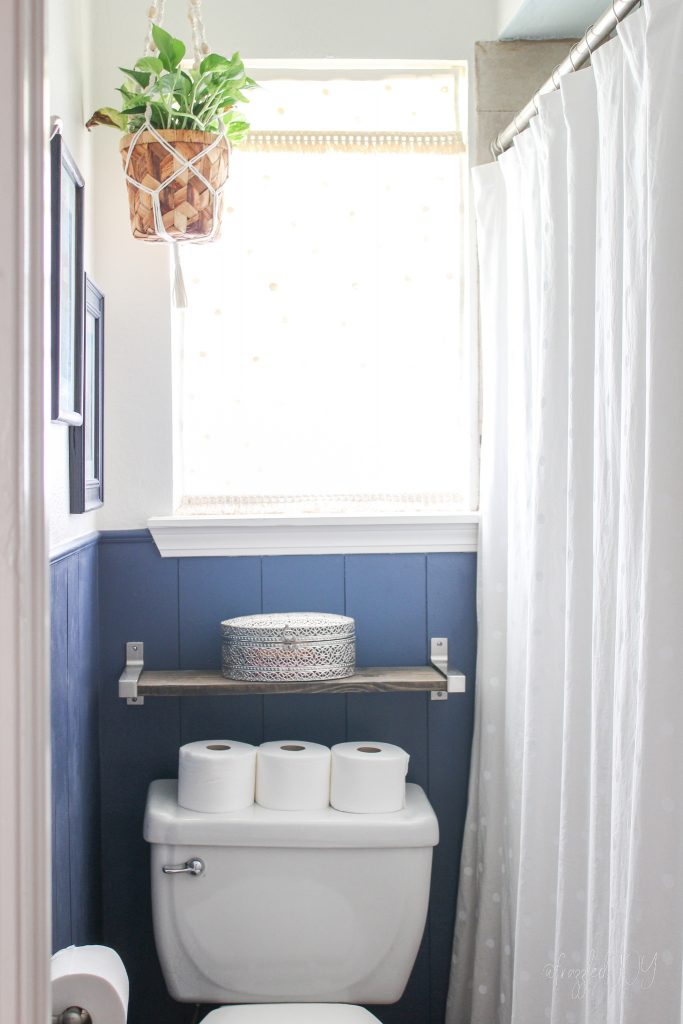
I decided to go vertical and only do half of the wall. And I couldn’t love it more!! I decided to paint it navy to match the barn doors. I was a little concerned that it would make the already small space seem smaller, but I don’t think it does at all!
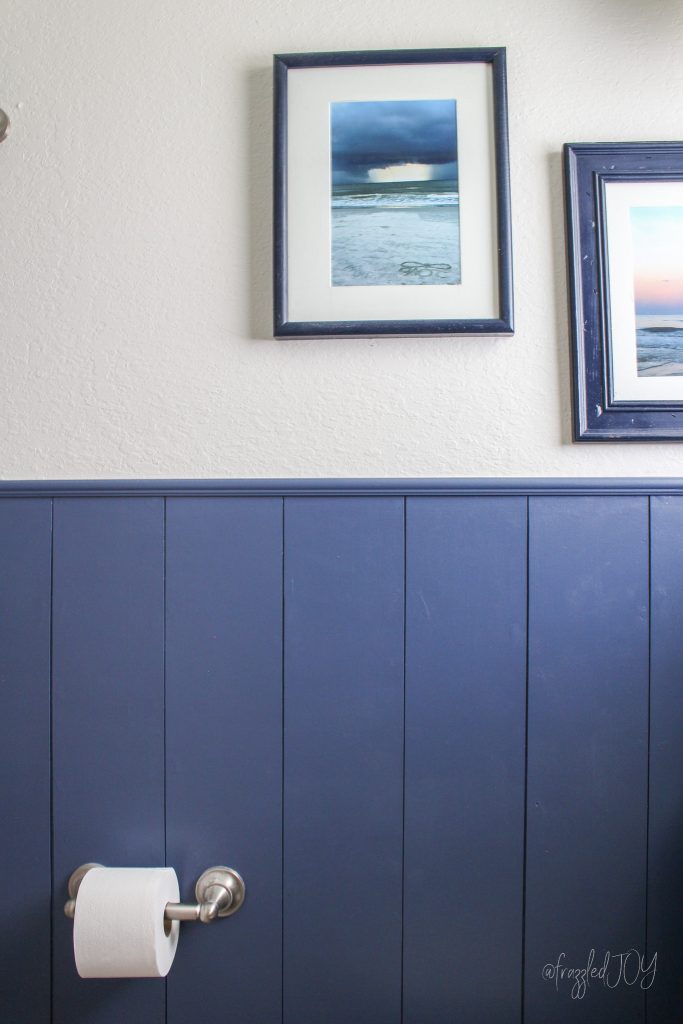
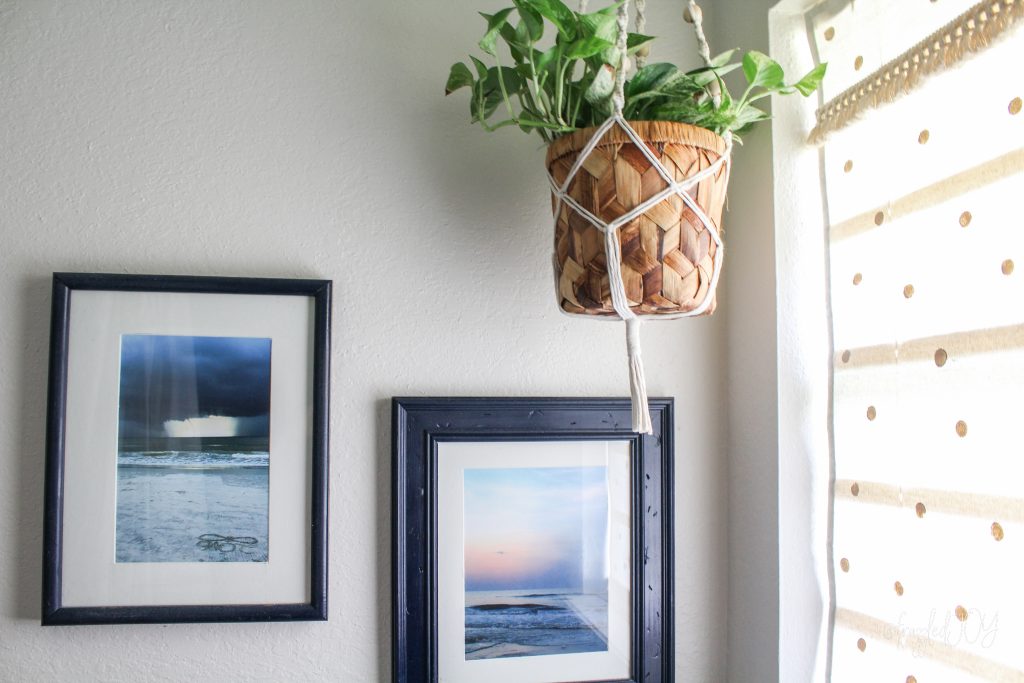
The ‘art’ stayed the same. Pictures from a family beach trip a few years back.
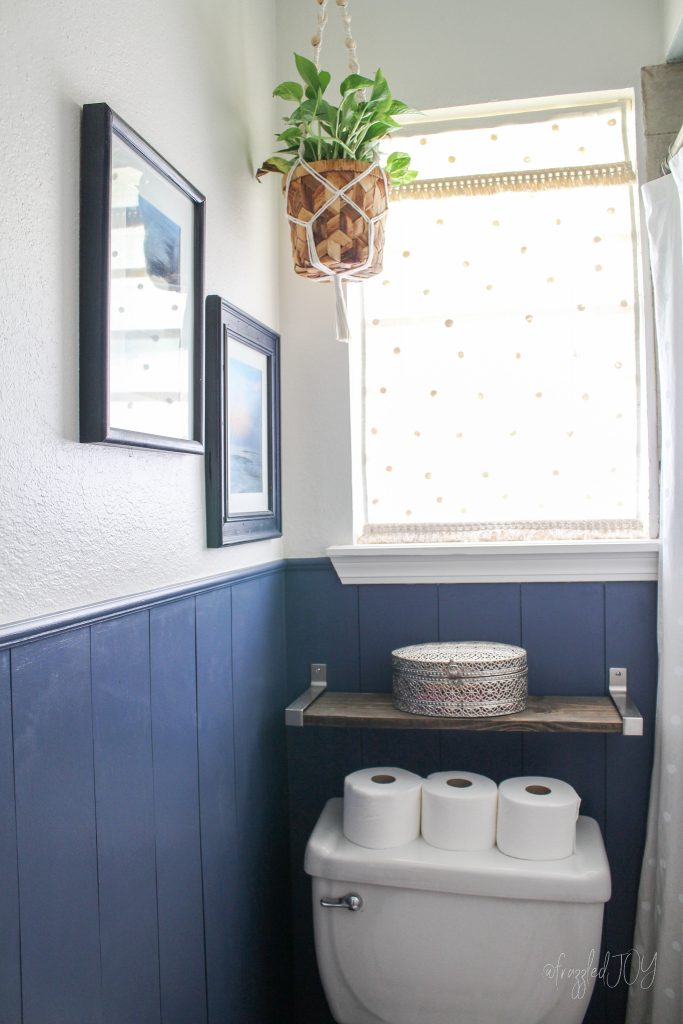
Also, the shelf and my cute silver basket came back. I love the function of it and it’s pretty! Brackets from IKEA, and basket from Hobby Lobby several years ago.
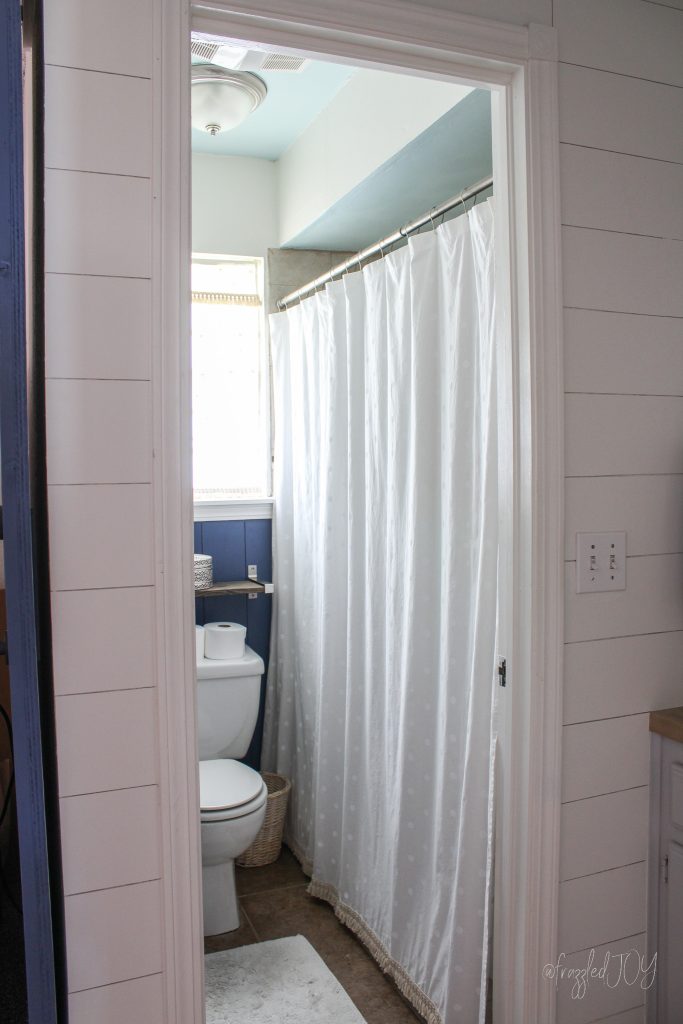
I had found this shower curtain on clearance at Target when I shopping for part 1 and I thought it was super cute. But, shortly after installing it we realized it was a little on the short side. I found this cute fringed trim at Hobby Lobby (could not find online sorry) and added it to the bottom. Did the trick!
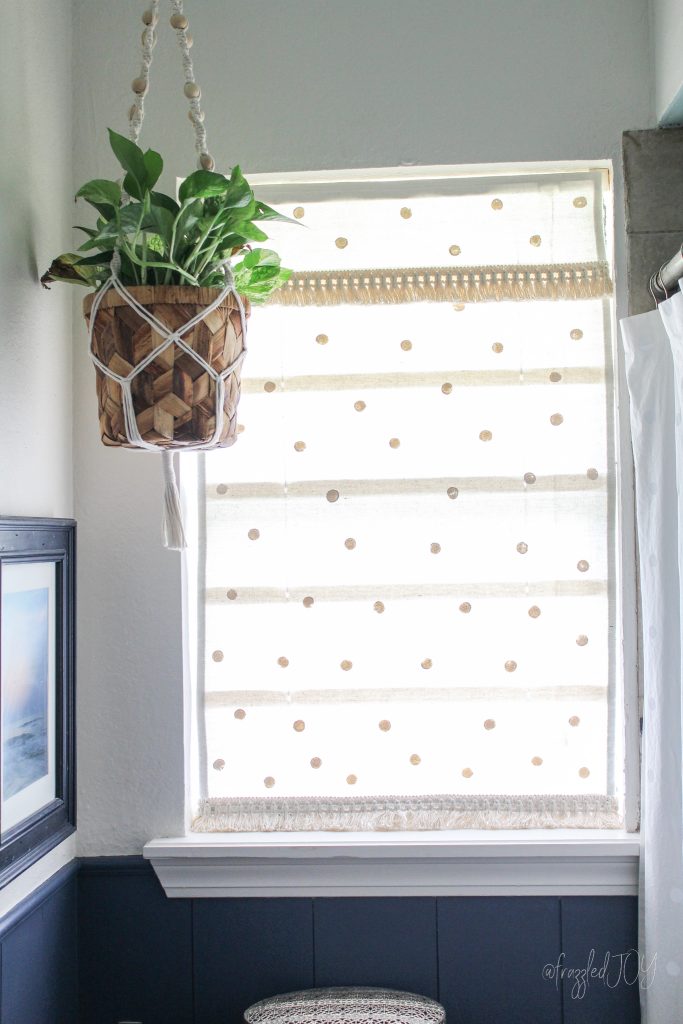
I kept the same window shade that I DIYed years ago. I simply removed the navy ribbon trim (that used to match our bedroom curtains), added a few polka dots (to match the new shower curtain) with paint, and added some of the same trim I used on the shower curtain. Loving the new boho look!!
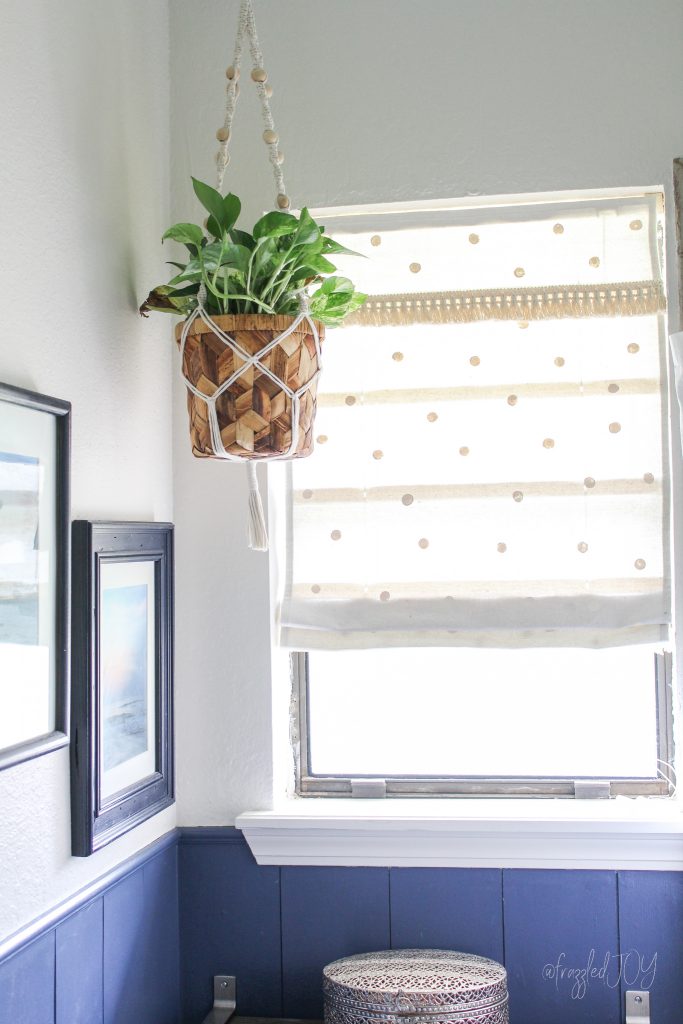
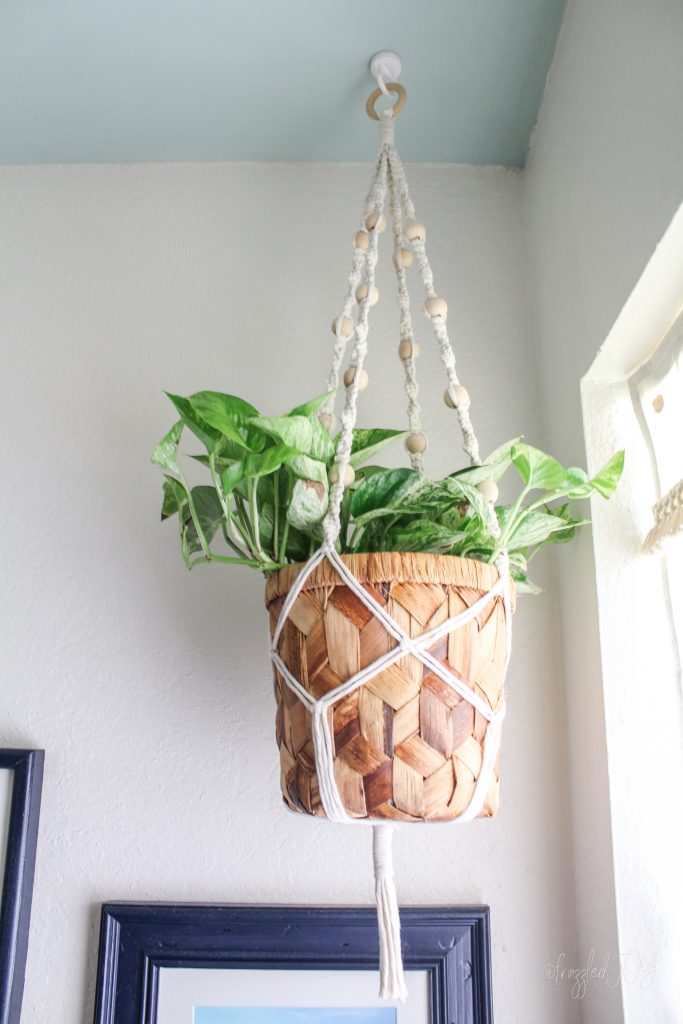
The last change that was made was to add this cute plant and plant hanger. If I remember correctly when we moved in there was a plant hook in the ceiling which I promptly removed. When I was a baby mama I was not a plant mama. I decided to give macrame another go with this plant hanger. It was fun! I bought a kit from Hobby Lobby to make it easy, and it was just that – easy!
I love how the whole room turned out! It’s exactly how I envisioned it and I think it really upped the style factor a lot! Even hubby said it made it look fancy now, like the other side of the bathroom! 😉 Love that man!
Remember the challenge of spending little? Well this refresh came in right around $20. Yep that’s right!! $4 for trim, $6 for plants, $6 for plant hanger kit, $4 for the ceiling hook. Everything else I already had! I count that a WIN in my book!
We are getting into a little bit of a groove now that we’ve got a full week of “school” under our belt. So, hopefully blogging will be more regular haha!
Love y’all!


Leave a Reply