Hey there friends! I’m coming at you today with the first DIY project of the year! Yay!! A few days before Thanksgiving I got two new chairs for our family room. When I did it threw everything off. Haha!! Not really but… here’s how things looked at Christmas.
I had painted that side table green a few months before and I really loved it. I felt like it brought some personality to the room that it was lacking. However, the chairs didn’t really go. I mean, it was okay, but it was a bit much for this neutral lover. I like pops of color, but this was a bit much. I left it alone through Christmas, mostly because I didn’t want to take the time to re-paint it nor did I have time to be honest.
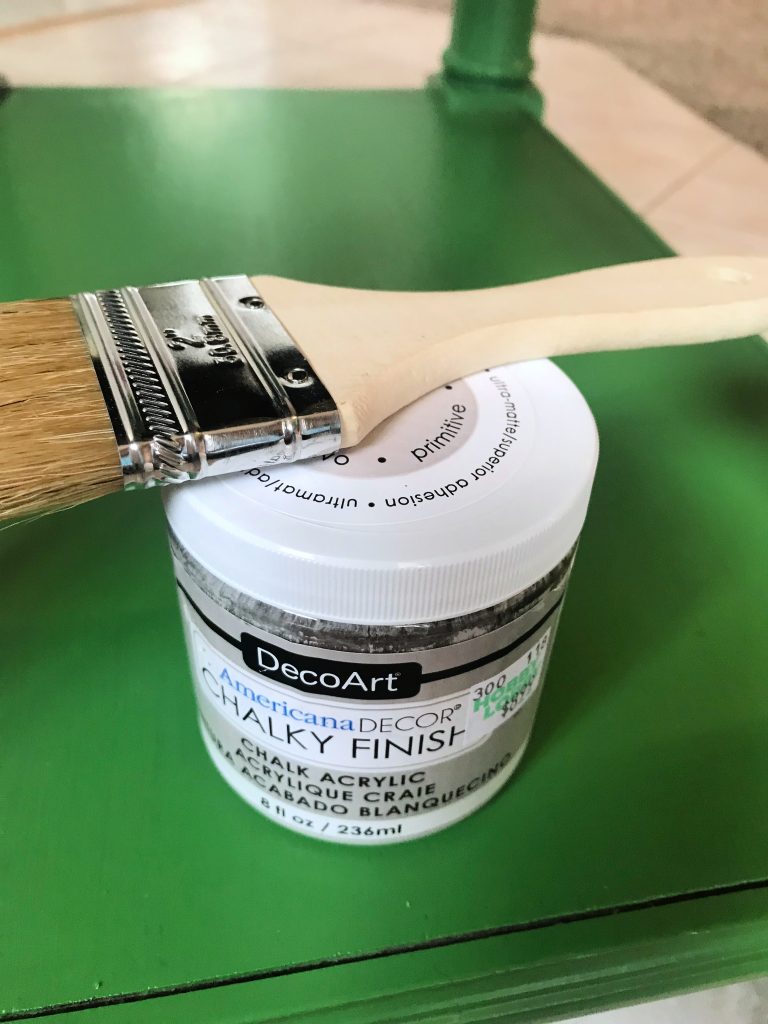
This week I was ready to get it done. Since I have two other tables in the room that are painted the same color on the base I decided to make this one match. This is the color that I used.
Some affiliate links used for your convenience. See disclosures for more details.
chip brush / chalky paint (primitive)
I really love this color. It’s a putty grey color and it’s a great neutral. I use the really cheap chip brushes all the time when I paint. Most people don’t like them. They do leave brush strokes and they do shed a bit when you first use them. But, I am terrible about leaving brushes to harden with dried paint, so I consider these disposable considering they are so cheap.
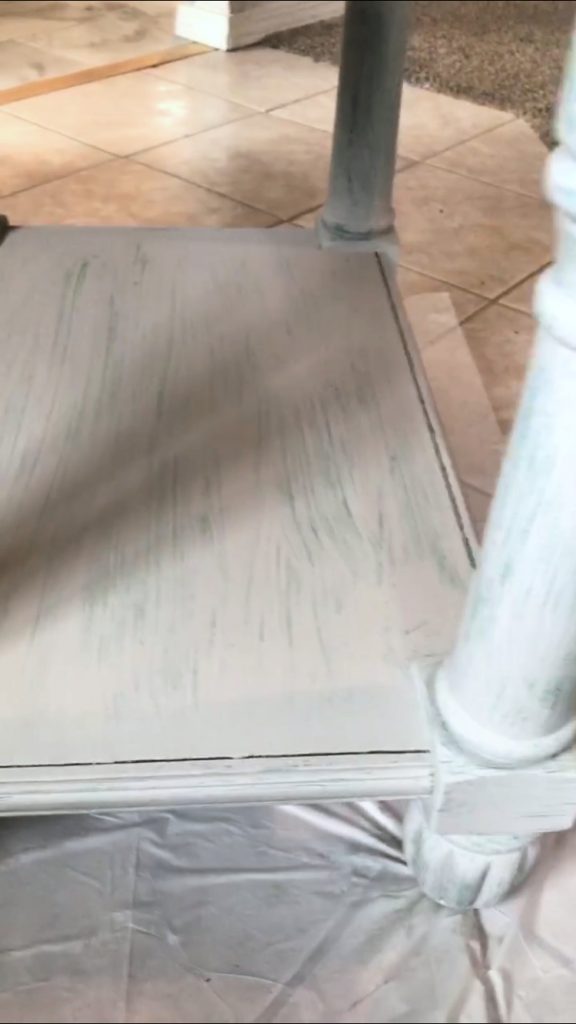
I’m not sure I’ve shared a chalk paint makeover on here before. So, I thought I would share the process today. The first coat I literally just slap on there. Haha. Don’t worry about being too precise just get everything covered. This is how it looks after one coat. (pardon the not so great fuzzy pics)
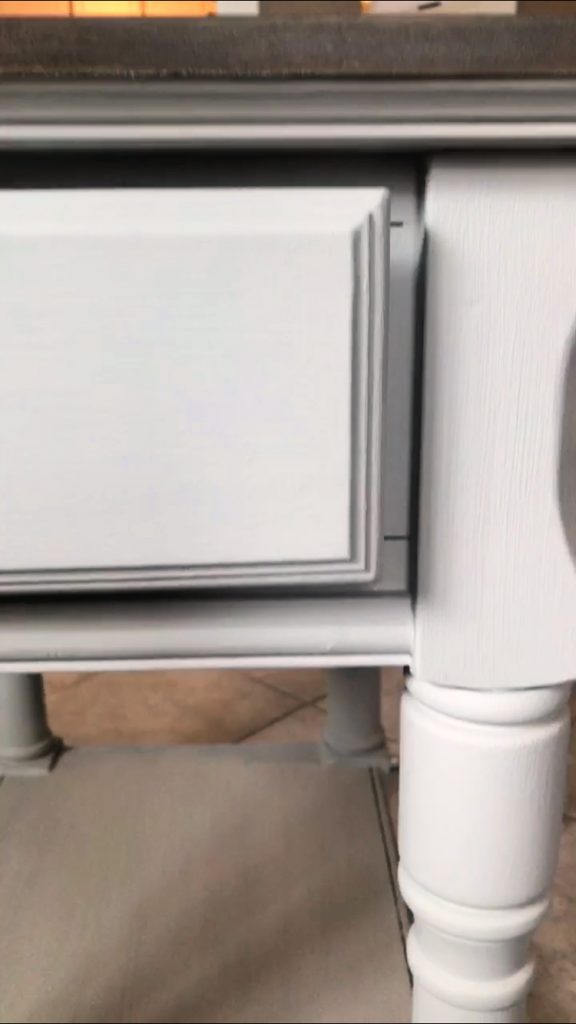
With the second coat I take a little bit more time and fill in all the splotchy places. Here’s how it looks after two coats.
Sometimes you may have a few spots that need a touch up. So do that now.
Chalk paint is awesome for so many reasons. #1 – no prep work!! No sanding, no priming! Just clean the piece and slap on that paint!! 😆 It also dries really quickly. The one thing you need to know about chalk paint is you have to seal it…or it will chip and scratch off. There are many options for sealing but my favorite by far is Minwax polycrylic. It goes on really easy, one coat is usually sufficient, and it dries and cures quicker than most sealers. It will add a little bit of a sheen to the piece, but I don’t mind that. If you want more of a matte finish then you are probably going to want to use wax.
I’ve used wax in the past and it’s just so time consuming to apply. And, in my opinion it doesn’t seal the paint as well. I’m sure all the chalk paint experts will have a field day with this, but this is just how I do it. Haha!!
Whatever sealant you choose, you will want to let it cure (dry and set) for at least 24 hours before you put anything on it. If you don’t you might find that things stick to the surface, and you could ruin your paint job.
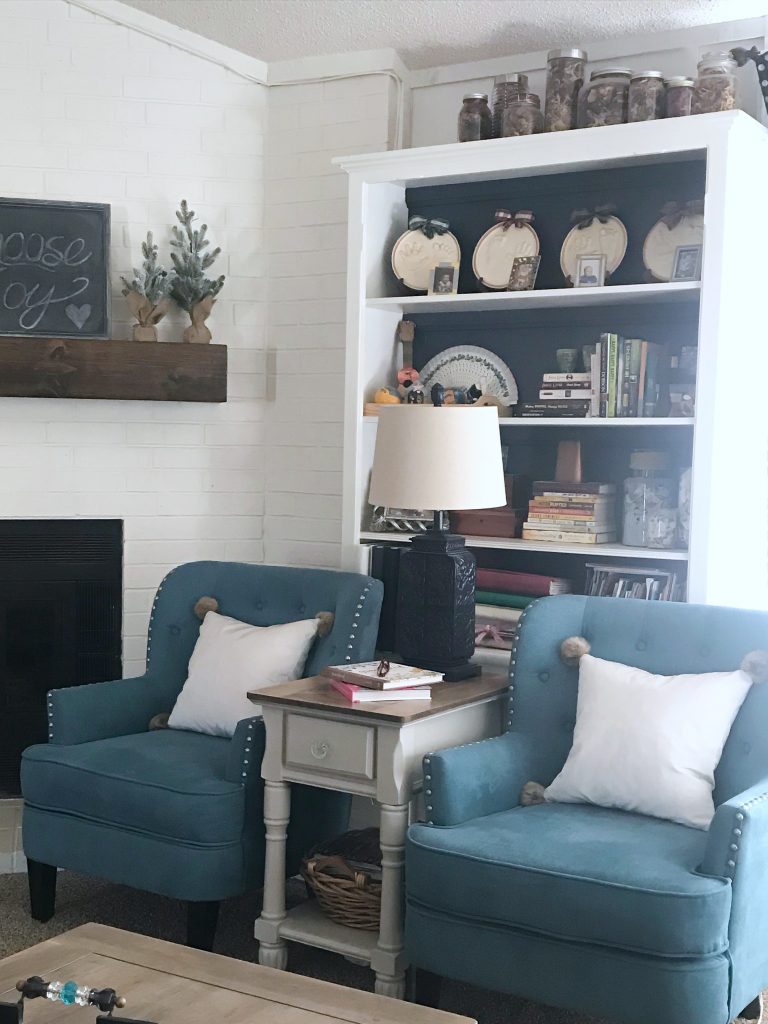
Here’s a side by side before and after for you. 🙂
I miss the green a little bit, but I think the grey works so much better with the blue chairs. I’ll just have to find another place for the green in our home!




Leave a Reply