Hello friends! I’m so happy to finally be sharing this project with you today! To be honest this has been on my to-do list for way too long! I even had all the supplies. Ha! So, a couple of weekends ago I got busy! This XOXO pillow cover was the perfect addition to our master bedroom, especially right before Valentine’s Day. 🙂
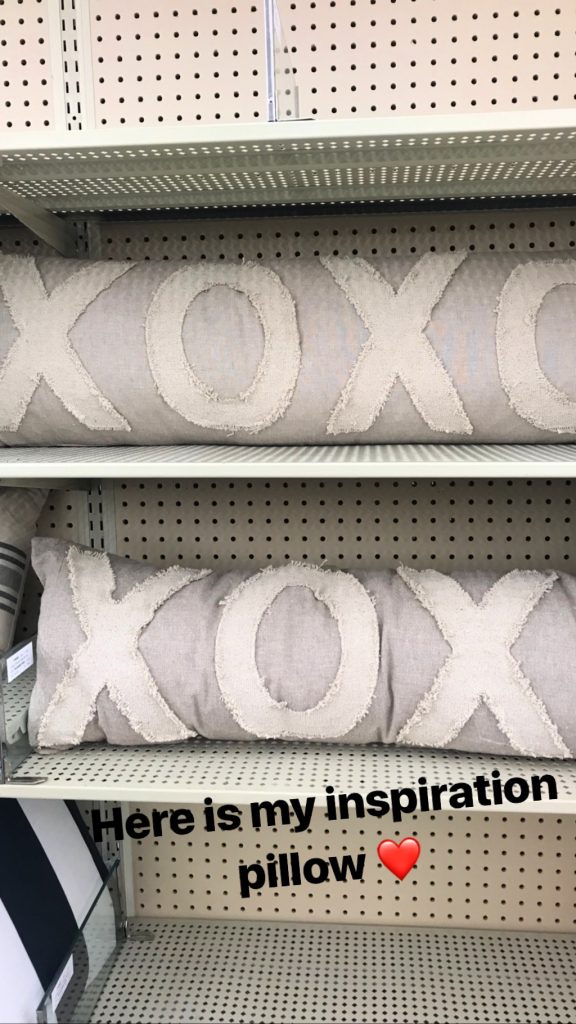
I saw this cutie pillow at Hobby Lobby quite a while ago. I loved it, and even had it in my cart a few times. The price was great for the size! But, I just wasn’t crazy about the monochromatic color scheme or the length of it – it was just a little too long. So, I decided to make my own!
Some affiliate links used for your convenience. See disclosures for more details.
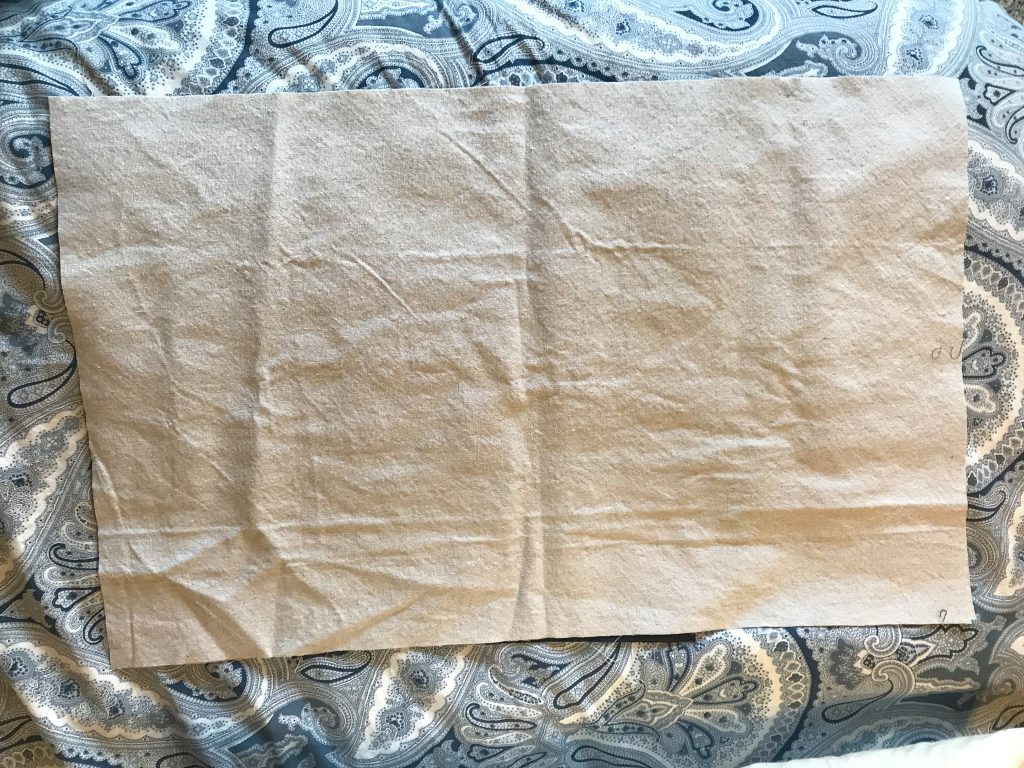
I have nice rectangle pillows that I bought from IKEA. They are 16 x 26″. So, the first step was to cut the pillow cover base. I used a dropcloth (my favorite inexpensive fabric that I have all over my house) and cut two rectangles – each 17 x 27″. The extra inch will allow for the seam.
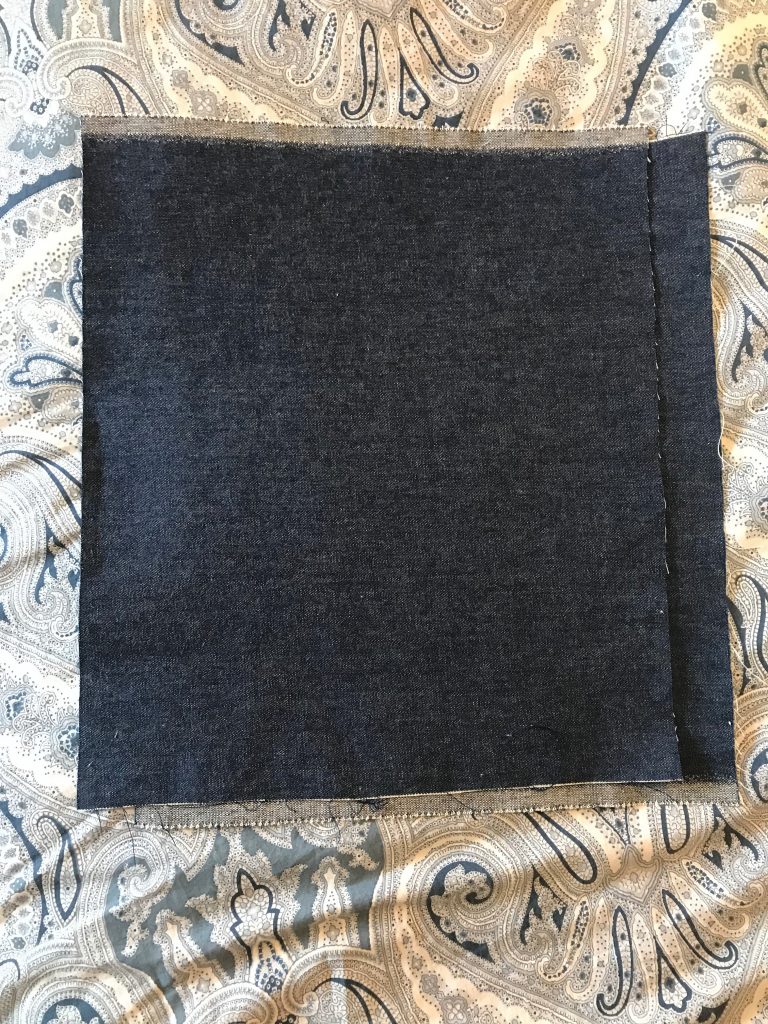
Then I cut two pieces of a lightweight denim canvas each around 12 x 12″.
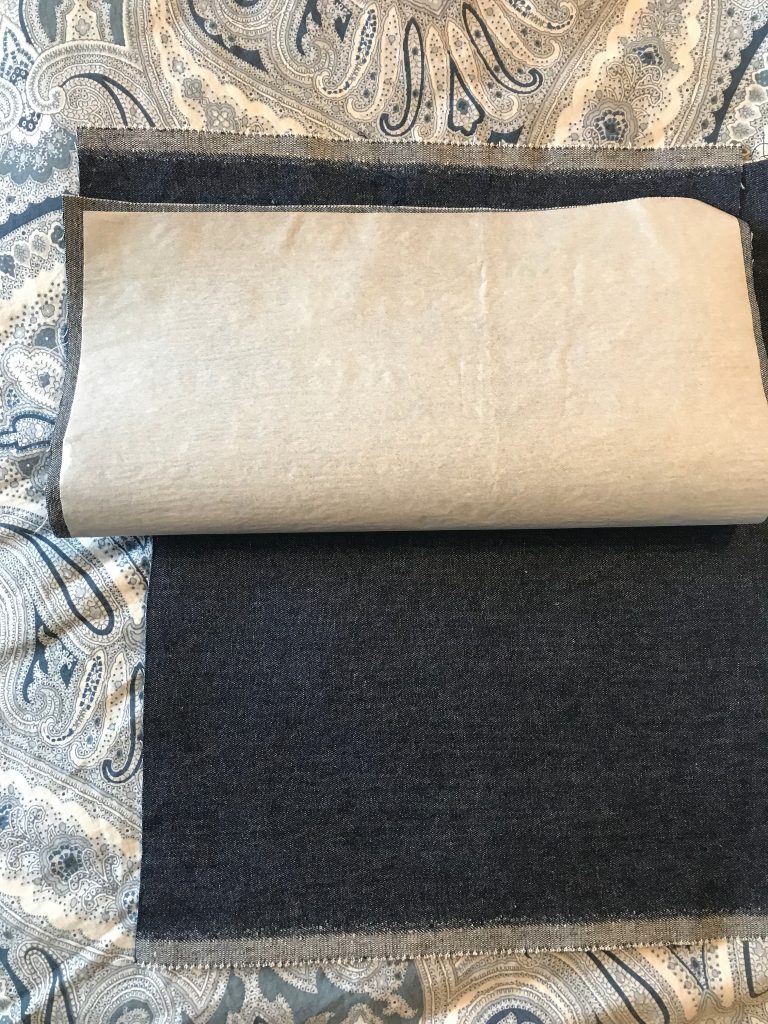
I then added wonder under to the back of each denim piece. The wonder under is a double-stick iron on product that allows you to fuse two pieces of fabric together.
Now, here is where the reality of DIY comes into play. I had intended to use my cricut to cut out the fabric, which I have done for other projects. I tried several times to no avail. So, onto plan B!! I found some cardstock and cut the letters out of that. If you don’t have a cricut you can print letters off your computer. I did that before I got my cricut. Works just as well! Either way you can pick the font and the size that you like the best!
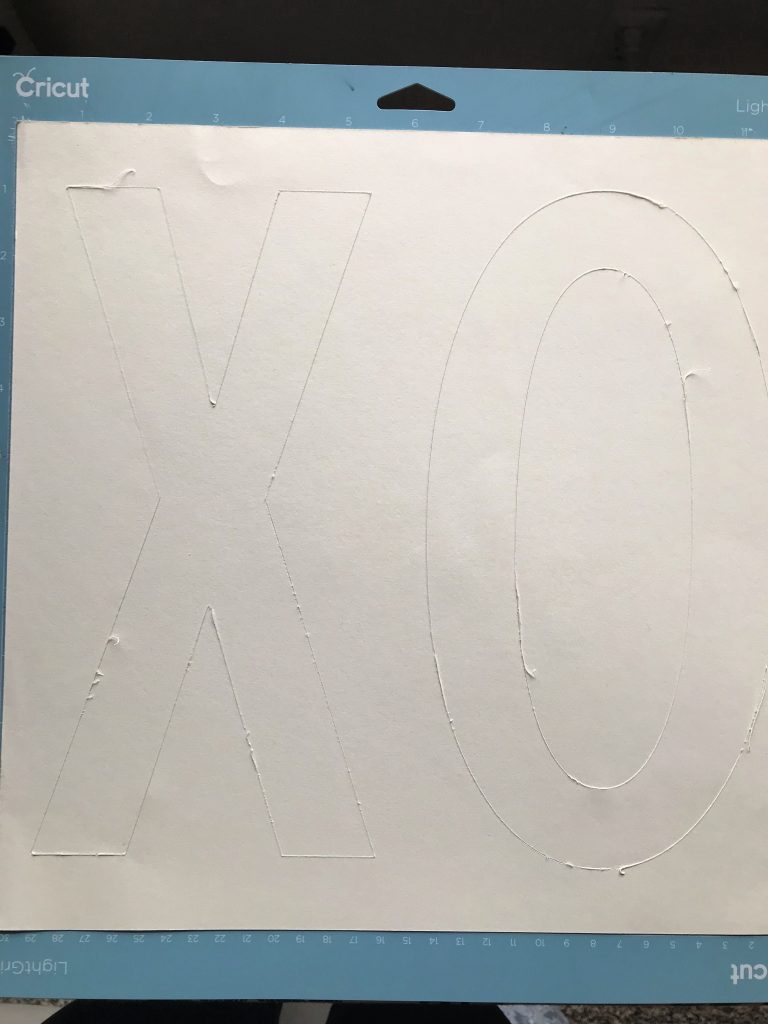
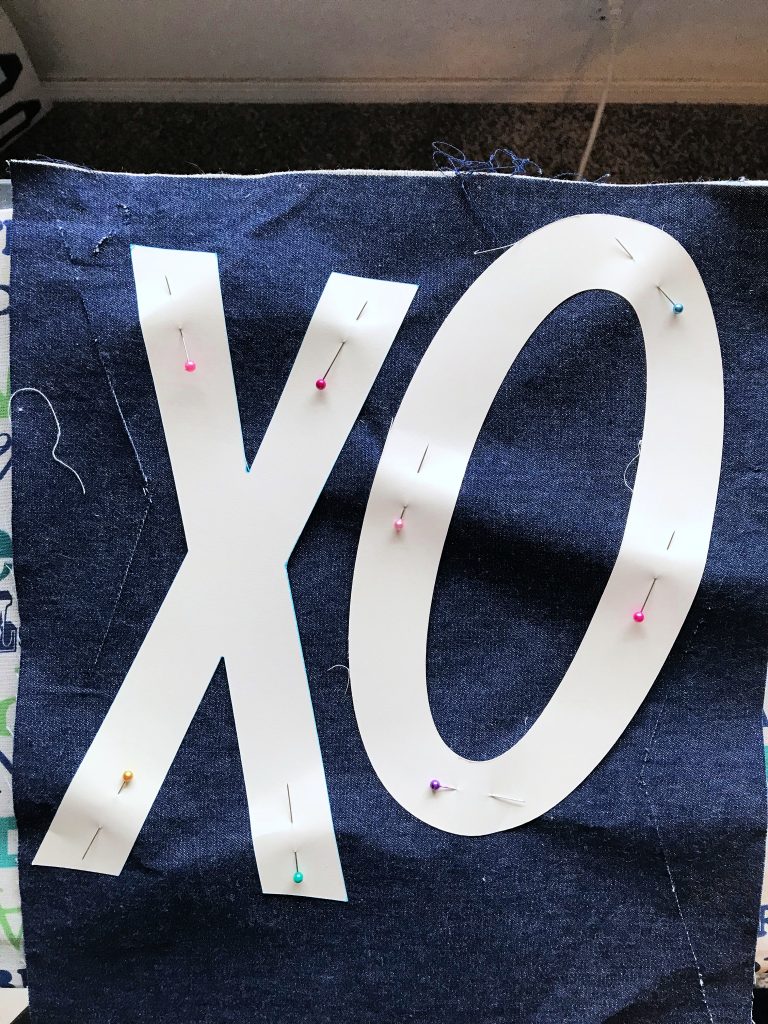
I used those letters as my pattern to cut out two X’s and two O’s out of the lightweight denim. I then fused the denim letters to the canvas base.
I could’ve stopped there because the wonder under is designed to be washable and permanent, but I wanted to add a little something more so I top-stitched around each letter. Then, I added the zipper and finished sewing up the sides. If you want to know how to do that you can check out this tutorial here.
I’m so happy with the way it turned out!! Even better than I thought it would!





Leave a Reply