Hey there friends! I tell you I was a little slow getting going after Christmas! I’ve been watching everyone around me de-cluttering and organizing all the things and I’m just like “meh”. But, then I saw a picture posted in Jen Woodhouse’s instagram feed of this project and I was inspired!!
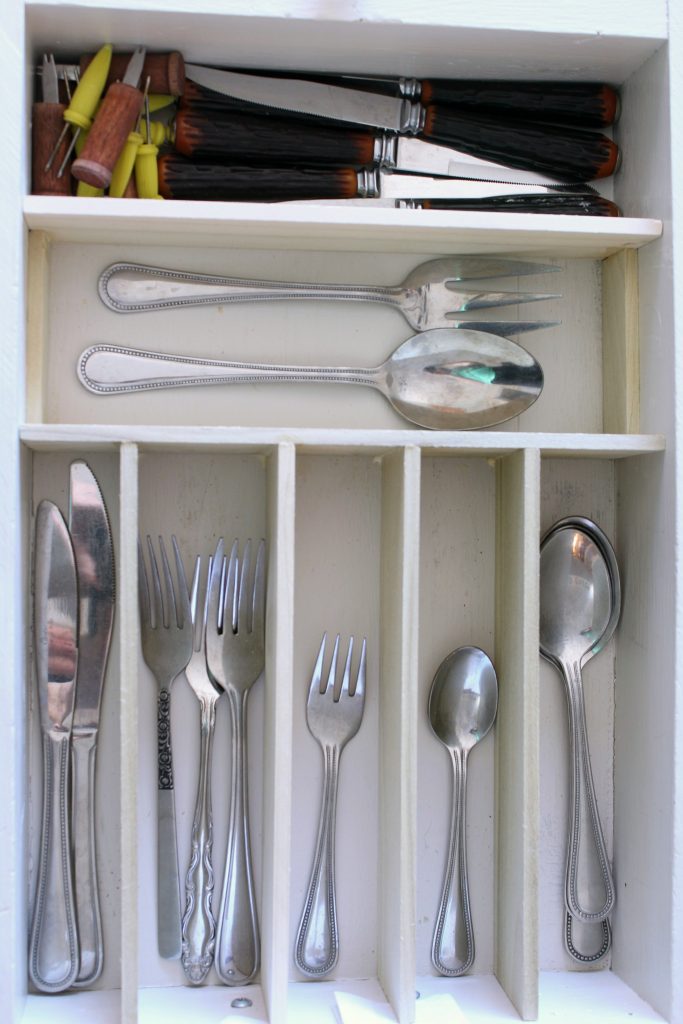
Several years ago I built my own kitchen drawer organizers. They were fabulous and I loved them! Check out the how-to here in this post.
However, after lots of use, they started falling apart. Boo. These kitchen drawers have been a thorn in my side for a while now. I knew at some point I needed to re-do the drawer organizers or find a better solution. See how half the dividers are now missing??
And this drawer, well I’m not really sure what happened here.
The thing is, when I first DIYed this project, I had explored lots of other options, and none of them worked for me. The standard drawer organizers you buy at Walmart or Target either didn’t fit my drawers, or they didn’t use the whole space. And, the more customizable organizers were more than I wanted to spend.
So, the drawers set in a mess for what seemed like forever. Oh, and they continued to fall apart more and more over time. The problem was I had only glued the pieces together. Which was fine in the short term, but apparently not for the long term.
Some affiliate links used for your convenience. See disclosures for more details.
Enter the solution to all my problems!!
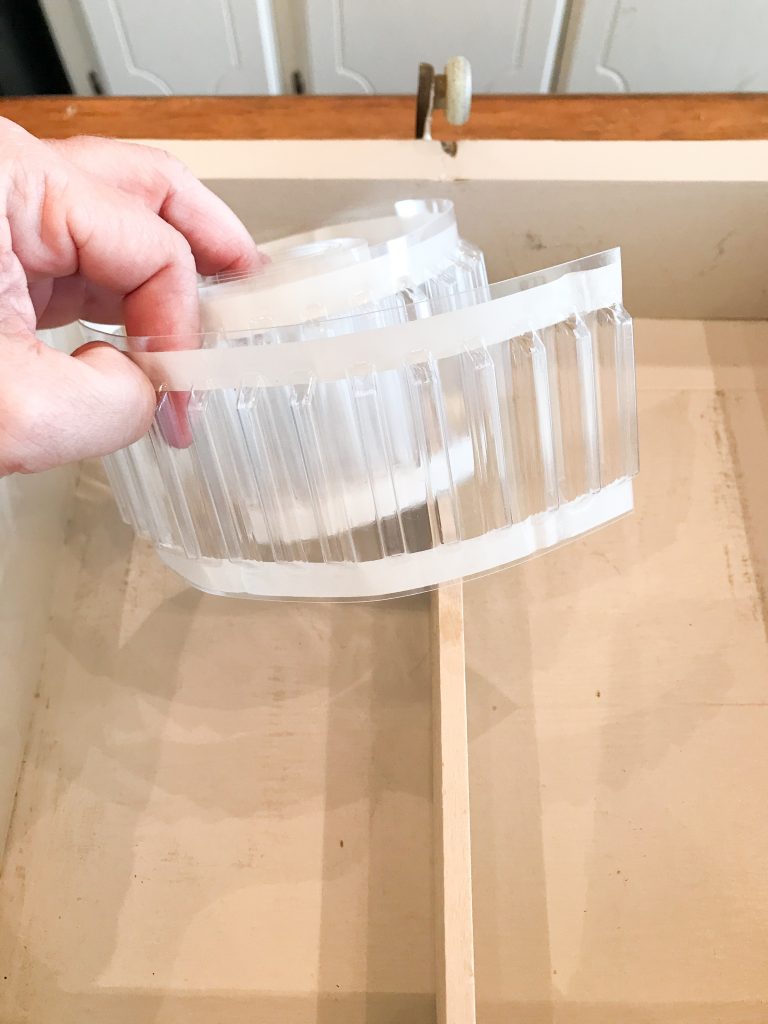
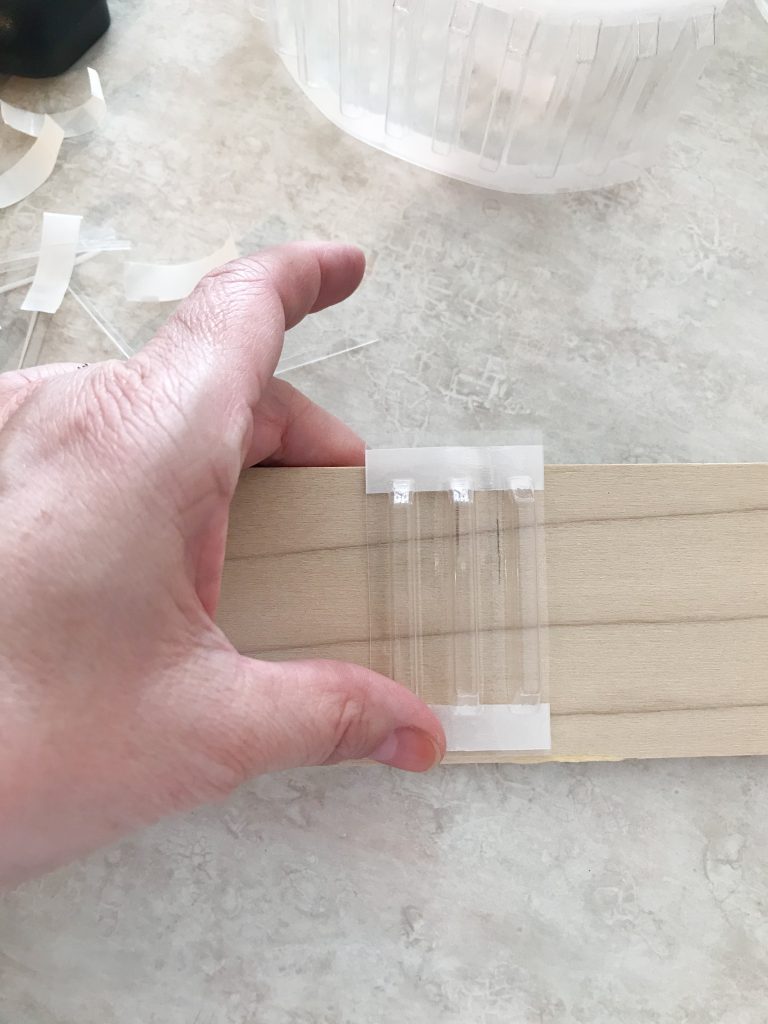
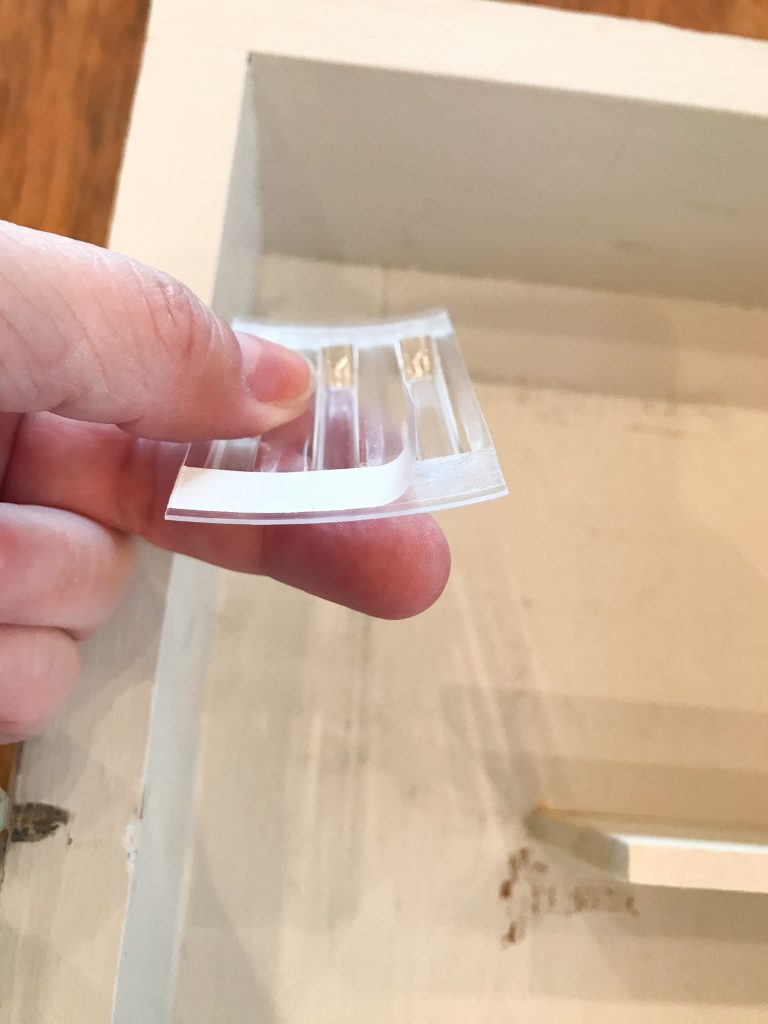
This little roll of plastic drawer divider holder was perfect! It comes in a 60″ long piece that can be cut to size to meet your needs. Since I knew I liked the configuration of the current dividers, I decided to only cut pieces that created two slots for the dividers to go into.
I took each drawer one by one. Removed the dividers, cleaned the drawer (bonus).
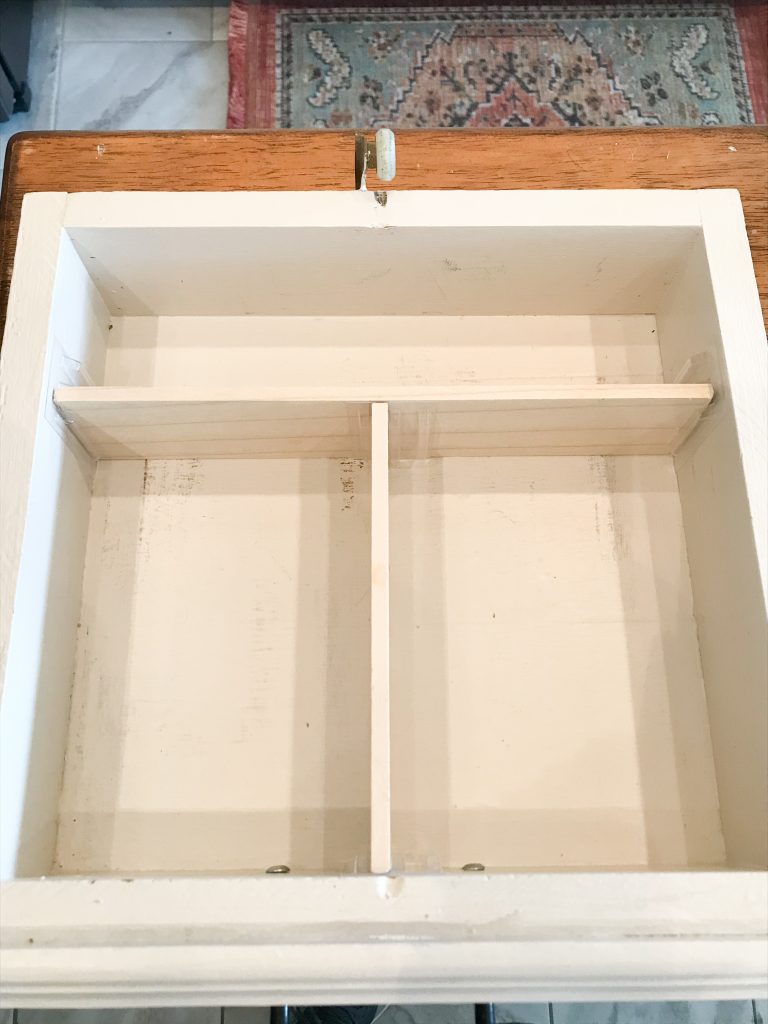
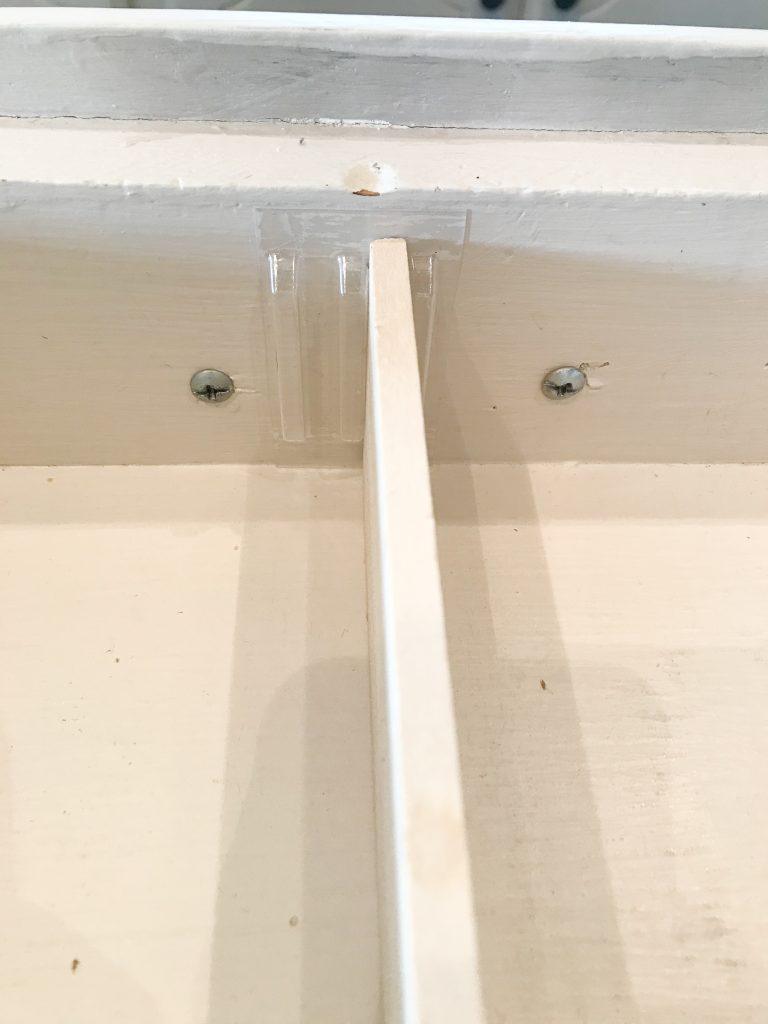
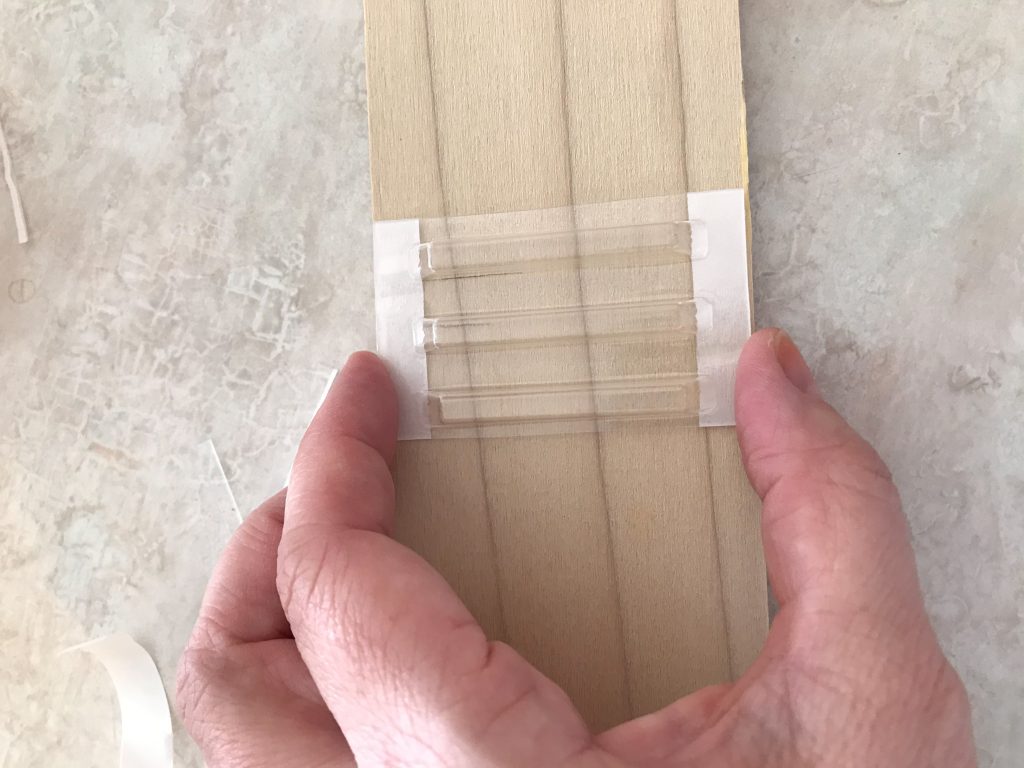
Then I cut pieces of the holders and attached them to the drawer or divider wherever necessary to be able to slide the dividers together.
The plastic piece has double-sided tape on the top and the bottom to adhere it. Which was awesome!
The only problem I ran into, which wasn’t really a problem, was that the pieces were a little too taller than the actual dividers (as you might be able to see in one of the pictures above). So, when I needed to adhere one to that, I simply cut the plastic piece to fit by trimming a little off the top and a little off the bottom.
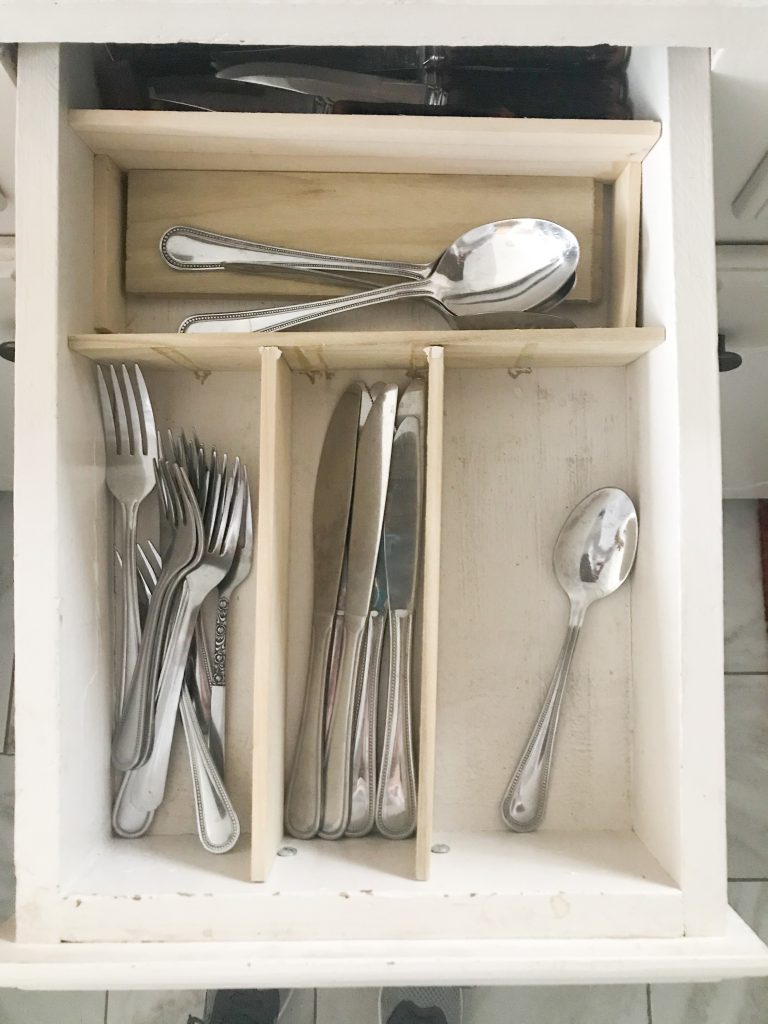
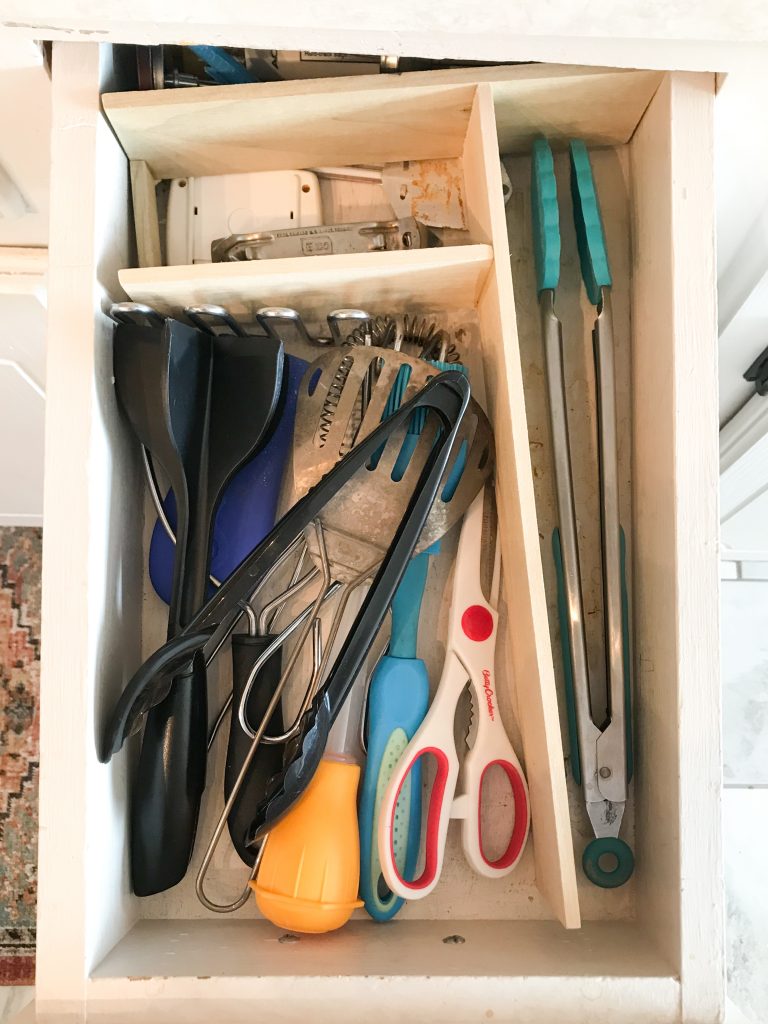
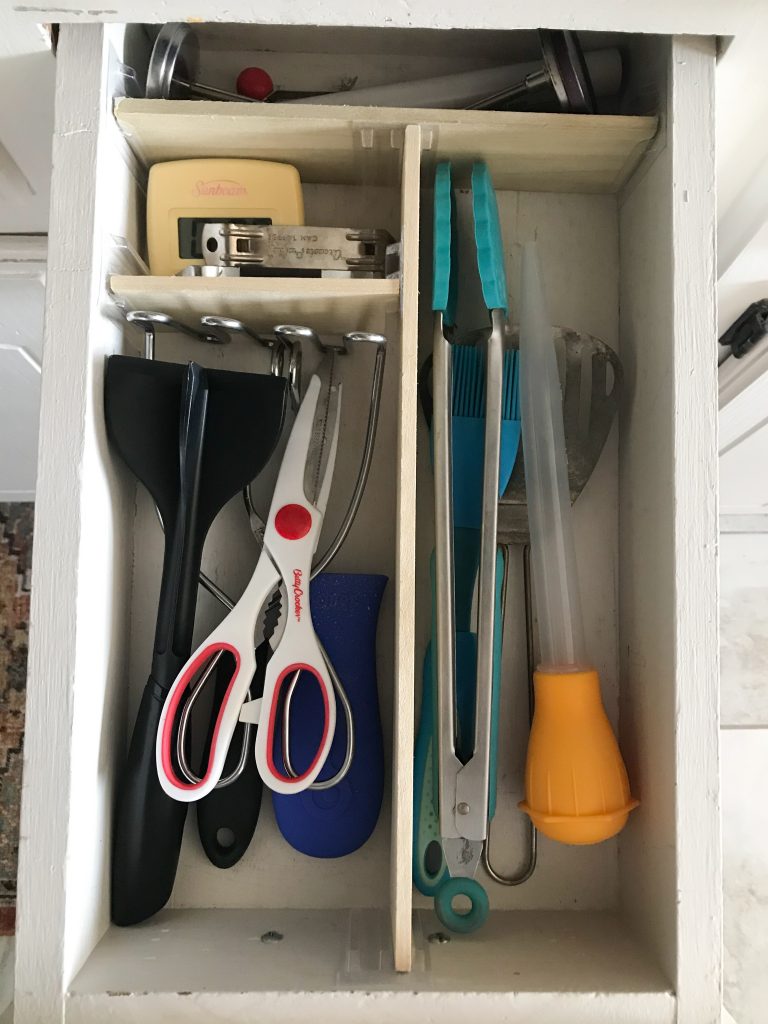
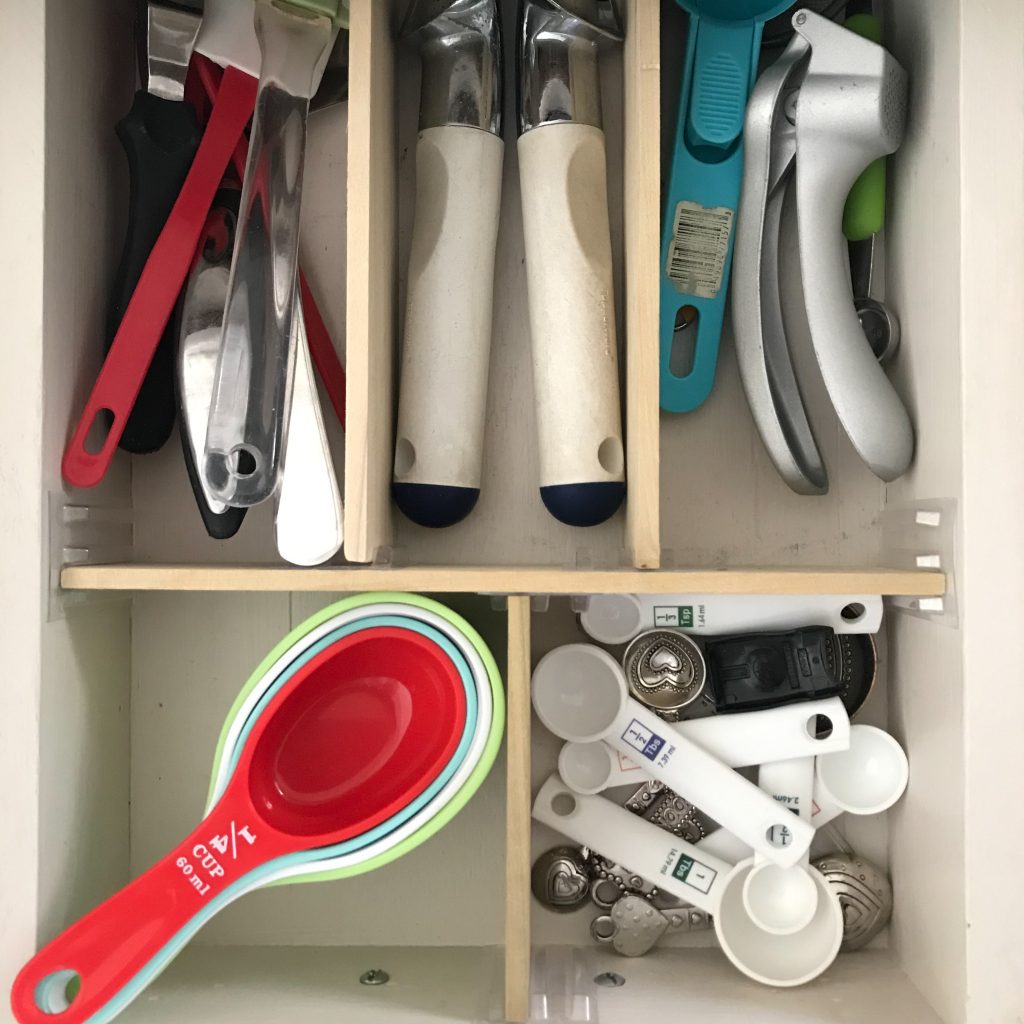
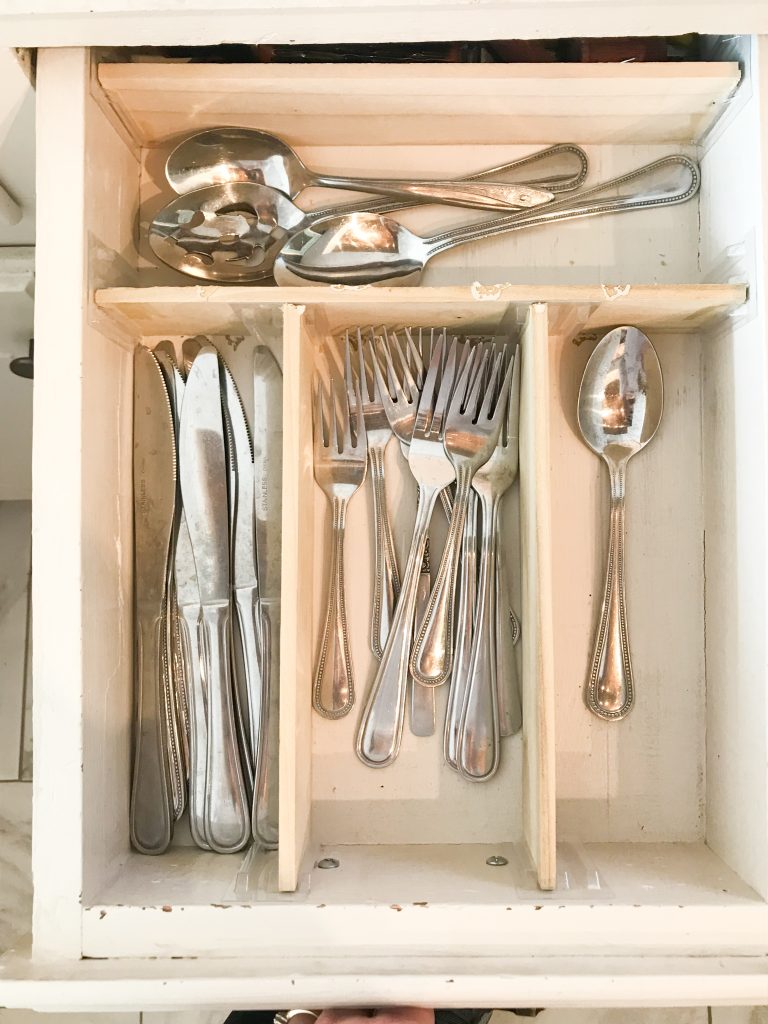
Here are how some of the drawers looked after. I’m in love! Seriously, it might be a little ridiculous how excited I got about this! HAHAHA! But, hey, it’s the simple things right?
Similar wood for dividers
Hope this is helpful! The next project…touching up the paint on these drawers! 🙂 Happy organizing!!
Need more kitchen organizing tips?? Check out this post.


Leave a Reply