When I ‘finished’ my kitchen update a few months ago. There were still a couple of projects that I was holding onto in the back of my mind. But, after all the time I had spent on that one project, I just needed to let it rest for a while – you know like you do with a good steak.
So, after a good rest I decided to move forward with something I had been dreaming about for a while and this is what came out of a little bit of work.
My inspiration came from a Sarah Richardson kitchen. I think I pinned photos of the island in her kitchen several times – they just kept popping up!! I love everything she does! So, when I saw this kitchen island with the rustic wood, I was instantly crushing!! I don’t have as grand of an island as this, in face it’s not even technically an island, but more of a bar. But, I knew that this would be doable. Here’s the before:

Maybe you can see the set-in space there – that piece of ‘wood’ is actually cheap paneling.
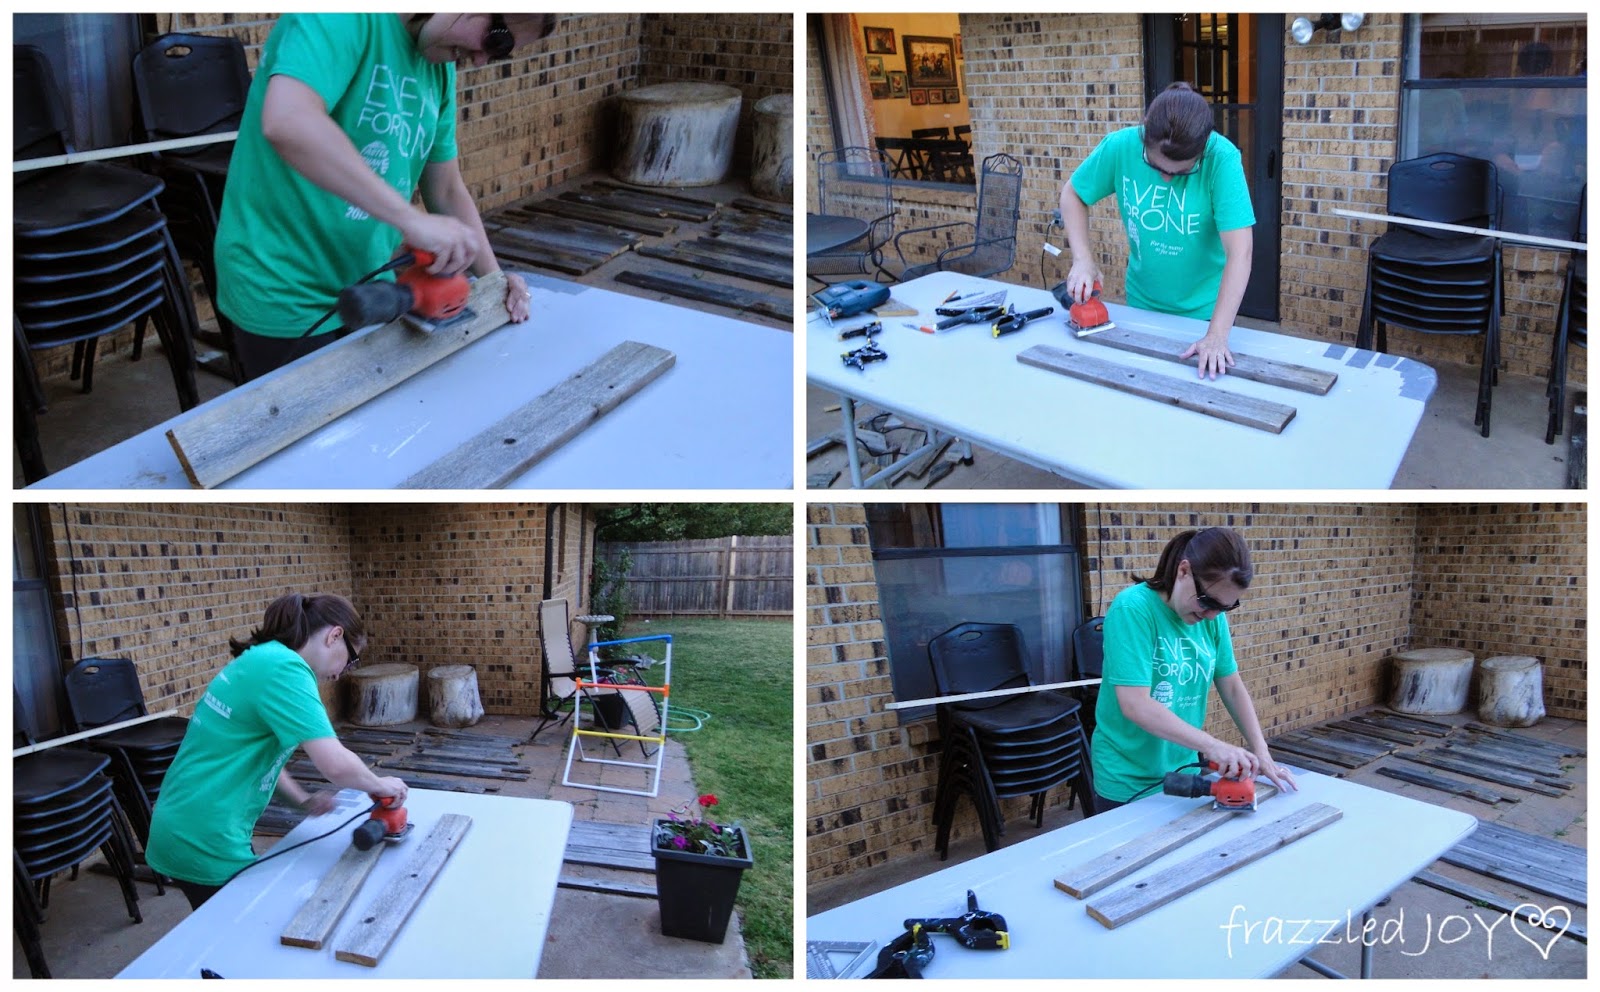
So, I gathered together some old fence pickets from a friend, that had the exact rustic look I was going for and went to work (be prepared for LOTS of pics :)).
First up was sanding all the pieces, top bottom, and edges, to prevent as many splinters as possible.
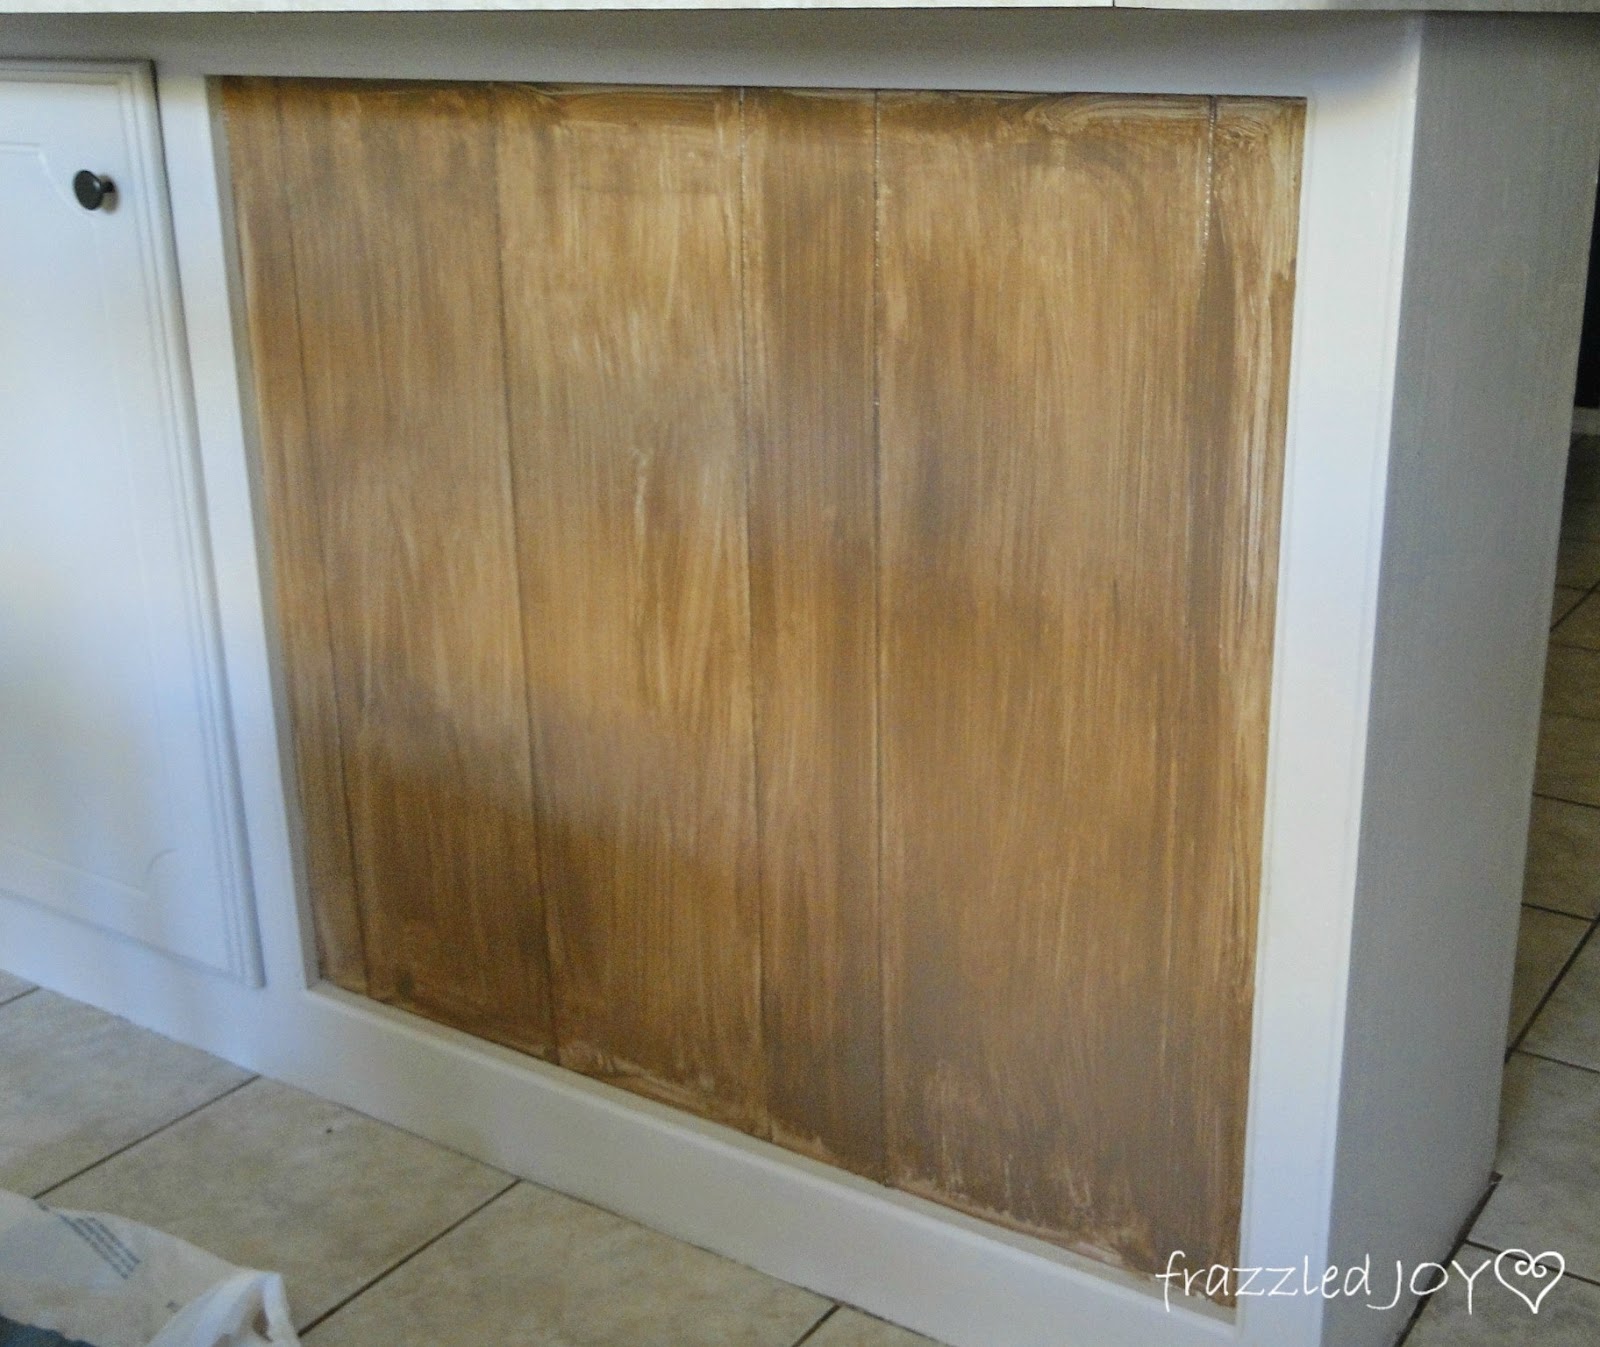
The next step came from my friend Jennifer’s wisdom – paint the background a similar color as the planks – because they are not going to match up perfectly (it’s old wood), and this way the spaces won’t be as noticeable.
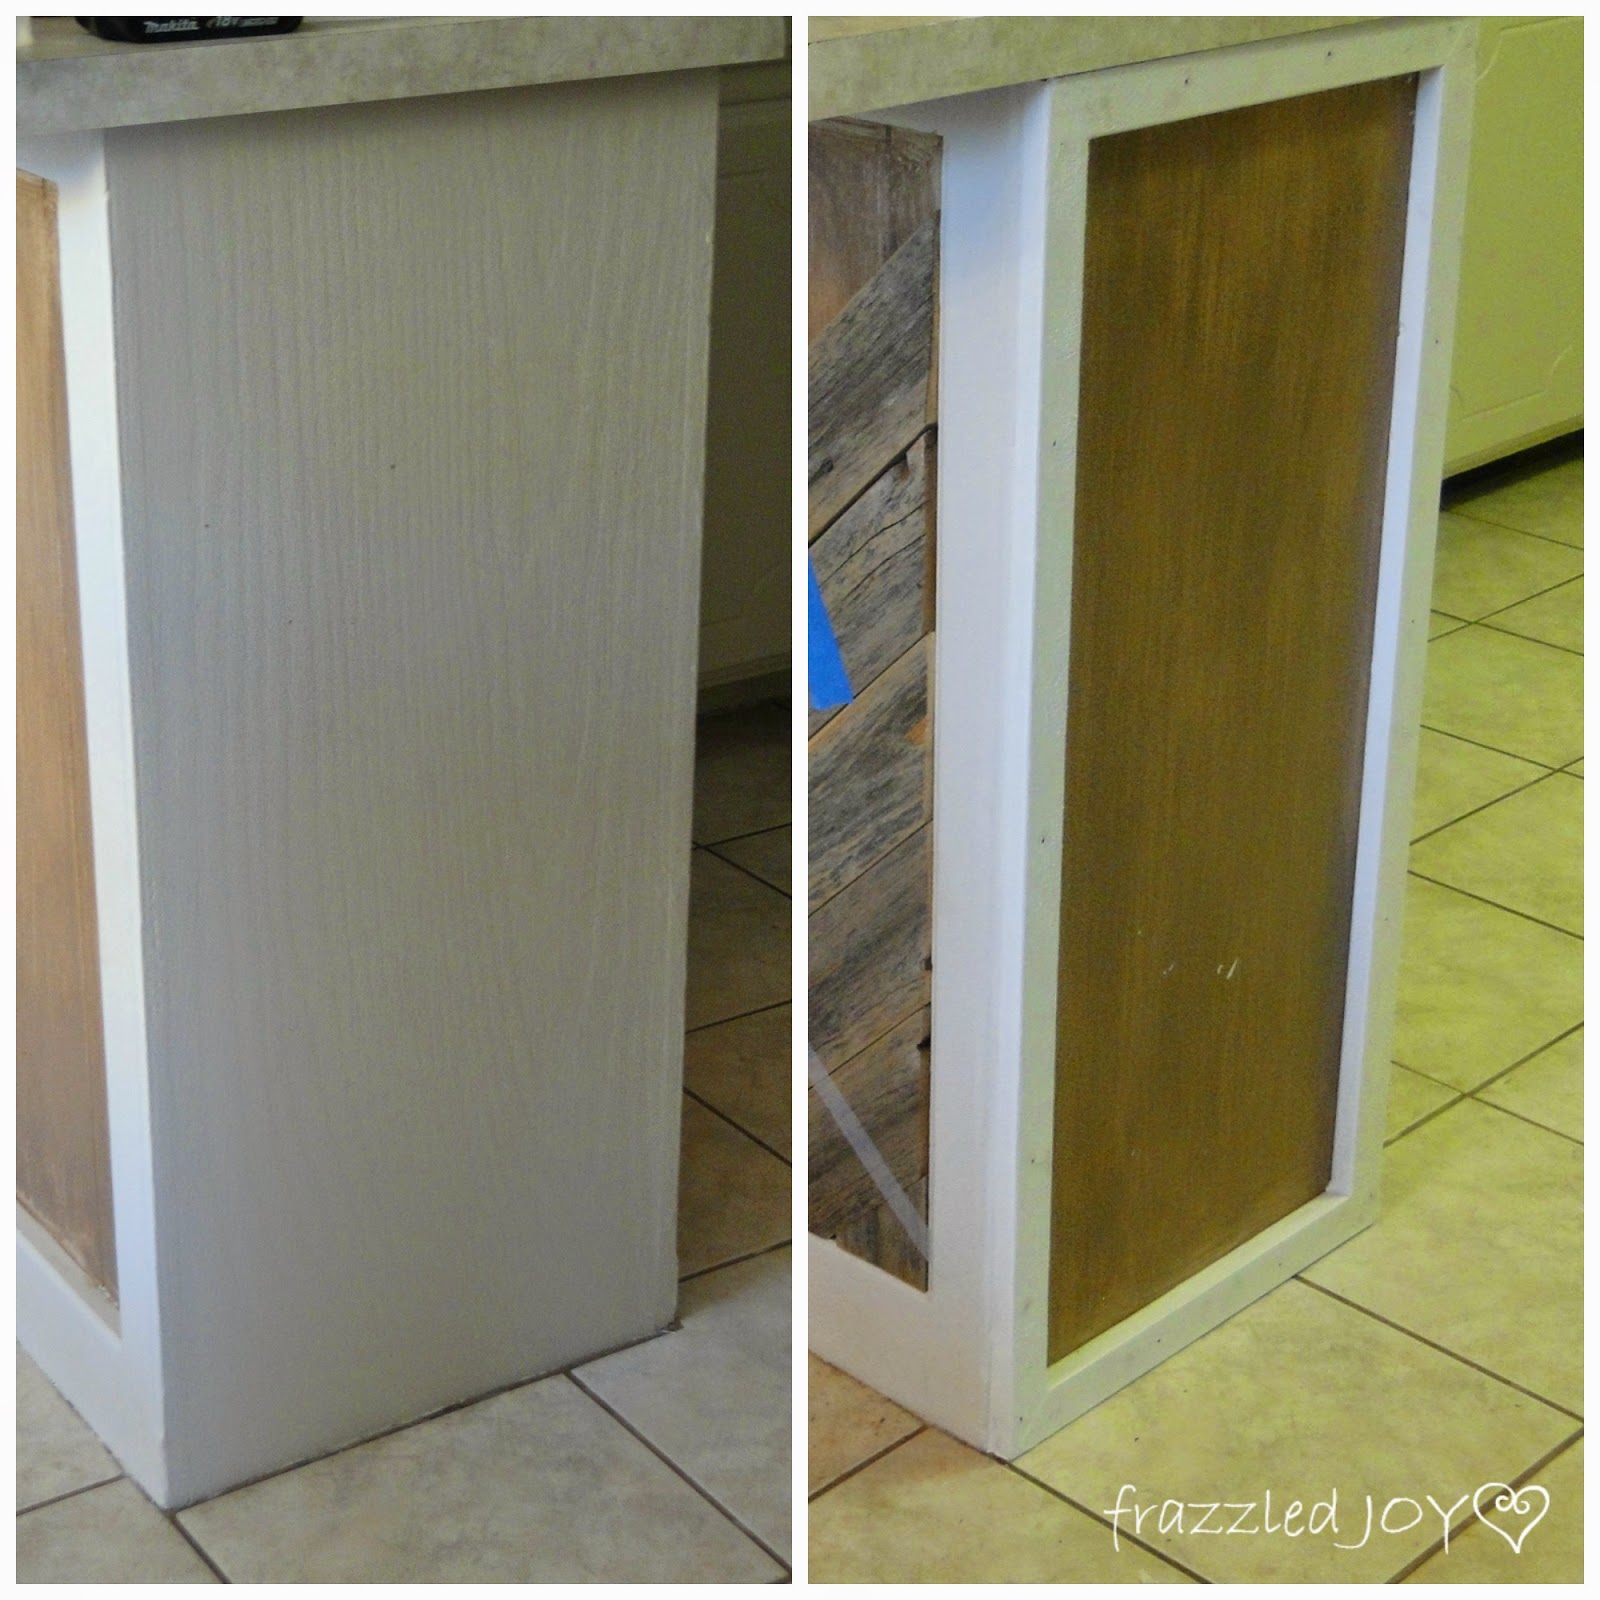
I also had to build a frame on the end since that surface was completely flat. I just used 1″ x 1/2″ boards that I had on hand to do that.
Then we went to work cutting our pieces.
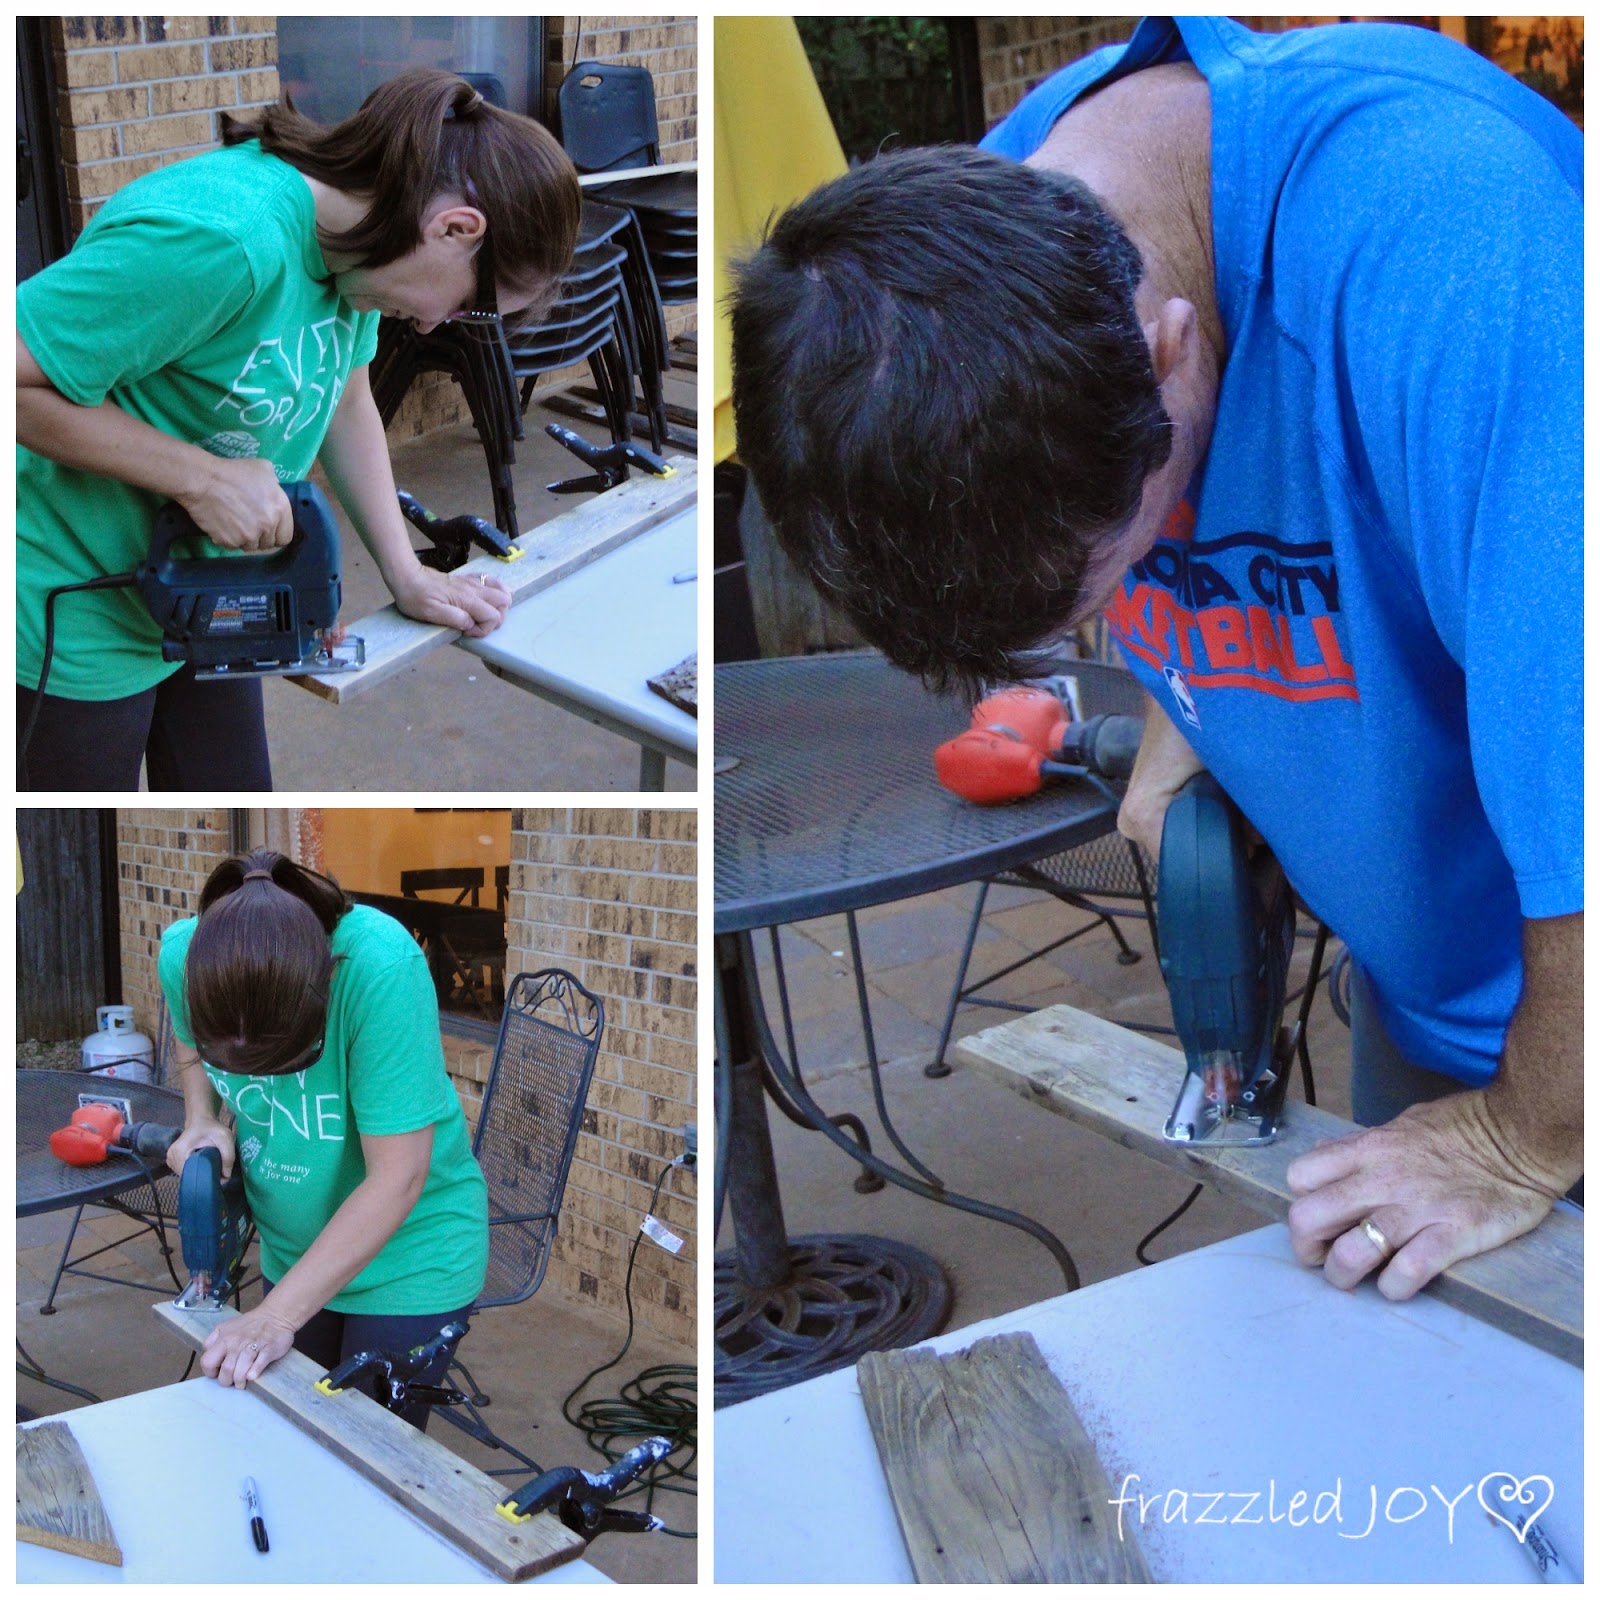
This took longer than anything because I really had no idea what I was doing. Ha!!! I knew the look I was going for obviously, so I started in the corner with a triangle and went from there. (sorry for the poor photos, but I was working feverishly one evening wanting to get this done!)


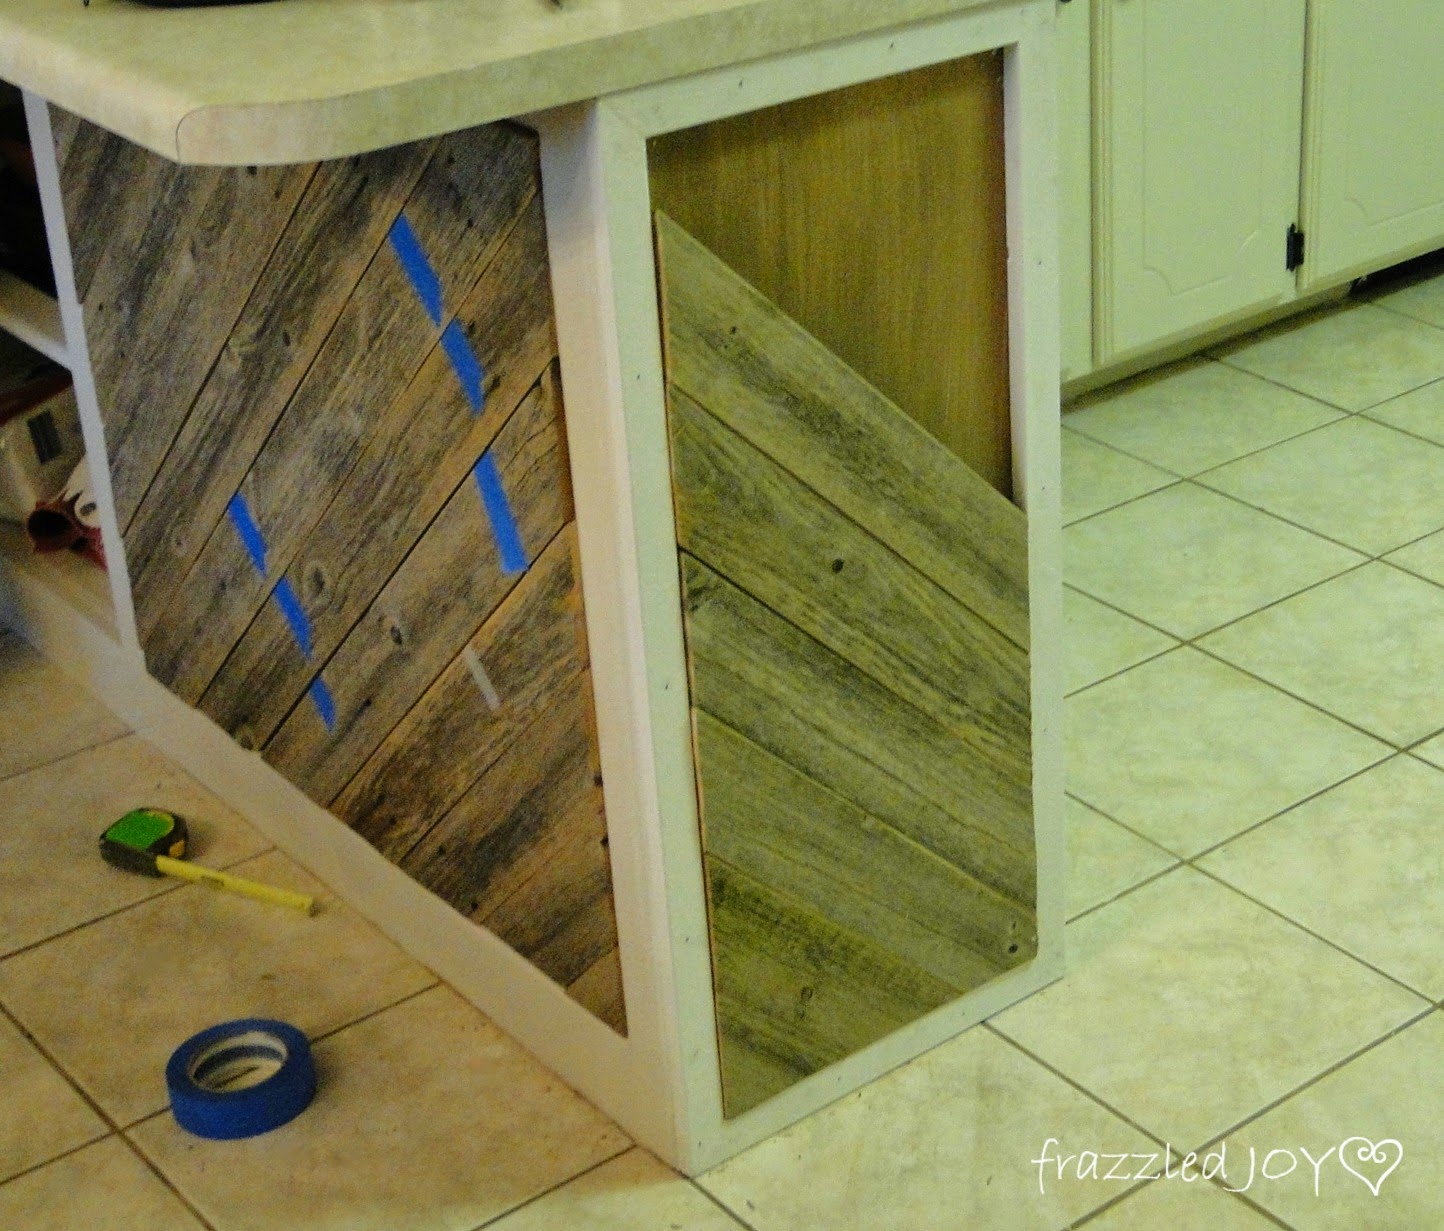
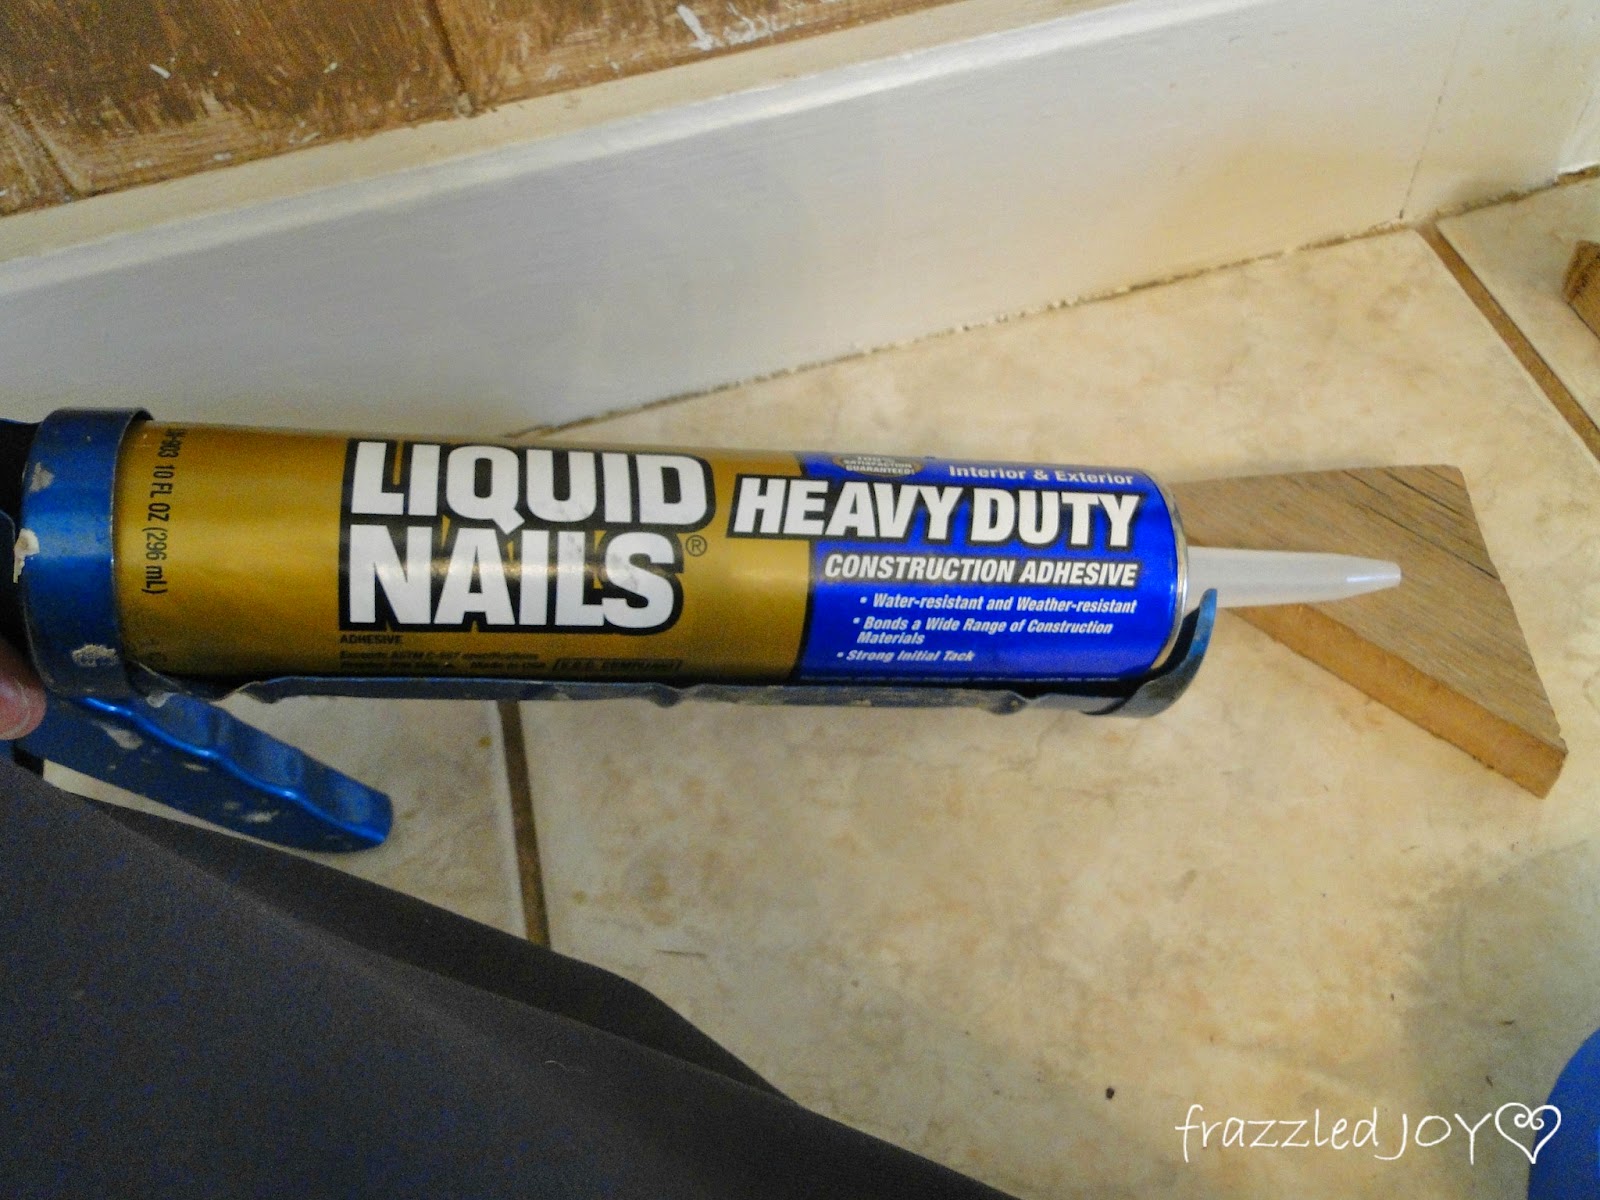
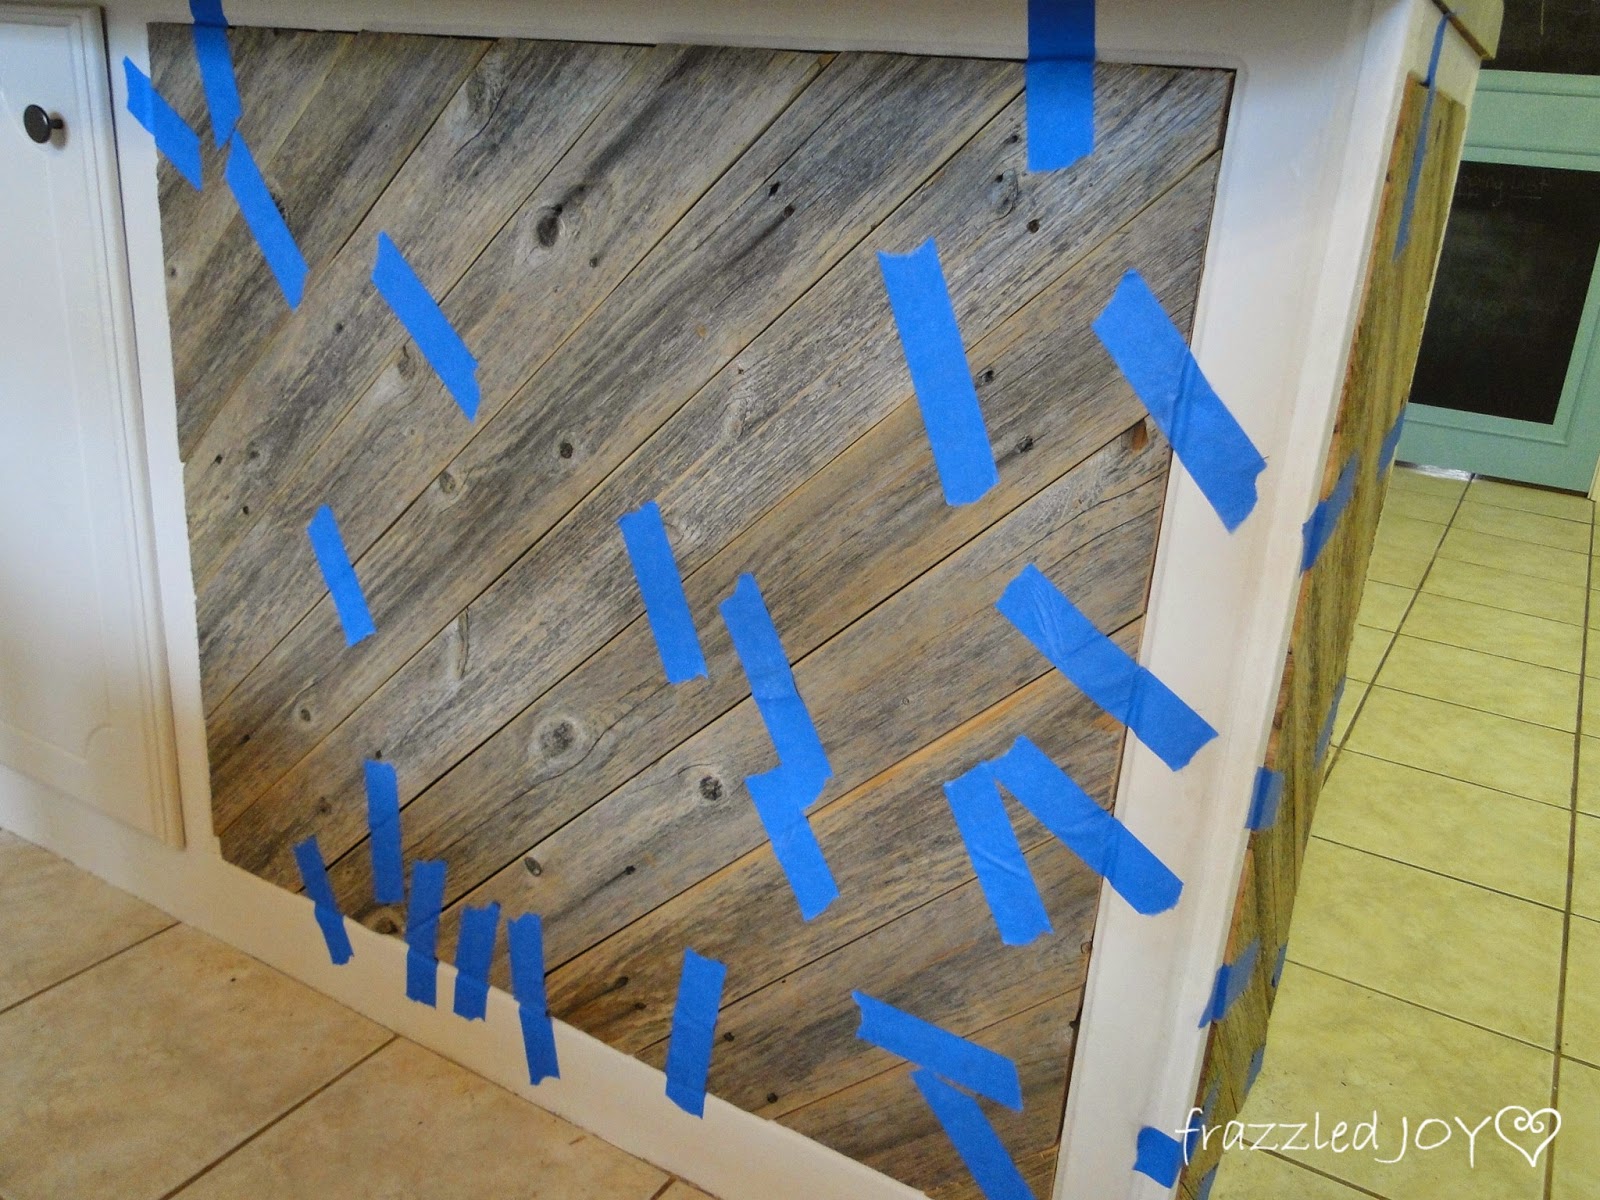
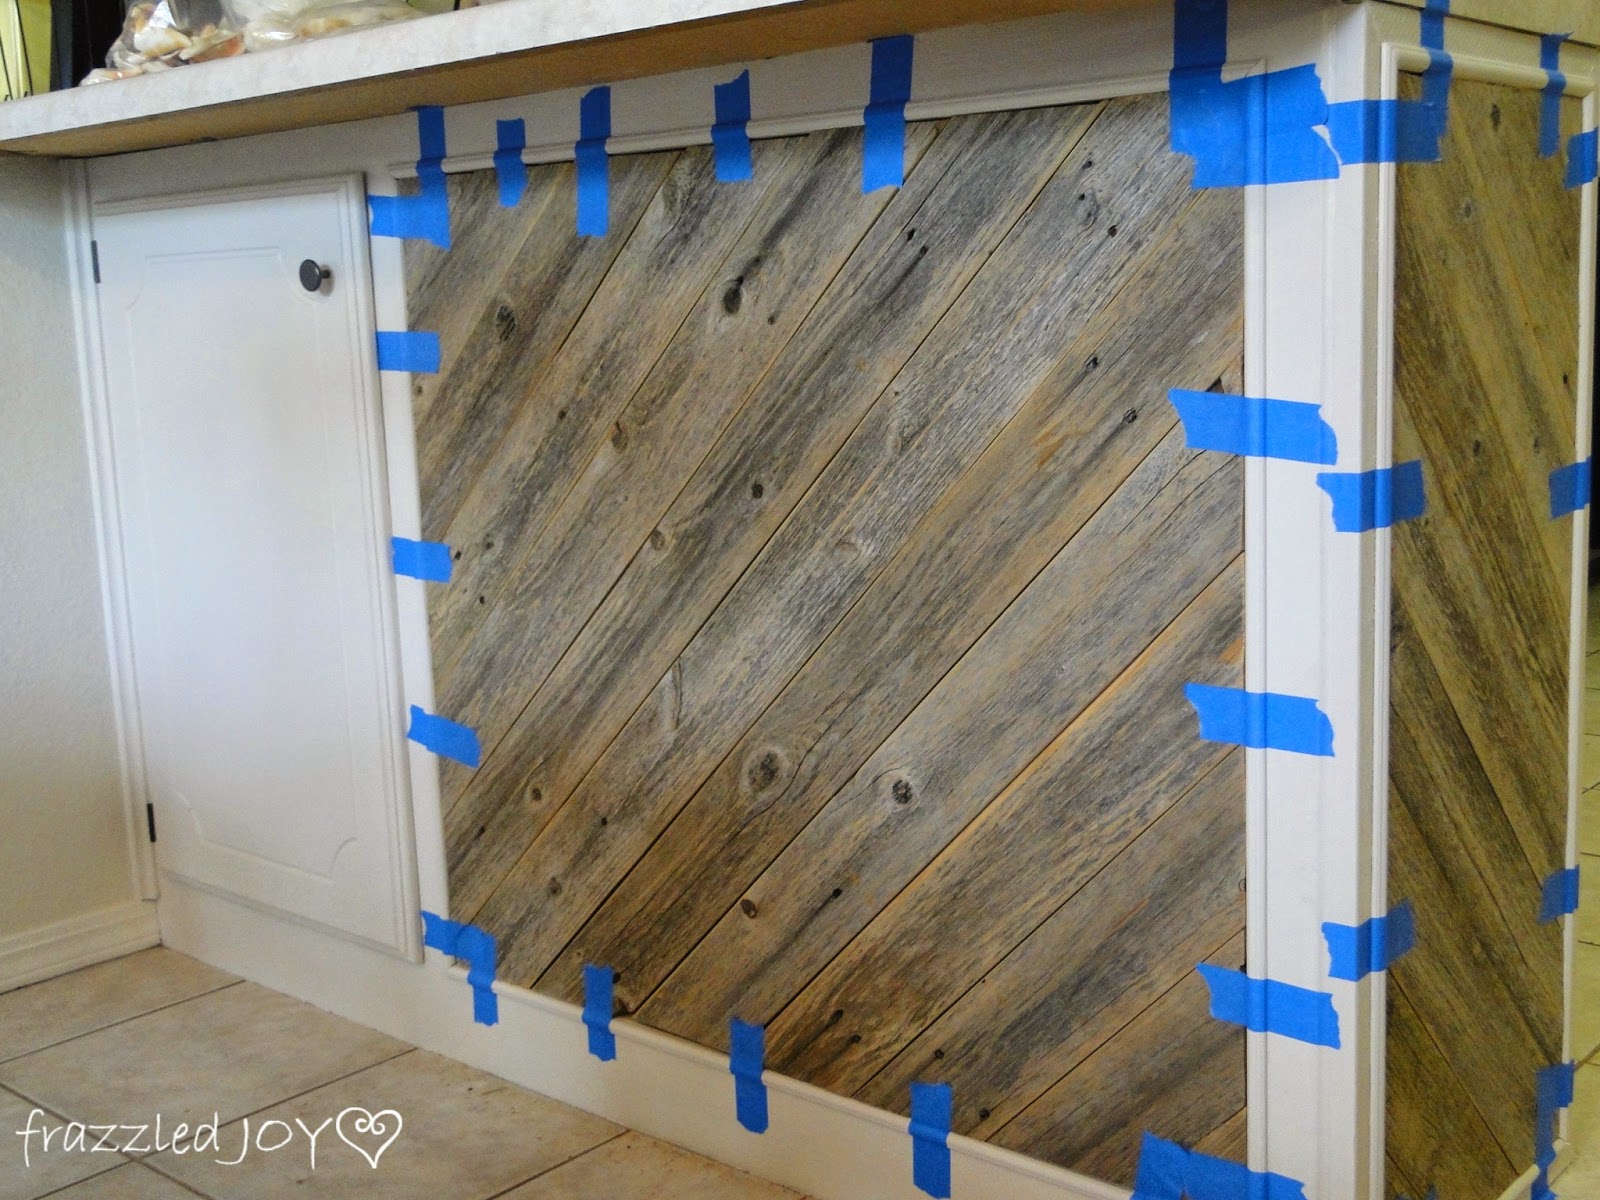
When we got all the pieces cut it was time to attach them. I went with my go-to adhesive for things like this – liquid nails.
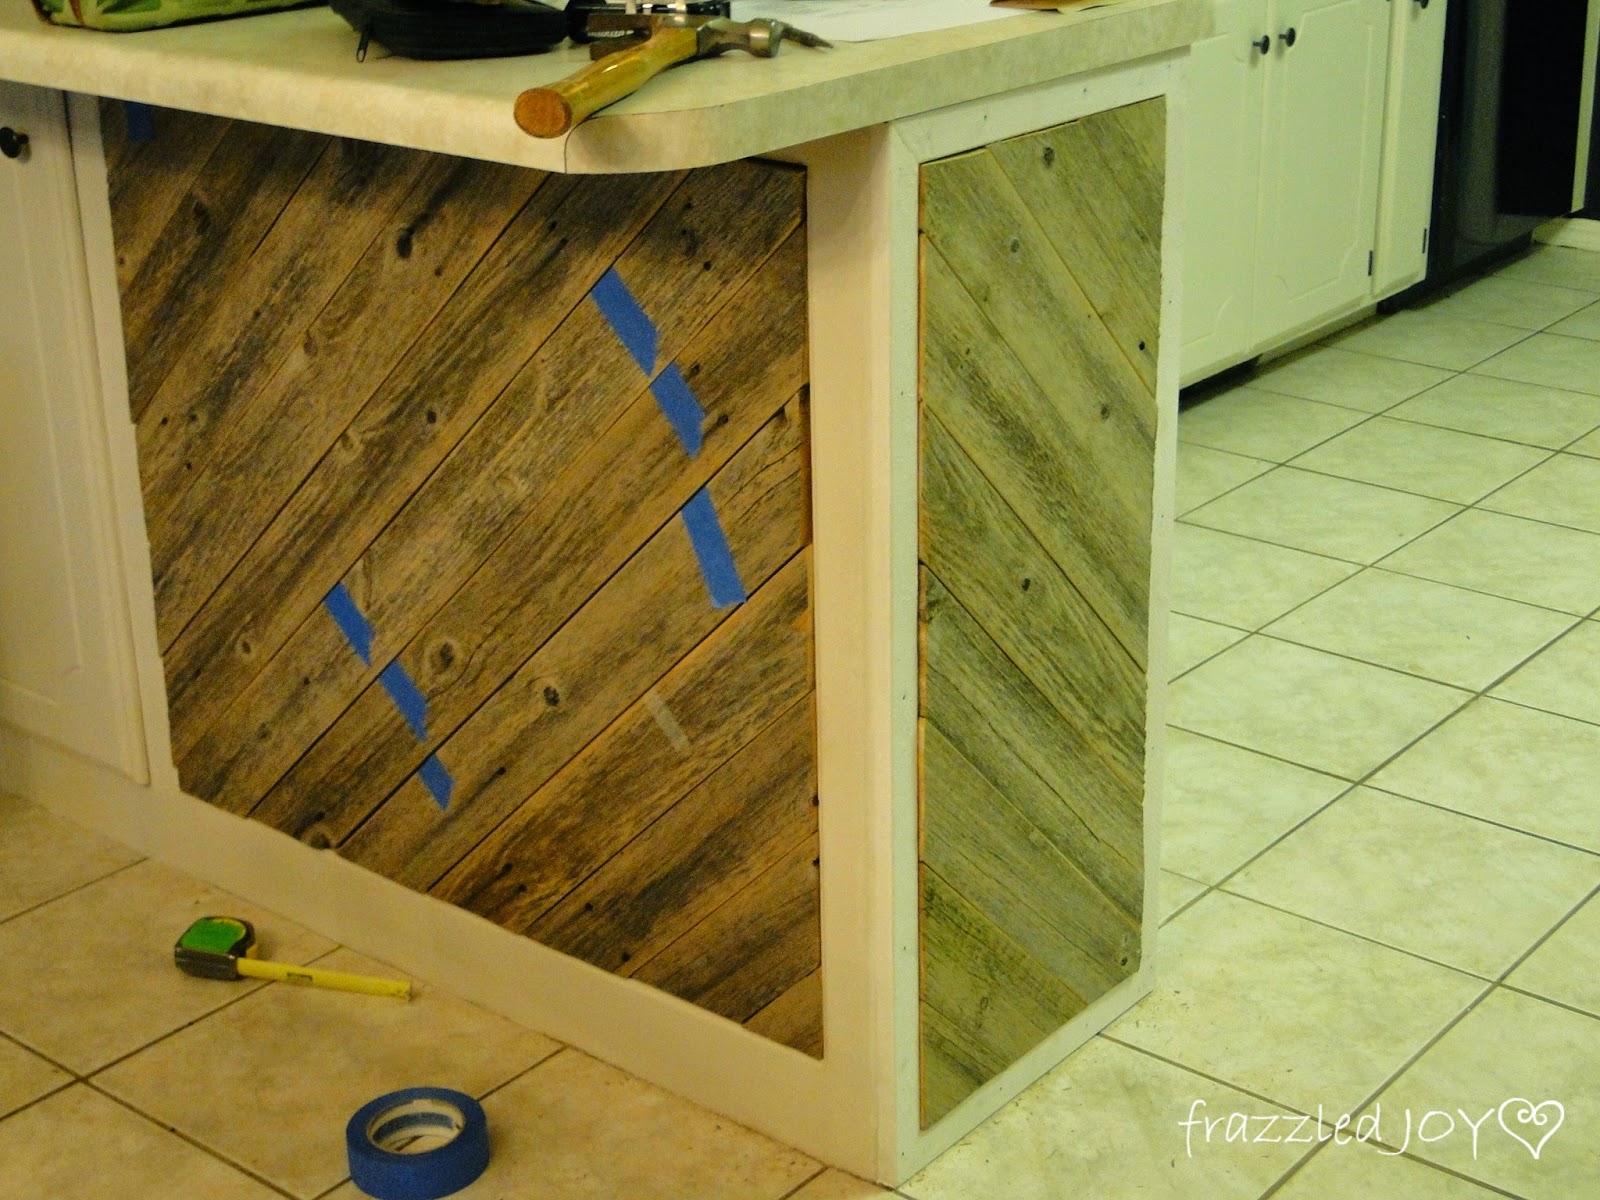
And, once again, I used good ‘ole painters tape to hold everything in place until the glue dried. For the most part the pieces were pretty wedged into the frame, but this just made me feel better.
As I was working along to this point I noticed that the fence pickets boards were a little thicker than my frames.
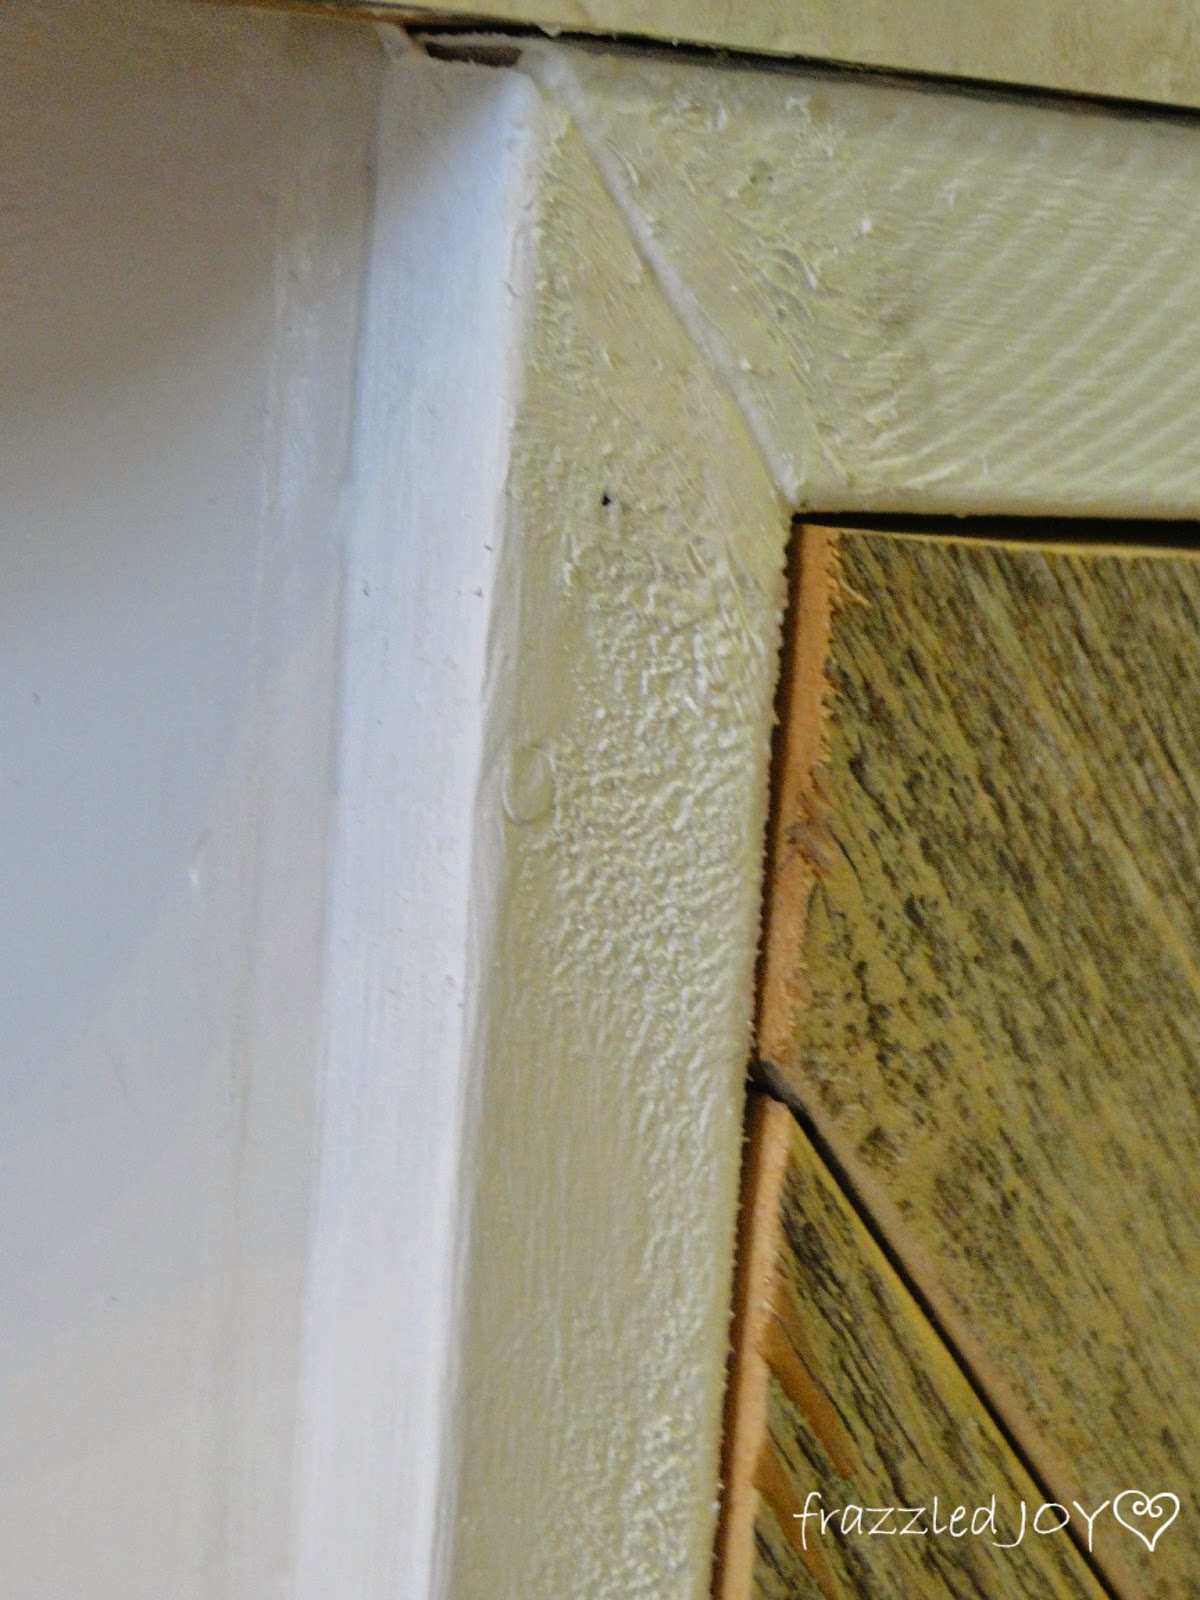
So, I decided to use some trim to make it look a little more cohesive and finished.
I picked out my trim and I painted it with the cabinet color and then attached it with more liquid nails. And, of course, more painters tape to hold everything.
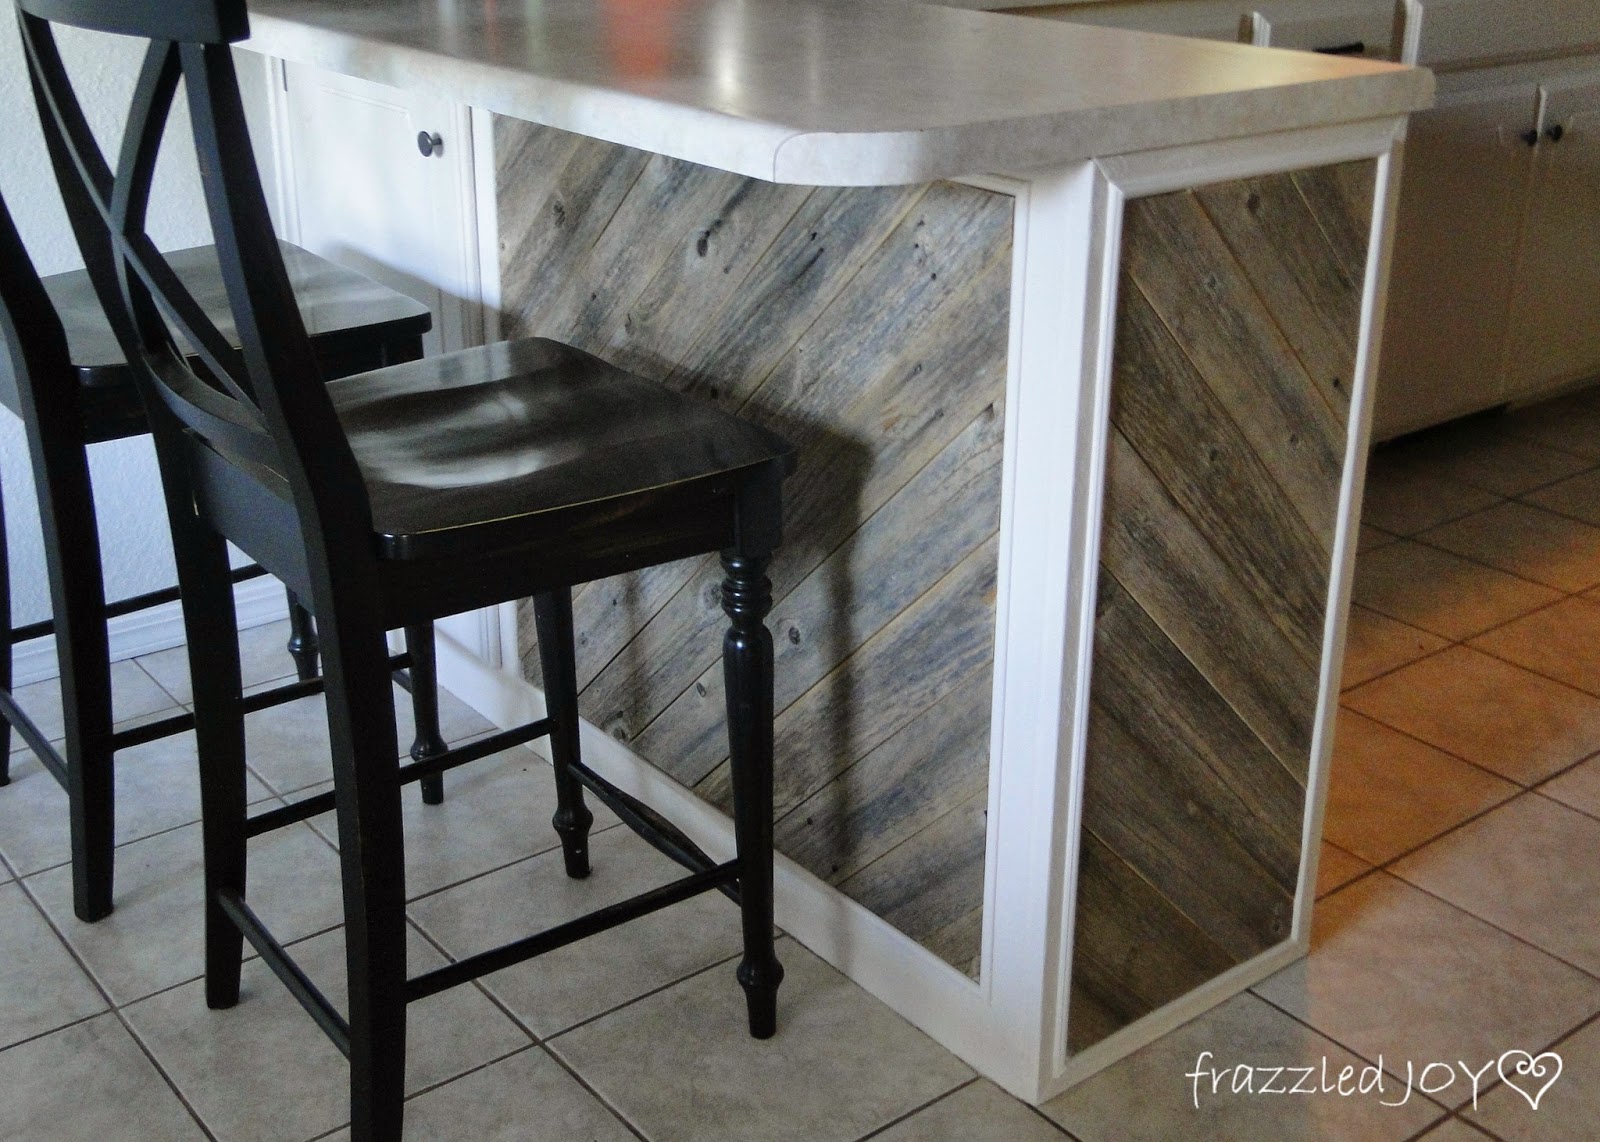
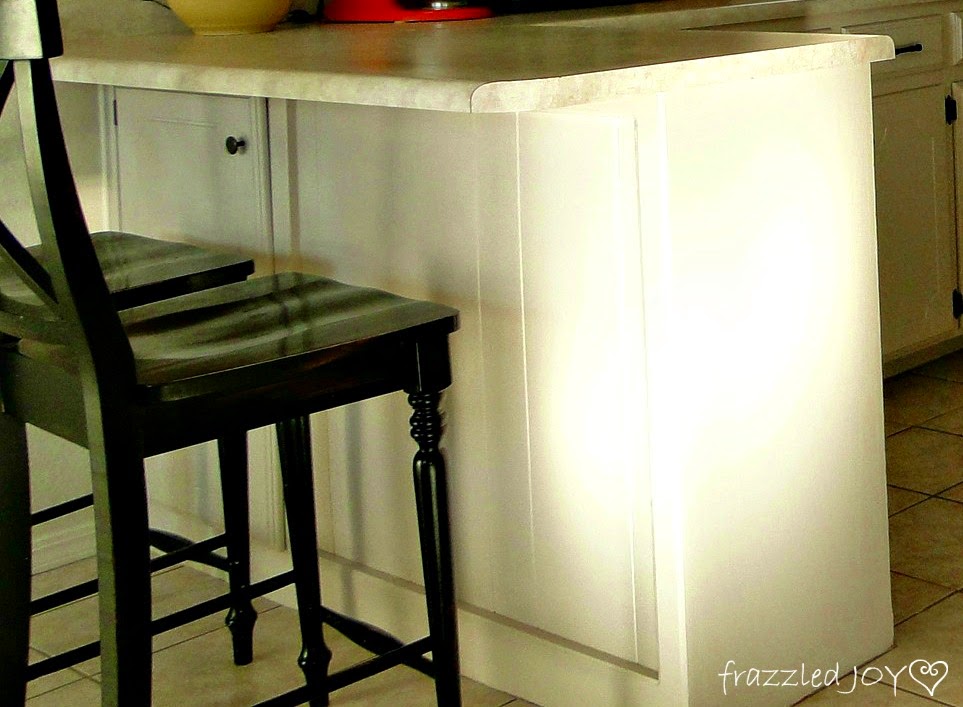
And here is my finished product.
I’m so in love with the results!! It’s not perfect by any means, but that’s the rustic beauty of it. Just the touch the room needed!!
Here’s the before again just to see the difference.
The blessing of this project is that it really only cost me around $30 – the cost of the trim and the liquid nails. Everything else I had or got for free!! Can’t beat that for a little rustic flare!!
Hope you are enjoying your summer!! Off to find my next project :)!


Linking up at Thrifty Decor Chick: July Before and After / Best of The Nest / Tutorials & Tips Link Party / Take-A-Look Tuesday / One Project at a Time / Brag About It Link Party / Hit Me With Your Best Shot / Wow Us Wednesdays / DIY’ers / Work It Wednesday / Create It Thursday / Thrifty Thursday / Fridays Unfolded / Frugal Friday / Remodelaholic Anonymous / Party in Your PJ’s / Link Party Palooza / That DIY Party / Share Your Creativity / Enchanting Inspiration


Wow! This turned out so great. I love it!! I'd love for you to link up to The DIY'ers! http://homecomingmn.blogspot.com/2014/06/diyers-5.html
That is my favorite Sara Richardson kitchen & you did a great job on your own!
Love the rustic island!
Ahh, it's beautiful Denise!! I love how rustic wood warms up a white kitchen, the perfect accent to finish off your pretty makeover! Also, Sarah can do no wrong in my book! 🙂
This is soooo pretty. We are in the process of building a house now, and we are going with a rustic decor. Thank you for the wonderful tutorial. We would love for you to join us at Party in Your PJs link party.
http://www.thecookiepuzzle.com/2014/06/party-in-your-pjs-8.html
Simply gorgeous!
Beautiful job, Denise! I love the rustic look and this turned out wonderful.
Thank you for sharing your post this week at Brag About It Link Party on VMG206. I'm featuring you at Next Weeks Brag About It Link Party, Monday at midnight!
~ Megin of VMG206
Thanks Megin!!
Denise!!!!!!!! That is awesome!! I can't believe I missed this, what a fun project and it must be so gratifying to have rocked the look you were going for! I have the Sarah Richardson kitchen pinned too, I love your interpretation of it with the trim around the wood painted white to match your cabinetry. Rustic beauty, and so custom!!
Hi Denise! I work with Cassity over at Remodelaholic, and I just emailed you about being featured. Just wanted to leave you a comment in case my email gets caught in the spam vortex 🙂 If it does, just drop me a line at hello@remodelaholic.com. Thanks!
So glad you linked to this post today because I missed it on the first go-round – LOVE what you did! And it's so timely because I'm revamping my kitchen island and thinking about mixing in some wood. This is great inspiration!