• ALL ABOUT ME
  • OUR HOME
  • ABOUT FAITH
  • CONTACT ME
  • DISCLOSURES
  • Nav Social Menu

    • Bloglovin
    • Facebook
    • Instagram
    • Pinterest
    • Twitter

  • DIY
  • Family
  • Home Decor
  • Encouragement
  • Organizing
  • Shop My Favorites

October 2, 2018 · 4 Comments

Painted and Stenciled Tile Floor Update

DIY

I’m excited to share this project with you today! I’ve been seeing these amazing concrete tile floors everywhere and they are beautiful. However, they are not cheap. So, my alternative – the also beautiful painted and stenciled floors.
Painted and Stenciled Updated Tile Floor
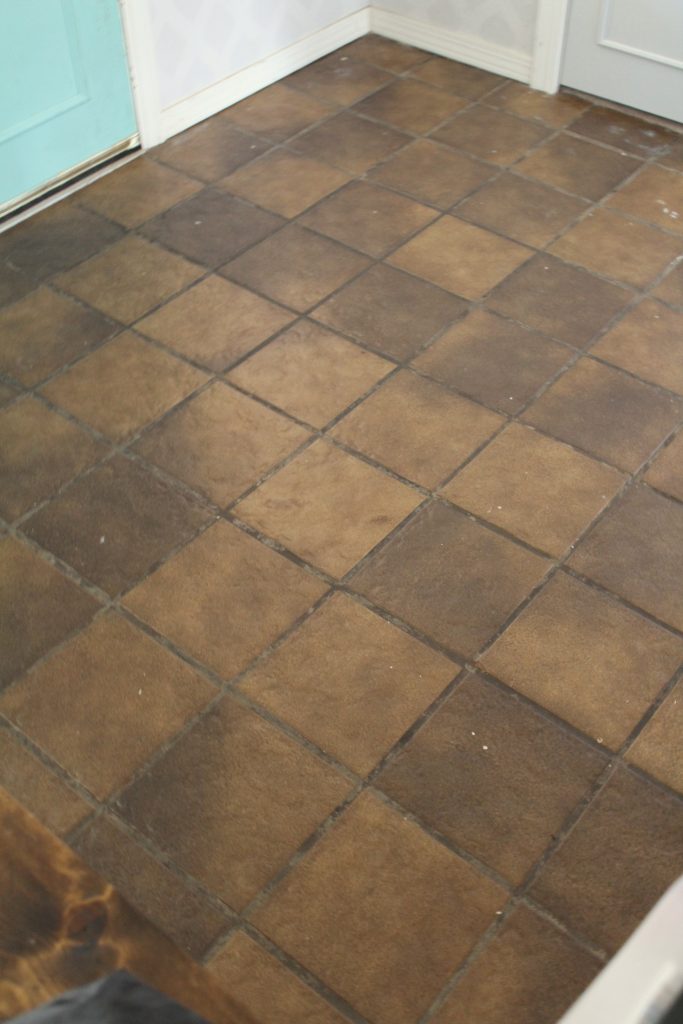
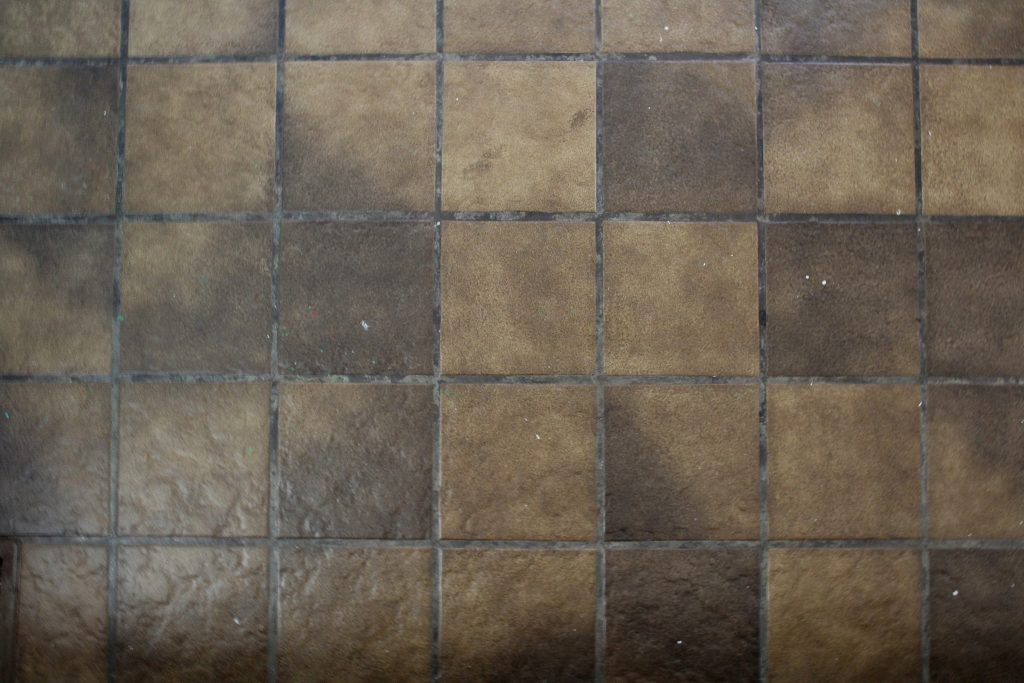
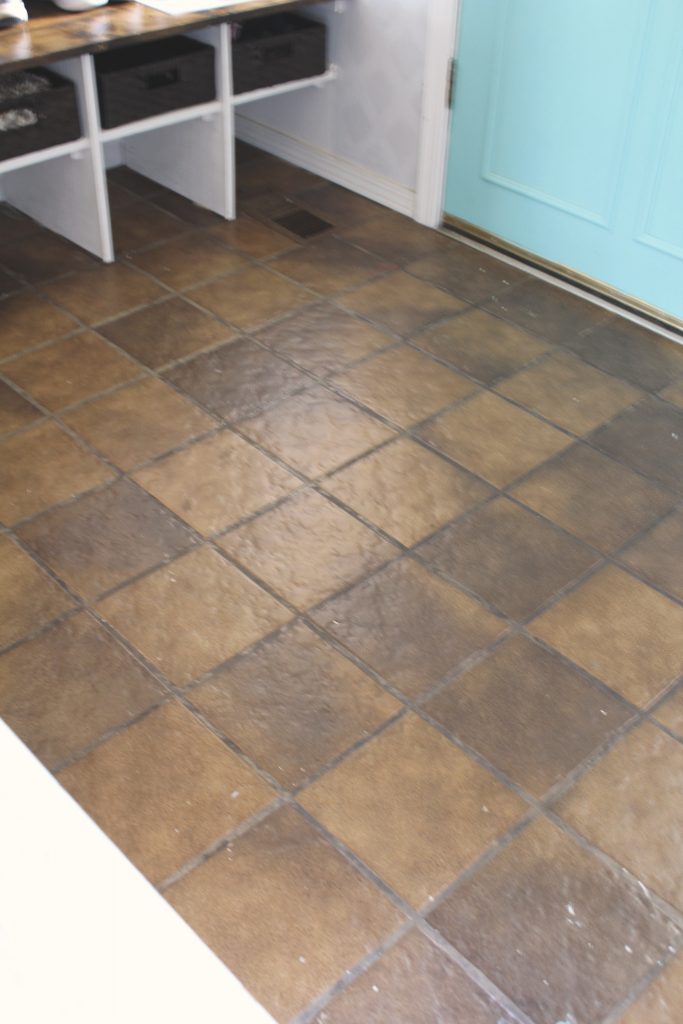
To be honest, after tearing up our kitchen tile and all the work that entailed, I had absolutely no desire to try to take up the tile in our entryway. No matter how ugly it is. Exhibit A, B and C.
Entryway tile floor before
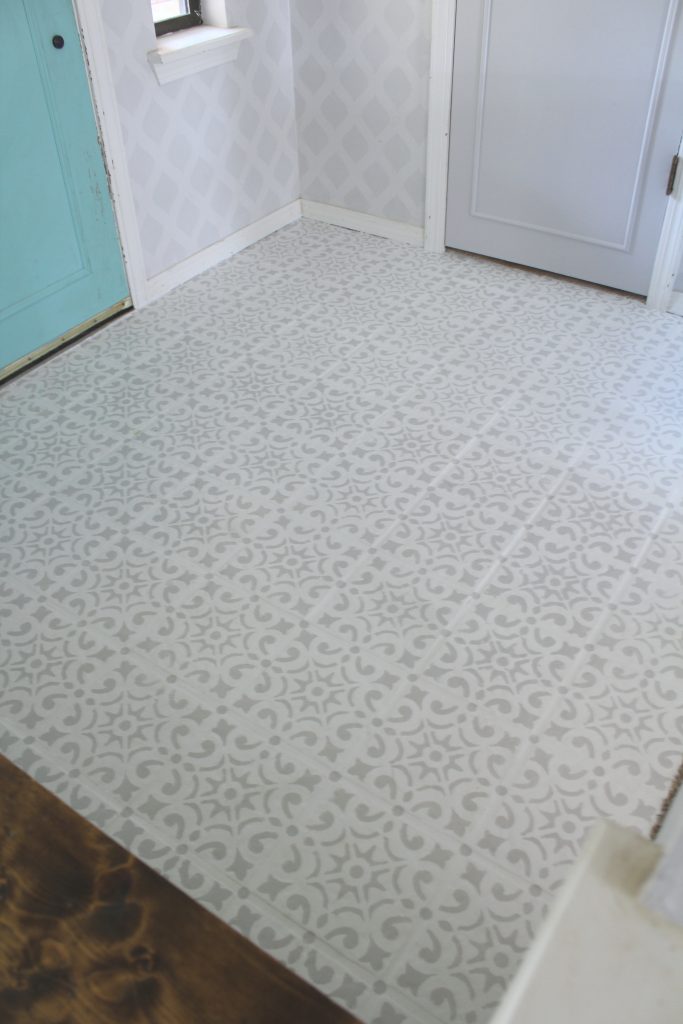
So, instead of tearing it up and replacing it, I decided to paint it. I followed the tutorial that I found here at Classy Clutter. Sometimes when I do a project that I’m unsure of the outcome, I forget to document the steps, so no tutorial here, but I promise theirs is better. 🙂
First step was to clean the floor. Of course. Then, painting the base coat. I used chalk paint for this, as was recommended, and it worked great. After that I started stenciling (I used my homemade chalk paint for this in order to match the new grey door.) It’s not perfect. If I were to zoom in on any of the pictures you would be able to see ALL the imperfections. But, honestly I kind of like it that way. Being in the entryway, it will be well loved and well used for sure.
Painted and Stenciled tile floor update
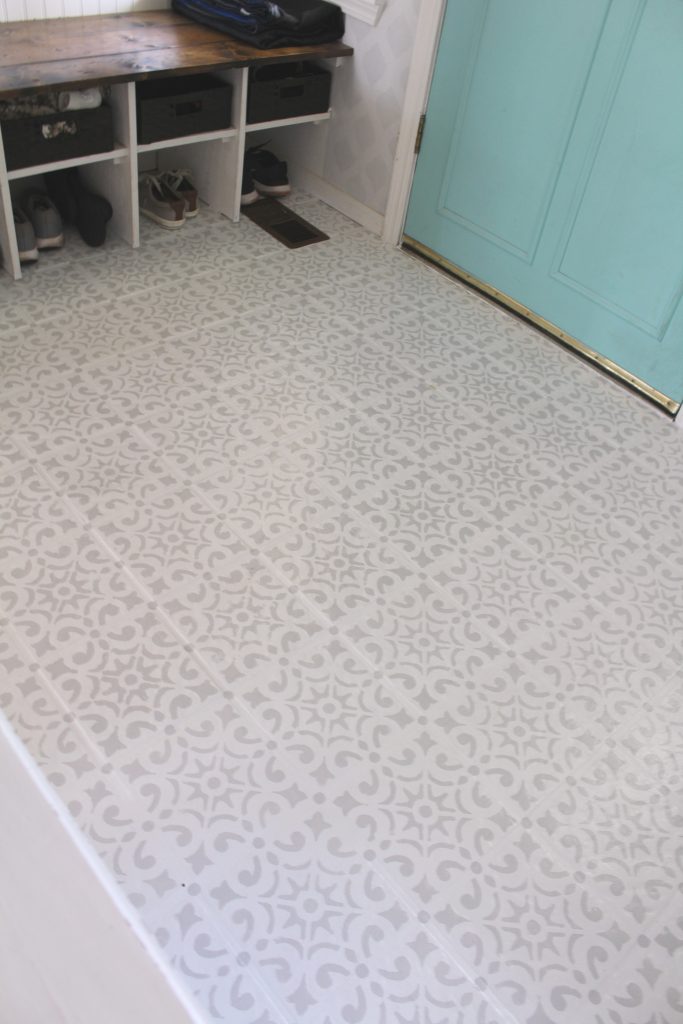
Stenciling in the corners and under the built-in was a bit of a pain, not gonna lie. But still not as much of a pain as pulling out all of the tile would have been!
Painted and stenciled tile floor update
After stenciling I noticed that it looked like rows. The grout lines on the original tile were so large that the stencils weren’t really connecting. I sat on it for a couple of days, not sure if it was going to stay or not. Already thinking about plan B. (sorry for the weird color variation, this is a cell phone pic)
Rows of stenciled tiles without connecting them
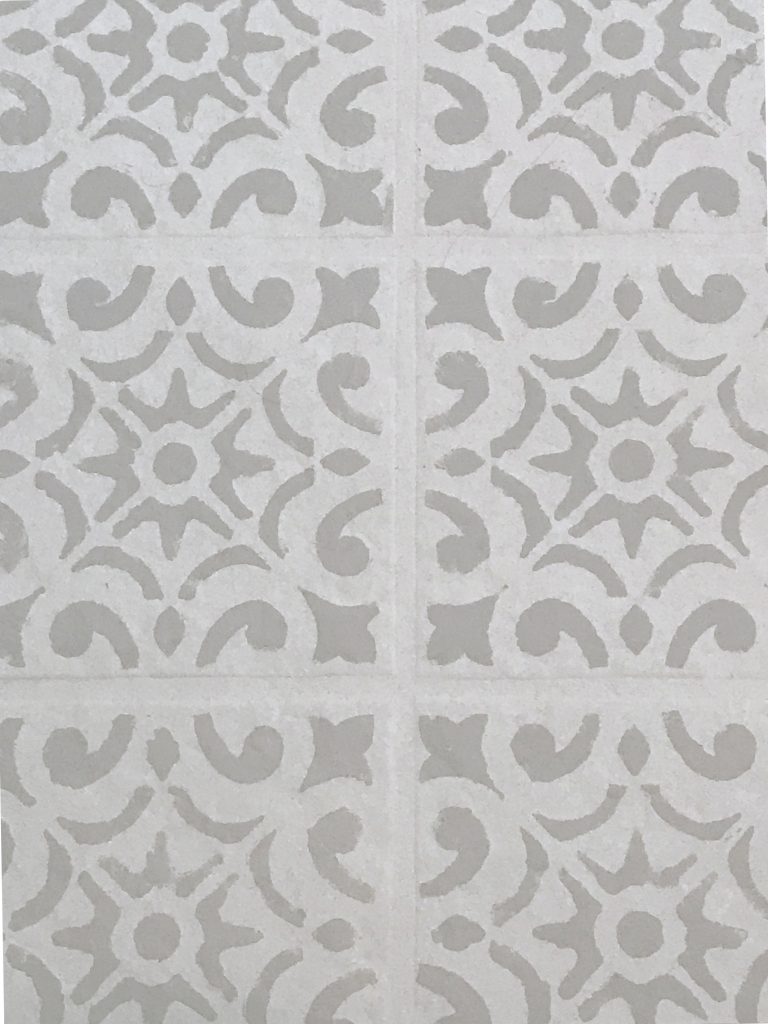
Talking it over with my hubby, and he suggested that I paint some sort of lines to connect the tiles. Hmmmm. Maybe. And, then it hit me! I found my sponge paint dobber and added some dots in between the tiles – in the middles and the corners. Problem solved!!
Painted and Stenciled Tile Floor Update
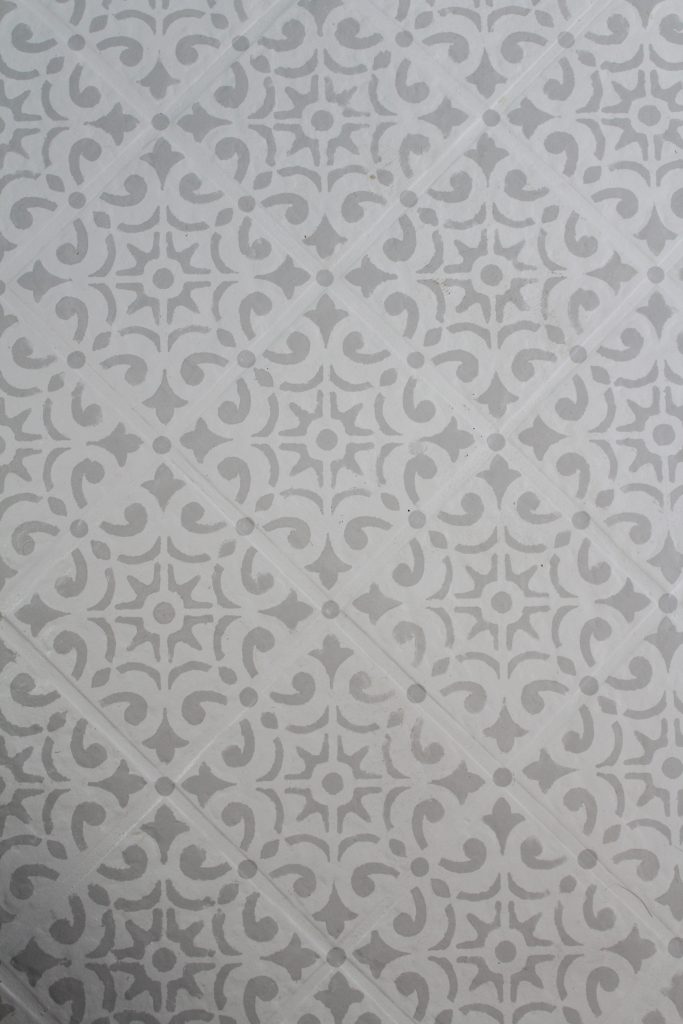
After all the painting and stenciling was finished, I sealed the floor with three coats of Polycrilic.
Very happy with the outcome!! I still want to get a new vent cover – a white one to match the floors better. And, I need to paint the inside of the front door. Since the outside of the door is now green, it doesn’t make much sense to keep the turquoise on the inside.

Some affiliate links used for your convenience. See disclosures for more details.

Here is the list of supplies that I used for this project in case you want to try it for yourself.
  • Rustoleum Chalk Paint – Linen White
  • Stencil
  • Polycrylic
  • Sponge Roller
  • Sponge Paint Dobber
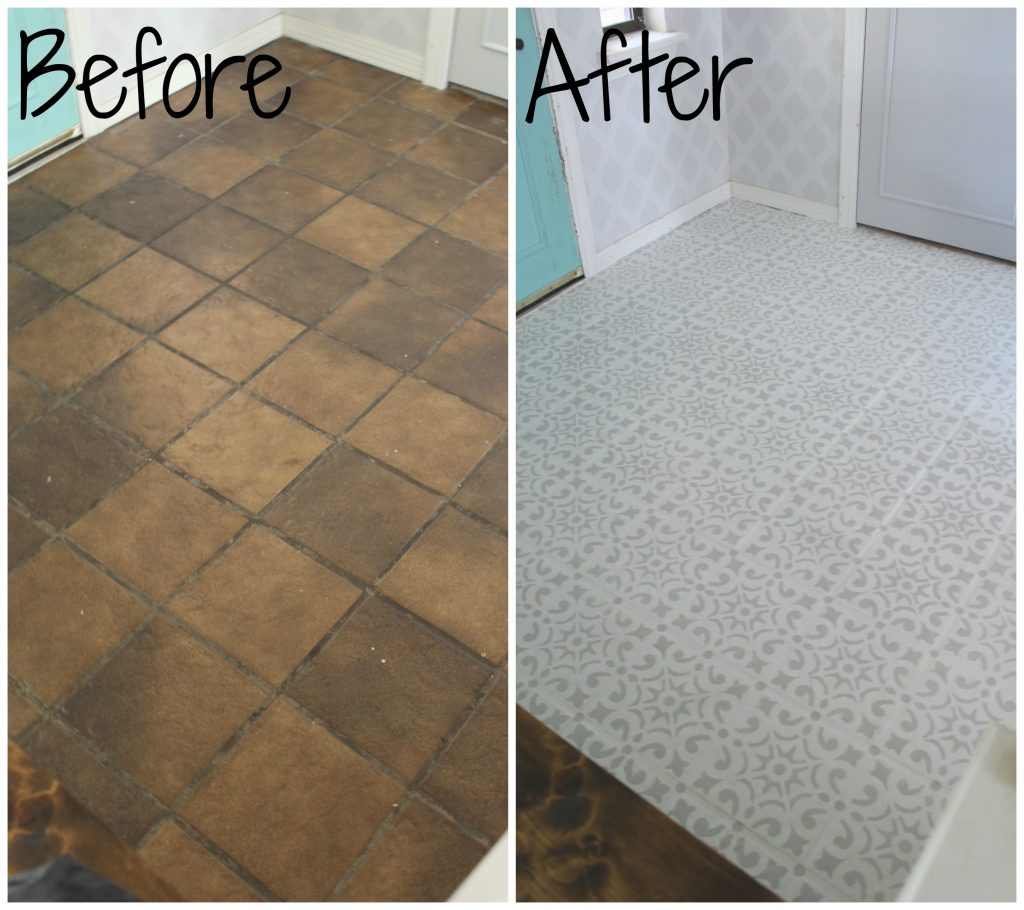
Here’s a side by side before and after! 🙂
before and after painted tile floor update


Previous Post: « No Spend September Update – How’d We Do?
Next Post: One Room Challenge Week One – The Laundry ‘Room’ Before »

Reader Interactions

Comments

  1. Lisa says

    October 3, 2018 at 7:01 am

    This looks amazing Denise! Congrats – you must be thrilled with the outcome!

    Reply
    • frazzledjoy says

      October 3, 2018 at 1:12 pm

      Thanks so much Lisa!! It turned out better than expected and we love it!

      Reply
  2. Marina says

    January 13, 2020 at 2:29 pm

    Wow, it looks beautiful! How has it held up after all this time? Thinking about painting my laundry room floor.

    Reply
    • frazzledjoy says

      January 21, 2020 at 7:41 pm

      Thanks! It has held up pretty well actually! I do wish I would have added a couple extra coats of sealer. Since it’s a high traffic area (back packs and instruments thrown around all the time) there are a couple of small spots that have chipped. But otherwise it’s great!

      Reply

Leave a Reply Cancel reply

Your email address will not be published. Required fields are marked *

Recipe Rating


This site uses Akismet to reduce spam. Learn how your comment data is processed.

Primary Sidebar

Welcome

Hey friend!! I'm so glad you stopped by today!! I am married to the love of my life and I have been blessed with four amazing kids. My life is kinda crazy some days and I feel frazzled often. But, Jesus brings me JOY each and everyday in the little things. I love everything home decor, DIY, and crafts!!
Read More…

Categories

Archives

Copyright

I share to inspire!! Please feel free to use and share my ideas!! I simply ask that you give credit back to my site and add a link back to my blog if you reference one of my projects, or photos. Thank you so much!!

Recent Posts

  • Empty Nesting, My Thoughts
  • Kitchen Cabinet Facelift
  • Just Popping In To Say “HI”
  • Knock, Knock….Anyone There?
  • Easter Tablescape 2022
  • CONTACT ME
  • DISCLOSURES

Footer

Hubby and I took a little trip to Colorado Springs Hubby and I took a little trip to Colorado Springs and had the best time! ❤️ We took off as the sun was rising in OKC and landed in the mountains! 🥰 It was so good to get away together! We hit all the high points (pun intended haha) - Royal Gorge, Pikes Peak, Garden of the Gods, and Seven Bridges. We hiked everyday! Can’t wait for our next adventure!! 🥰
.
#emptynestingrocks #travel #marriage #emptynesterlife❤️
31 years with my favorite! So thankful for you! ❤️ 31 years with my favorite! So thankful for you! ❤️❤️ #marriage #anniversary #growingoldtogether
Our baby graduated from college last night!! From Our baby graduated from college last night!! From our alma mater! 🧡🖤 We are feeling beyond blessed and are so loving this stage of parenting! Watching our adult kids live life well is truly remarkable! God has big plans for you Gavin and we can’t wait to watch him work in and through you! Love you!
Happy Resurrection Day!! He is risen!! Happy Resurrection Day!! He is risen!!
Haven’t shared something from my house in months! Haven’t shared something from my house in months! Just refreshed our mantle for spring and I love it! So happy that Oklahoma’s weather has finally chilled out and become more springy! ☀️🌸🌺
.
#homedecor #ourhome #spring #springismyfavorite #springdecor
One month of being Gigi and Pops to this precious One month of being Gigi and Pops to this precious little blessing!! 💕 We love you so much Blair!!
Five more sleeps! ❤️🎄 Nothing better than twinkle Five more sleeps! ❤️🎄 Nothing better than twinkle lights on a Christmas tree ✨☺️ Looking forward to all the family festivities over the next few days. Merry Christmas to you all!! 
.
#christmas #christmastree #christmasdecor #christmaslights #merrychristmas
32 years ago today I made one of the best decision 32 years ago today I made one of the best decisions of my life when I said “yes” to marrying this guy. We celebrated our 30th anniversary back in May! We’ve experienced a lot over the years but there’s no one I would rather be doing life with! @vangreenwood you’re my favorite!! ❤️❤️
.
#marriage #proposalanniversary #youremyfavorite
I really enjoyed decorating my new kitchen shelves I really enjoyed decorating my new kitchen shelves for Christmas! What’s your favorite spot to decorate? I really like to spread out Christmas décor throughout the house! 🎄❤️
.
#homedecor #christmasdecor #christmas #itsbeginningtolookalotlikechristmas #favoritetimeofyear
Follow on Instagram

Copyright © 2025 · Captivating Theme on Genesis Framework · WordPress · Log in