Hey there! I’m back today to share with you another how-to from our closet renovation. Today – the jewelry case.
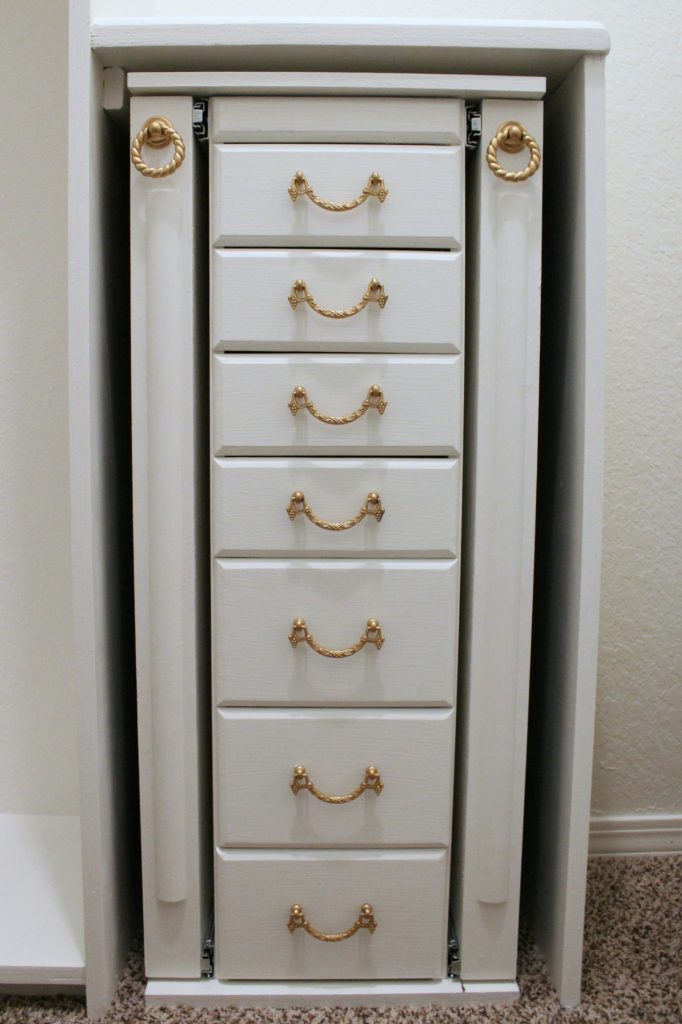
This was one thing that we did not build ourselves in the space. You see it actually started out looking like this.
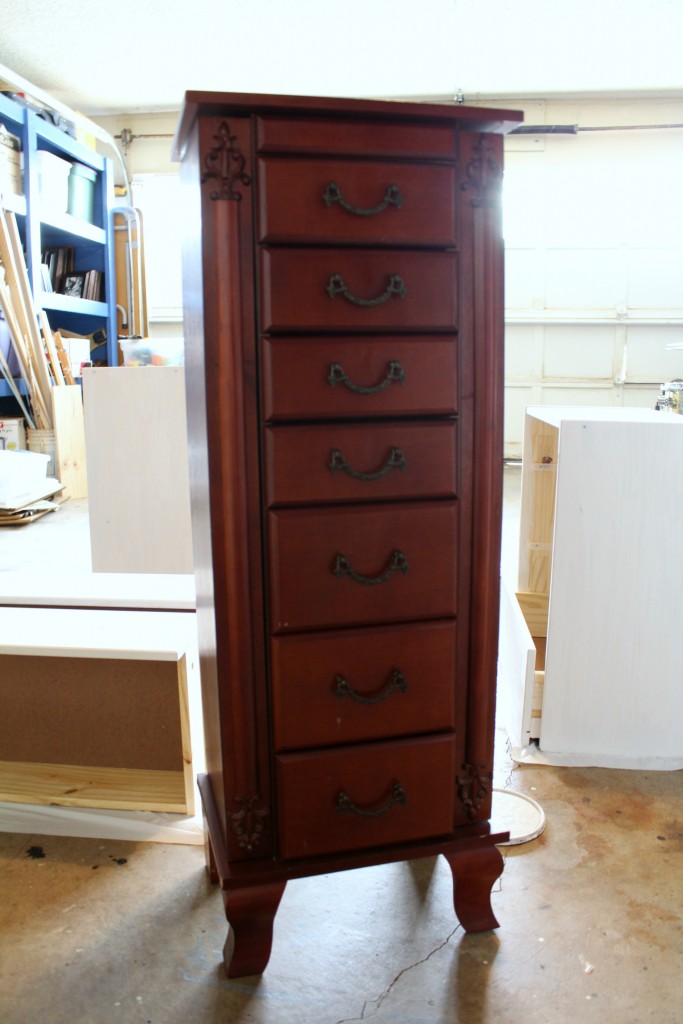
My kids gave this to me for mother’s day several years ago, and honestly I love it. There is space for all my things, and it really helps me keep everything organized which I love.
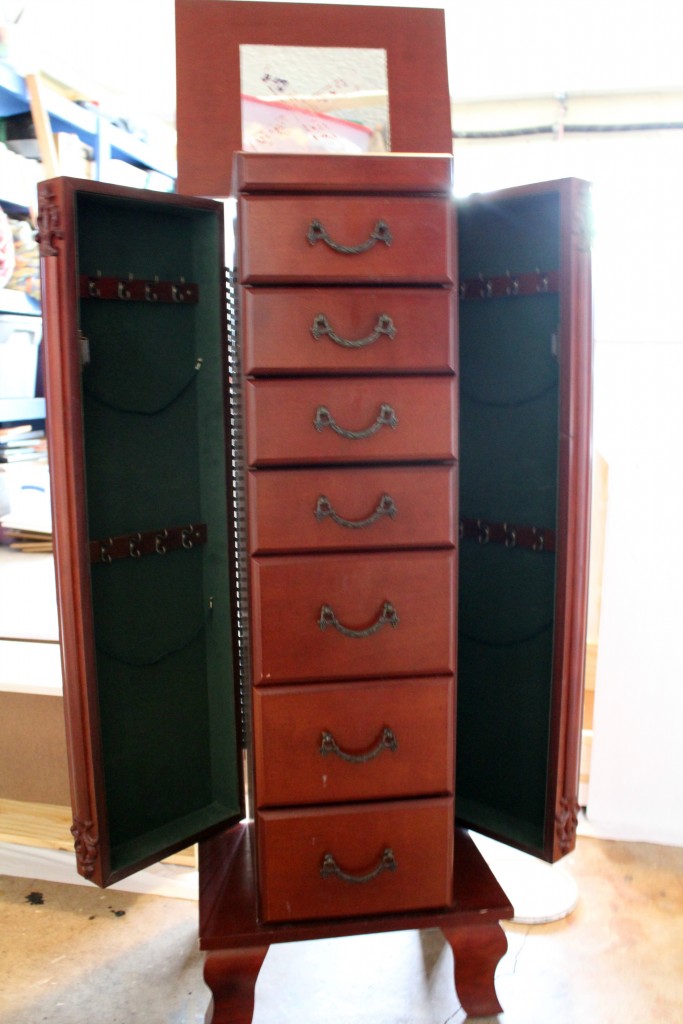
I knew I wanted to keep it, but I also knew it would not work in its current state. The hinges on the sides caused the piece to be a space hoarder. So, I decided to re-work it and modernize it a bit to better fit my closet design.
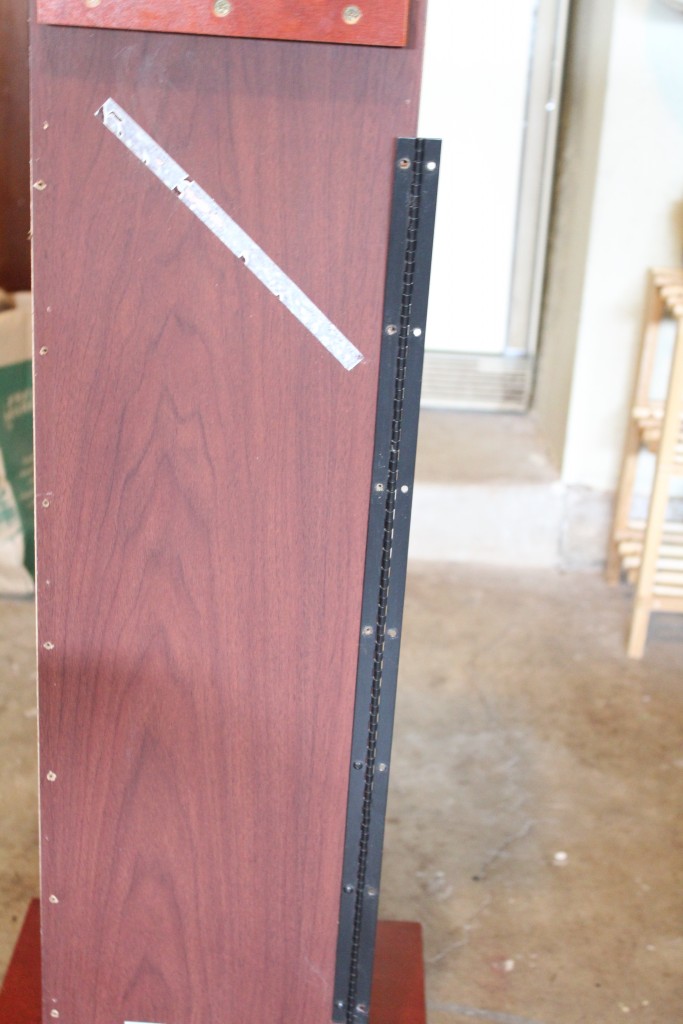
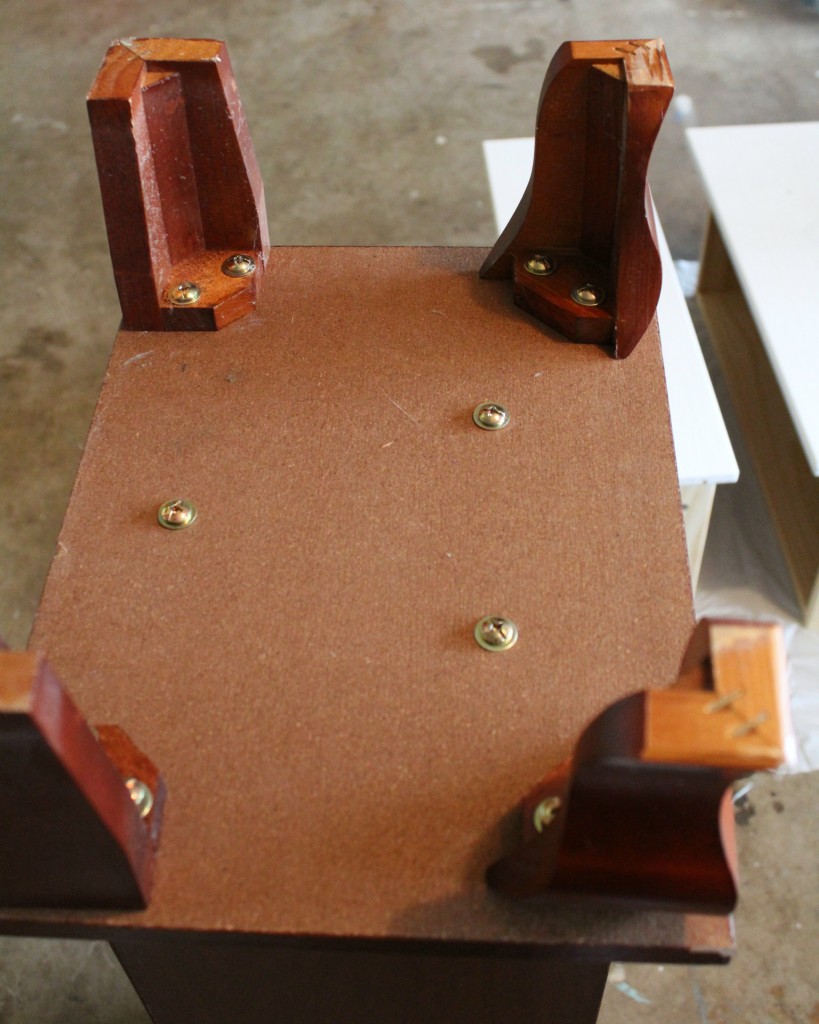
I first started by removing the sides by unscrewing the hinges. Then I removed the feet.
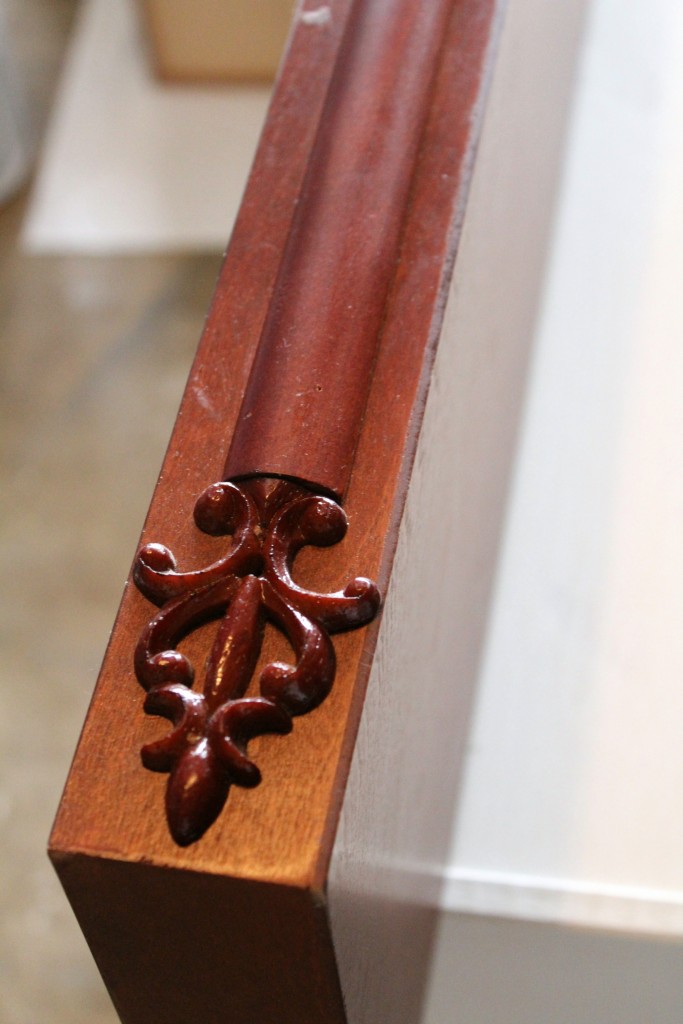
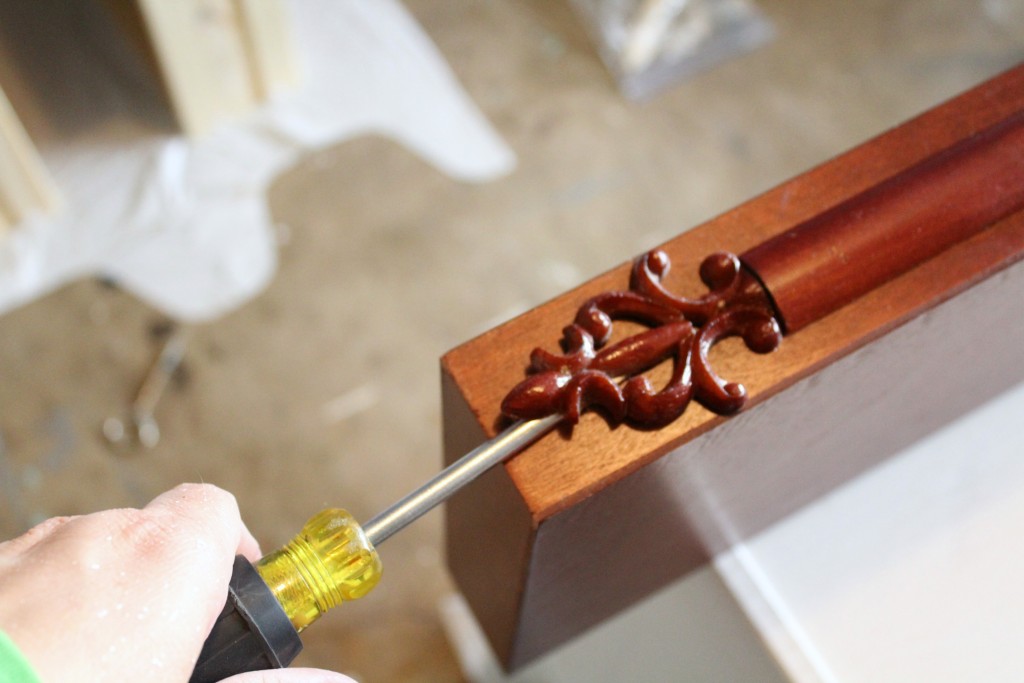
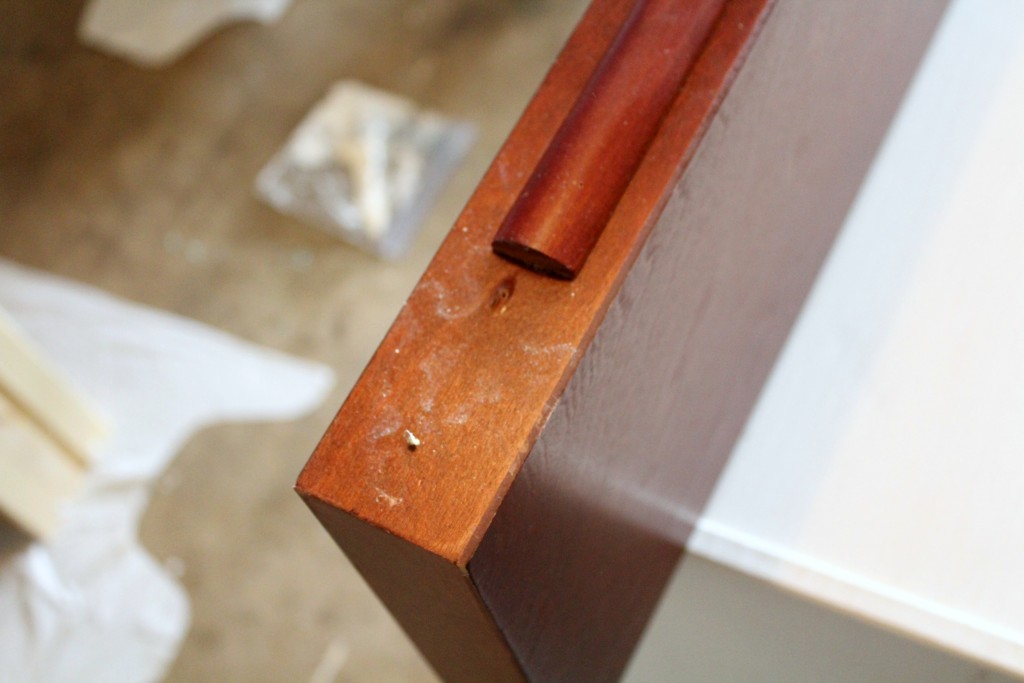
After looking at the sides I decided to remove the decorative molding to make room for a cabinet pull.
I shared on Instagram one of my favorite fast methods for prepping a piece for paint when I don’t want to sand – bleach wipes.
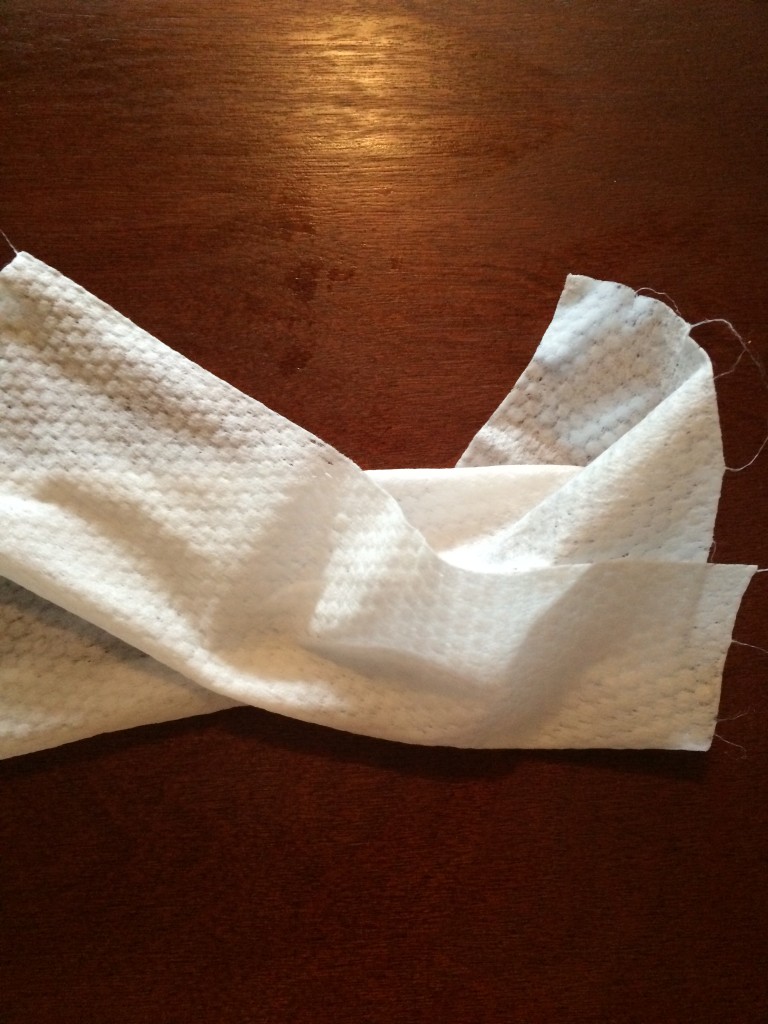
It takes enough of the finish off to keep it from being too slick. Doesn’t work as good as sanding or other chemical washes, but it works good enough when I’m not feeling patient, especially on pieces that are a little older and don’t have much shine left to them anyway.
Everything got a couple of coats of primer, and a couple of coats of paint (all the same as the closet and built-ins). The hardware also got a paint job to match the rest of the hardware in the closet.
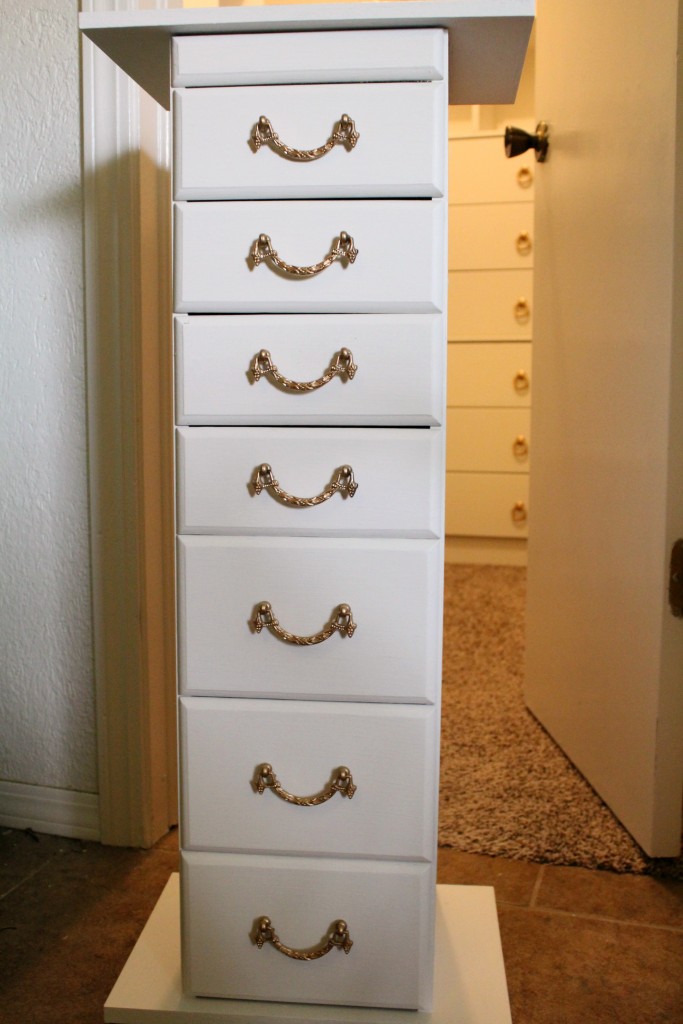
When I ordered pulls for the dresser, I ordered a couple of extras to make my plan for the jewelry case work. I also ordered four drawer slides (two sets of two). (I have to be honest and say that in my haste I did not order the right size – they are about 1″ too long, but I just let them hang off the backside and they work just fine.)
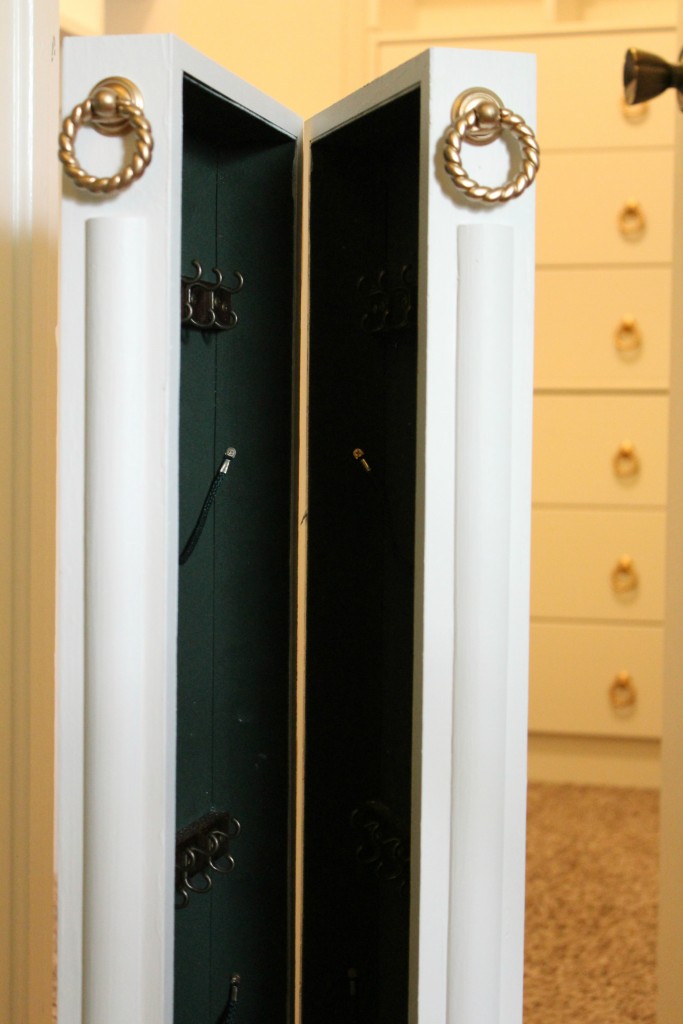
I flipped the sides over so that the inside was now the outside. This gave me a flat surface to attach the slides.
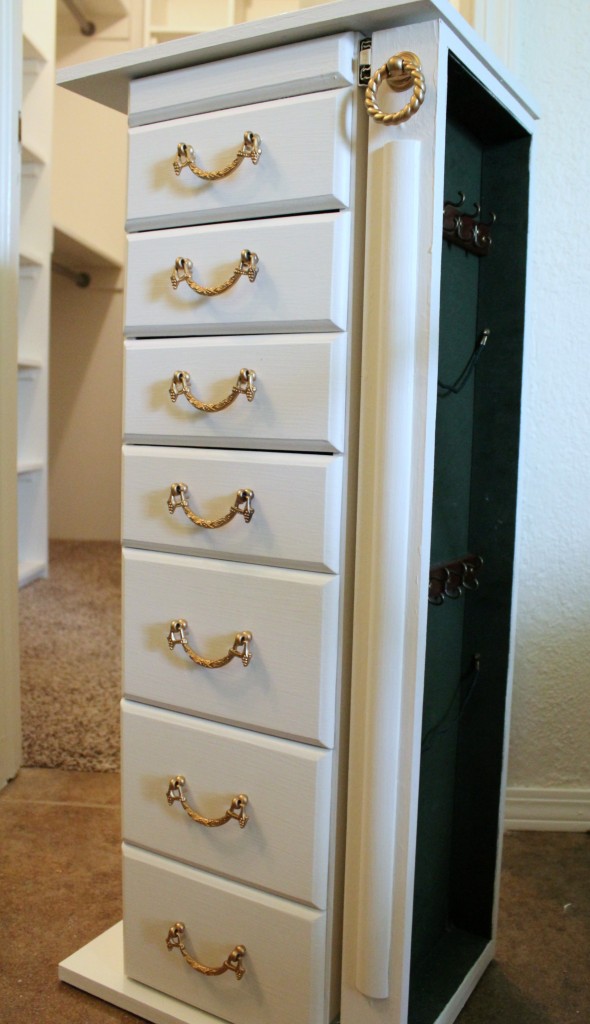
I used one slide at the top and one at the bottom. I googled how to install these since they didn’t come with instructions. They were fairly simple to install – the only hard part was making sure everything was level so they work correctly.
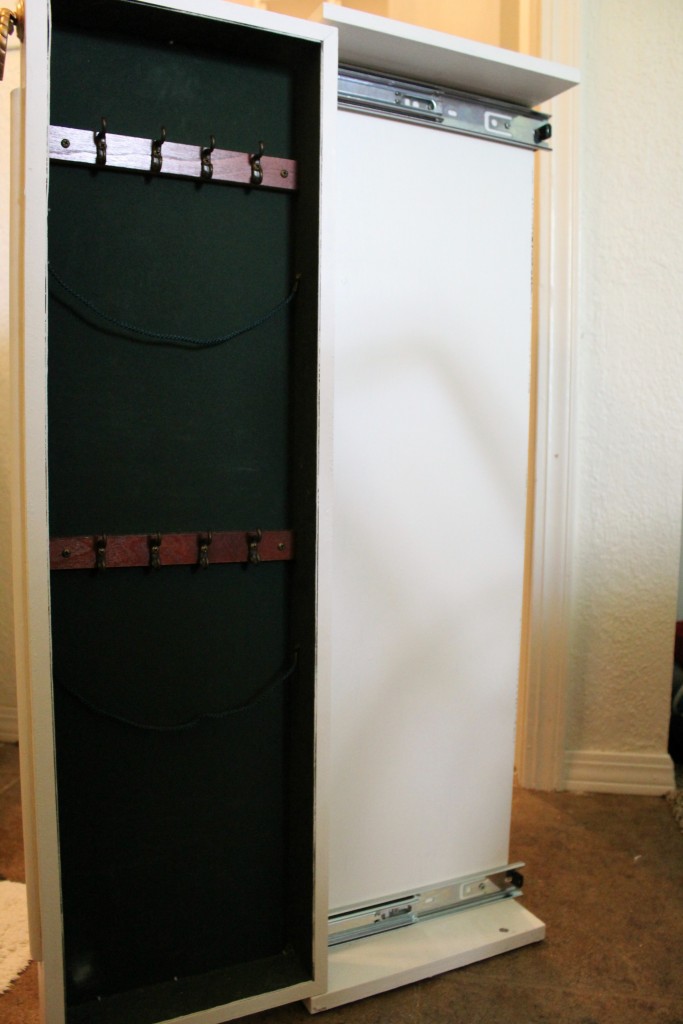
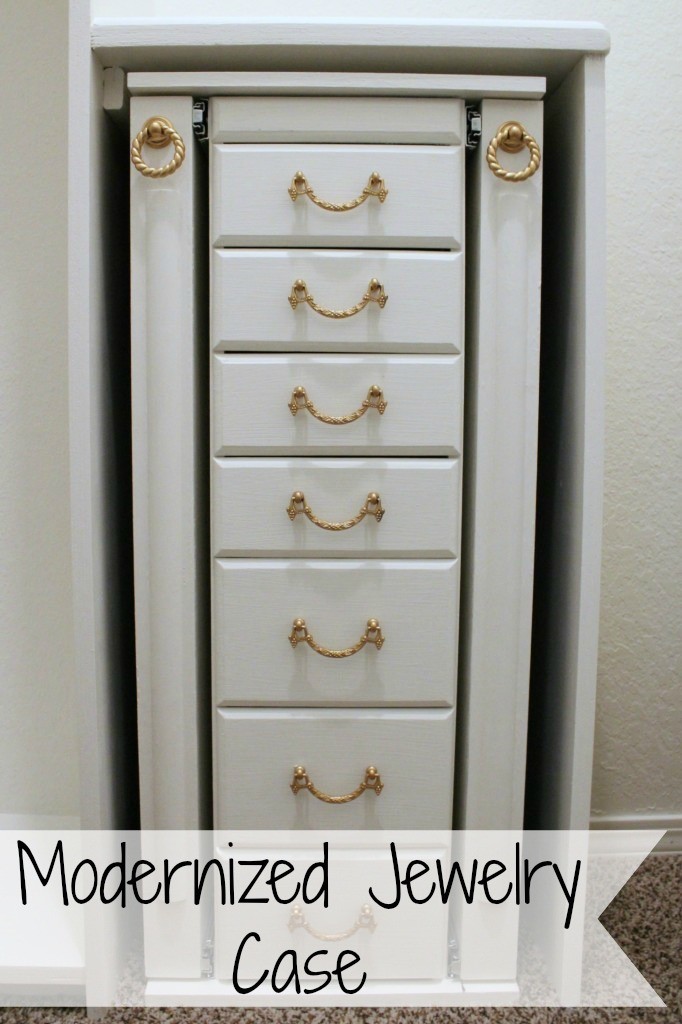
After reattaching both sides, the old hardware, and the new hardware, this was my finished product. Tucked into its special spot in the closet it looks and works great!
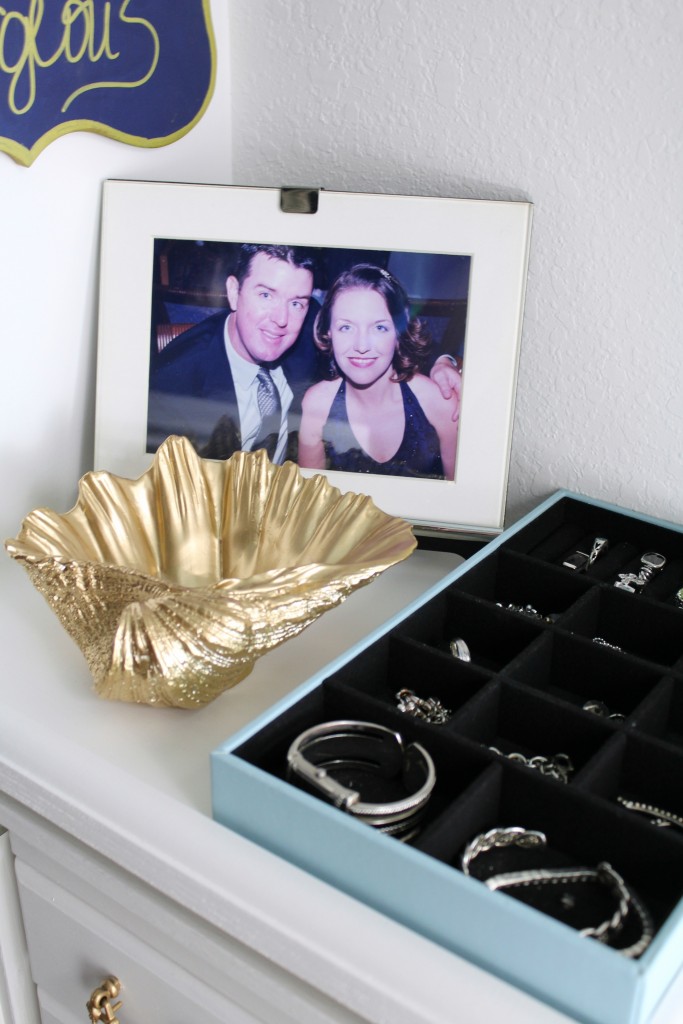
 The only part of the case I can no longer use is the very top. It had a hinged lid of sorts. But, I took care of that with an open piece on the shelf above that houses most of the things I kept in the top part.
I’m happy I was able to incorporate this special piece into my design! Remember, just because something is old, doesn’t mean you have to throw it out when you re-design a space. If it is still serving a purpose then look at how you might be able to re work it to better fit your new design!


Linking up with Inspire Me Monday / Show and Tell Link Party / Work It Wednesday / Wow Us Wednesdays / The Creative Circle / Create It Thursday / Tutorials & Tips Link Party

Leave a Reply