Hey friends!! I hope you enjoyed your extra-long weekend! My daughter was home from college so that made my weekend awesome!! I don’t know about you, but I have been in a bit of a funk watching all of the news from Houston. The devastation is truly unreal. If you are from that area or have people you know from there, know that our prayers are with you as you process this and work through the rebuilding. Much love to you Texas. I also put my oldest on a plane last week to head back to Boston for his SENIOR year of college. Honestly, it seems like yesterday that we were moving him in for the first time. I’m so proud of him, and thankful for all the opportunities God has blessed him with over the last three years, but it’s never easy to say goodbye. I needed a distraction, so when I got home from the airport I dove into a craft.
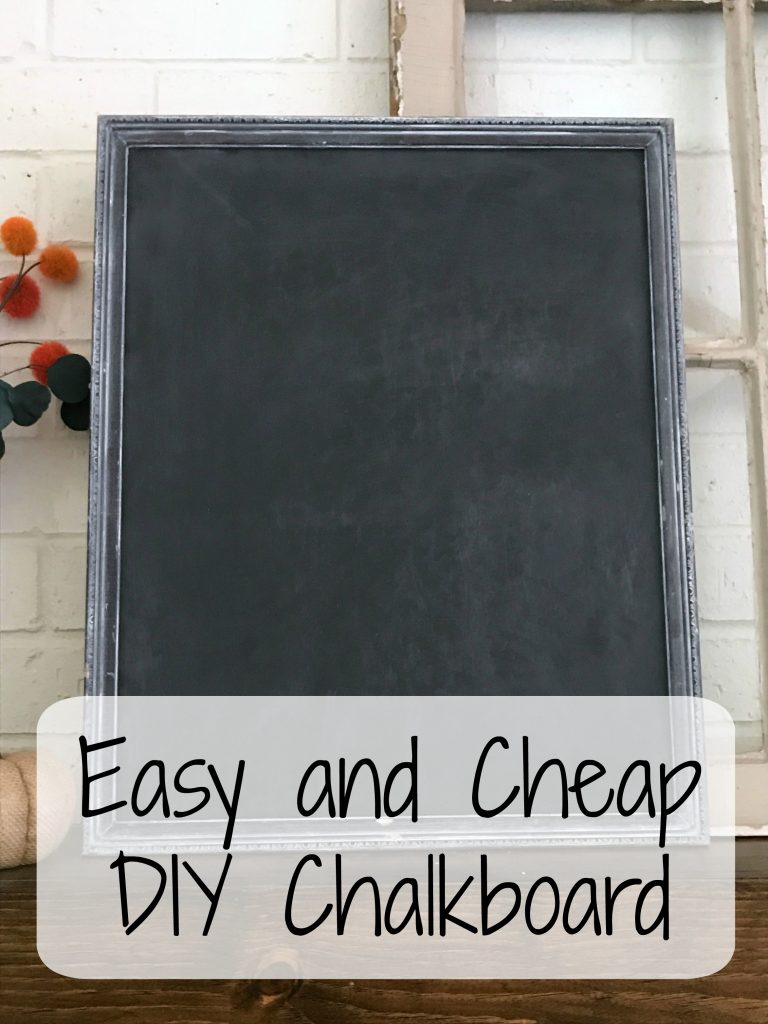
I have to admit that I started pulling out fall decor before September 1st. Don’t hate me, I was really itching to change things up. My mantel always seems to be the first thing I always decorate. Especially since we updated it.we updated it. It really is a fun spot to decorate. I had pretty much gotten things the way I wanted them, but there was something missing. I had thrown an empty frame up there, and thought I might leave it at that, but what I really wanted was a chalkboard.
Some affiliate links used for your convenience. See disclosures for more details.
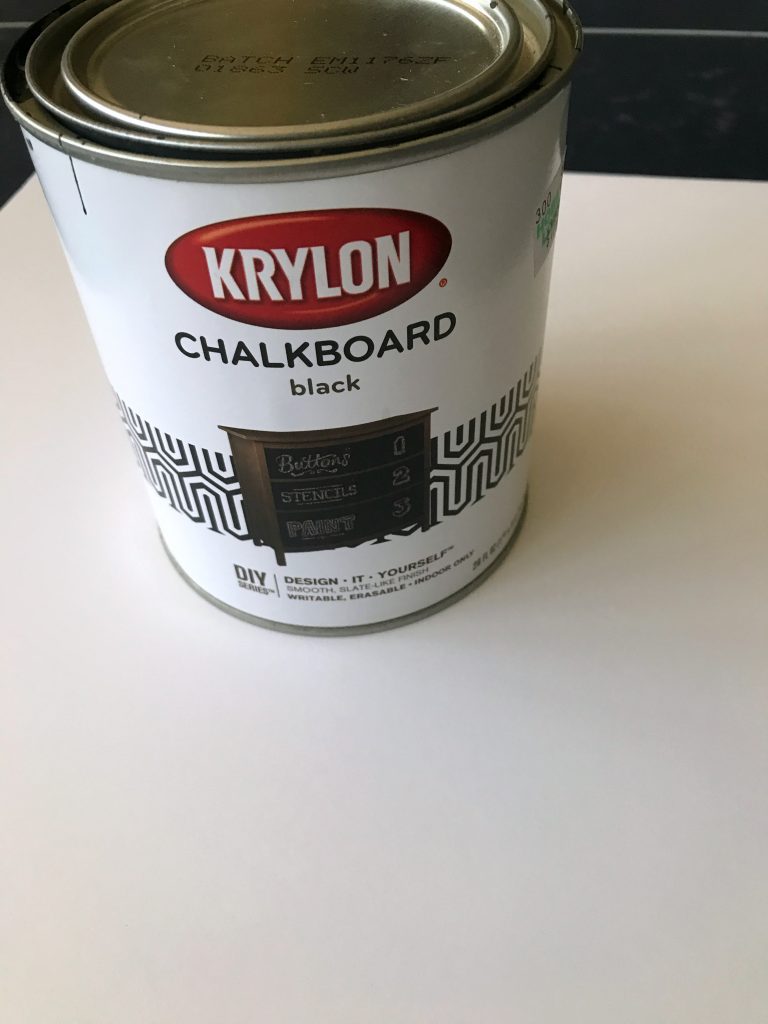
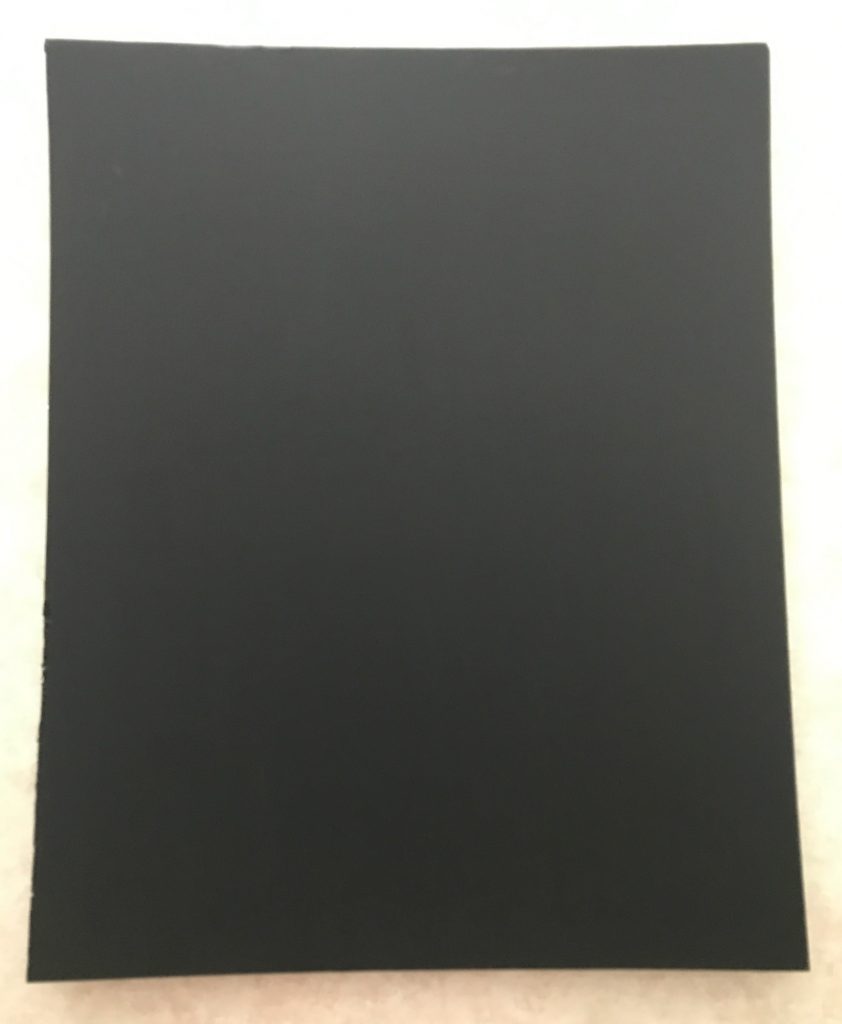
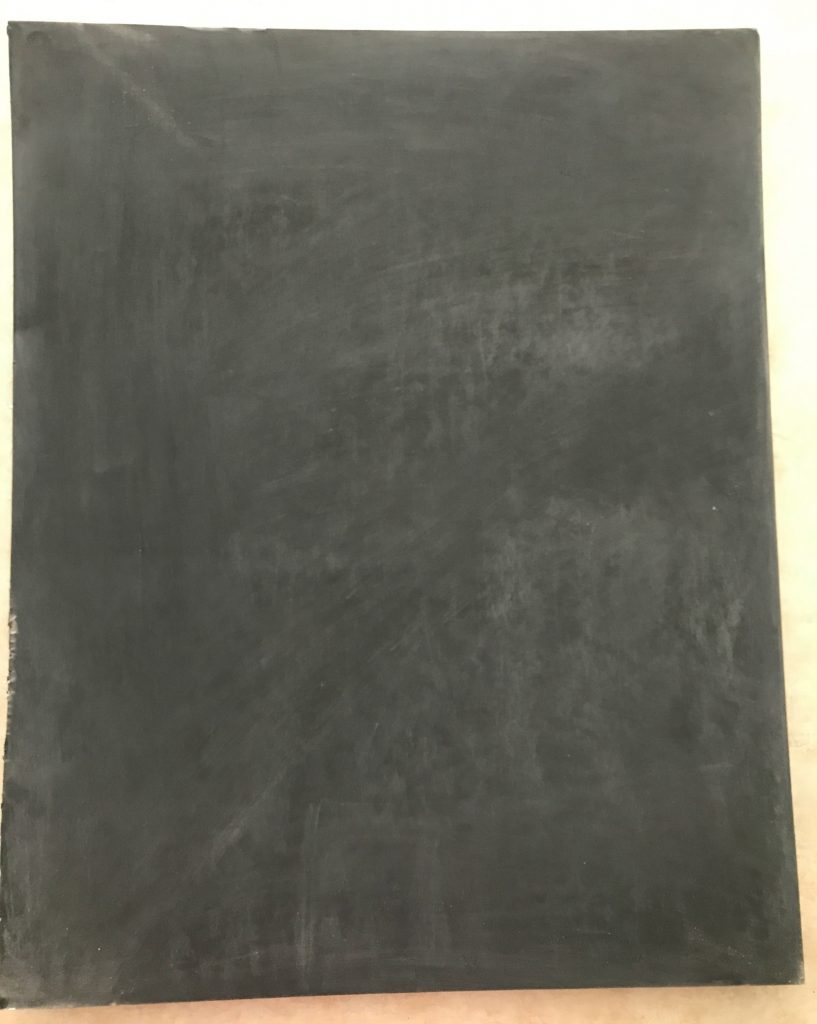
The only chalkboard I have was way too big, so I decided to try to make one to fit in the frame I had put up there already. I had a thin piece of wood, but really didn’t feel like cutting it. So, I decided to try painting a piece of foam board with chalkboard paint and see how that worked.
I’m so excited to say that it worked like a dream!!
It did bow the board just slightly but I was able to straighten it out when I anchored it in the frame. I went through all the same steps that you would with a wooden chalkboard and the board held up fine!
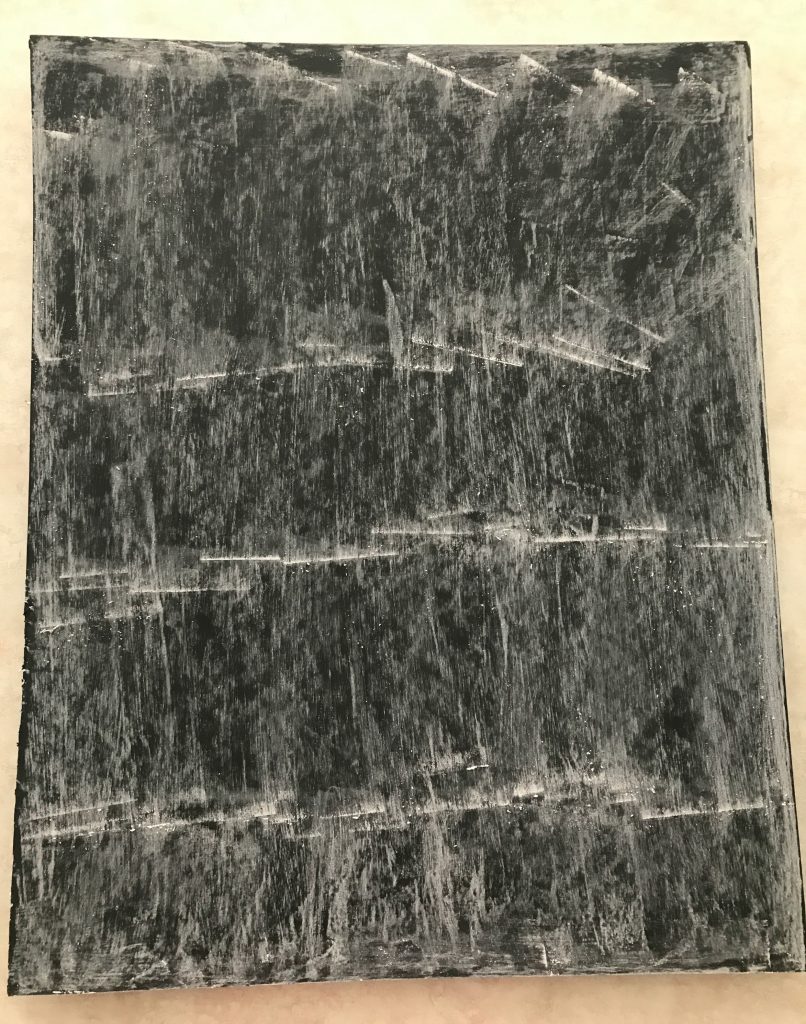
(Don’t forget to prime your board before you try to use it! Simply lay a piece of chalk on its side and rub all over the board. If you don’t, your first chalk drawing may be there forever.)
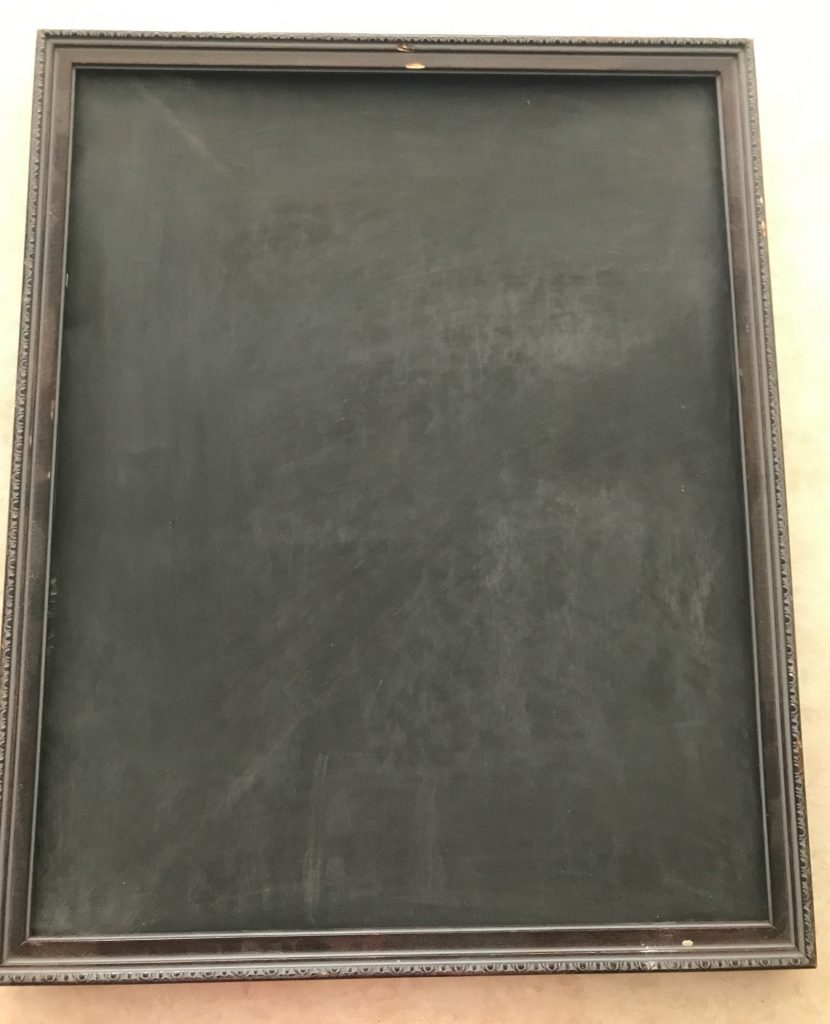
After I finished getting the foam chalkboard ready, I popped it in the frame. Wah wah.
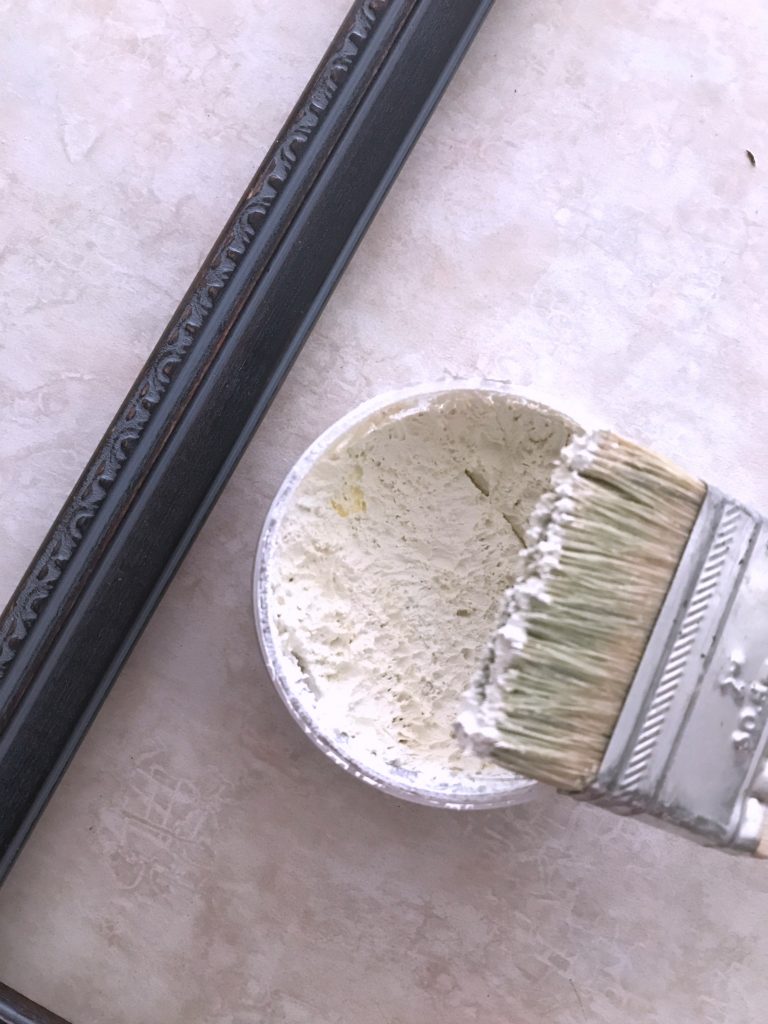
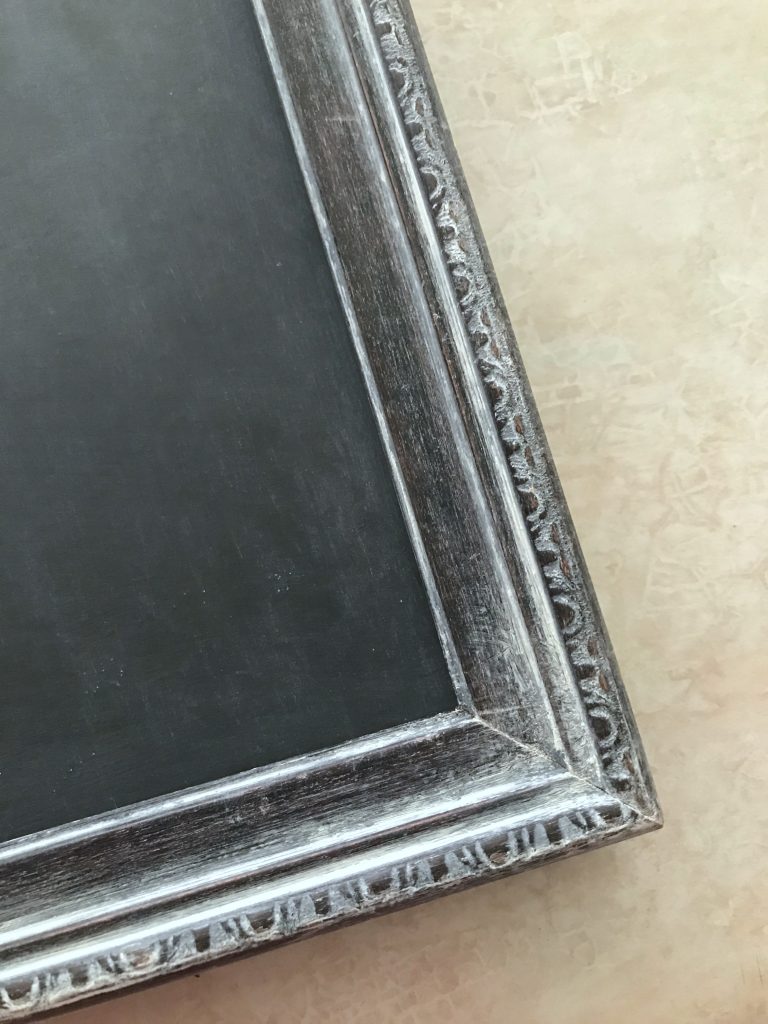
I didn’t really like that there was very little contrast between the board and the frame. I went out to my stash and found some white paste wax.
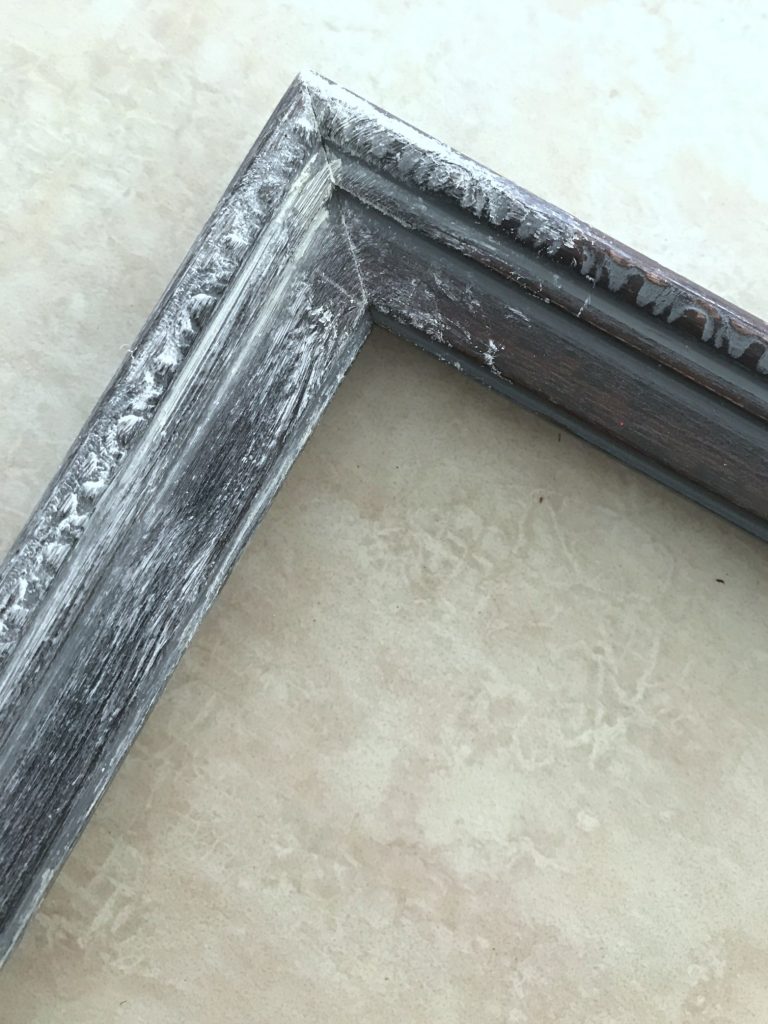
I applied a liberal amount all over the frame. (you can see before the wax, and after in this pic)
And then gently wiped off the excess. I popped the board back in the frame. Much better!!
It looks so good on the mantel! Now, it’s time to decide what I’m going to write on it! I did test the board to make sure I could write on it without creating dents in the board and I could. I’m not too worried about it if it doesn’t last forever. Foam boards cost a lot less than wood. Especially if you get them from the Dollar Tree! 🙂
Looking forward to sharing our home as we get ready for fall!



Leave a Reply