I’m so excited that this space is finally done!! It Mostly because we updated it in three phases. HAHA! Sometimes that the way budget decorating and renovating goes. You can either wait until you can do the whole thing, or you do small things along the way that get you to where you want to go…eventually. So, again, as a reminder, let’s see where we started.
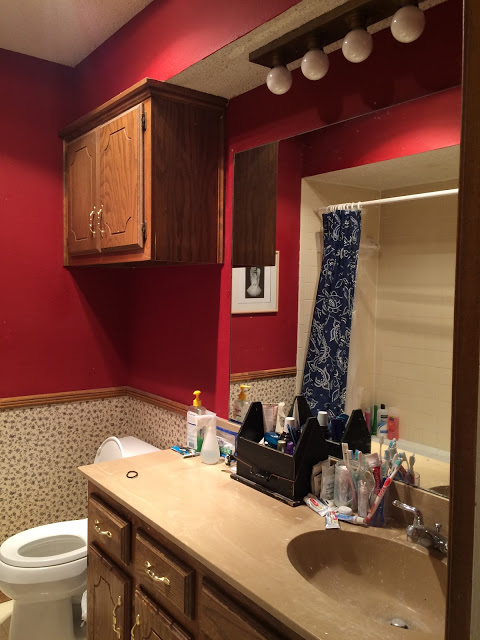
Also, remember this is not how the room looked when we moved in. And…I’m pretty sure that it had a totally different color scheme (and theme) for a while before this. (Think turquoise and fish…yikes. I was really thinking kids bath at that time – not really considering guests lol.)
Some affiliate links used for your convenience. See disclosures for more details.
I shared in my last post about this room, what we did in phase one and phase two. And, I shared the plan for this phase. Of course a few things changed along the way, but in the end, I’m super happy with the outcome!! (There is absolutely no natural light in this room, so I have to photograph with the light on. I did my best to edit everything to get true colors, but sometimes the light casts a weird tone.)
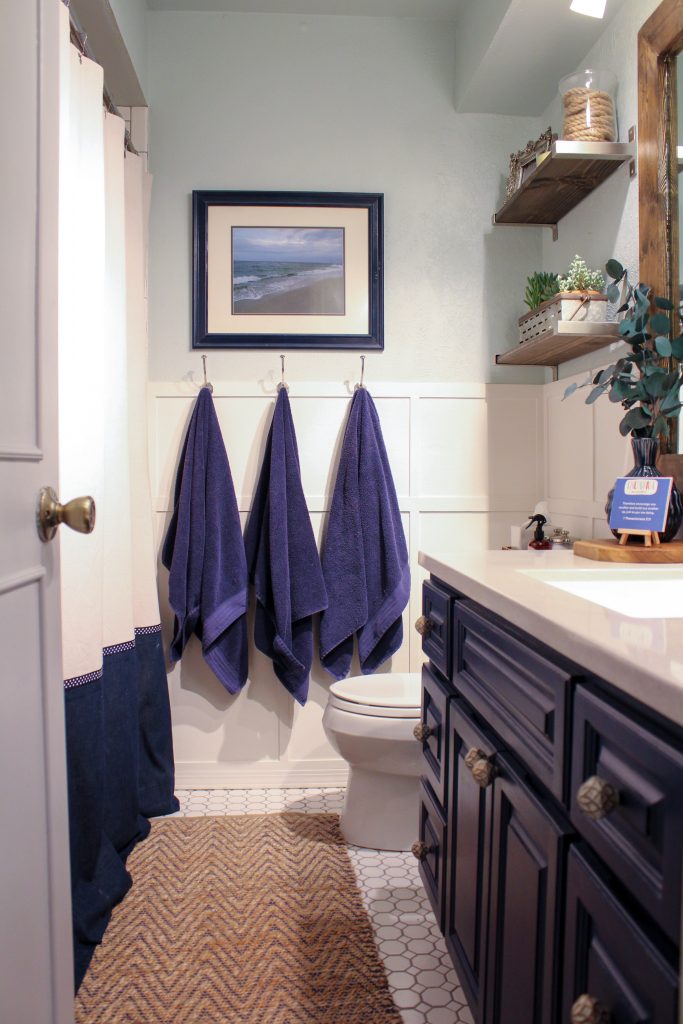
The vanity was a floor model at a local builder’s discount store. It wasn’t exactly what I wanted, but I knew for the price it would do just fine. (I love a bargain!!) It got a paint job with some navy chalk paint, and then a poly top coat and it’s perfect!!
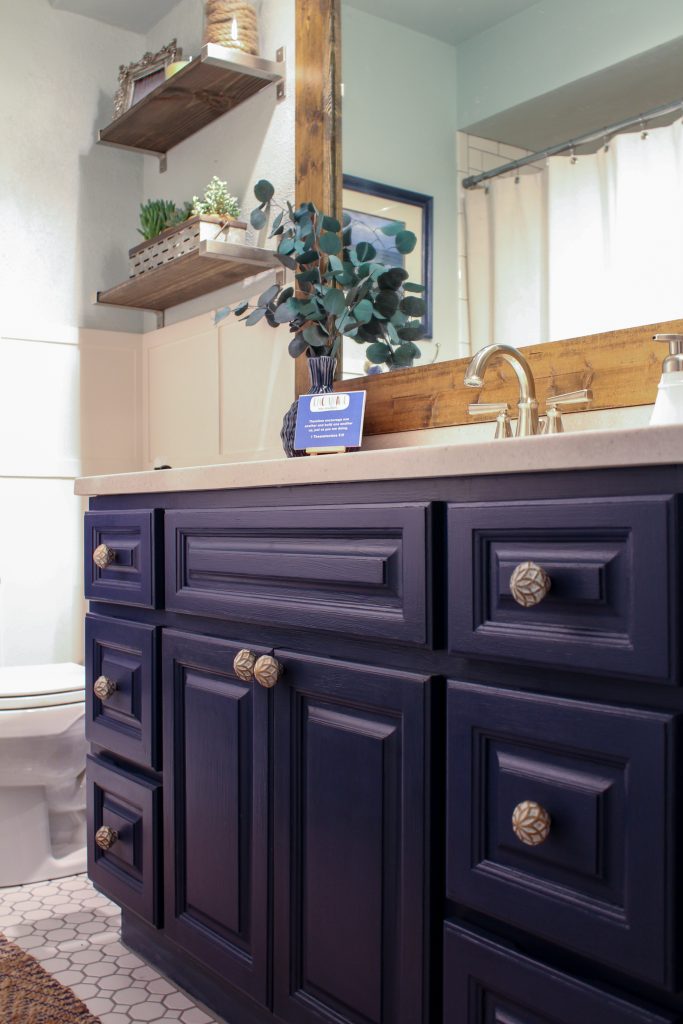
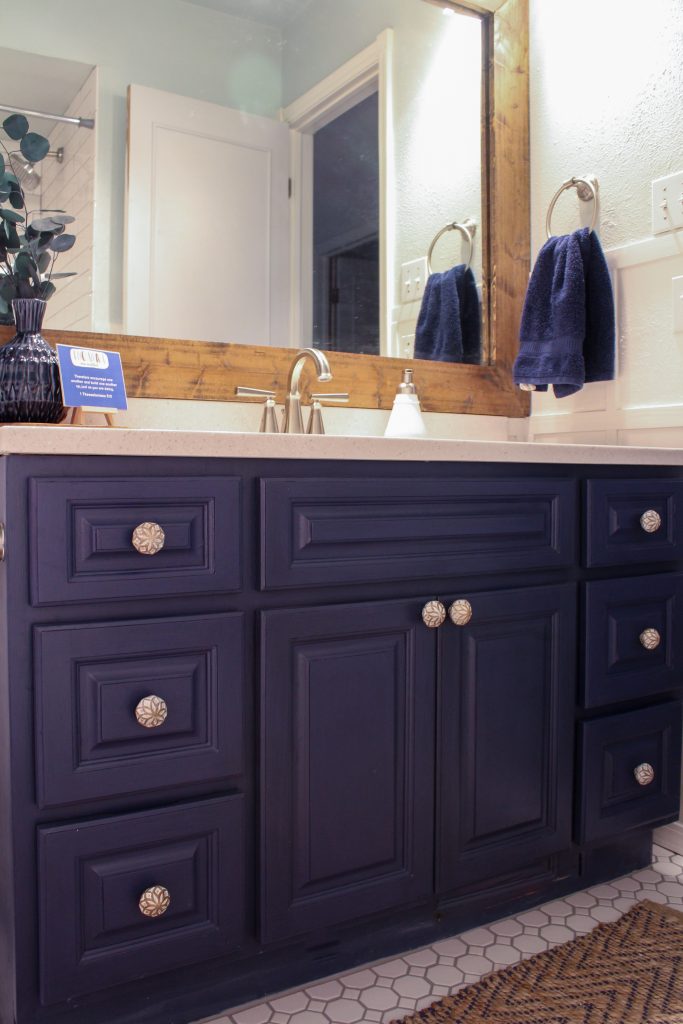
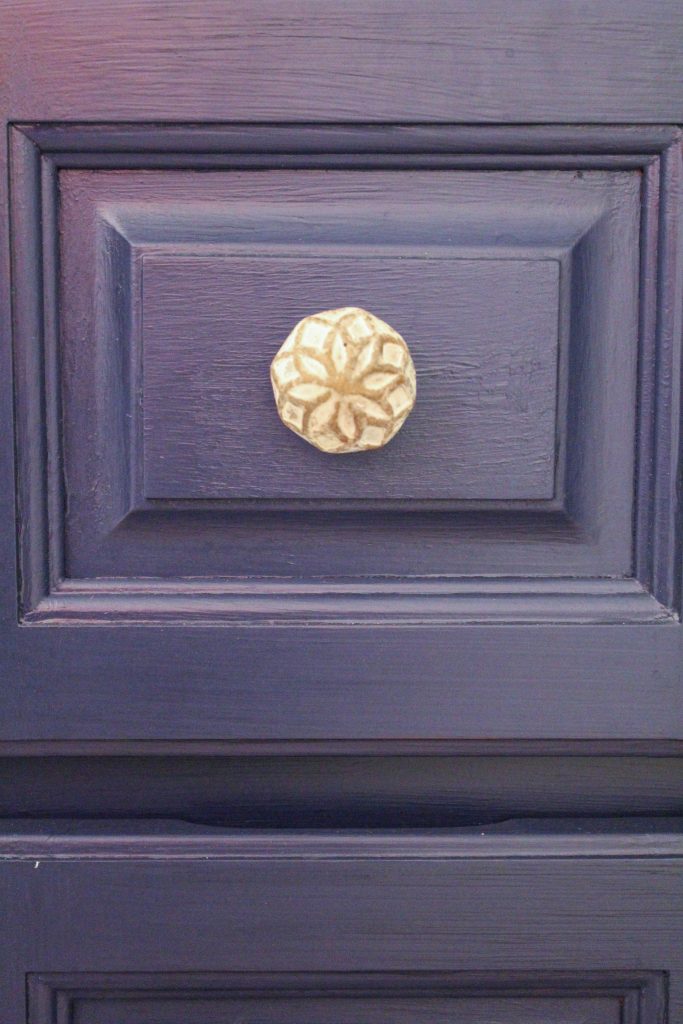
I also added some cute knobs from Hobby Lobby. The drawers and doors have the notched out areas that allow you to open them without a knob or pull, but I think the hardware just adds character.
The countertop/sink combo is from Home Depot. I was happy to find something in stock. This saved us time and money for sure! Let me back up and also clarify that the vanity we took out was about 6″ longer than the one we replaced it with. However, that is not a common size, so in order to keep that size we would have had to have the vanity and counter custom made or ordered custom. Not worth the time or money to me. Besides I really like how it looks free-standing in the room now!
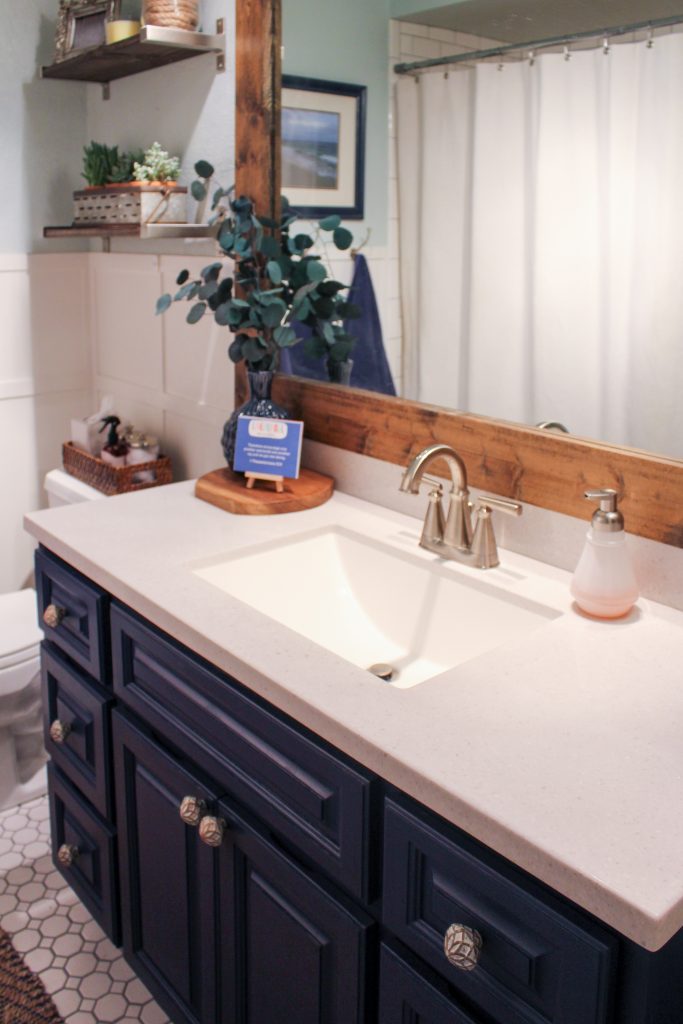
The new faucet was purchased at Lowe’s on clearance along with the shower hardware before we updated the tile in the shower. It’s been sitting in the garage waiting it’s turn to shine! 🙂
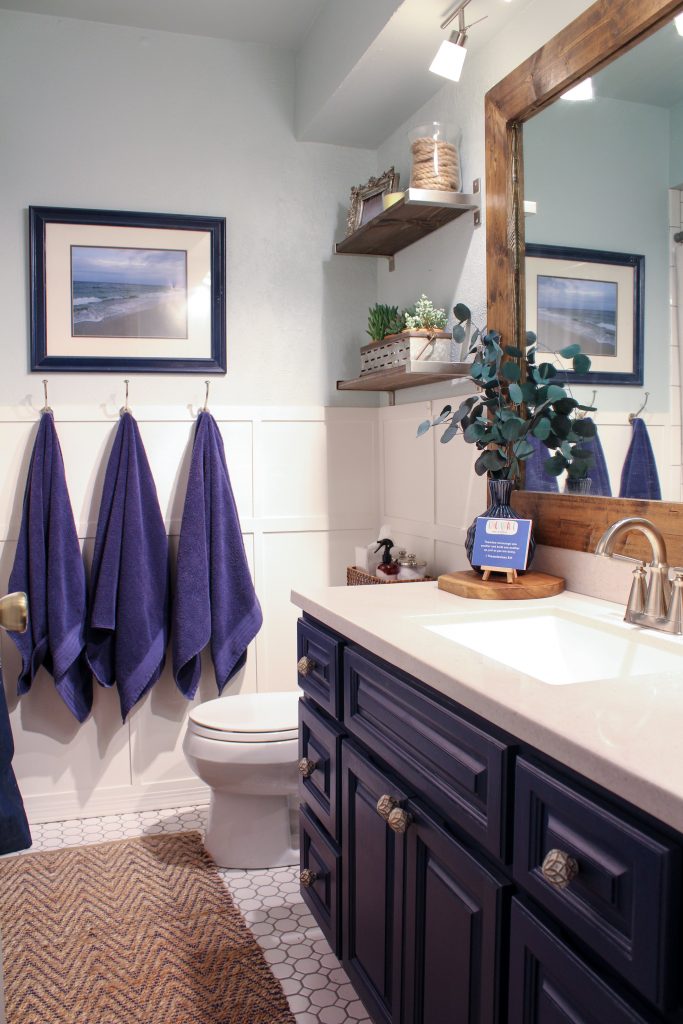
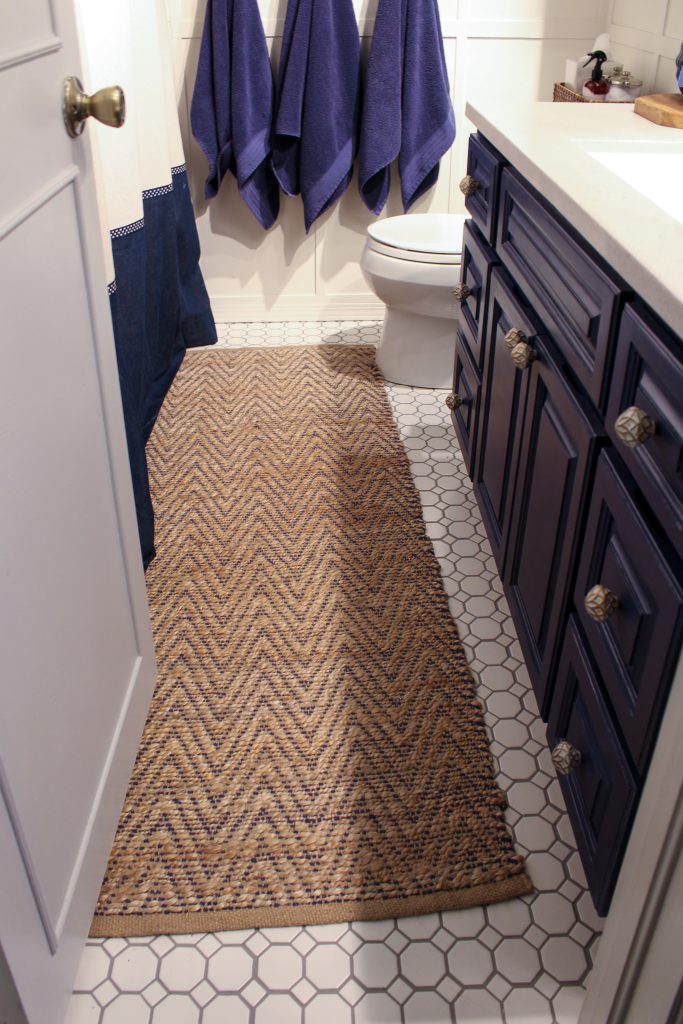
I had the floor tile picked out when I re-did the shower tile as well! You can see it in the niches in our shower! I used the same grout on the floor too, to keep things consistent of course.
The rug was a Homegoods find this summer and it’s so perfect for the coastal vibe I was going for in here. We will see how long it holds up with as much water as it takes on every day.
I carried the board and batten around to the other side of the doorway next to the vanity. I hadn’t done that before because it didn’t really look right with the vanity and counter covering most of that wall. I like the finished look now.
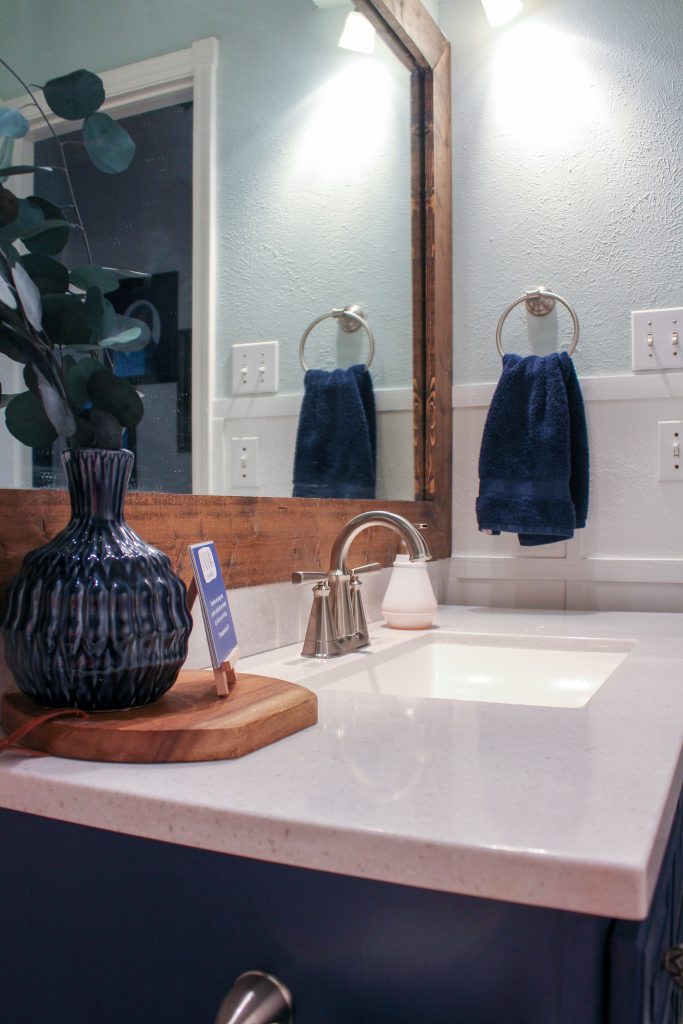
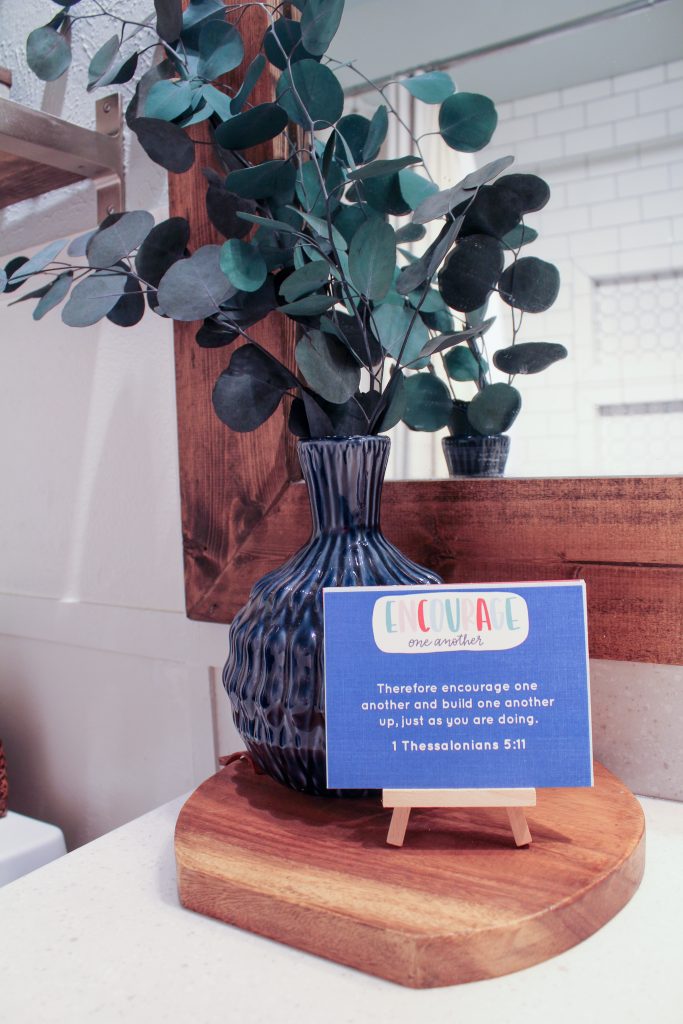
A few accessories and this room is d.o.n.e! I love having all the drawers for storage. I have challenged my boys to keep the counters clean since they each have a bank of drawers to keep their necessities in. So far so good!!

Thanks for following along through all the phases!! Now, on to the next project!



Wow – what a gorgeous makeover! I love all the pretty details!
Shelley
Thanks so much Shelley!! 🙂
Very nice! Love it! So nice to finish a project – especially a bathroom!
Thank you Sharon! Yes it is!!