I don’t know about you but we have had several laminate bookshelves over the years – you know the cheap ones you can buy at Target or Walmart for next to nothing. They do the job but they are not very cute. Case in point – this piece that’s part of our home office setup.
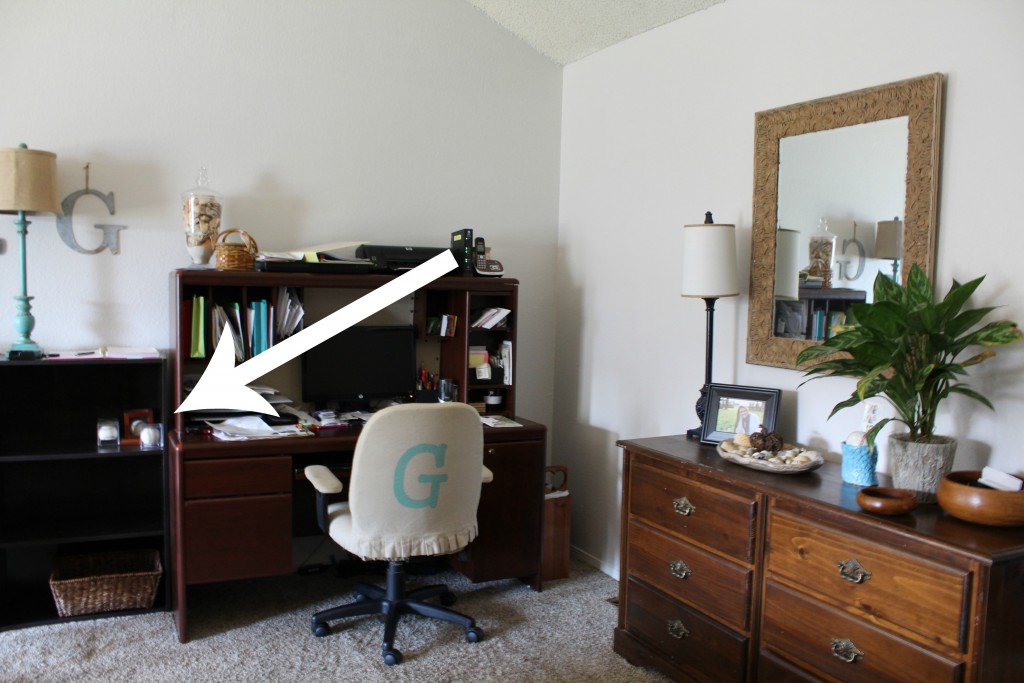
I think my least favorite part are those folded cardboard backings that come with them. Yuck. We’ll get to my fix for those later.
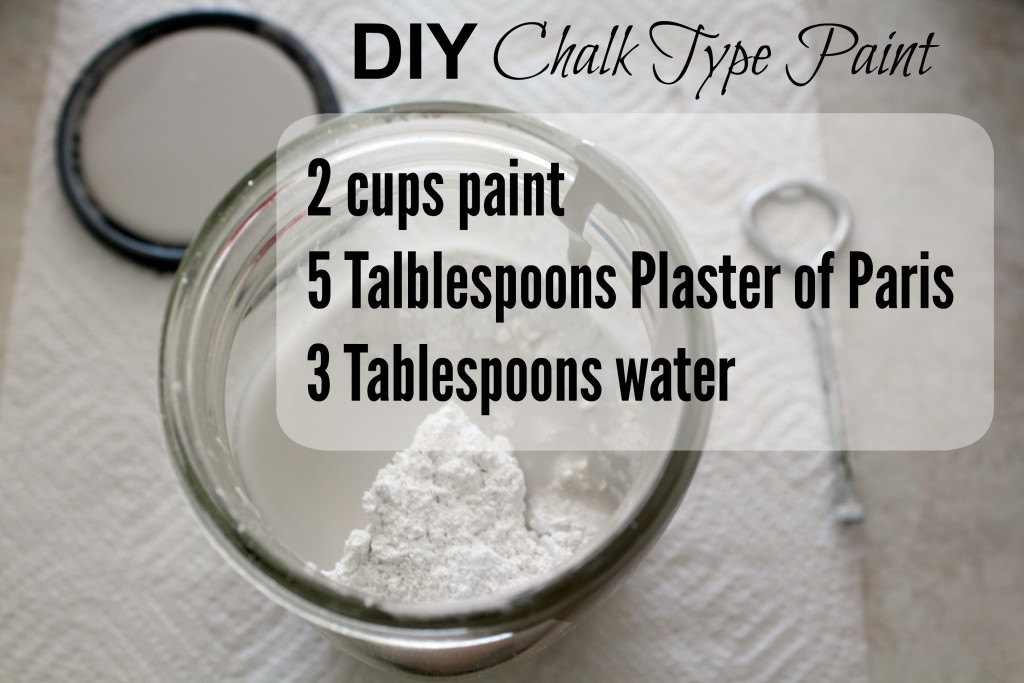
But, let’s start with paint. If you’ve ever tried painting laminate furniture you know it’s tricky. Regular paint will not stick to the slick plasticky surface. There is sanding but whose got time for that. I’ve used chalk type paint in the past with some luck, but I seriously hate the price of that stuff. So, this time I decided to try out one of the many homemade chalk type paint recipes that I’ve seen on the internet. I started with this one, but actually added a little more water because it was REALLY thick. So, here is my final recipe:
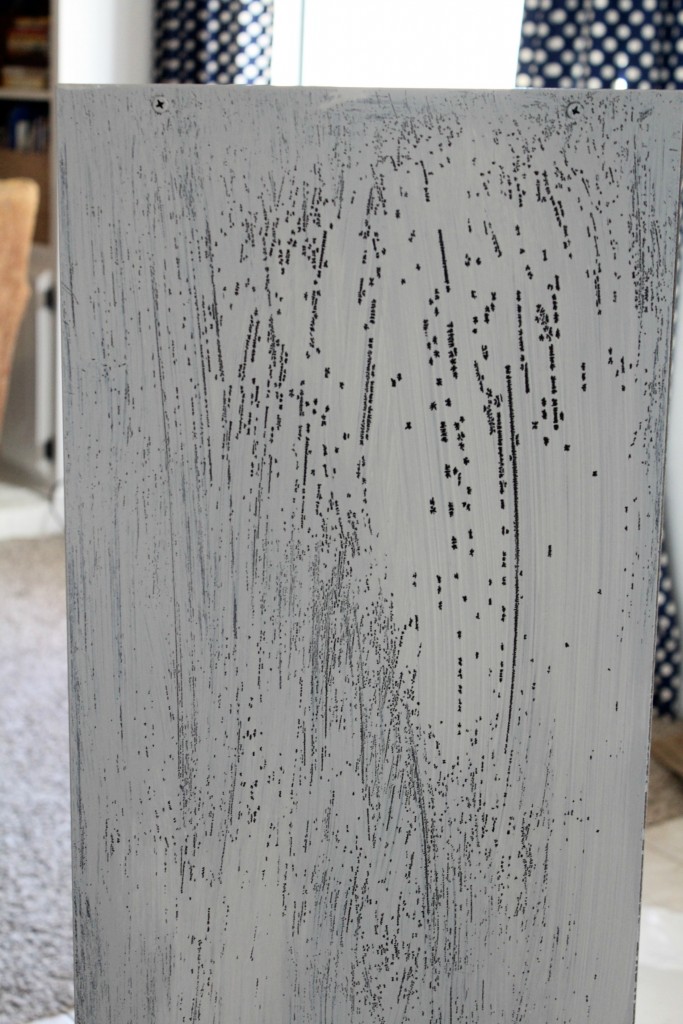
If you follow along on Instagram and watch stories, you may have seen my confusing mishap with this particular bookshelf. After one coat, the paint was pulling away in random spots.
I thought it might be the paint, so I tried regular paint – same problem, but worse.
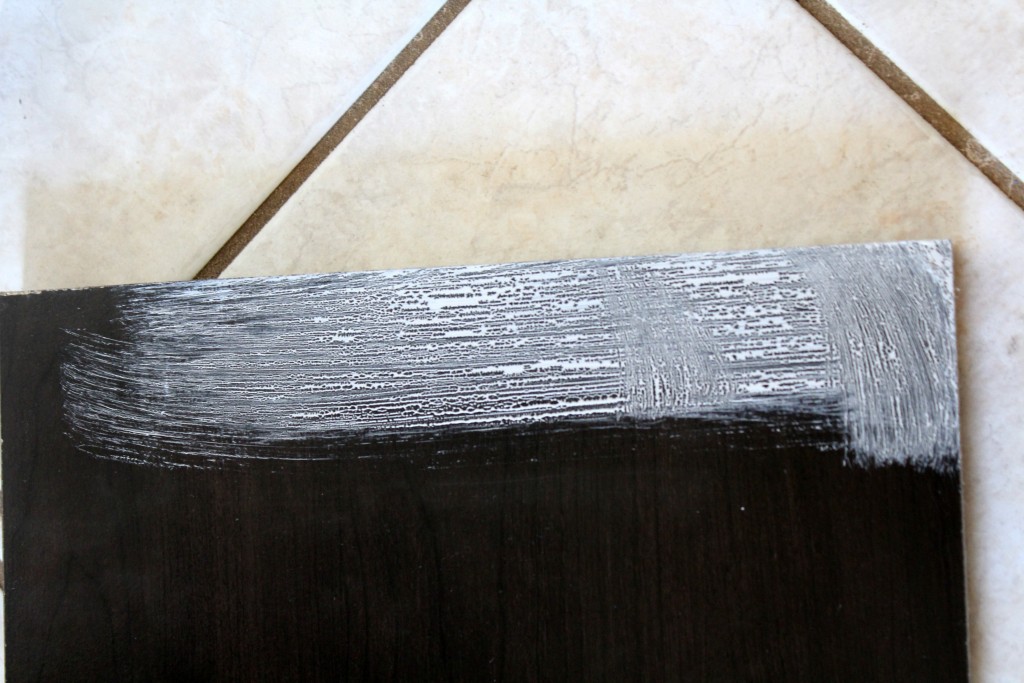
Then, I tried a spot on another laminate piece – no problem at all. So, I determined it was the piece – must have been extra plasitcky.
No worries, after a second coat it was all good!
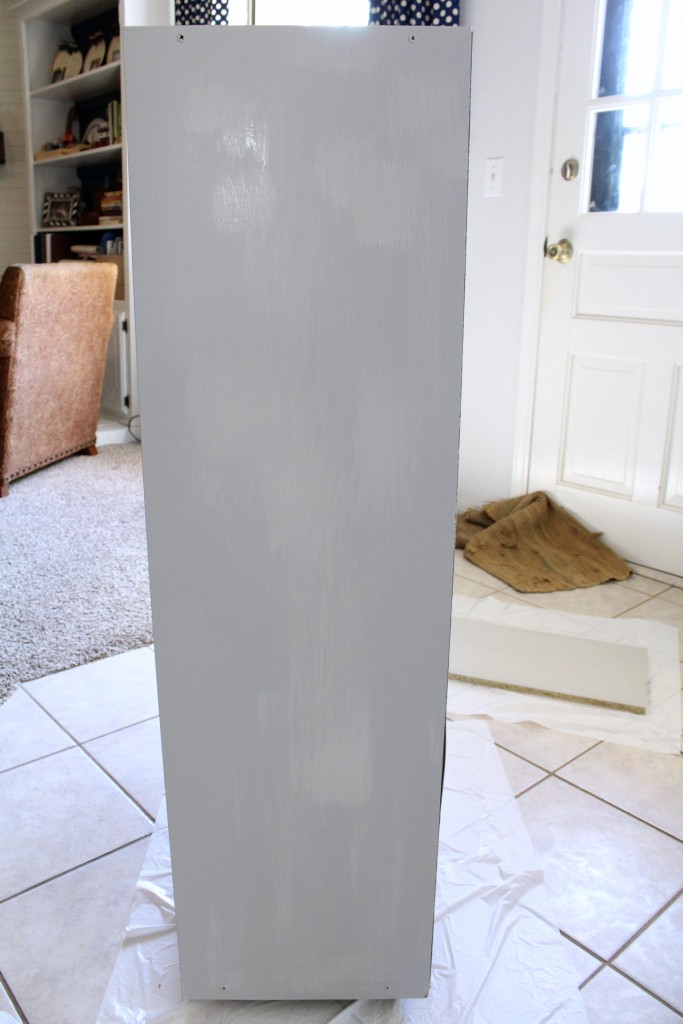
After two coats of the DIY chalk type paint (no sanding btw), I used a spray polyurethane (satin) to help it be just a little more durable. {I have had the paint chip off the laminate before without a sealer.}
Now, back to the solution from those awful backs. I have used foam core board several times now. I did it here and here. You can choose to cover the board with something – like paper or fabric, or you can paint it – either to match the bookshelf, or an accent color.
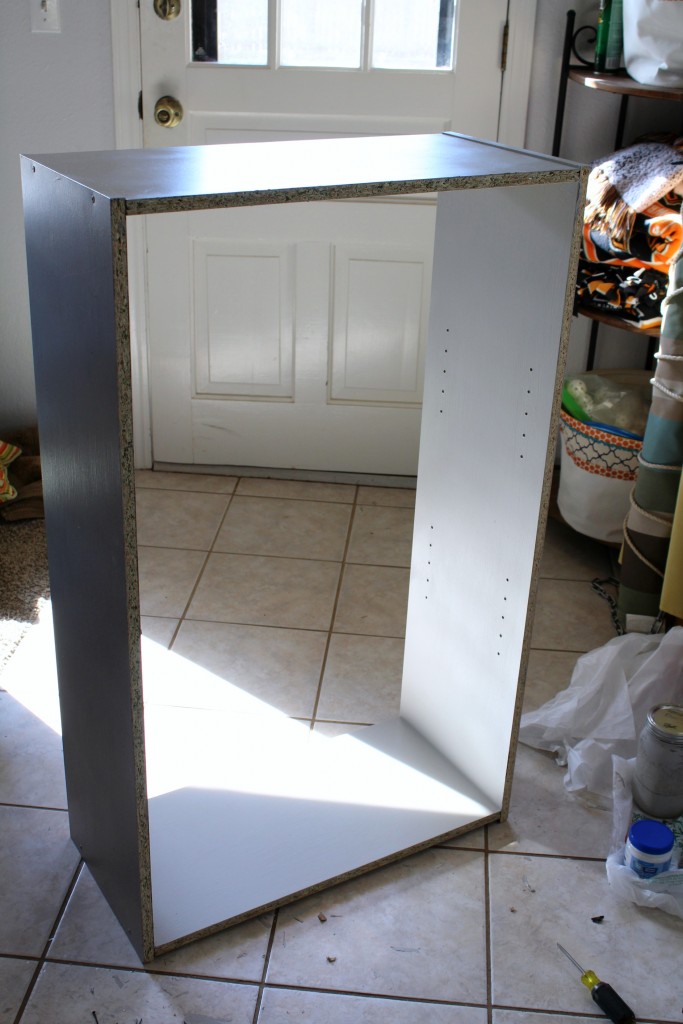
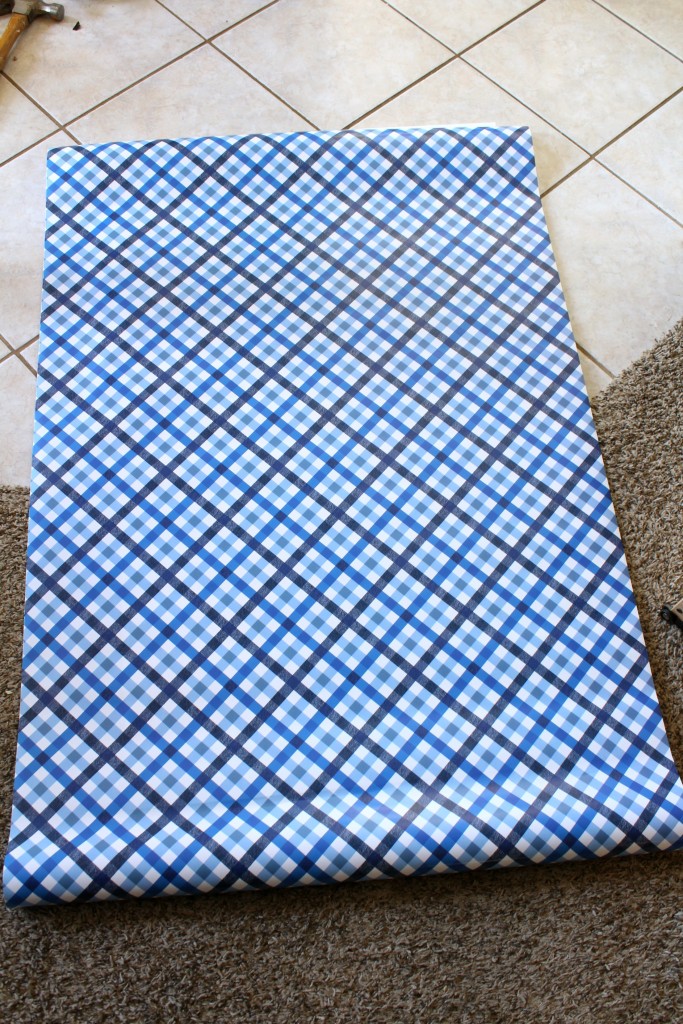
I wanted to add a little interest to all the grey so I went looking for some cute scrapbook paper. Total strike out. But, then I came across this –
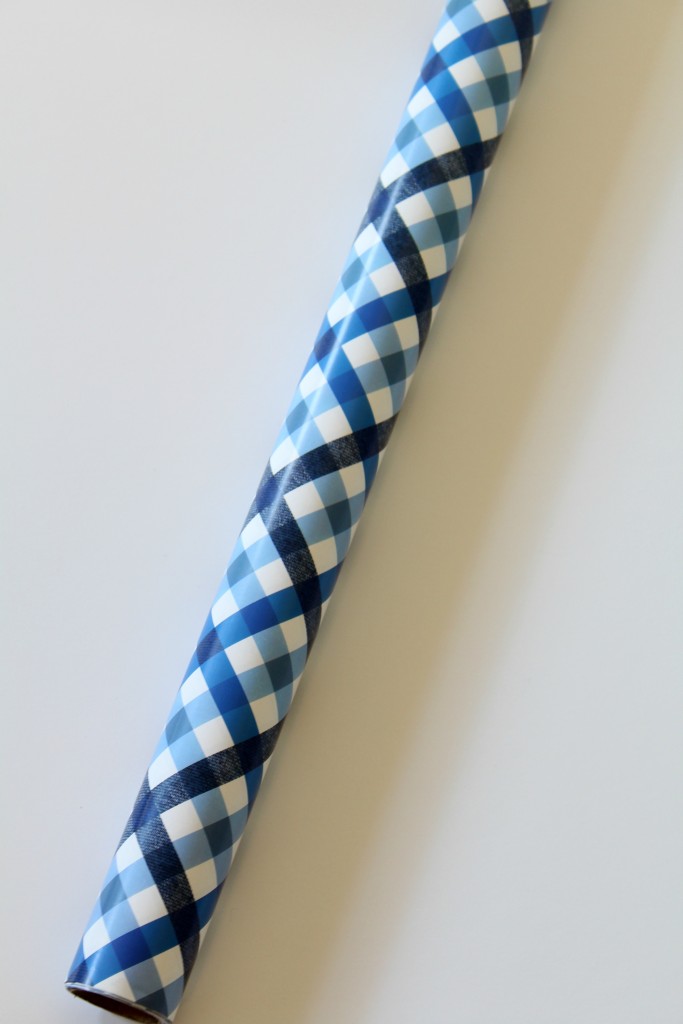
Know what it is?? It’s wrapping paper! Cute huh? And, it’s great that I wouldn’t have to piece anything together. One roll with my 40% off Hobby Lobby coupon $3 for a little style – can’t beat that!
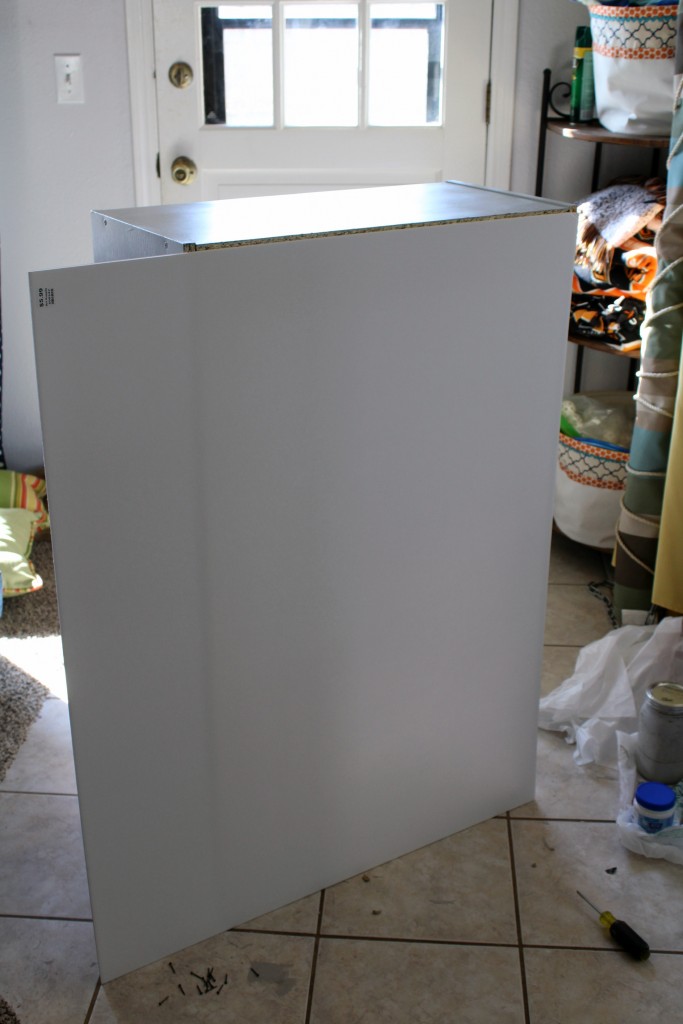
I cut my foam, and my paper down to size. Then using spray adhesive, I attached the paper to the foam. I trimmed off the excess.
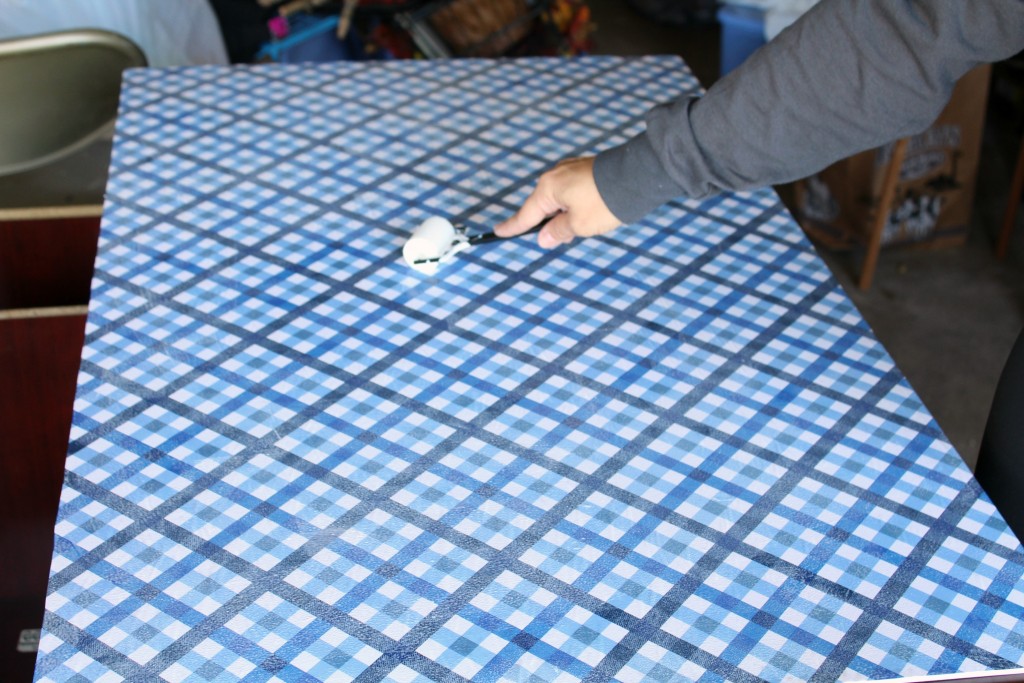
Then, just for good measure, I added a thin coat of mod podge.
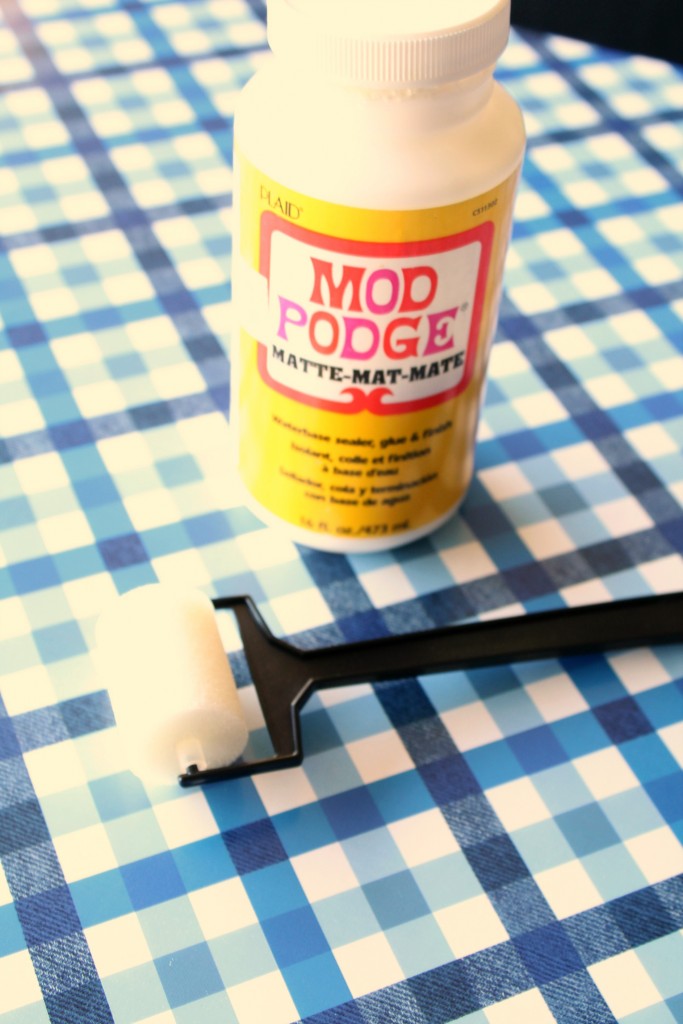
This will probably cause your paper to bubble a bit, but this is usually easy to fix with a cloth after the mod podge dries. I did have a couple of spots that I couldn’t smooth – I just put that section at the bottom. 😉
All that’s left is to attach the foam to the back of the bookshelf and you’re done!
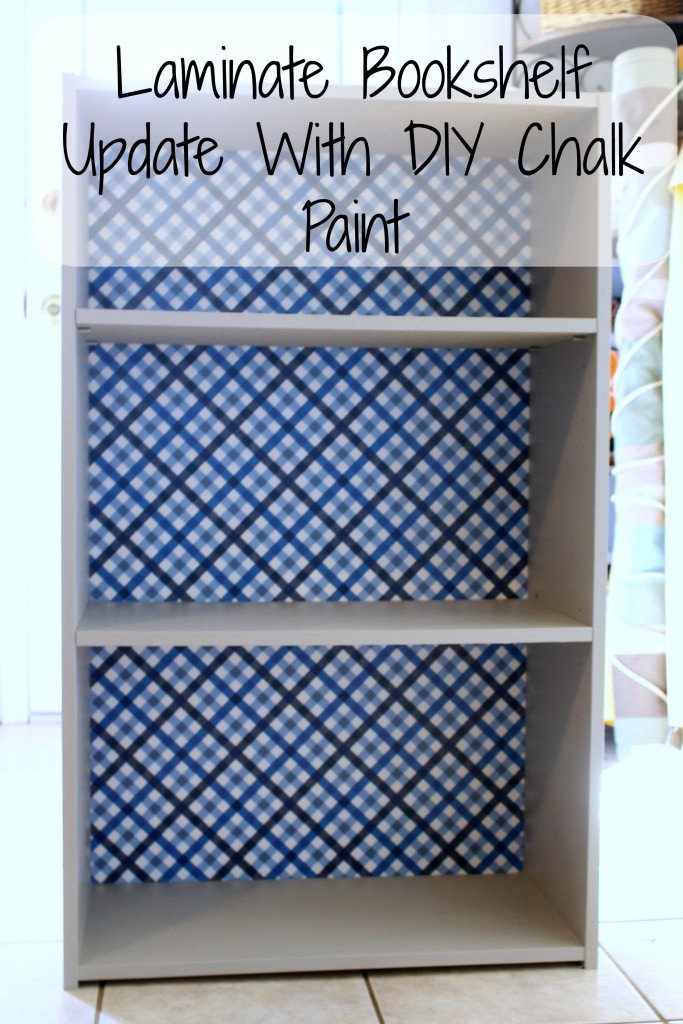
A new and improved bookshelf that looks a little more stylish than before.
One more step towards a finished One Room Challenge!!


Linking up with Inspire Me Monday / Inspire Me Tuesday / Totally Terrific Tuesday / Tutorials & Tips Link Party / Show & Tell Link Party / Wow Us Wednesdays / Link Party Palooza / The Inspiration Gallery

Wow, I love this! Great job!
Thanks Becky! 🙂
I needed this! I have dark black bookshelves (gifted from someone else) and I can’t stand the darkness in my light yellow room. I thought I would have to give them away, but now I can just do a makeover! Can’t wait to try the DIY chalk paint.
Yay! I’d love to see how they turn out! 🙂
You would never know that’s the same bookshelf! It didn’t stand out in any way before, and now it could be a focal point in the room. I love it!
Thanks so much Robin, you are too sweet! 🙂
where did the bookcase come from in the beginning?
It was a basic cheap laminate bookshelf that we’d had for a while. Probably from Walmart 🙂