Hey friends! I’m actually pretty excited about the project that I am sharing with you today! If this is your first time here, welcome! I hope you enjoy what you see today! Stay for a while and look around! We have a lot of fun here creating beautiful, budget friendly, DIY projects! I have joined with 13 other talented DIYer’s to kick off the 2×4 and More week-long series hosted by the girls at Remodelaholic!

When the girls from Remodelaholic were looking for people to participate in their 2×4 and more challenge, I decided this would be a great way for us to get our feet wet in the world of furniture building. We’ve done plenty of building in our home, but never a freestanding furniture piece. But, now we have and I’m ready for the next project!
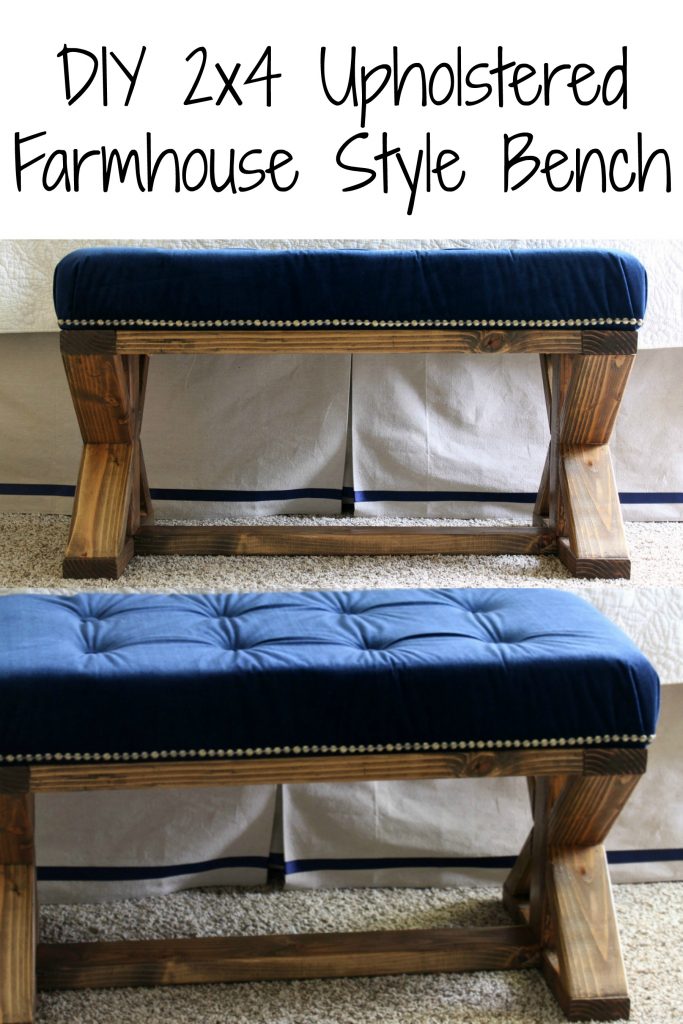
I have to confess, that we approached this project like most other building projects we’ve done. I had a general idea in my head as to what I wanted to do. I sketched it out on paper to explain to hubby. And, then I saw this piece, and totally changed my plan.
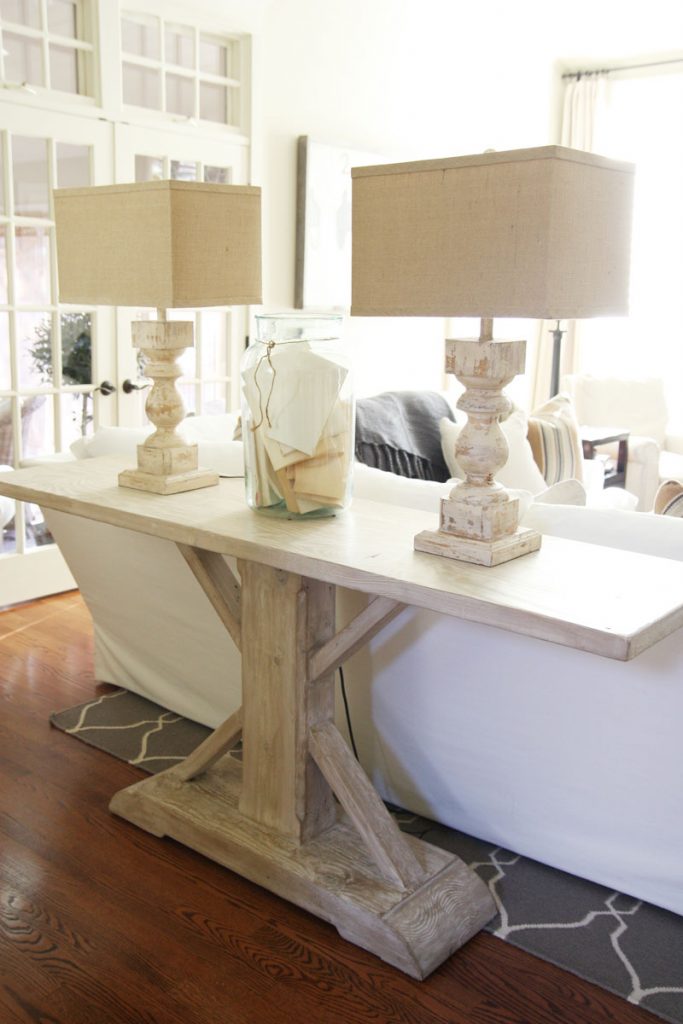
I had originally planned on doing an X in a box, something like this
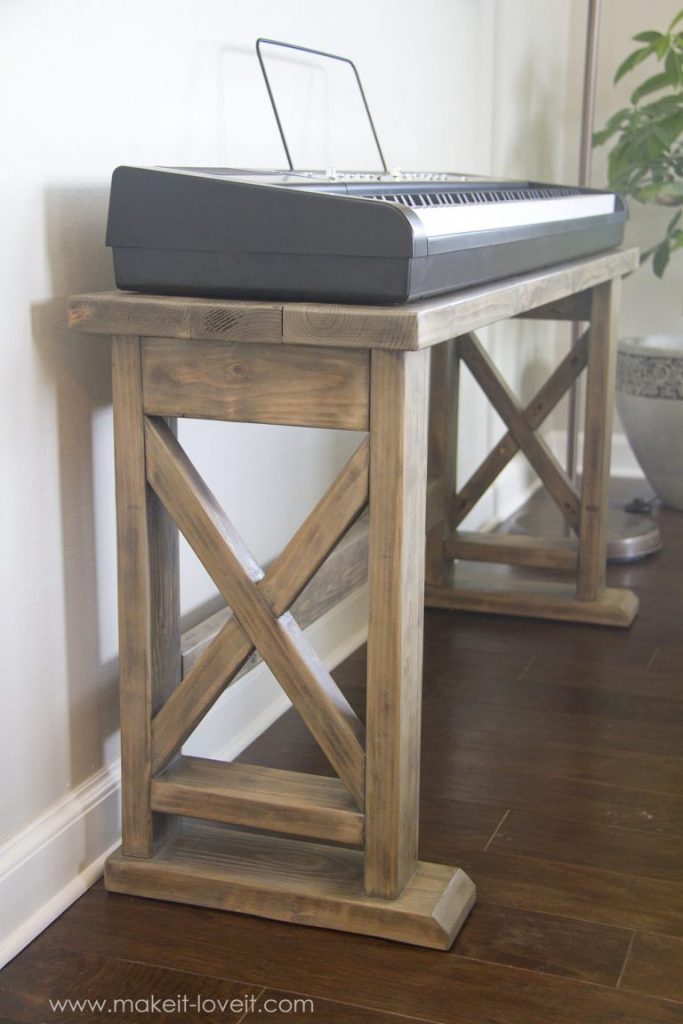
on each side of the bench, but after seeing my inspiration photo I decided to alter the plan a little bit.
I decided to keep it simple and not add the extra chunkiness at the top and the bottom, and bring the cross pieces together in the middle instead of having the space.
It was super inexpensive to build the bottom. I only needed three 2×4’s and 1 4×4. Which came to under $30.
The upholstered top will get a post all it’s own, and was a little more costly – around $50 total.
Still not too shabby of a bench for under $100!!
Some affiliate links used for your convenience. See disclosures for more details.
Materials
- 2x4x8 – 3
- 4x4x8 – 1
- kreg jig
- kreg jig screws
- nail gun and finish nails
- 3″ wood screws
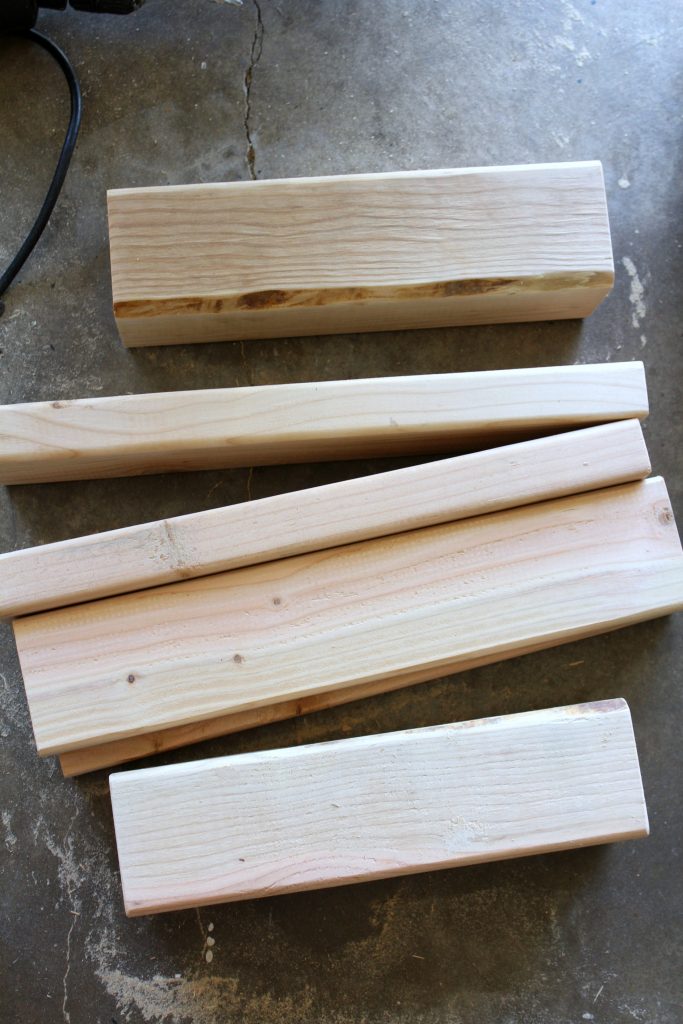
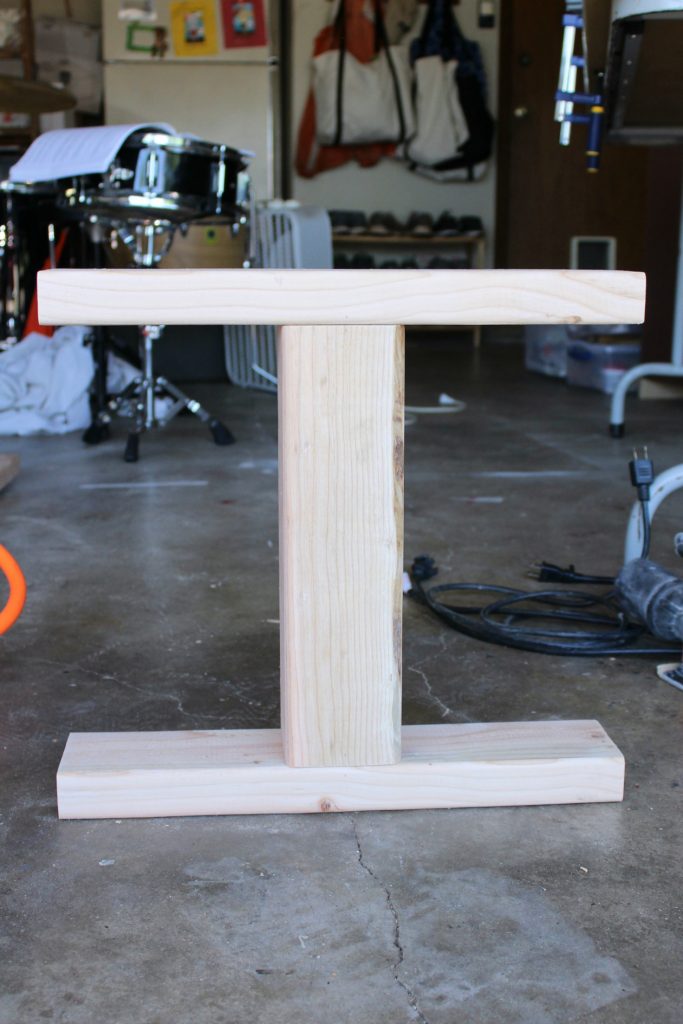
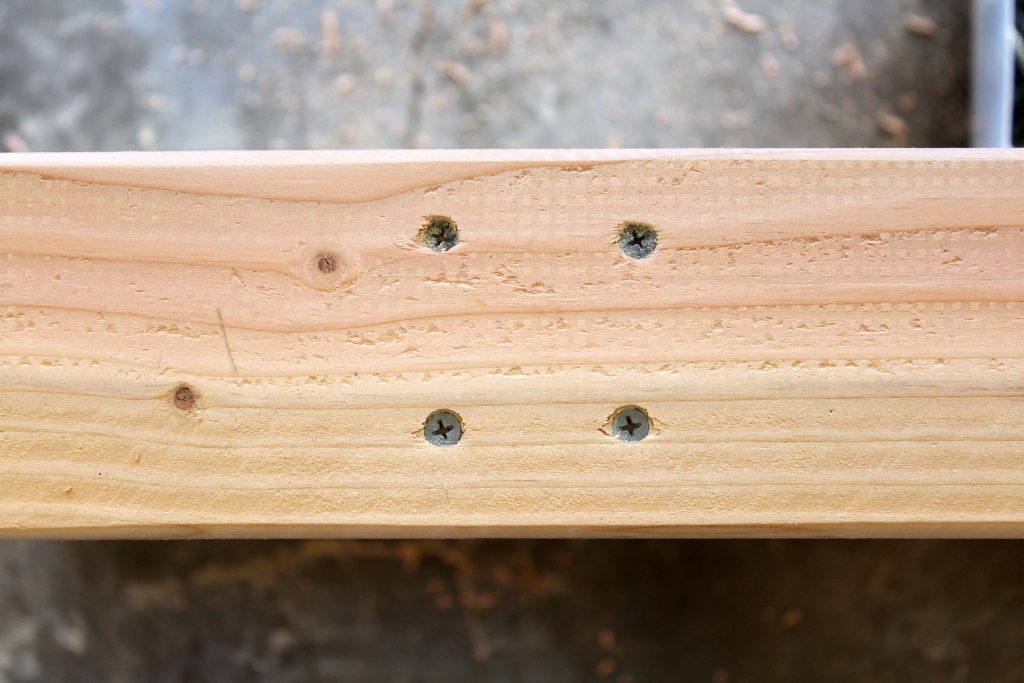
We cut the top and bottom side pieces out of the 2×4 (17″) and the middle side piece out of the 4×4 (13″) first and attached the 2×4’s to the 4×4 with screws. Be sure to pre-drill so you don’t split the wood.
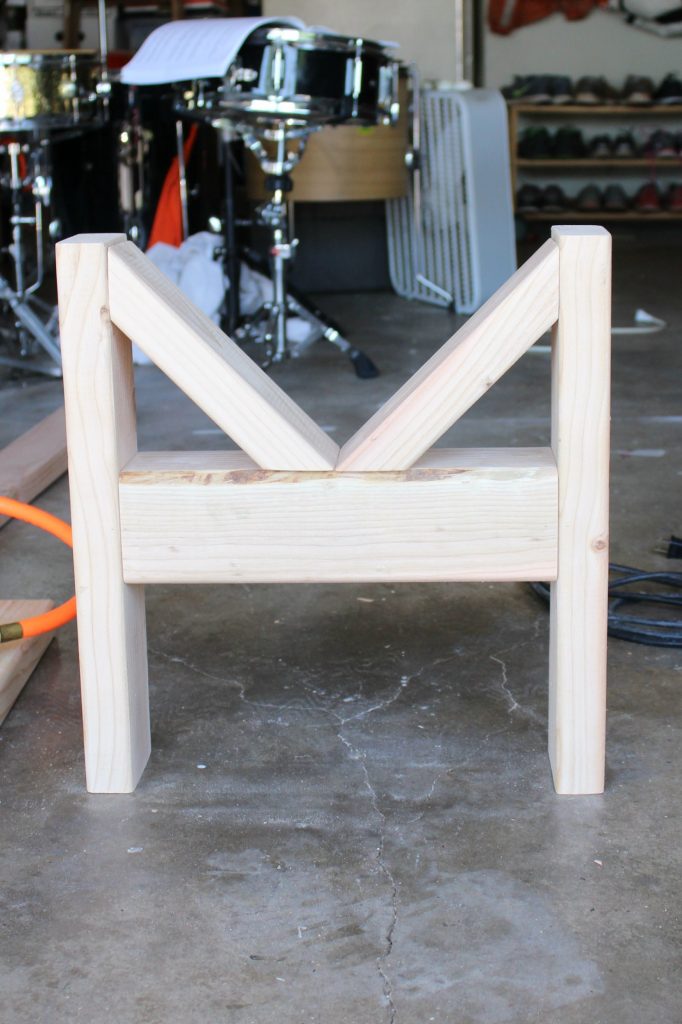
Next we cut the pieces for the X shape out of the 2×4’s (9″) cut at a 45degree angle. I attached these with finishing nails and my nail gun. You could use glue here in addition to the finishing nails, but I did not.
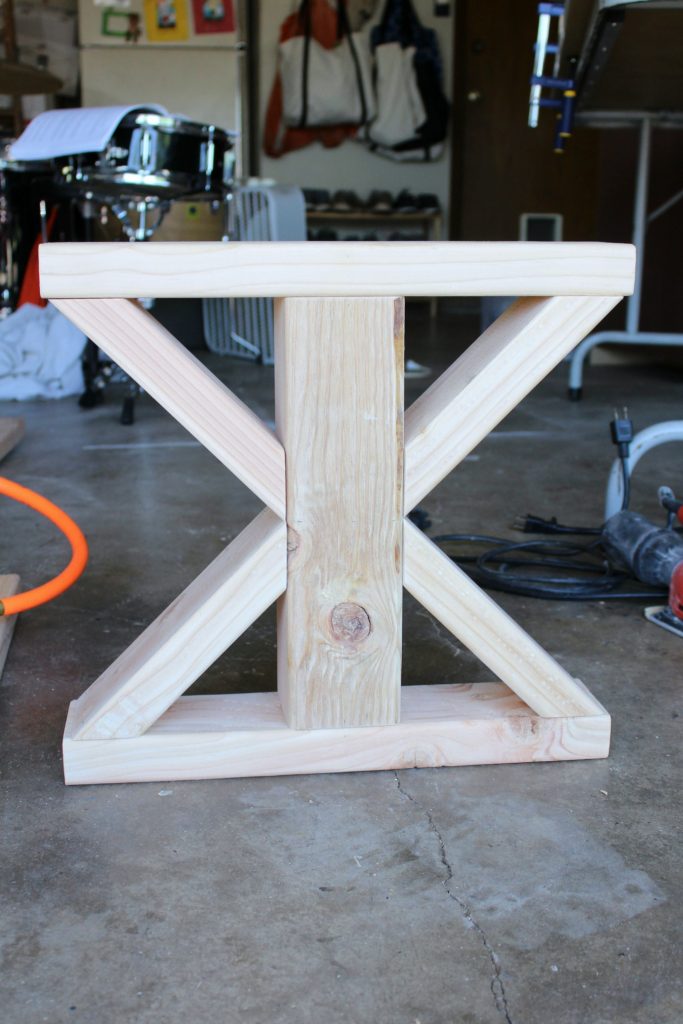
Next we added the side pieces to the top of the bench – two more 2×4’s (29″). This was my first time using a kreg jig and I really loved it, but there is a definite learning curve when it comes to how to use it correctly. I like that the screws are hidden instead of on the outside of the bench (which is the way we used to do it 😳 ).
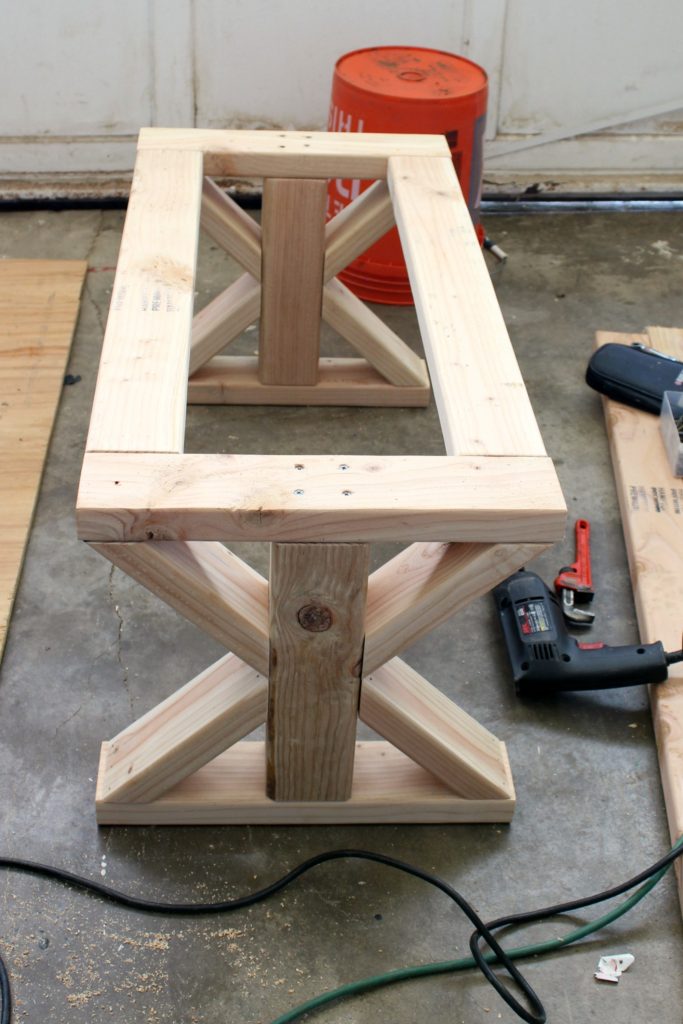
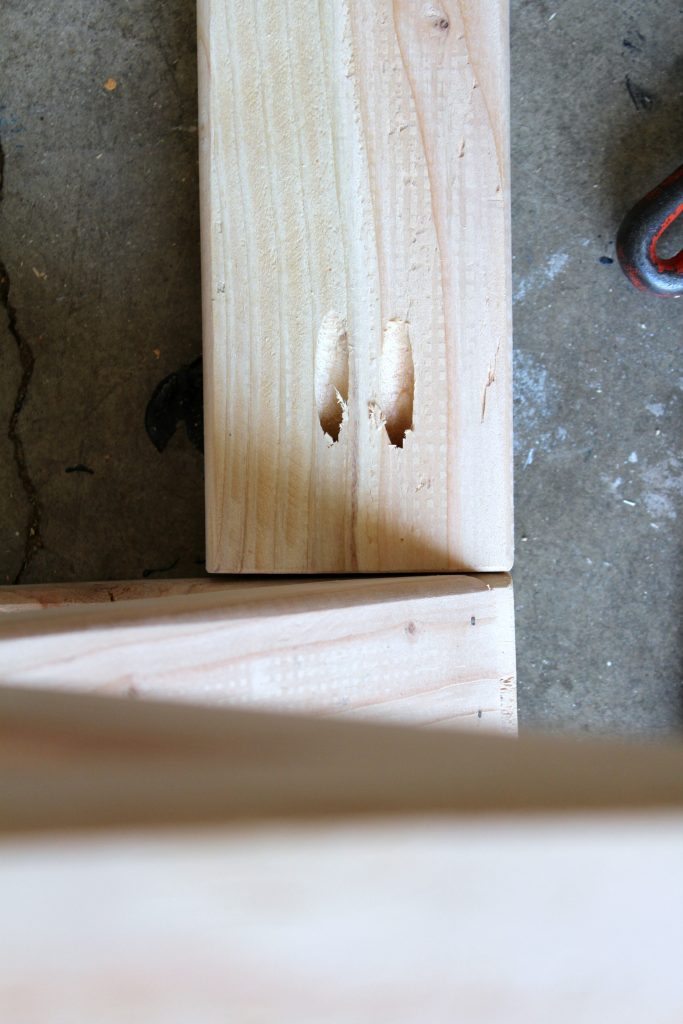
At this point I thought I was done honestly, but the bench seemed a little wobbly from side to side, so we decided to add the cross-piece on the bottom. Once again we attached it using the kreg jig and screws.
You will then want to sand everything down before you stain or paint. Personally, I sanded each piece before we assembled and then did some touch-up sanding after it was assembled.
At this point you could definitely add a wooden top. Either with a solid piece of furniture grade plywood, or with more 2×4’s side by side. But, I chose to upholster mine! (More details on the upholstery part of this project coming soon!)
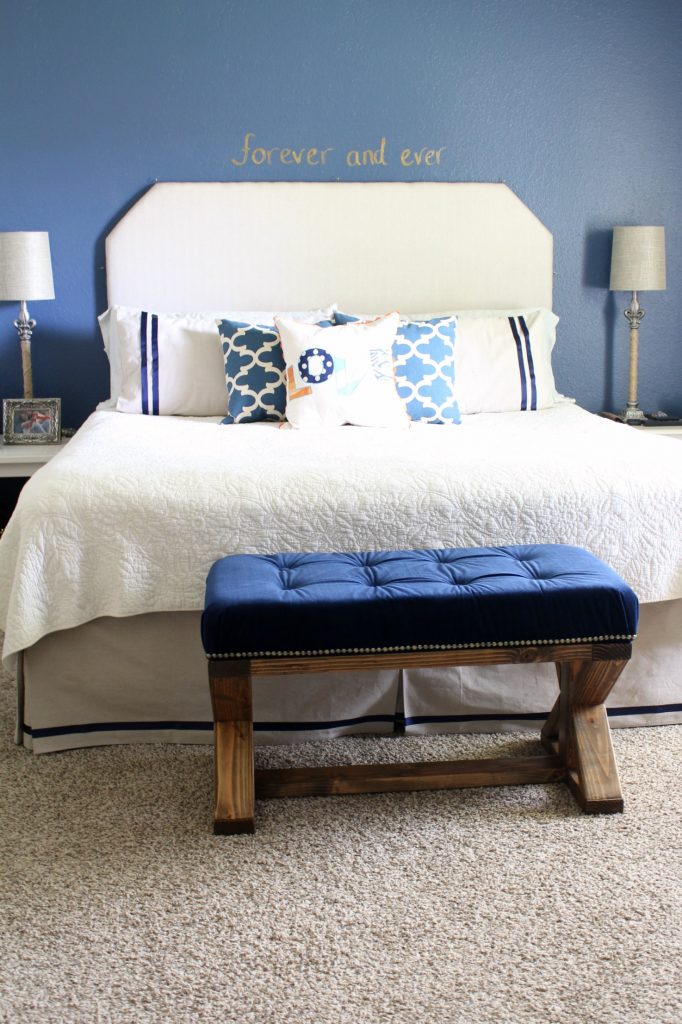
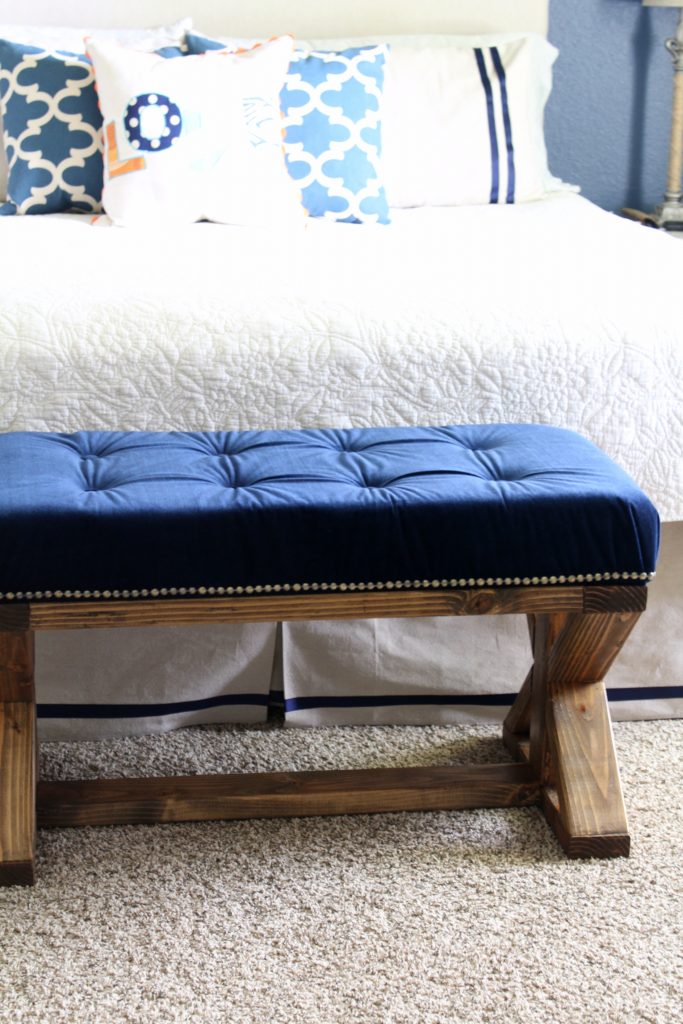
I love, love, love, the rustic elegant look of the stained wood with the velvet tufted upholstery. And, I think the nailhead trim adds just the extra touch of interest that it needed.
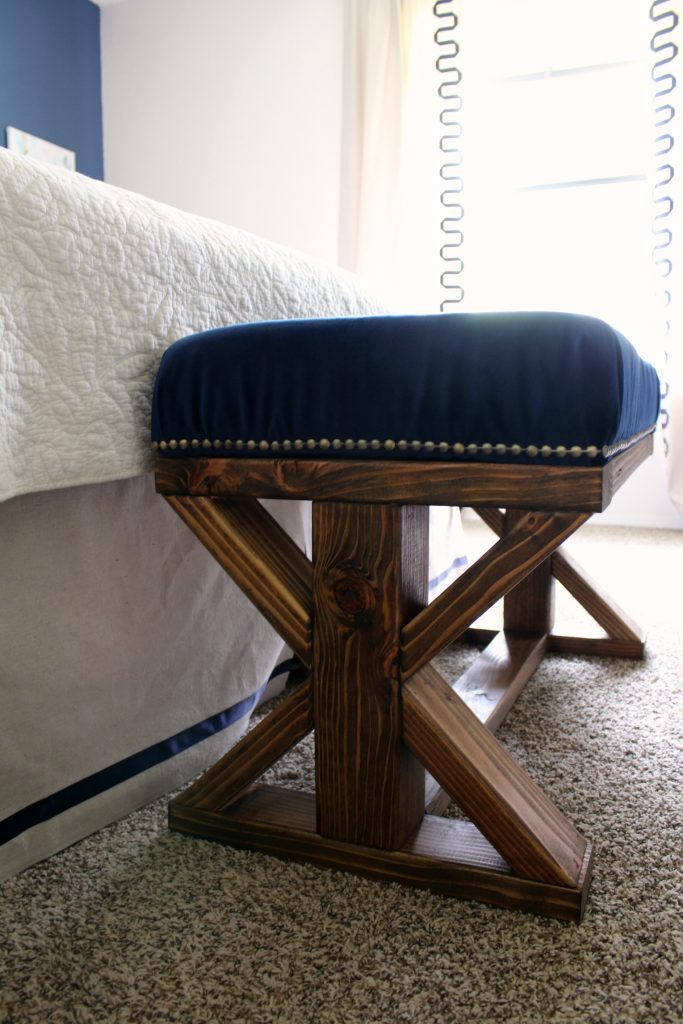
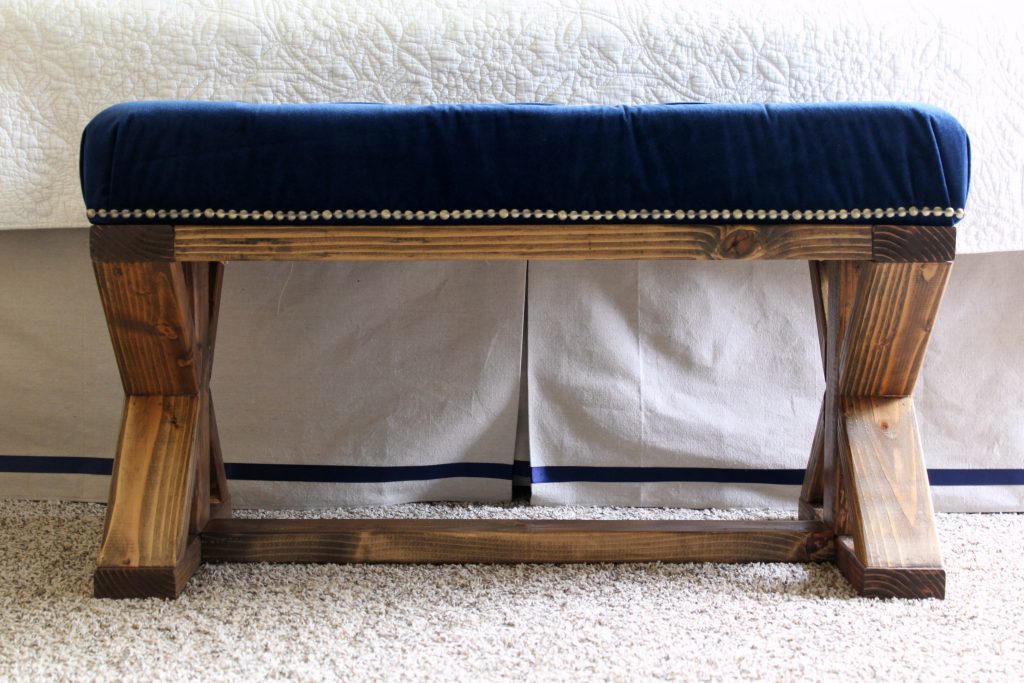
Thanks so much to the girls at Remodelaholic for putting this challenge together. It was good to stretch ourselves into a new area of DIY. The possibilities are endless now!!
Please be sure to check out all the projects of this challenge by visiting the links below!! There’s some great stuff to see!
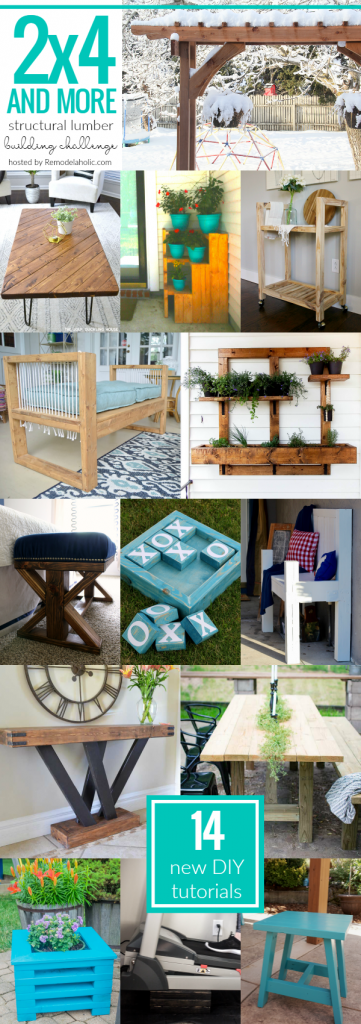
garden arbor | Remodelaholic
15 minute coffee table | The Ugly Duckling House
tiered corner plant stand | Charleston Crafted
single-board rolling bar cart | Woodshop Diaries
outdoor bench w/rope detail | At Charlotte’s House
wall planter and herb garden | Making Joy and Pretty Things
upholstered x-base bench | Frazzled Joy
jumbo tic tac toe | Ginger Snap Crafts
porch bench | Everyday Party Magazine
console table | Hertoolbelt
farmhouse patio table | North Country Nest
easy flower planters | Our House Now a Home
treadmill incline | Practical and Pretty
patio side table | Small Home Soul
Some people were even more awesome and made videos!! Check out those by following this link!
Thanks for stopping by today! Hope to see you back here soon!


You have so many cool 2×4 projects! Love this royal blue color you chose. So pretty
Thank you Anna!!
You did such a great job on this! I love the X’s on either end. Beautiful! 🙂
Thanks Ginger!!
It looks great! I love x benches! I’m always SO intimidated by the angles on these pieces but one day I promised myself I’d try! 🙂
Thanks Charlotte! I was too but it wasn’t as hard as I thought it would be!!
Your bench turned out lovely Denise, X-benches are so popular right now 😉 I love the upholstered top with the nailhead trim, it really glams it up. Great job!
Thanks so much Toni!
Your bench is amazing! I love the X on the ends. The blue upholstered top is the perfect touch!
Thanks Sarah!
Do you have a tutorial for the upholstered top on the farmhouse style bench? Thanks in advance!
I do! Here is the link https://frazzledjoy.com/diy-tufted-upholstery/
I love your work. I just started building farmhouse recently. Just need a website to get exposure.
Awesome project, the bench came out great. I have been wanting to add some upholstering to my projects but have yet to take the leap. Hopefully I will get a chance soon.
Beautiful and this will be great to use some scrap pieces! Is the angle on the x brace 9” from the long end or short end?
Great question! And one I’m surprised no one else has asked! 9″ on the long end. 🙂 Sorry it took me a minute to get back to you! Happy building
Thank you for the reply! I started building this with a few tweaks. Excited to see it come together!
I love your bench but I’ll need to modify it to build it myself. Untreated 4x4s (other than expensive stair posts) seem impossible to find in my area.
Thanks! I’m sure you could use two 2x4s sandwiched together for a similar look!
Looking for the upholstery plans….I have made the bench now want to upholstery
I can’t find them
Paul
Here it is 🙂
https://frazzledjoy.com/diy-tufted-upholstery/