As promised, I am back today to share with you how I updated my thrift-store frames. Yesterday I shared how I gave the mats from the frames new life, today we are going to focus on the frames.
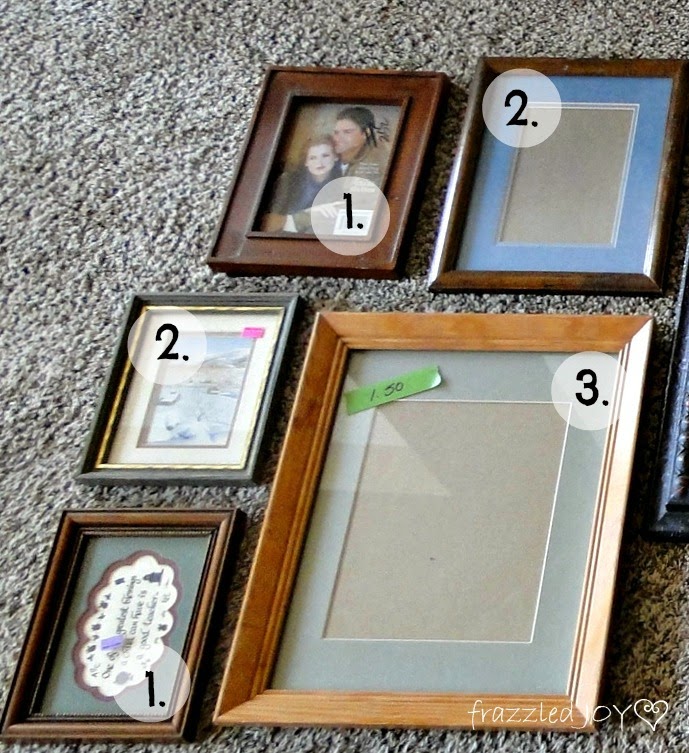
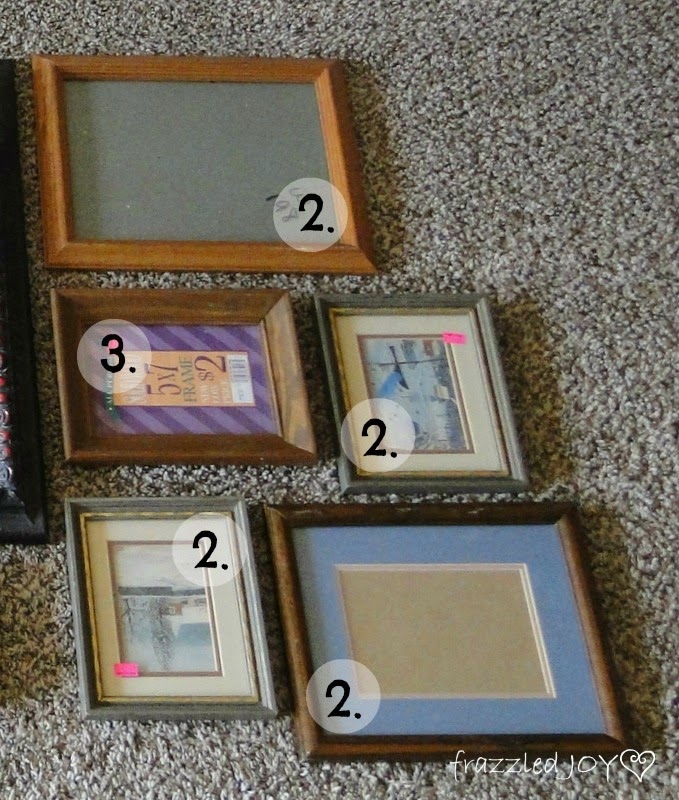
I spent some time in the beginning, looking at the frames, and deciding what I thought would be the best treatment for each. Here are the before pics just for a reminder. I have numbered the frames (based on the treatment used) in the before and after collages so you can get an idea of the transformation.
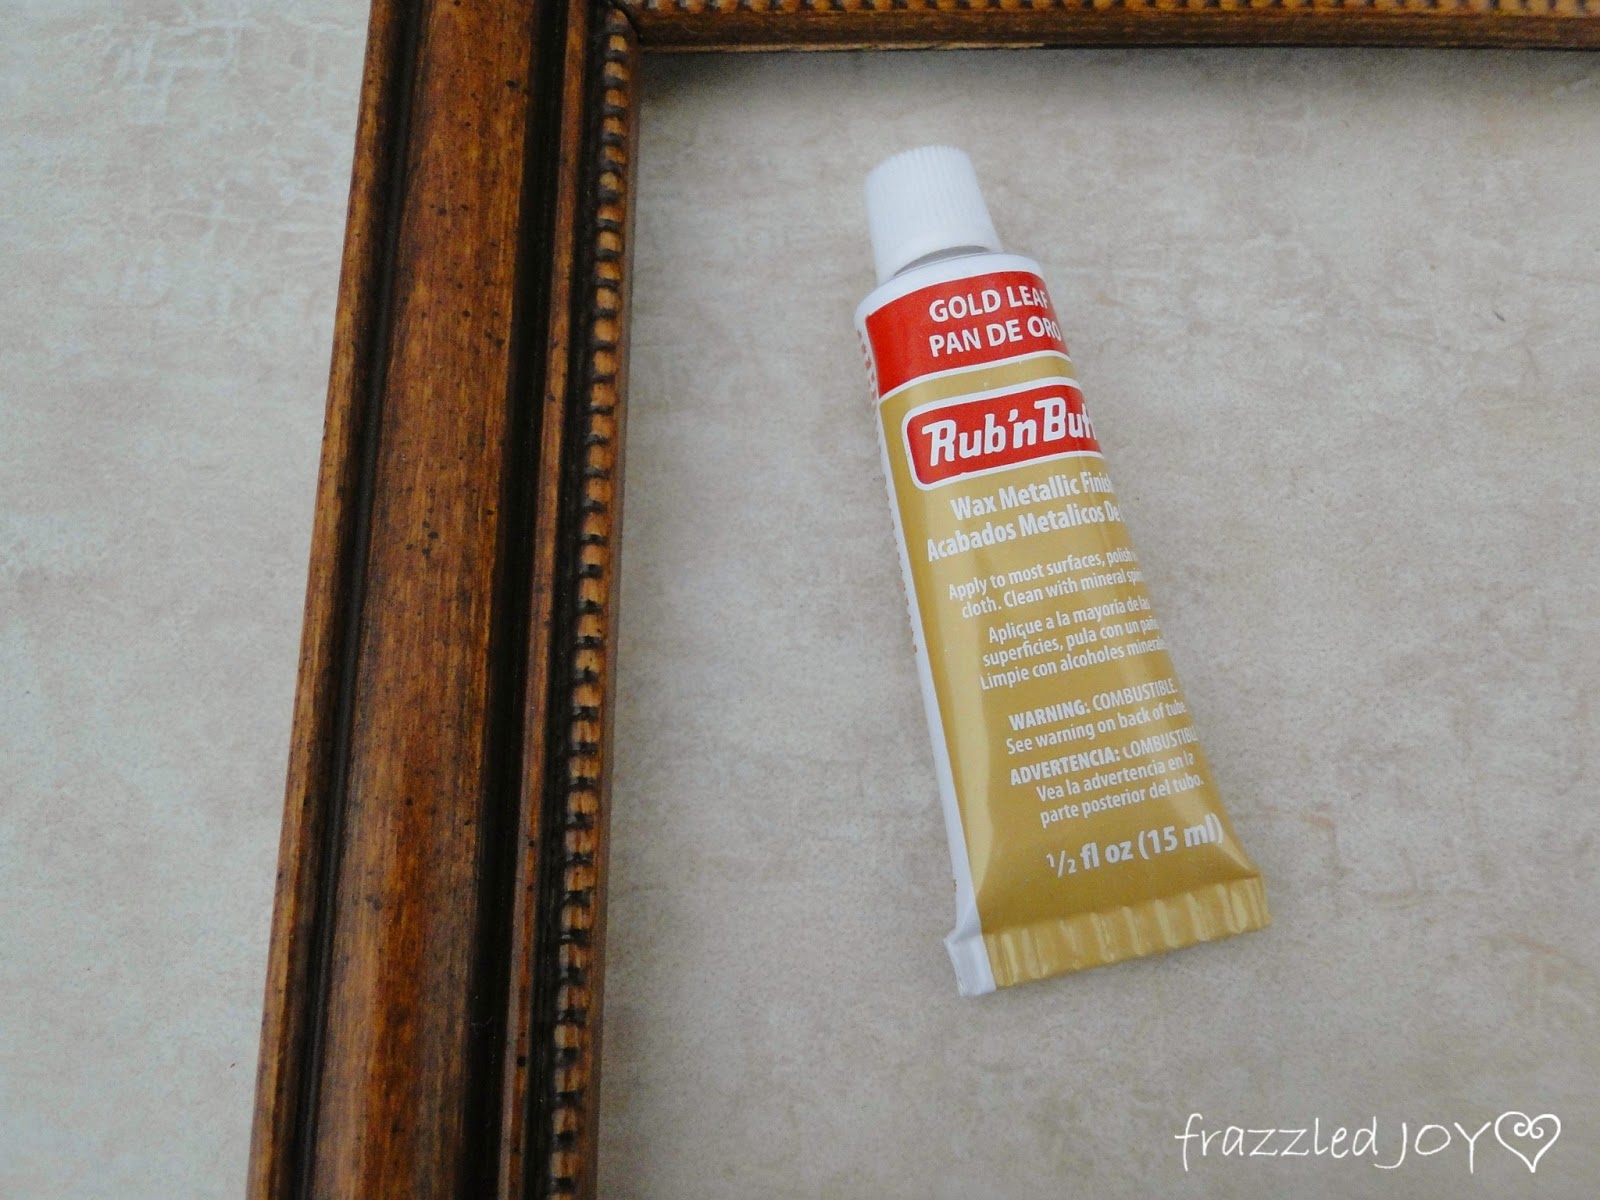
These are the supplies I chose to use for my make-overs. All I had on hand aside from the Rub-N-Buff.
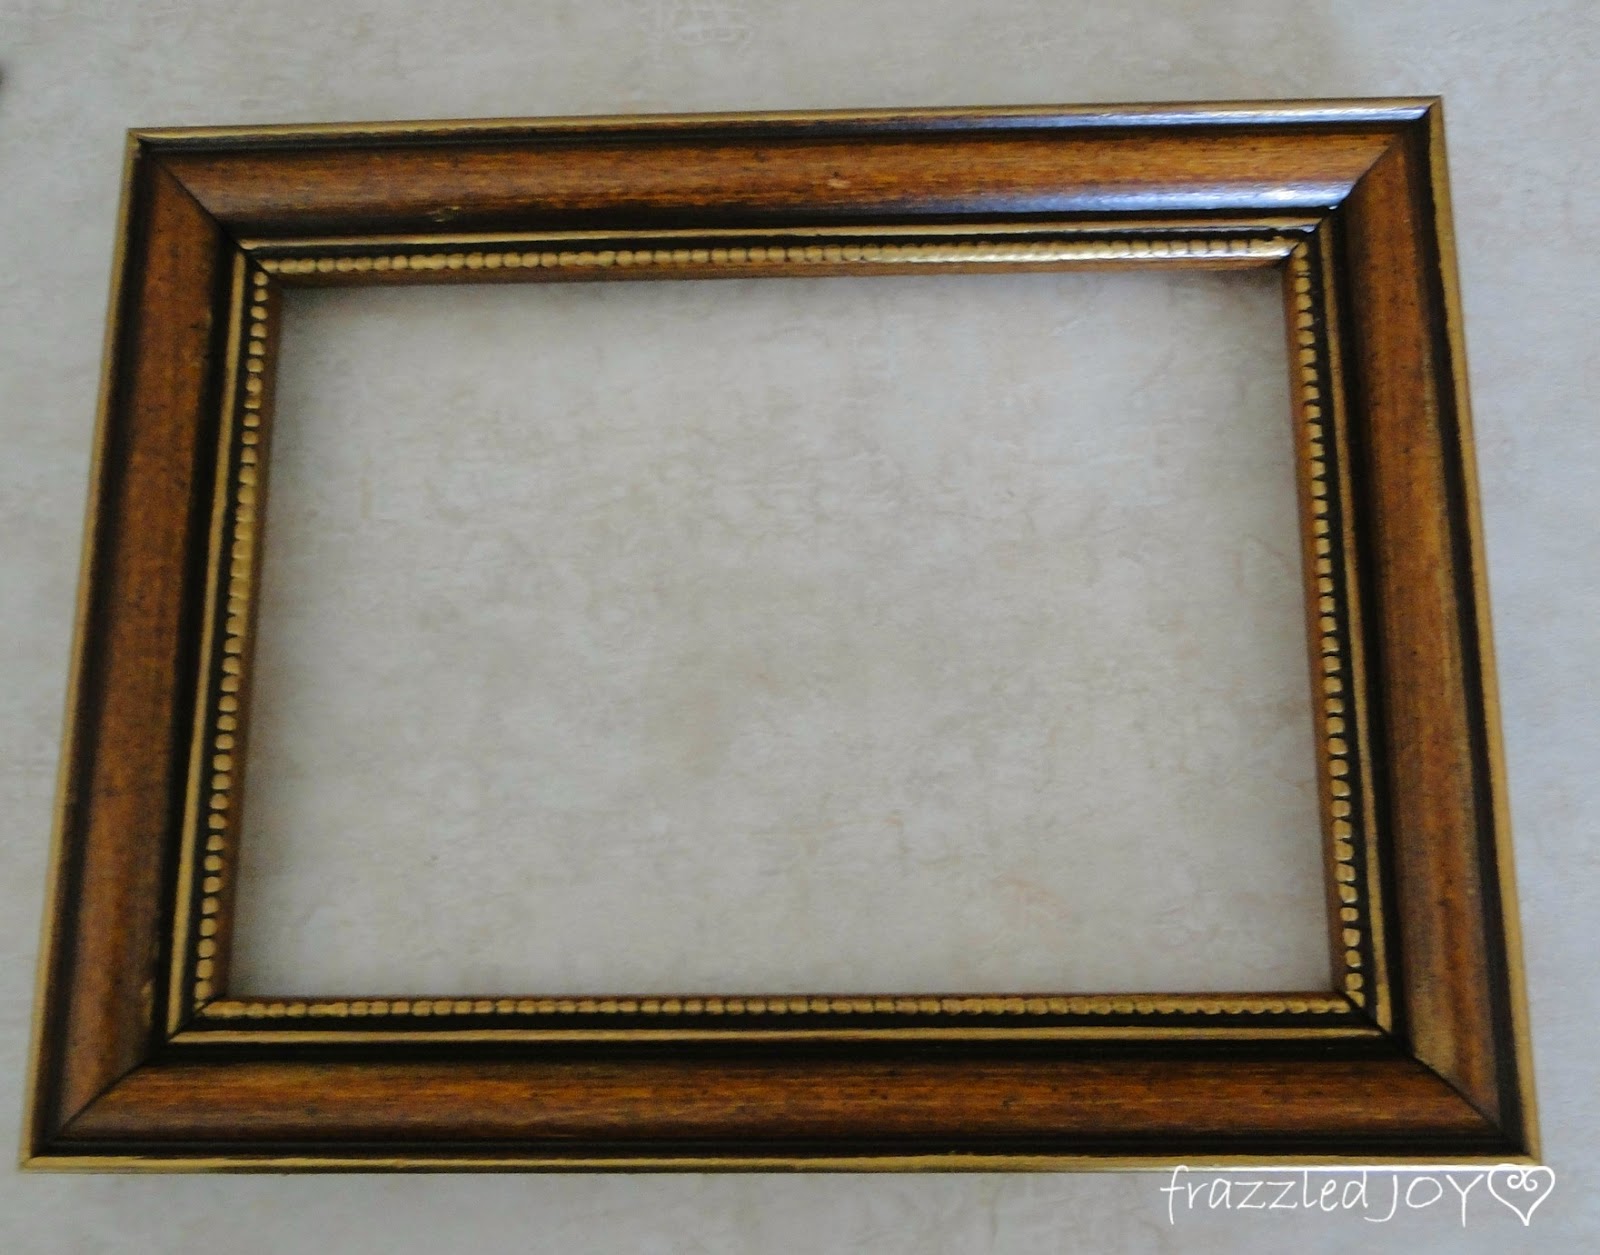
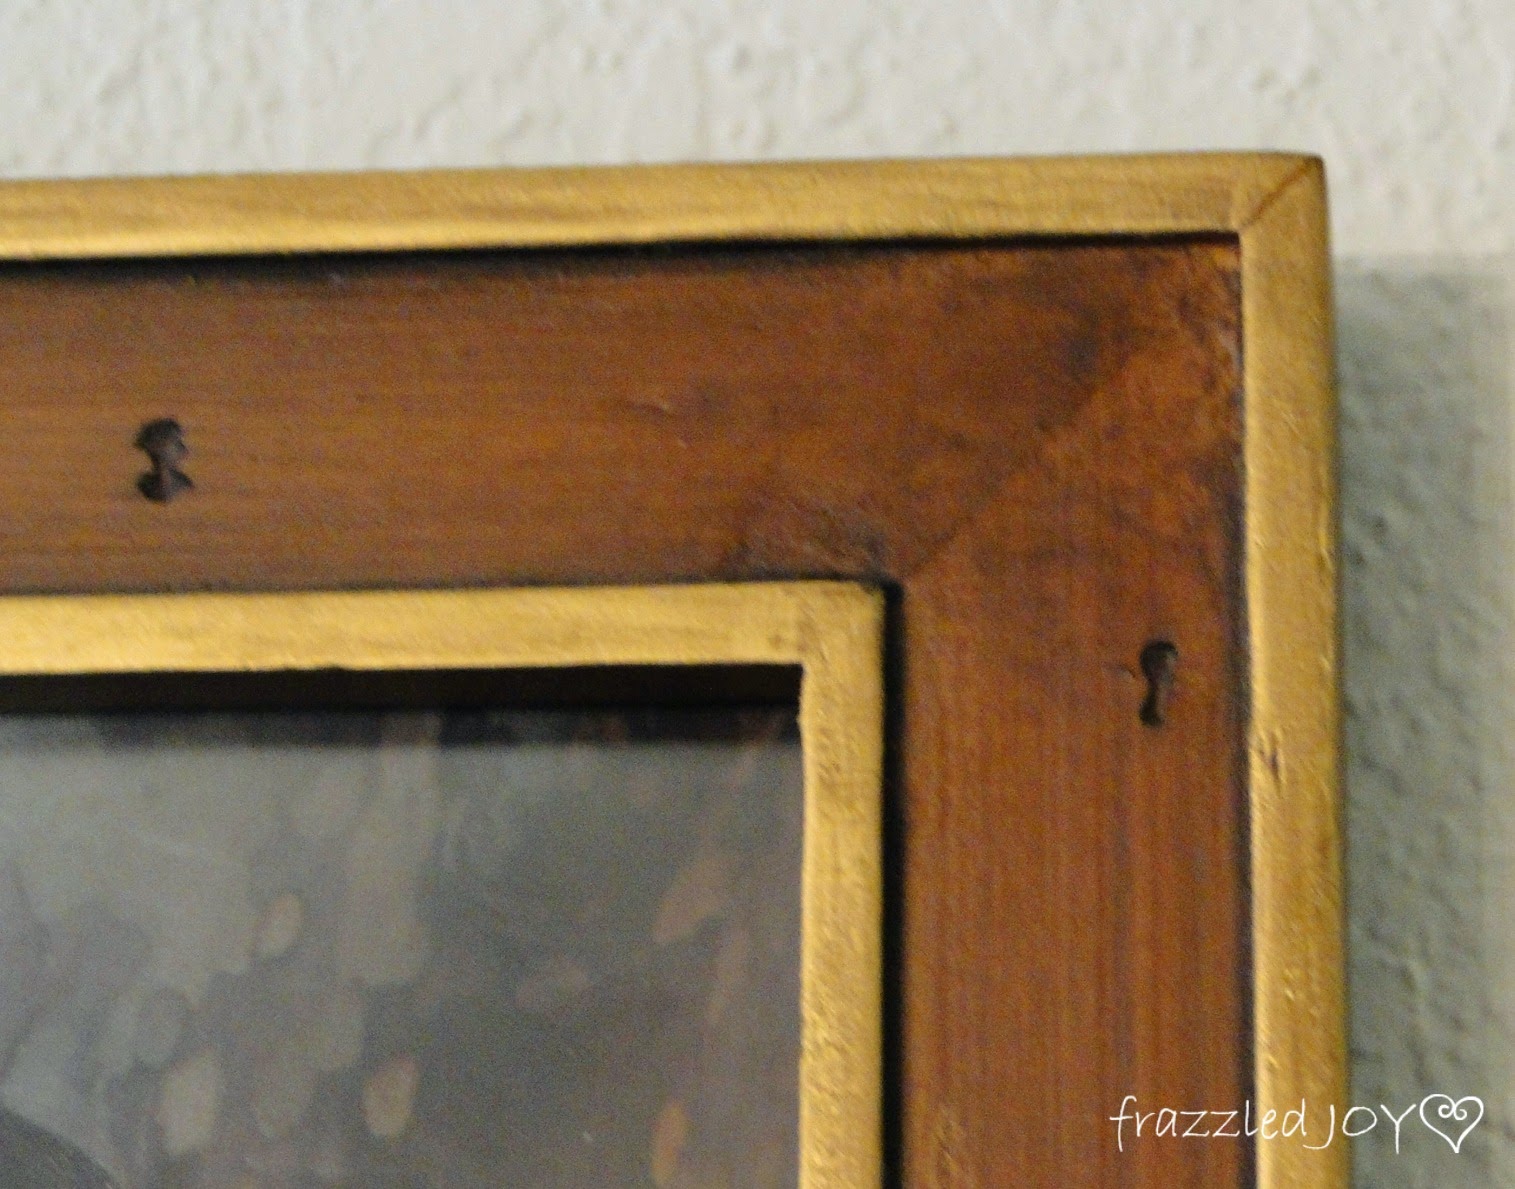
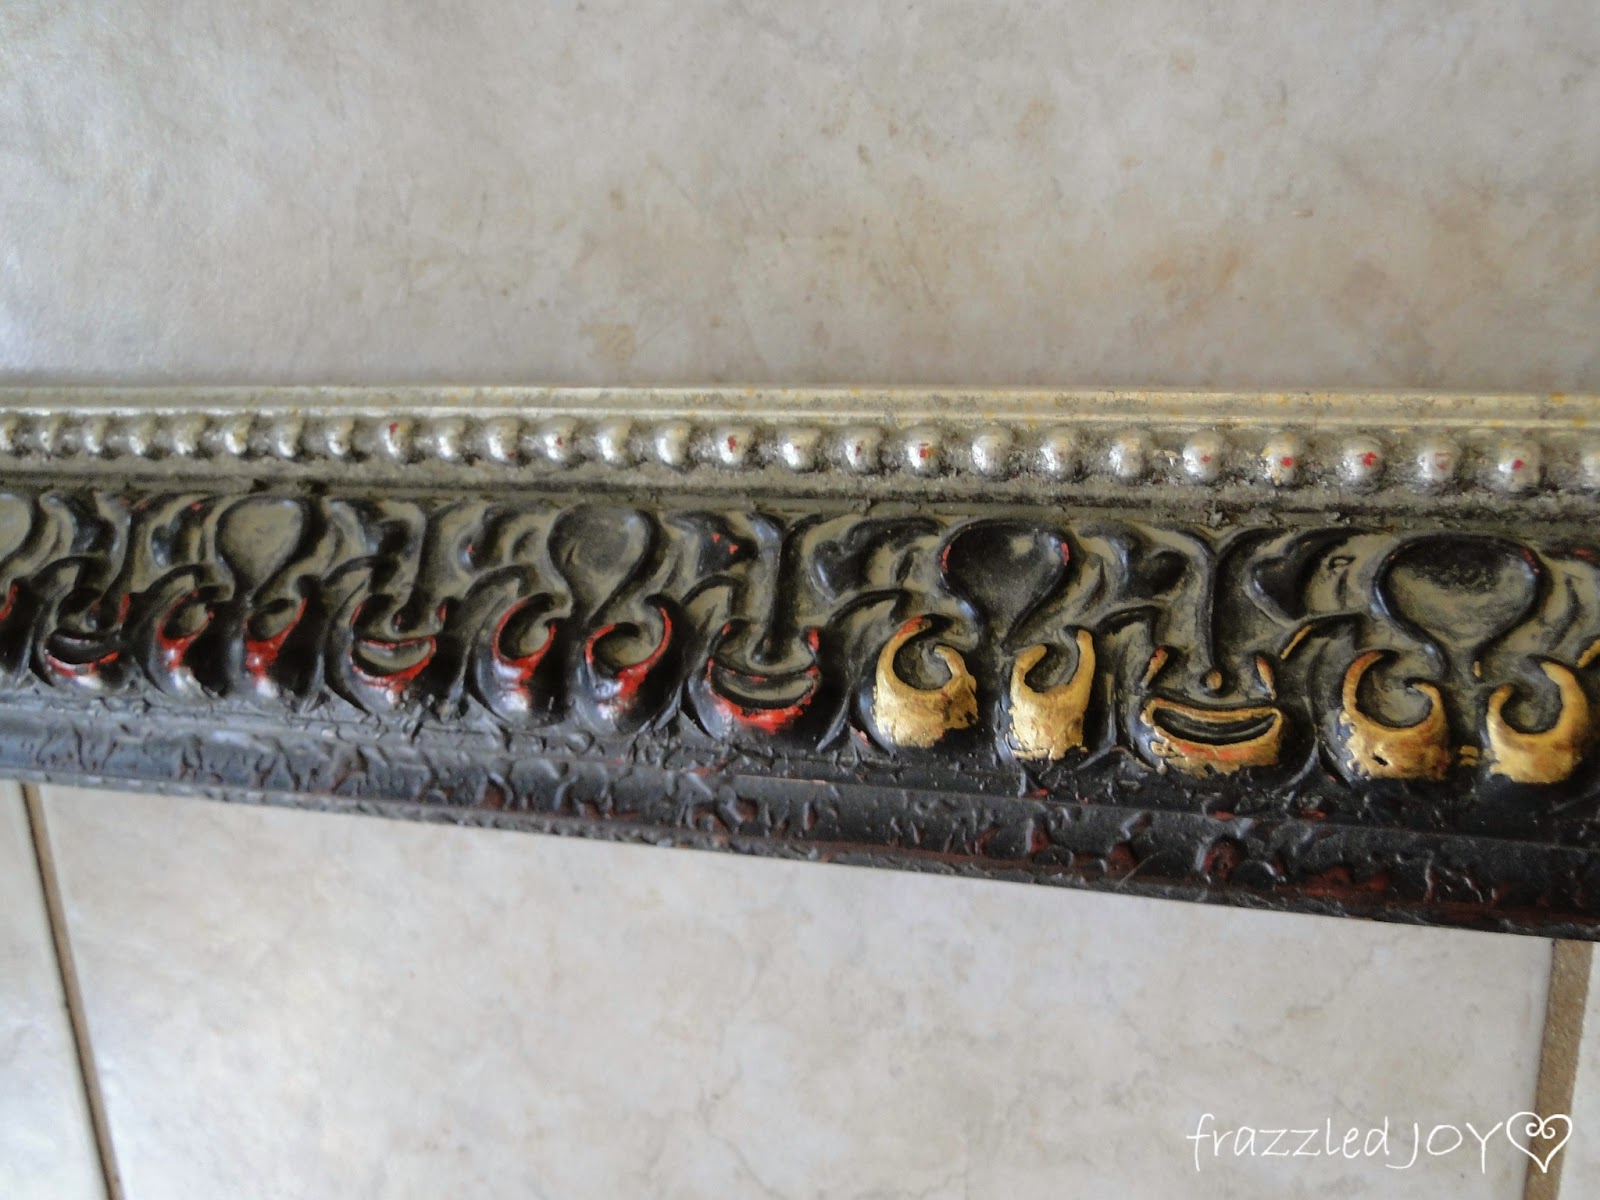
1. Treatment #1 simply involved using the Gold Leaf Rub-N-Buff to highlight the details in the frames.
For the large frame, I used the Rub-N-Buff to cover up the majority of the red accents that no longer match our home decor.
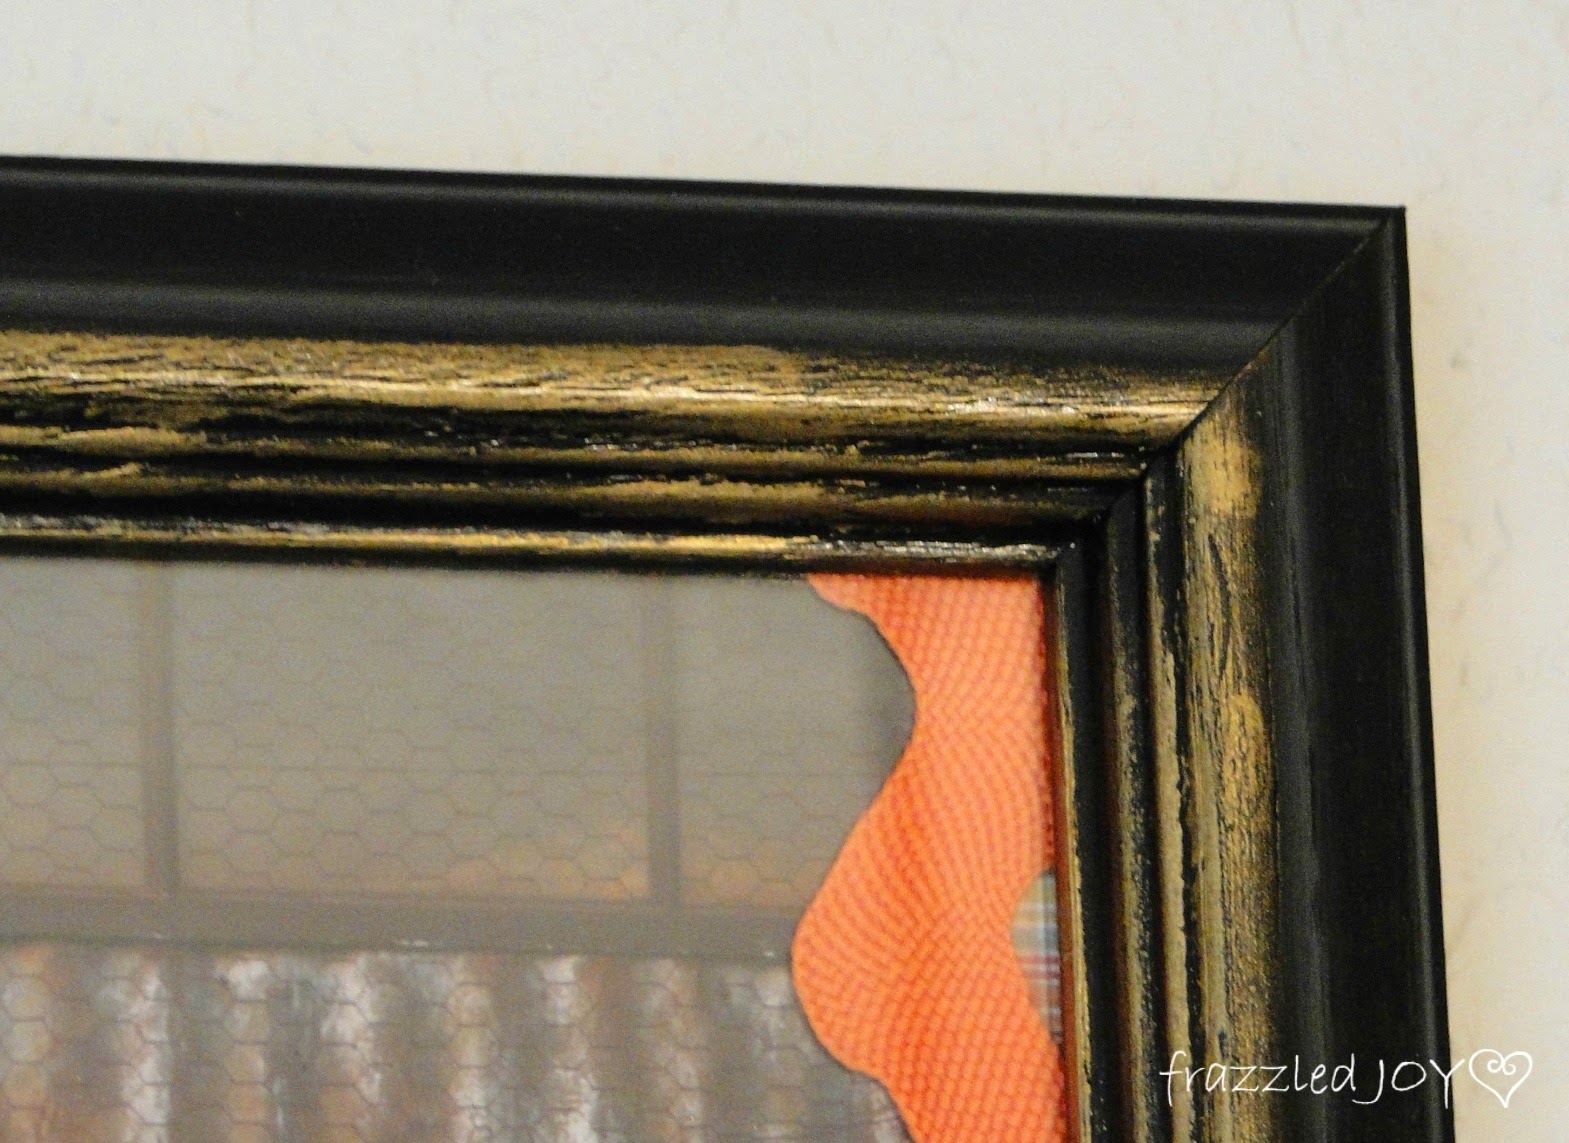
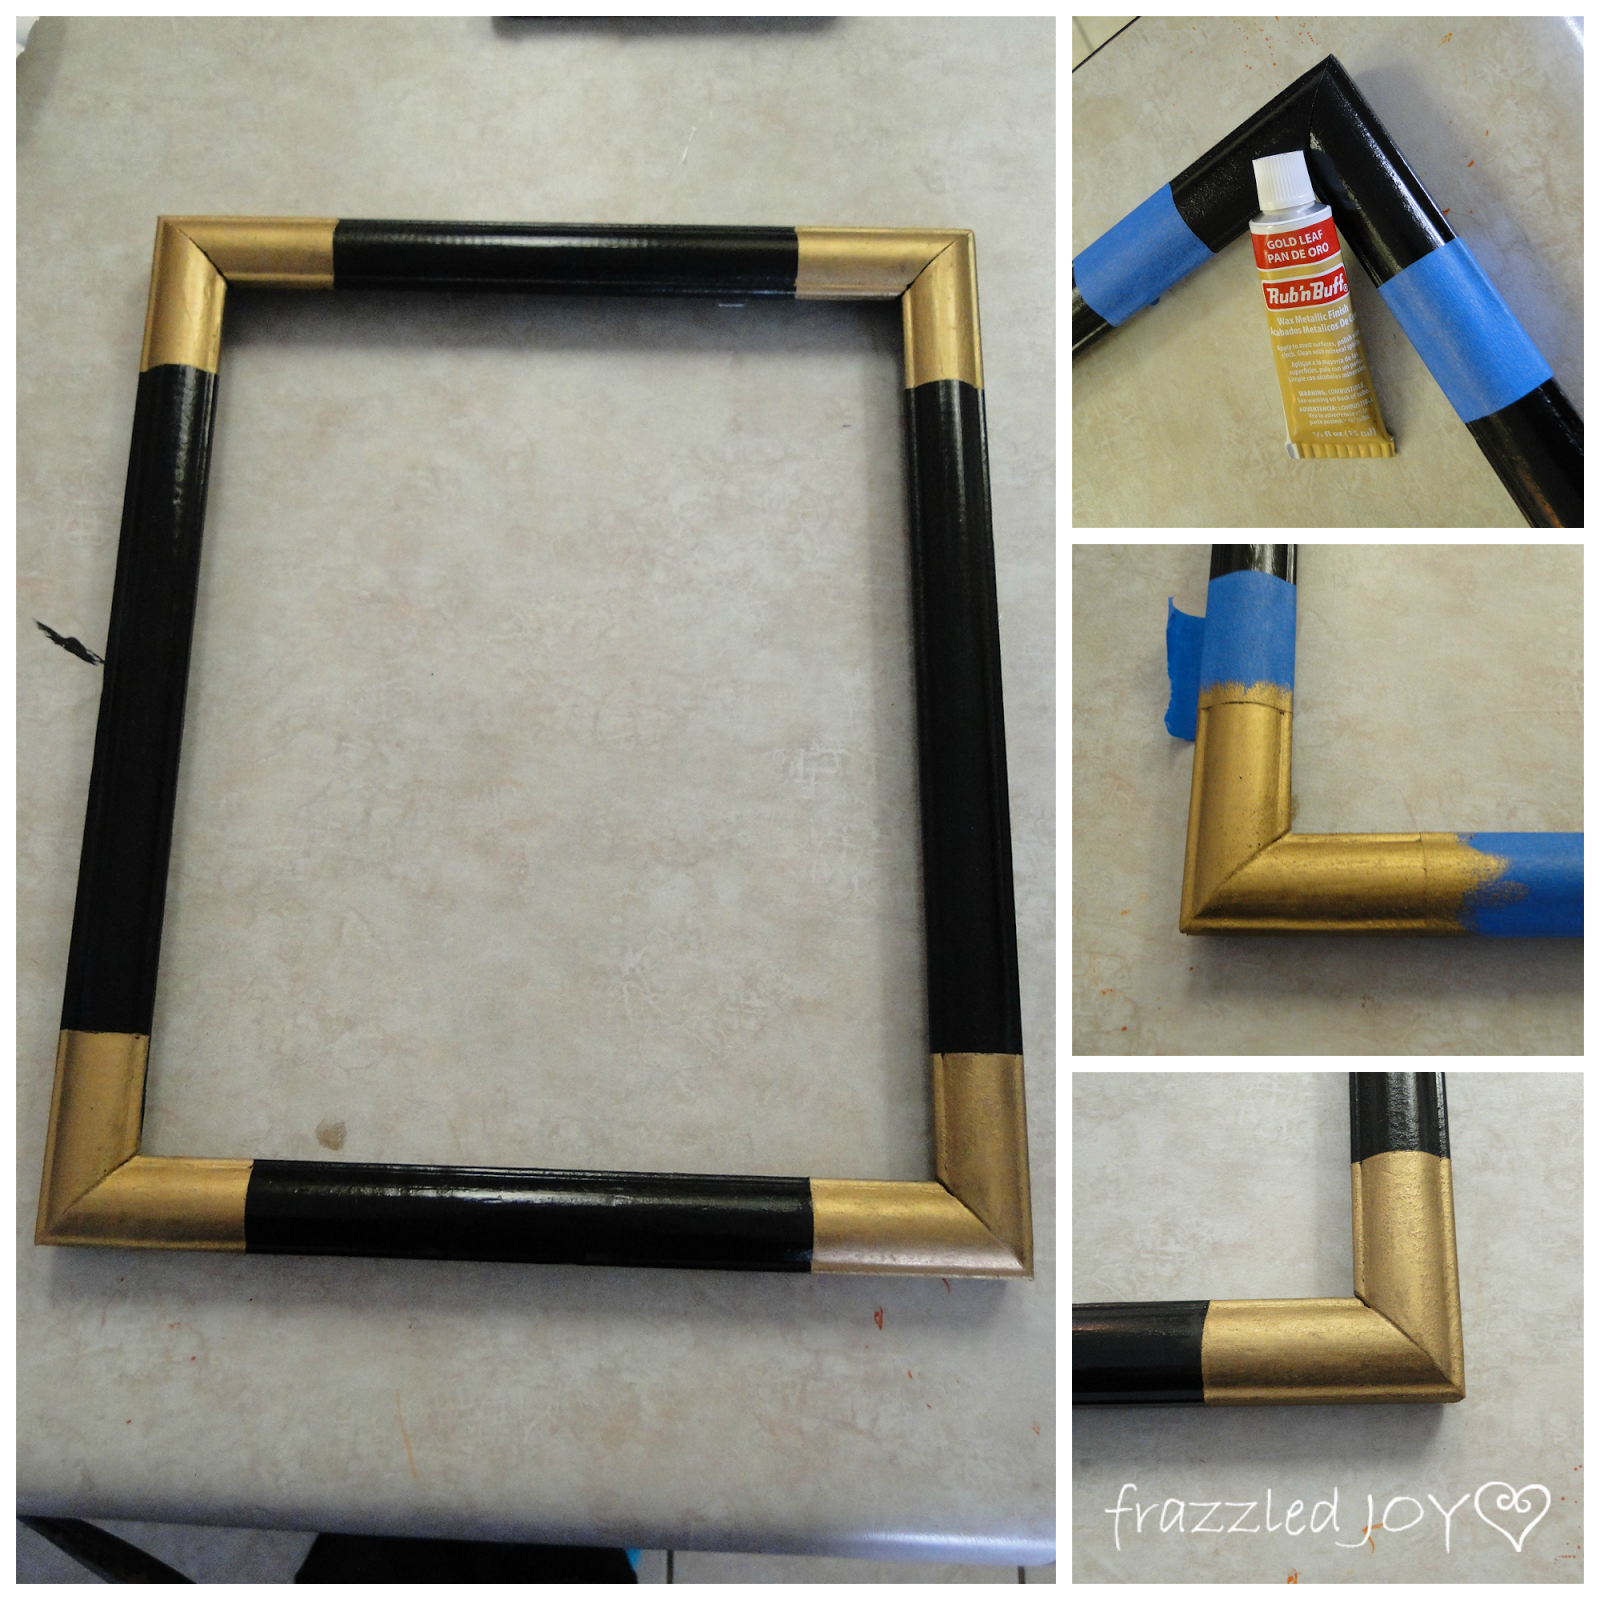
2. Treatment #2 involved first painting the frames with the black acrylic paint, then a quick spray of the clear sealer, and then again using the Rub-N-Buff to cover, and accent.
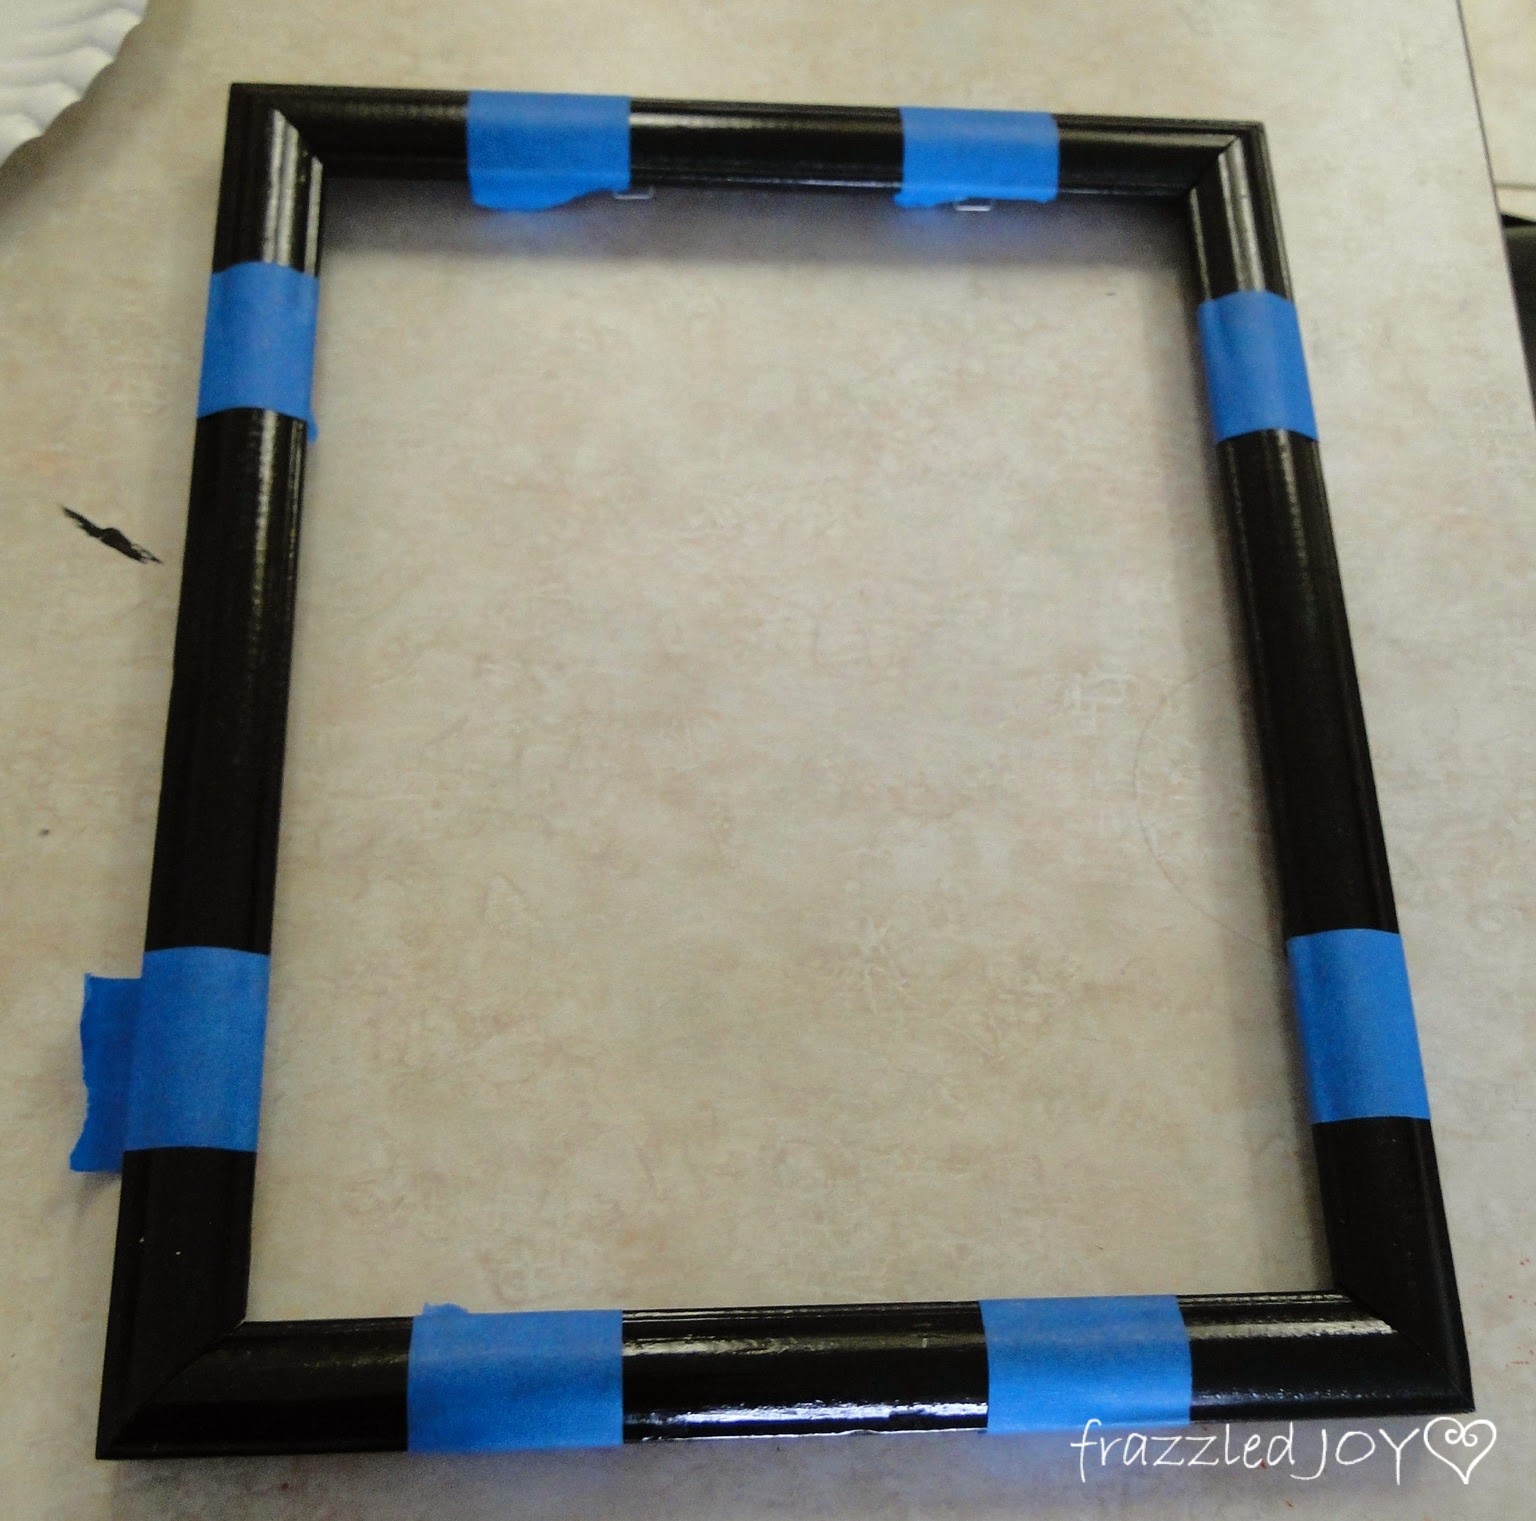
I had two 8×10 frames that were very plain, so they got a little extra attention. You can see in the photo above that after the black paint and clear sealer, I measured and taped off each corner. Then I applied the Rub-N-Buff to each corner of the frame and there ya go! I did give the corners another light coat of the clear sealer as well.
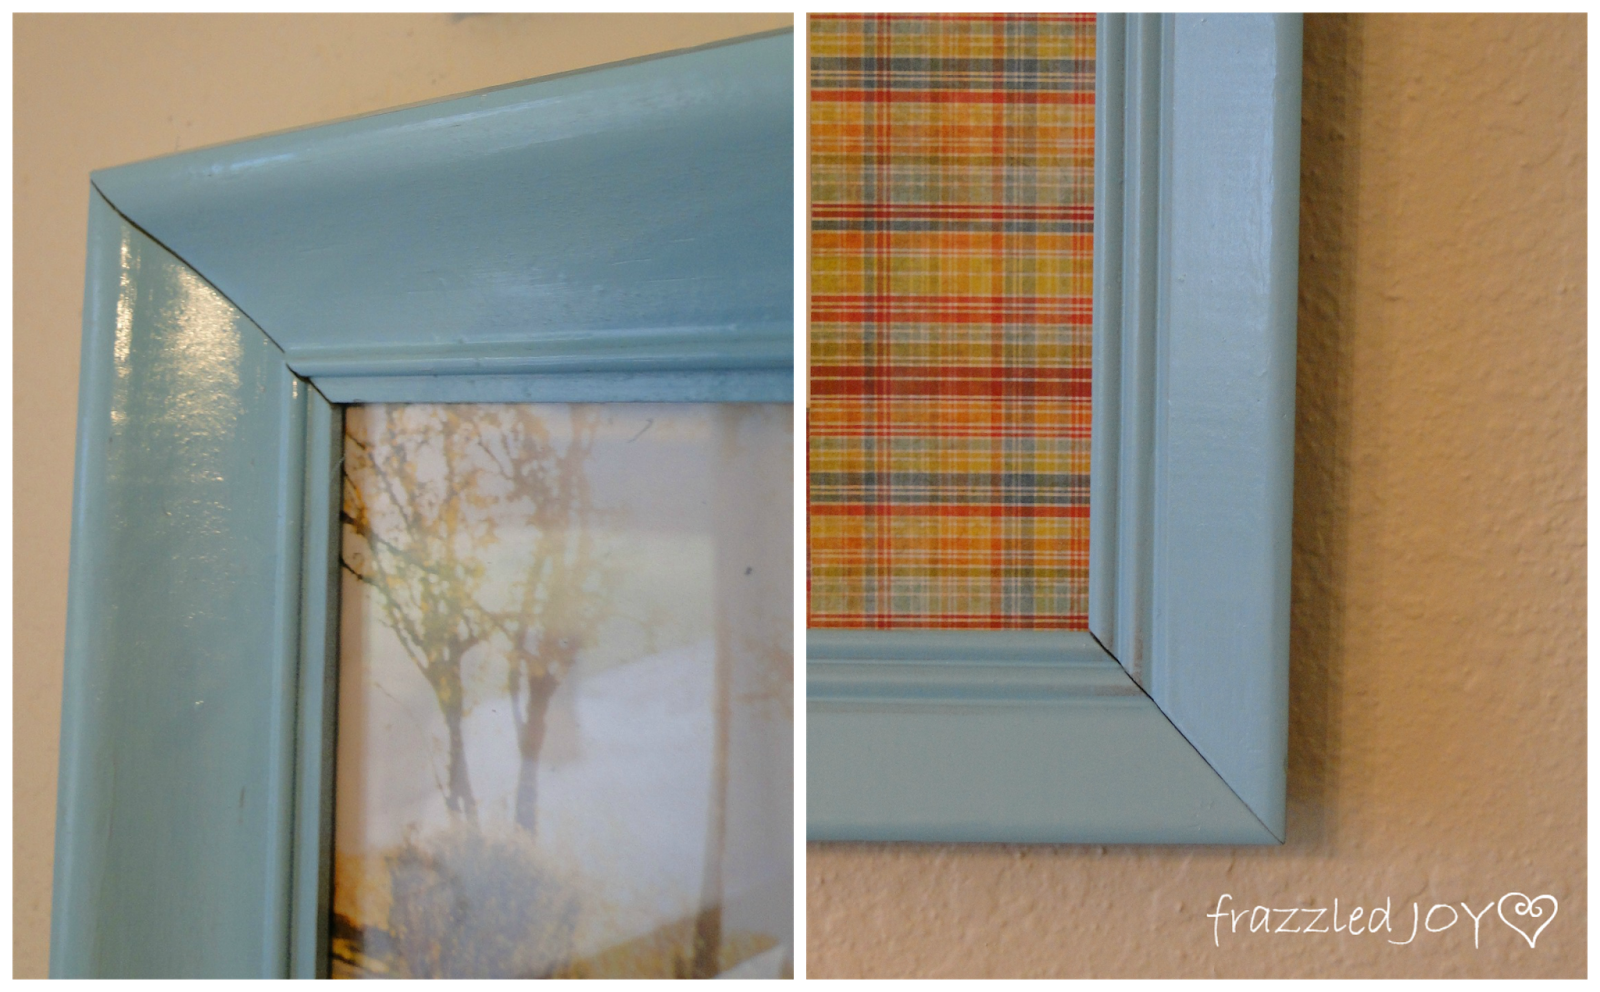
3. Treatment #3 was another easy one. The frames were simply sprayed with several light coats of spray paint. I love this color it is called Blue Ocean Breeze. That name even sounds lovely doesn’t it??
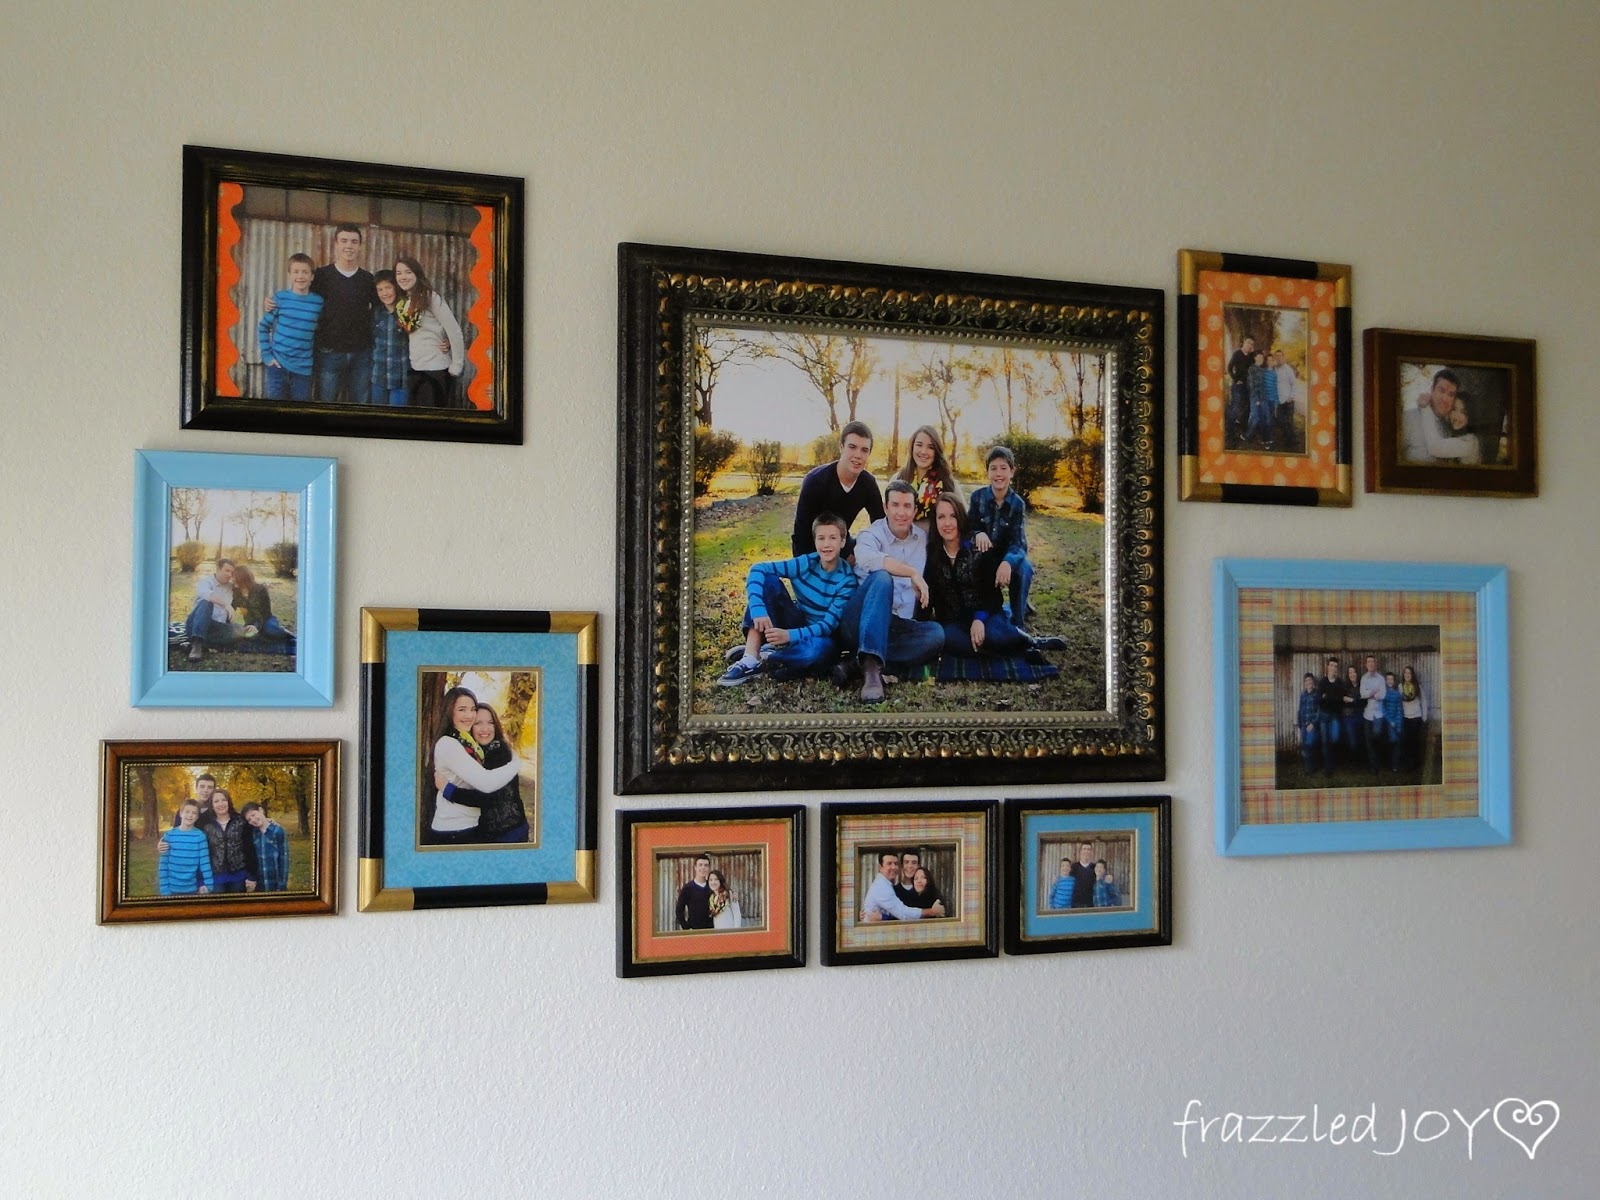
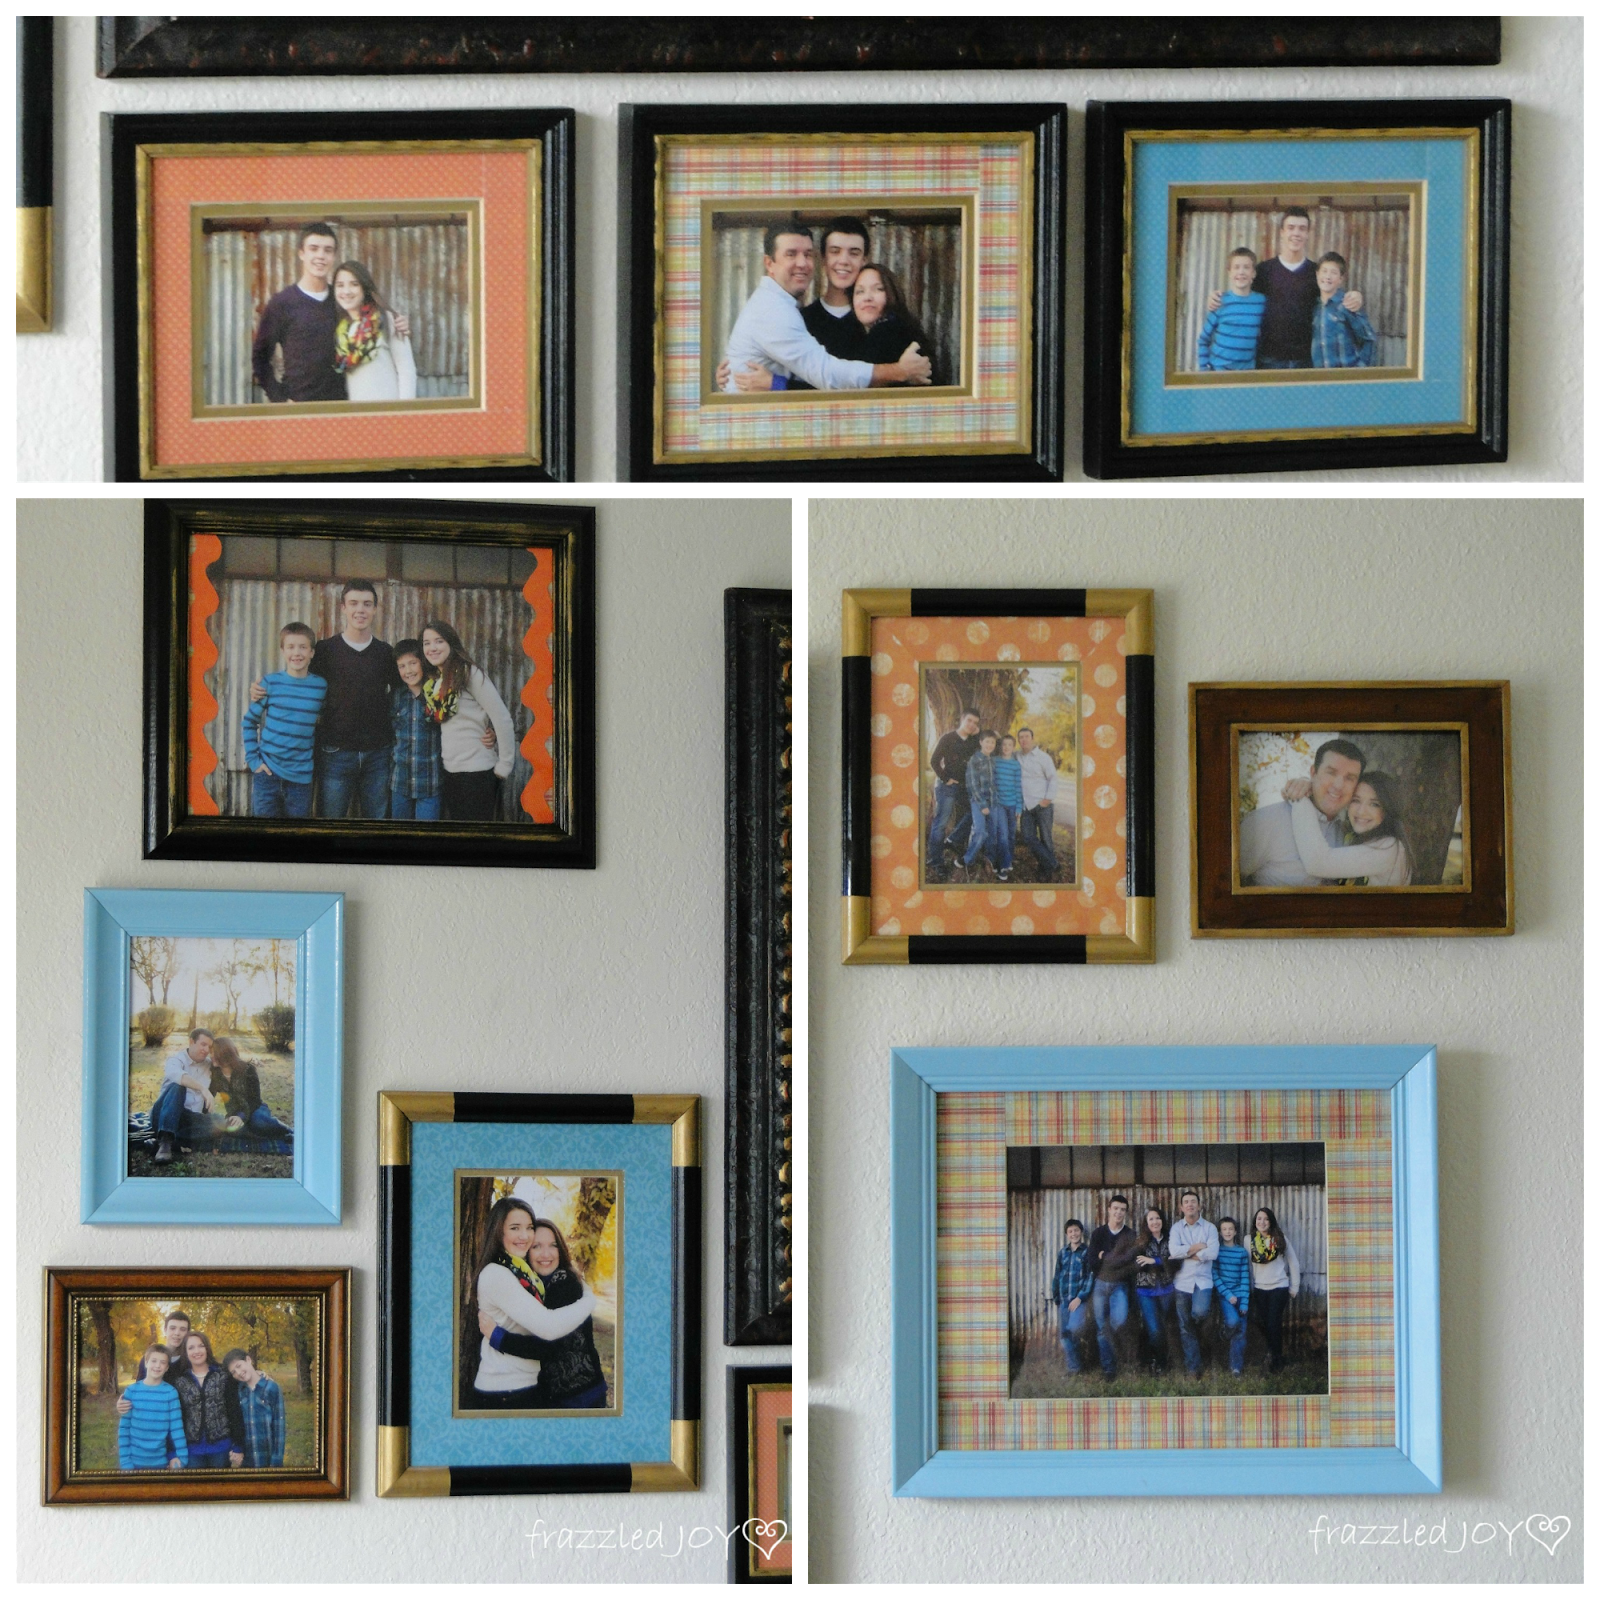
All of that together, combined with updating the mats and you have this finished result!!
I hope that you are inspired to make a few stops at your local thrift stores for some frames!! After that – get creative and see where it might take you!! Thanks for stopping by today :).
Linking up at Thrifty Thursday / Fridays Unfolded / The Creative Connection / Frugal Friday / Link Party Palooza / Share Your Creativity / That DIY Party / Frugal Crafty Home Blog Hop / Tutorials & Tips Link Party / Take-A-Look Tuesdays / Show Me What Ya Got / One Project At A Time / Hit Me With Your Best Shot / Works For Me Wednesday / Create It Thursday




You did a great job!! I might have to redo mine that are on the walls. 🙂 Thanks for sharing!!
I have boxes of unused frames that I'm redoing. Fun stuff. I've made things other than regular photo frames like tool hangers, French photo frames, chalkboards etc. Come visit my blog and see my remakes. Your frames turned out well! Nice job. I never thought to stripe a frame!
Thanks for using AMACO's Rub 'n Buff – so many great ideas! I would like to post this on our Facebook page at Rub 'n Buff Metallic Finishes. I will link back to your site.
Thanks for sharing and for linking back! Love your product 🙂
I love transforming old frames! You did a great job on these giving each some personality but coordinating it into a cohesive look! I'm so glad you shared this at Frugal Crafty Home Blog Hop!