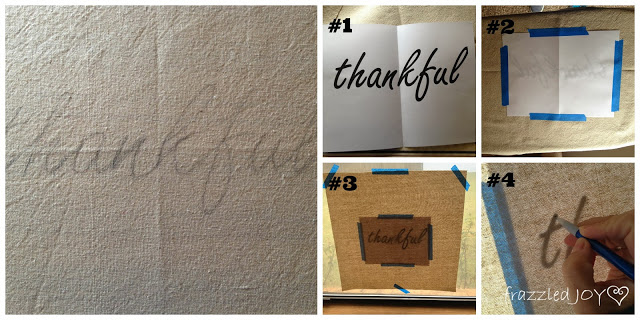
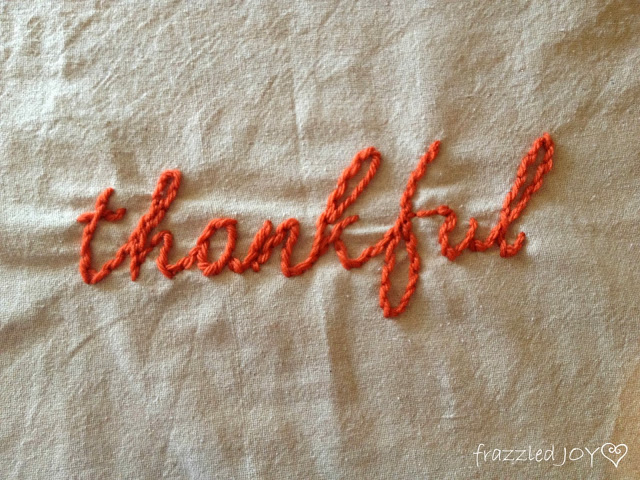
I wanted to lettering to be nice and thick and casual – the reason I was not using my embroider machine – so, I searched my yarn stash and found this fabulous warm orange. I love orange. I decided I wanted the stitching to look continuous so I went with a simple back stitch. If you aren’t sure what that is, check out the pictures below. Going around a curve can be a little tricky. The tip is to keep the string on the outside of the curve while you are stitching.
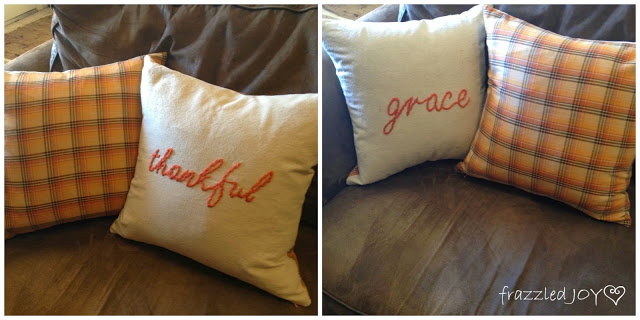
After about 45 minutes both pillow fronts were stitched and ready to be added to their backs!!
I just love the look and the texture of the yarn!! It really was one of those projects that came out just like I saw it in my head!! (That doesn’t always happen right??)
The possibilities are endless with this!! With a bazillion words you could choose, and lots of yarn choices!! My brain is going crazy with ideas – I hope yours is too!!
Linking up with Kristin at We Are That Family / Leslie at Lambert’s Lately / Kristina at Mother’s Niche / Ruth at Living Well Spending Less / Wendy at The Shabby Nest / Jane at Finding Fabulous / Jen at Tatertots and Jello / Kristin at My Uncommon Slice of Suburbia / Beth at Home Stories A to Z / Mandy at Sugar Bee Crafts / Toni at A Bowl Full of Lemons / Stacy at Not Just a Housewife


They turned out great Denise! I love that texture too, and your stitching looks so professional!
Lovely, I just want to reach into the photo and feel them!
So cute – great tutorial – I might have to whip up a couple as gifts. Thanks for the great ideas.