I just couldn’t wait any longer, couldn’t allow myself to be distracted any longer. I had.to.get.crafty!!
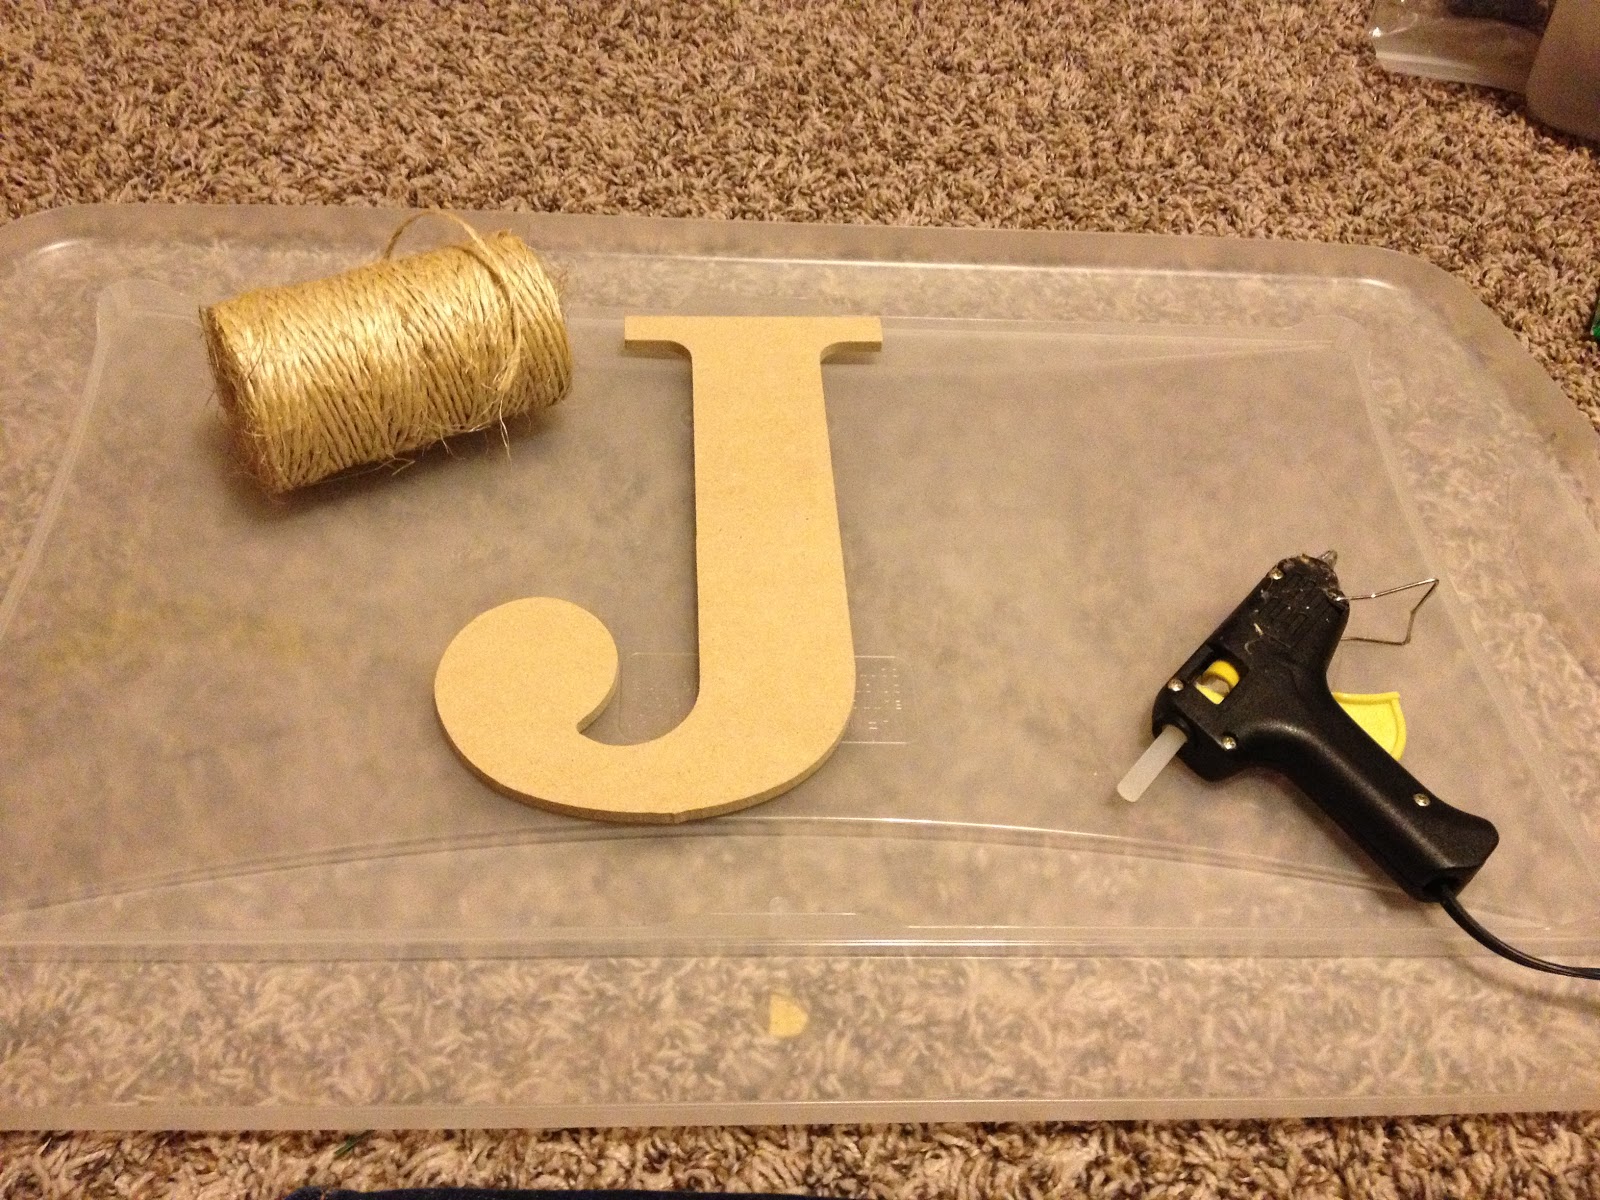
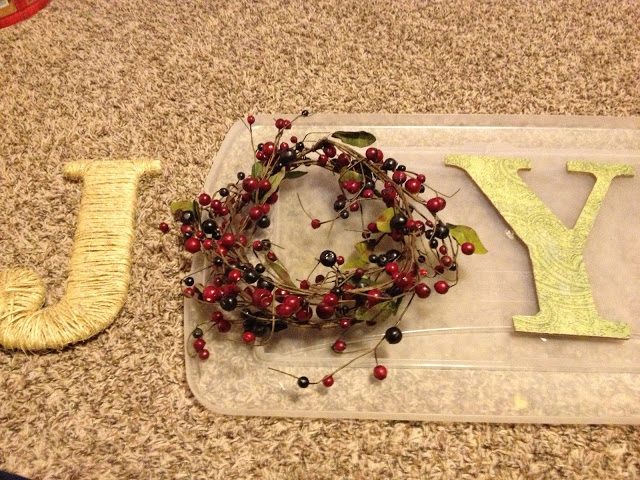
I love the word “JOY” all year long, but especially at Christmas, and I have been loving the decorated letters I have been seeing around the blog world. So, I decided to give it my own spin. I started with MDF letters from HL, some jute, scrapbook paper, spray adhesive, mod podge, and of course some hot glue.
First the J. I figured this would be the easiest to cover with the jute.
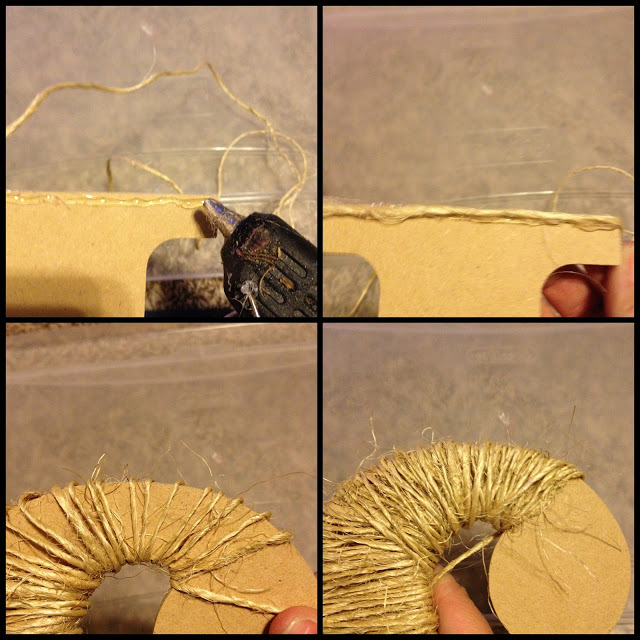
So, I hot glued the end on the back and started wrapping. It was a little tricky in spots – where the curves and corners were – so I just put a dab of hot glue wherever necessary to cover the board underneath. I didn’t worry about the back since it wouldn’t show.
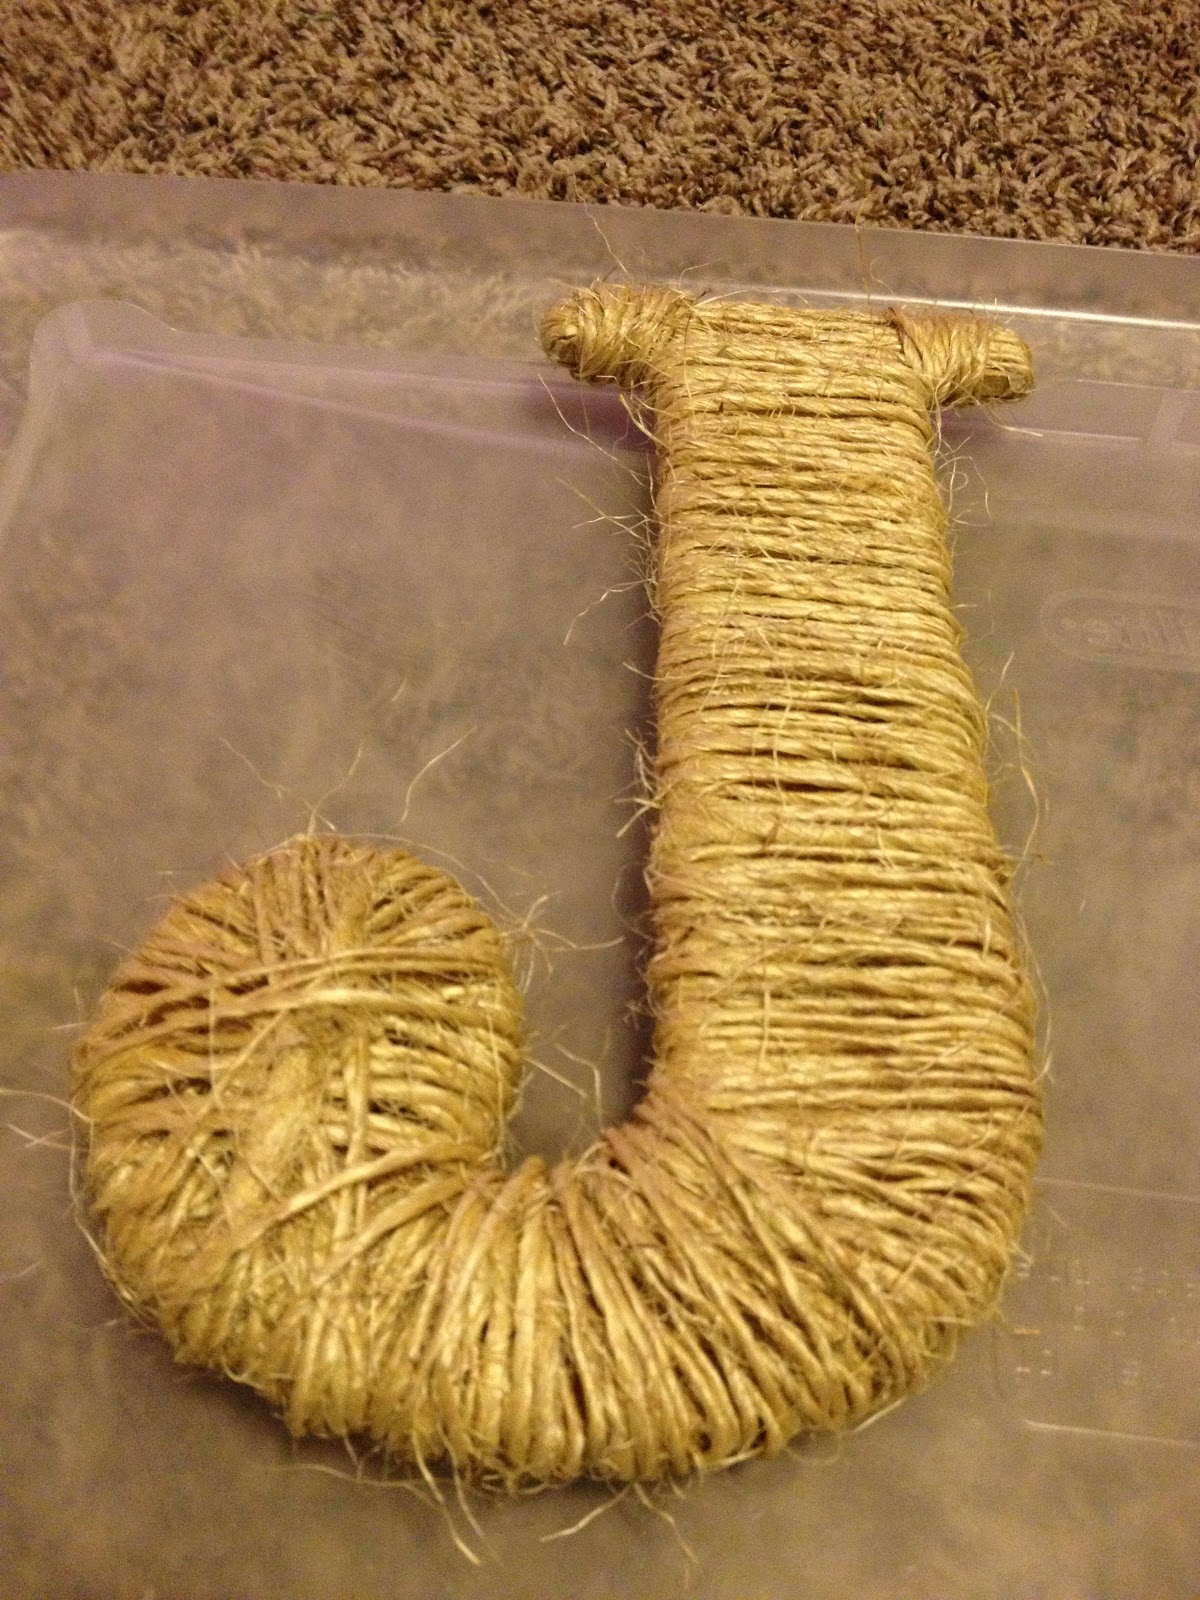
And voila!! Love how it came out.
Next the Y. (I’ll come back to the O) I found some paisley printed scrapbook paper that I liked.

I put a light coat of spray adhesive on the top of the letter, then pressed the whole piece of paper on top. I allowed it to dry for about 30 seconds and then I used a utility knife to cut away the extra paper. {An exacto knife would have been easier for that task, but I couldn’t find mine in my not-so-organized craft closet – project coming in January.} The edges were a little frayed so I used a tip from Thrifty Decor Chick and filed the edges. Then, a thin coat of mod podge just to make sure it was stuck and for a protected finish. I decided it needed a little something – so I pulled out my brown stamp pad and ‘aged’ the edges.
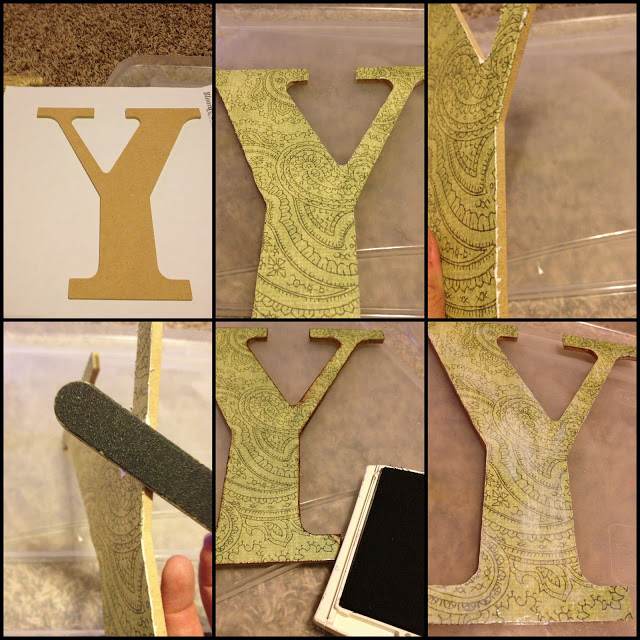
Done 🙂

Last the O. I simply used a berry garland that I already had for the O.
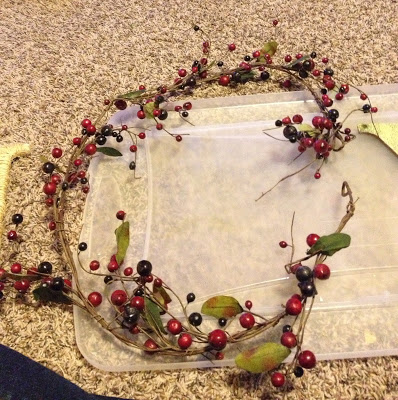
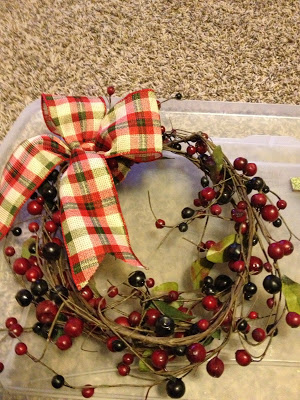
I curled it up in a circle that was the right size for the J and the Y. Then I took some ribbon and tied it together with a bow.
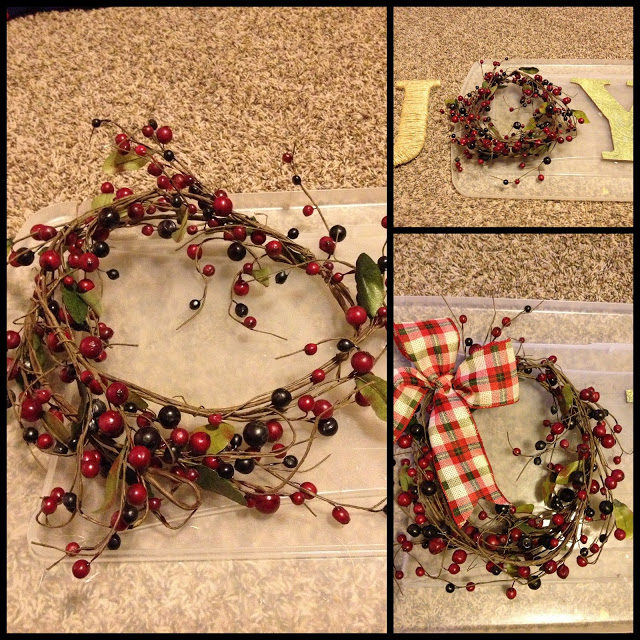
Perfect!!
Here it is all together.
And here it is in it’s place.
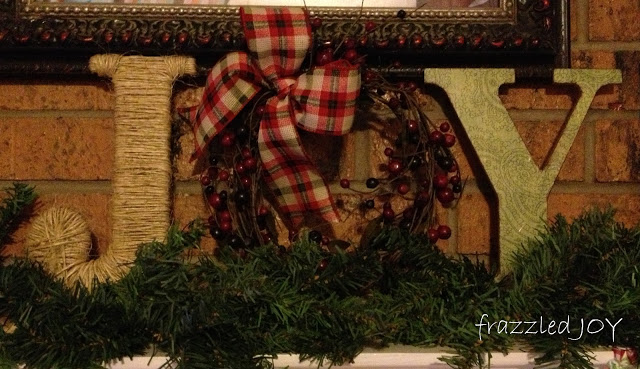
Love it when a project comes out just like you imagined it!! This cost me less than $5 total since I already had the adhesives and the garland. Awesome!! You can see how it looks on my mantle here (you may notice I changed out the greenery for some ribbon – I had to have something to hid the blocks of wood the JOY was sitting on but the greenery covered too much ;))
“For You are our glory and joy.” 1Thessalonians 2:20
Linking up with some fun linky parties – be sure to click over and check them out for some Christmas crafting inspiration!!


Leave a Reply