Hey there friends! So have you seen this cool new painting technique called hydro dipping?? I honestly didn’t know what it was called until I googled how to do it. HA! I’ve been wanting to try it out and I decided ornaments would be a great first-time project! And, they turned out pretty good for a first-time!
I do need to tell you that there is a learning curve to this. So, don’t expect your first few tries to be perfect. Also, a few of the tutorials I saw suggested using oil-based spray paint and I’ll admit I have no idea if what I was using was (but I don’t think so), but it was what I had so I did it. It worked fine, but I do agree the oil-based would probably work better.
Ok, now that I have all the disclaimers out of the way, let’s move on to how I did it. First, find a container that you don’t mind ruining – spray paint won’t come off. Also, make sure it’s big enough to dip whatever object you choose to the depth you want to dip it. Fill the container about 2/3 with water.

The next step is the creative, takes a bit of practice, fun part. Spray your paint on top of the water. I saw many techniques for this. A lot of people chose to spray in the center of the bowl every time, kind of creating rings of color. Continuing to alternate colors several times. I tried that and didn’t really like the outcome, so I just sprayed in four corners, and only one time. For the size of the ornaments, I preferred less paint.
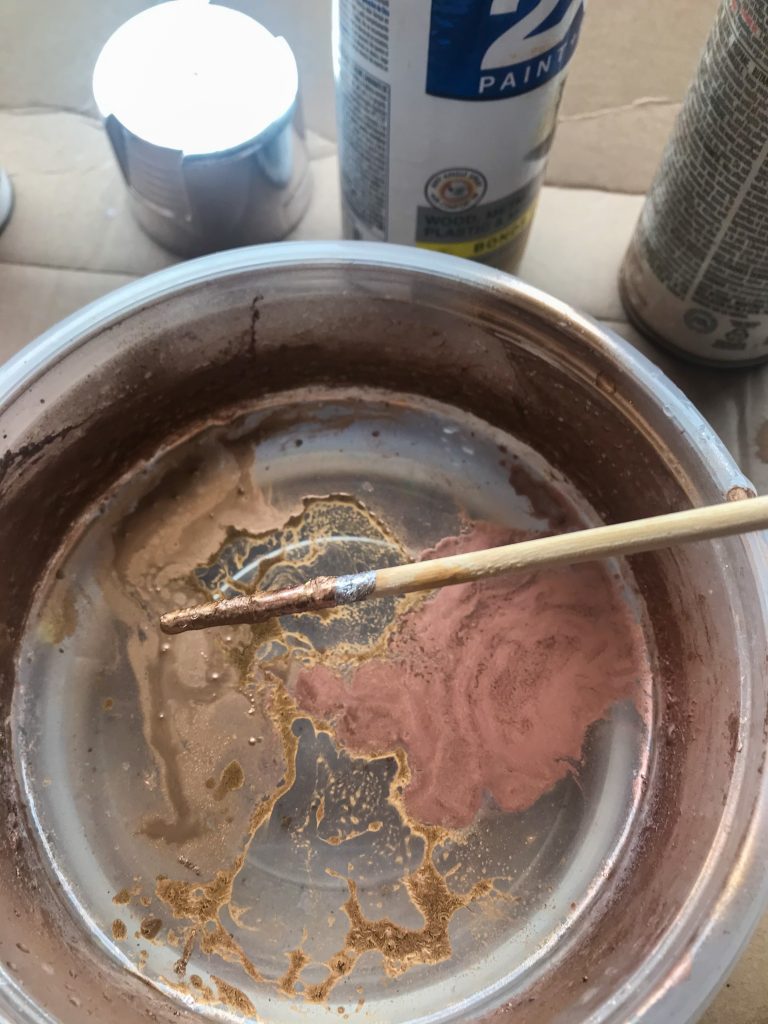
But, like I said, this is the creative part. It may take a few practice rounds until you find the technique that you like. Next, stir the paint around just a little bit to kind of marbelize the paint colors. (I used a chopstick for this – but you can use anything you have on hand.)
Some affiliate links used for your convenience. See disclosures for more details.
Then, dip the ornament in and hold it there. I used white shatter-resistant ornaments.
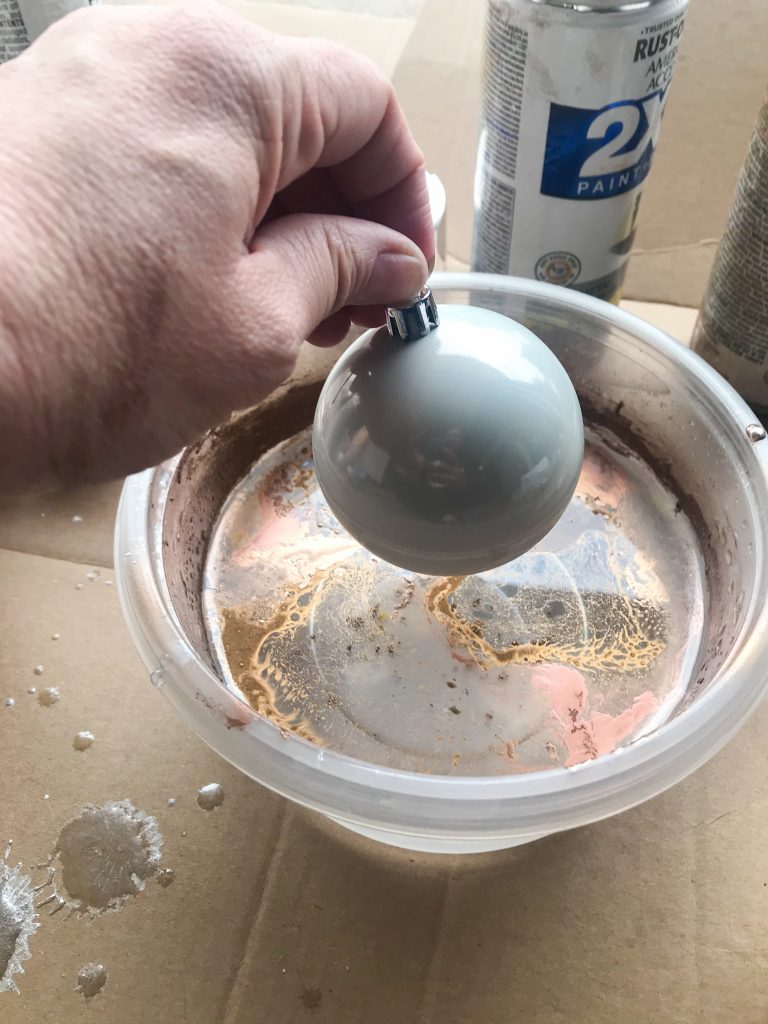
This, to me, was the trickiest part. Because the ornaments were plastic and they wanted to pop right out of that water! But, you have to move the paint away before you pull the ornament back out! So, I held the ornament in my left hand, had a paper towel ready in my right hand, and used that to absorb and push away the extra paint.
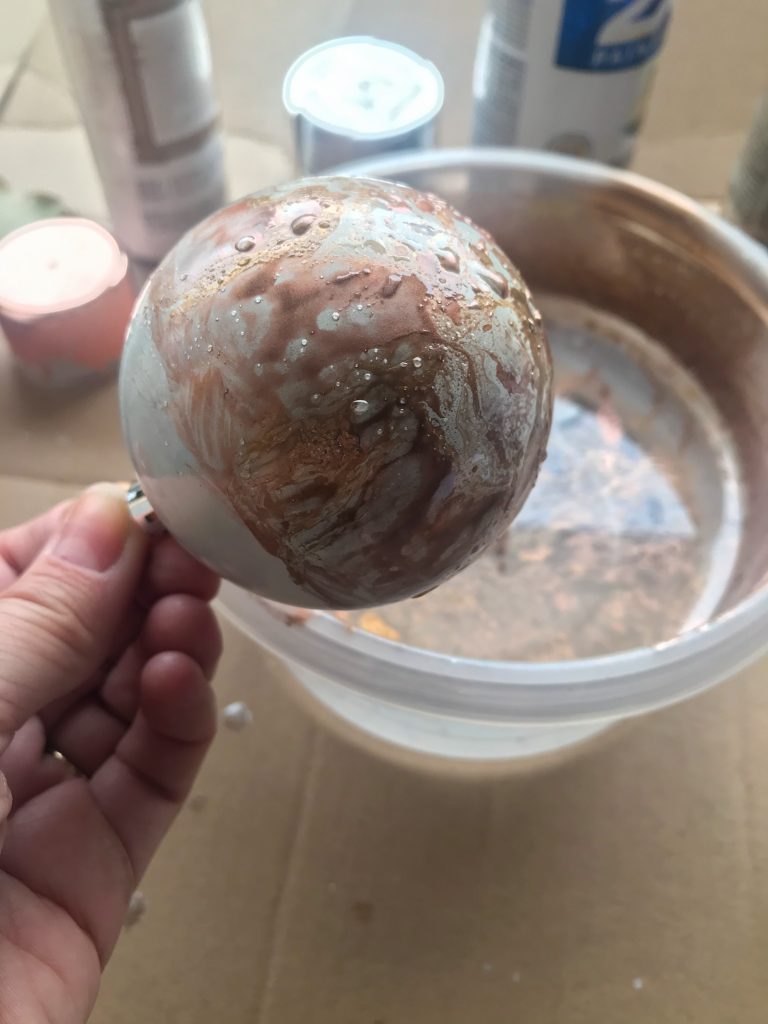
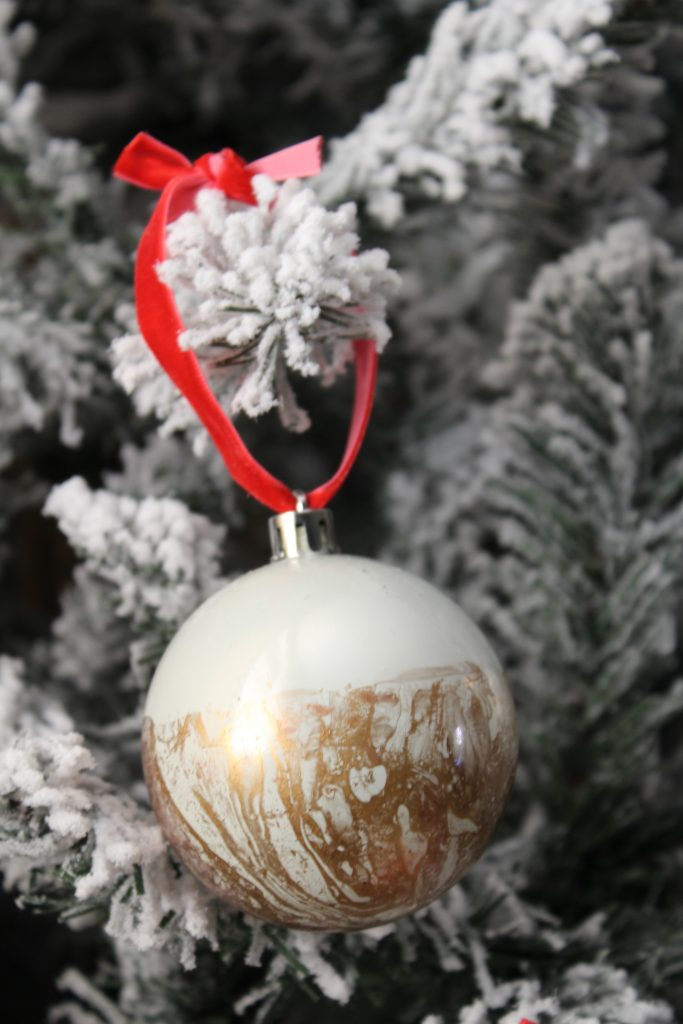
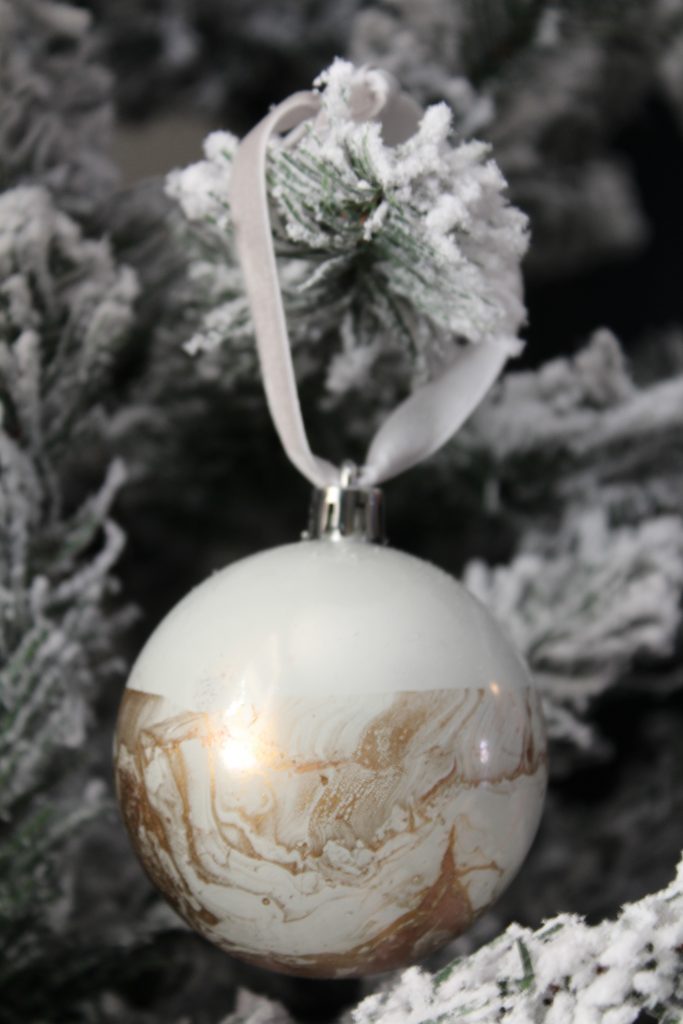
Then, you remove the ornament. What amazed me the most? Is that the paint was virtually dry immediately! I patted each one dry to remove some water, but barely any paint came off! Very cool! I used metallic colors, but you could use anything, and I think brighter colors would be striking! I also only dipped 2/3 of my ornament in the paint, but I think dipping it all the way would also look really cool!

I added some red and silver velvet ribbon to mine for hangers. (I despise those wire hangers the ornaments come with.)
I should have made a video, but I just never think about that. If you need to see it, check youtube. I found several and it was helpful to see it done at least once before trying it. 🙂
If you try it, send me a picture! I’d love to see what you creative people do!


Leave a Reply