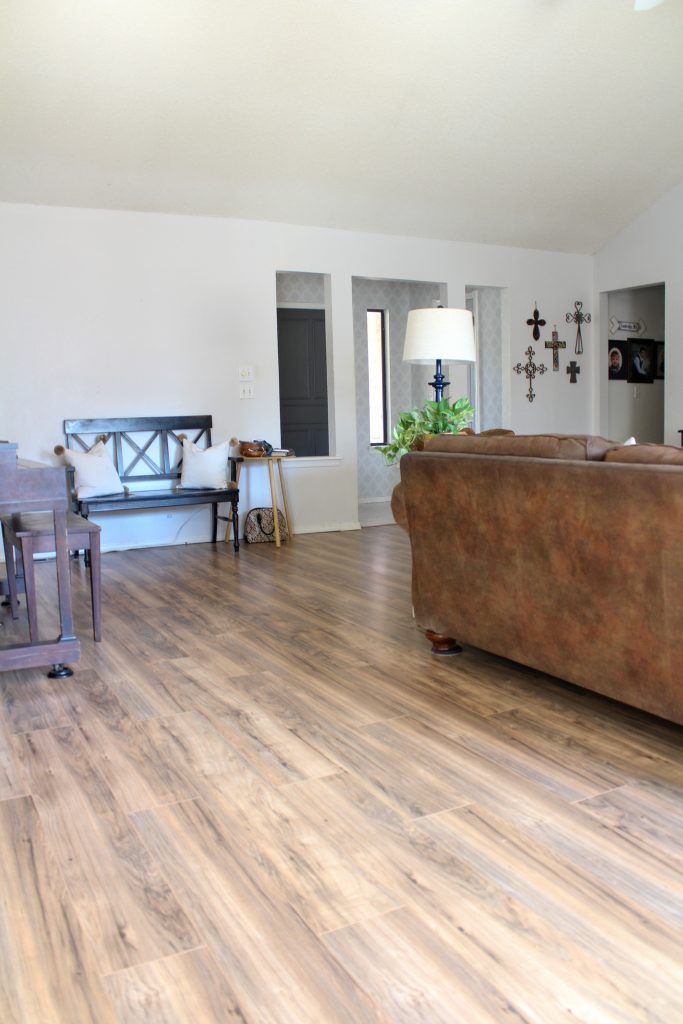
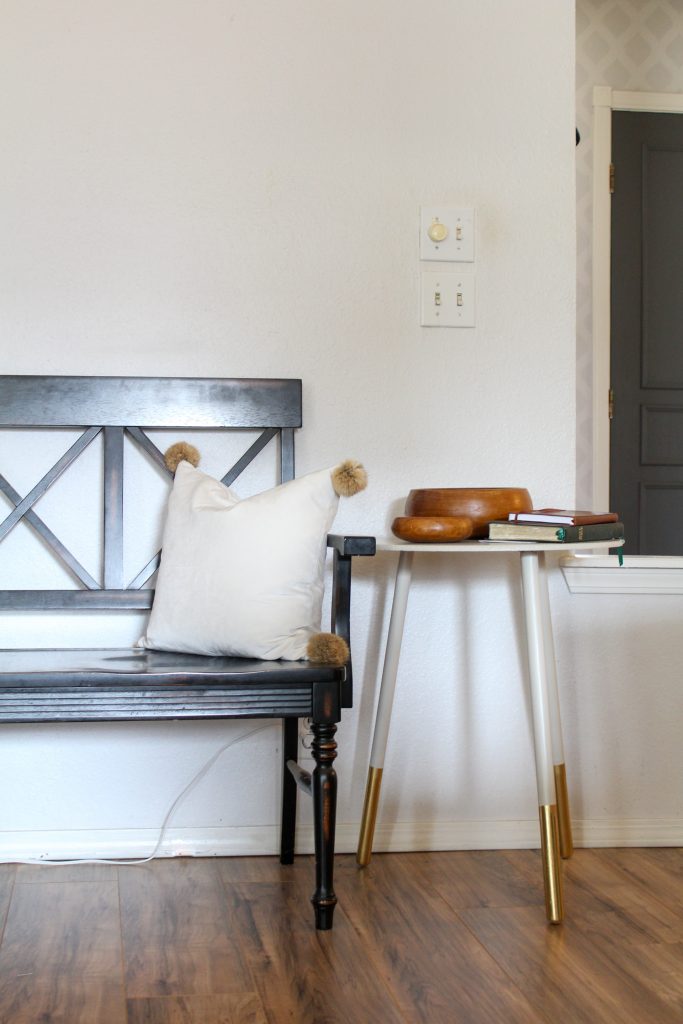
Thanks for all the love for our new floors!! Literally we smile every time we open the front door :). As we were clearing out the room of furniture in order to start the project, we decided that a few pieces would not be coming back in the room, and a few things would be moving around. I am really loving the new arrangement, but there were a few empty places. This wall for instance, is where the dresser used to sit. I had thought maybe a console table here. But, since I wasn’t really in a hurry to spend any more money, I decided to bring in this bench from our garage. It came with our kitchen table and chairs and we are no longer using it there. I actually really liked it here!
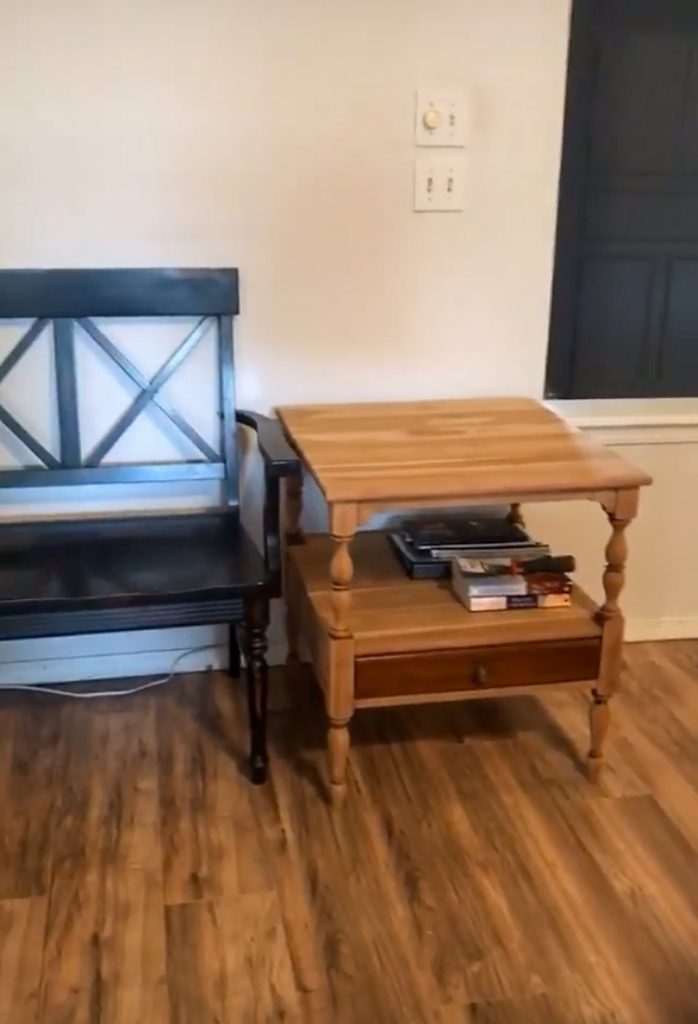
But, I knew I needed some sort of table/drop zone next to it or the boys (all three of them) would clutter up the dresser like before. I really didn’t want this since the dresser now has a more visible spot in the family room. I found this table on Facebook marketplace and I pounced on it. It was so cute and $15. I knew there was a possibility it would be too big, but I took a chance.
It was definitely too big. haha I even tried to live with it for a few days to see if I could get used to it. Nope. It was adorable, but not what I had envisioned. I wanted a round table.
And then, I remembered I had like 4 smallish round tables in the garage….of course. Why spend even $15 when you can have what you want for free!
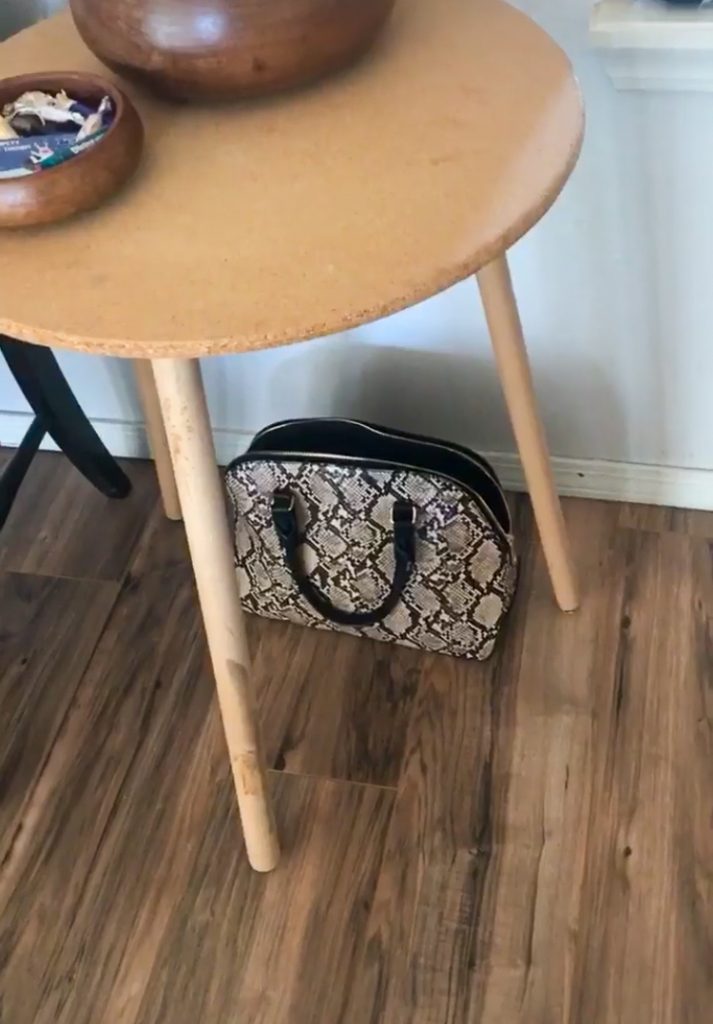
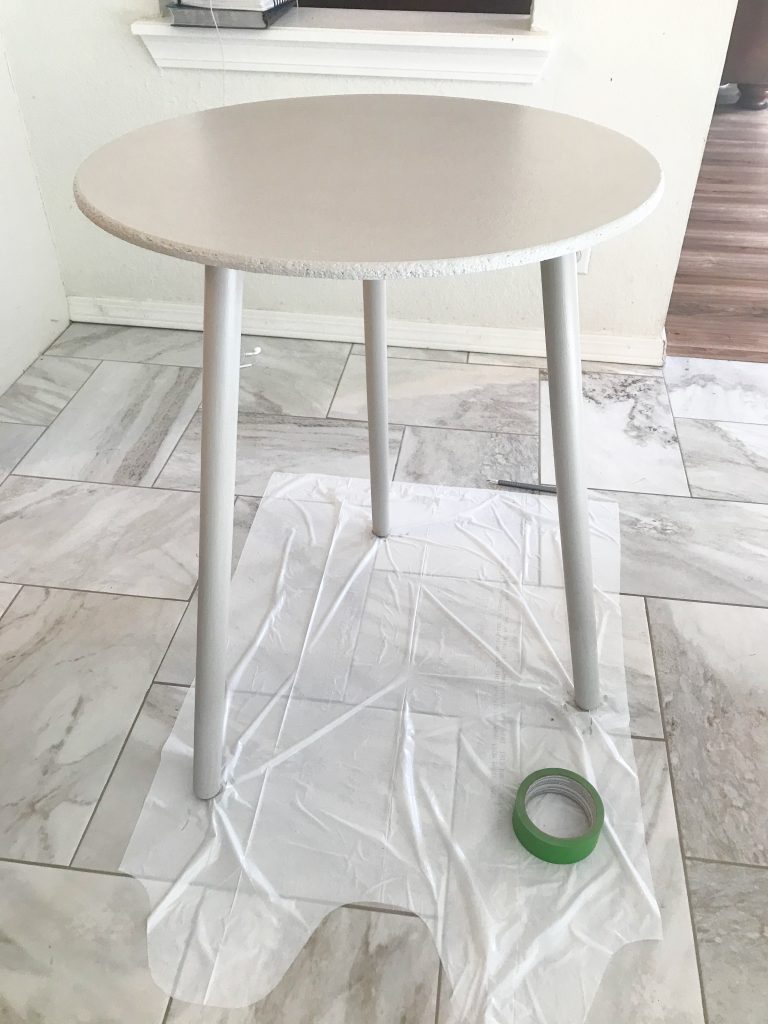
So, I pulled them out, chose this one, and put it together and in place to see if it would work. It was perfect! Well, almost.
Some affiliate links used for your convenience. See disclosures for more details.
I thought about just throwing a tablecloth over it, but then I thought about some of the tables I had been looking at while shopping, and decided to try to replicate one of them.
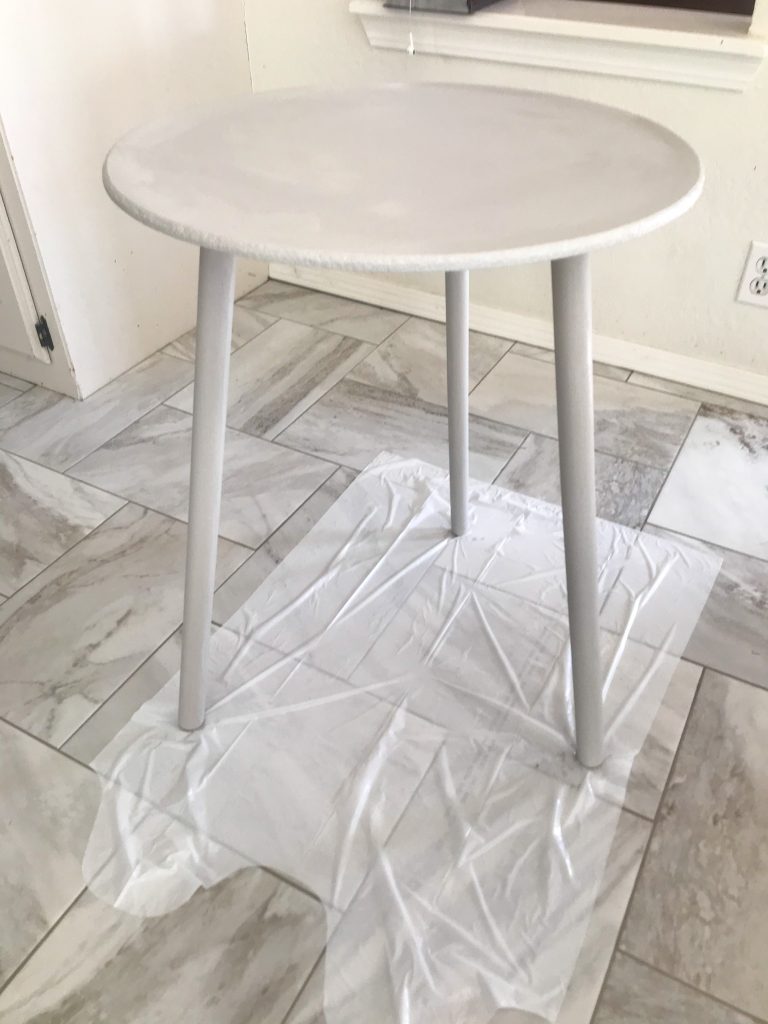
The table was rough for sure – particle board top and lack-luster legs. I started with two coats of my favorite light gray chalky paint.
And then a top coat of polycrylic in clear satin. This is my favorite chalk paint top coat. It also comes in a clear matte finish if you want even less sheen.
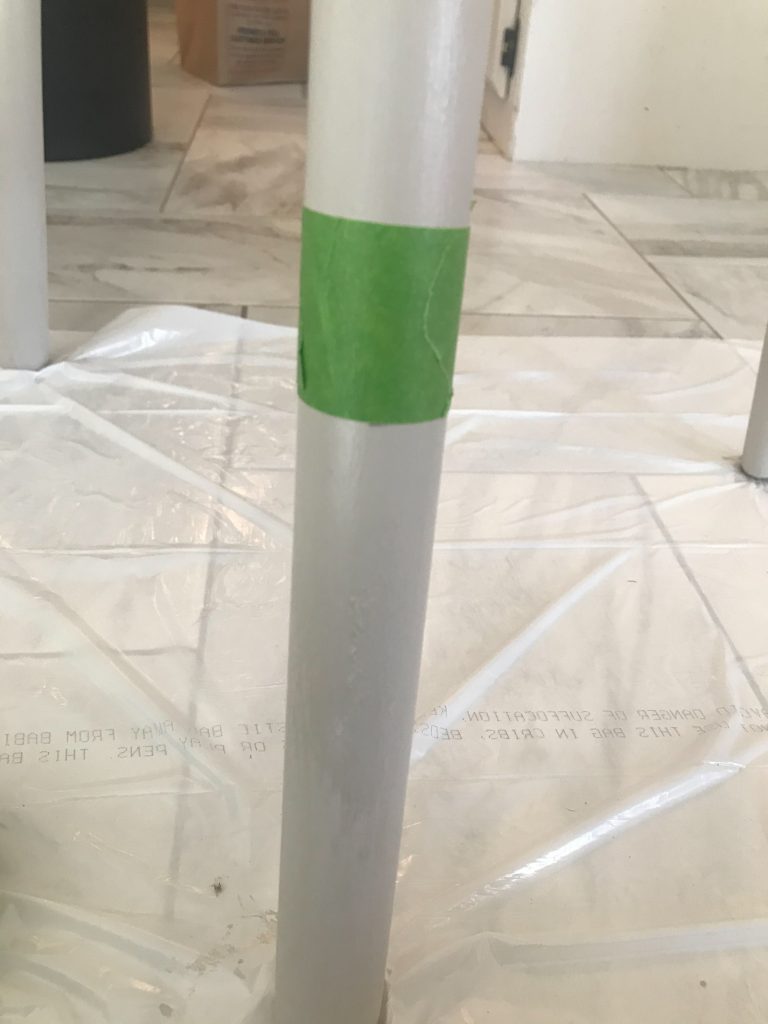
Next up, leg detail. I eyeballed how far up the legs I wanted to tape off, and taped.
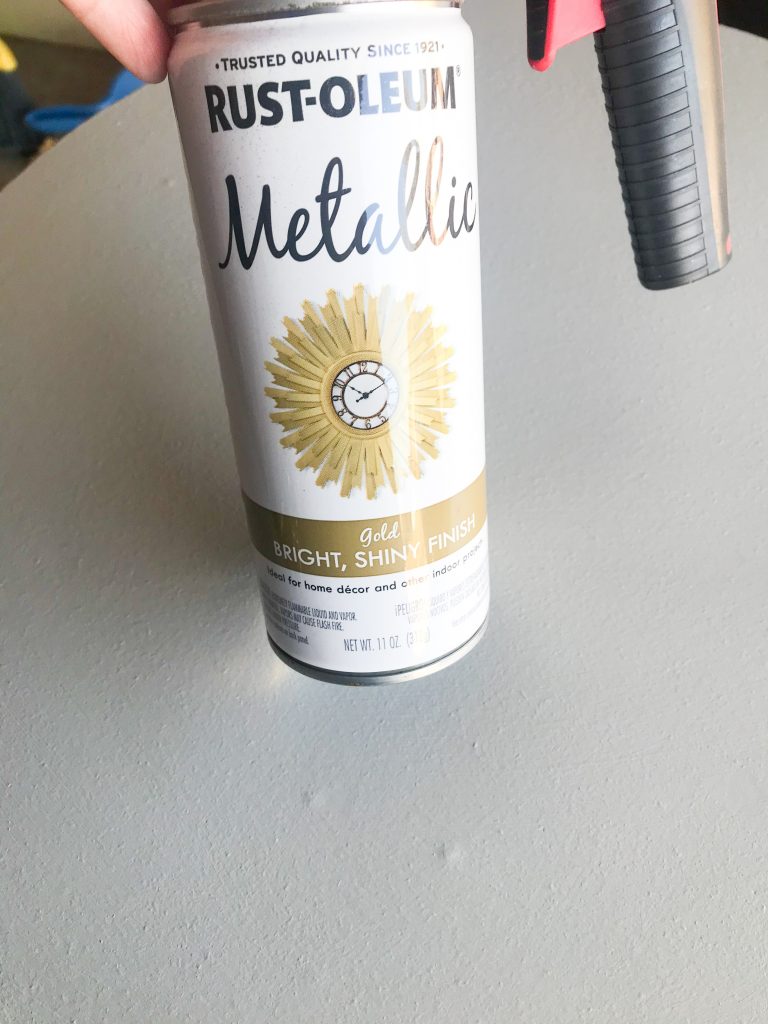
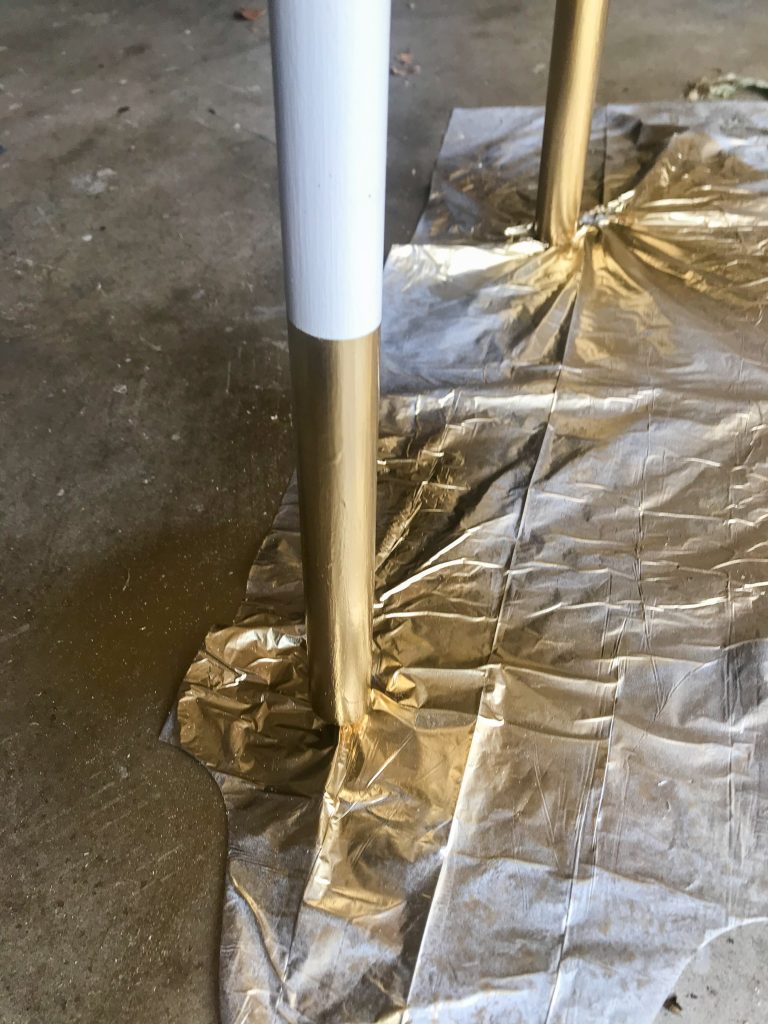
Then I pulled out this pretty gold from my spray paint stash, and got to work. And, if you like to spray paint, and don’t have one of these triggers, you need one! Keeps your fingers from cramping, and keeps the paint off your fingers!
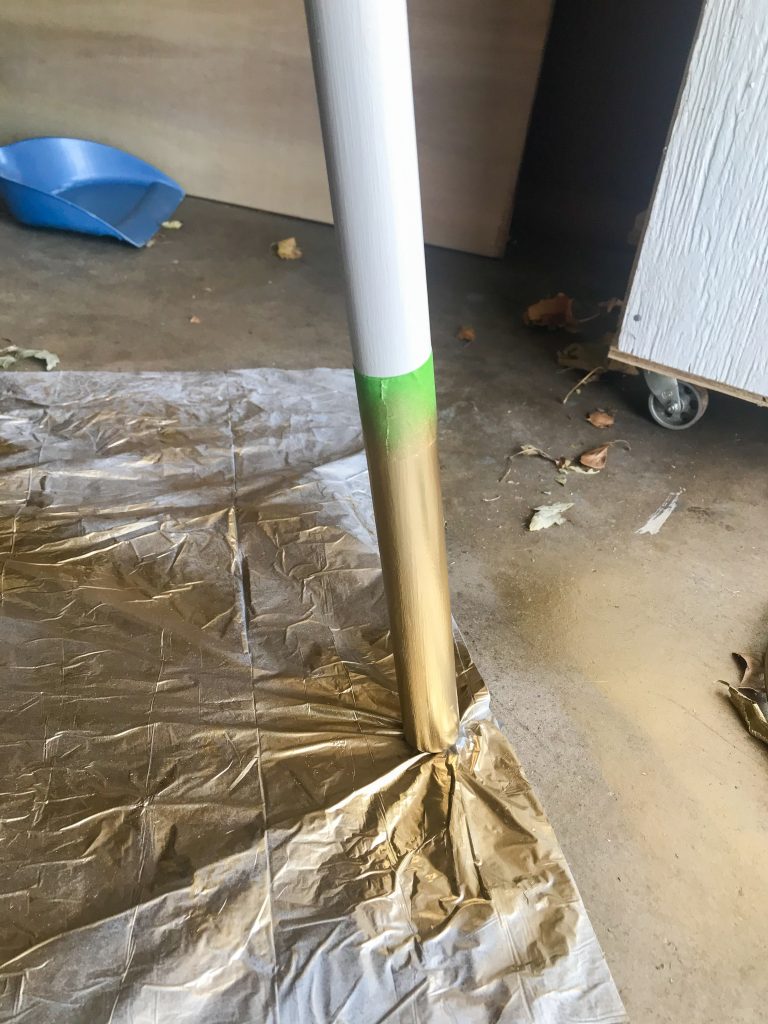
Threeish coats later and I had gold tipped legs!!
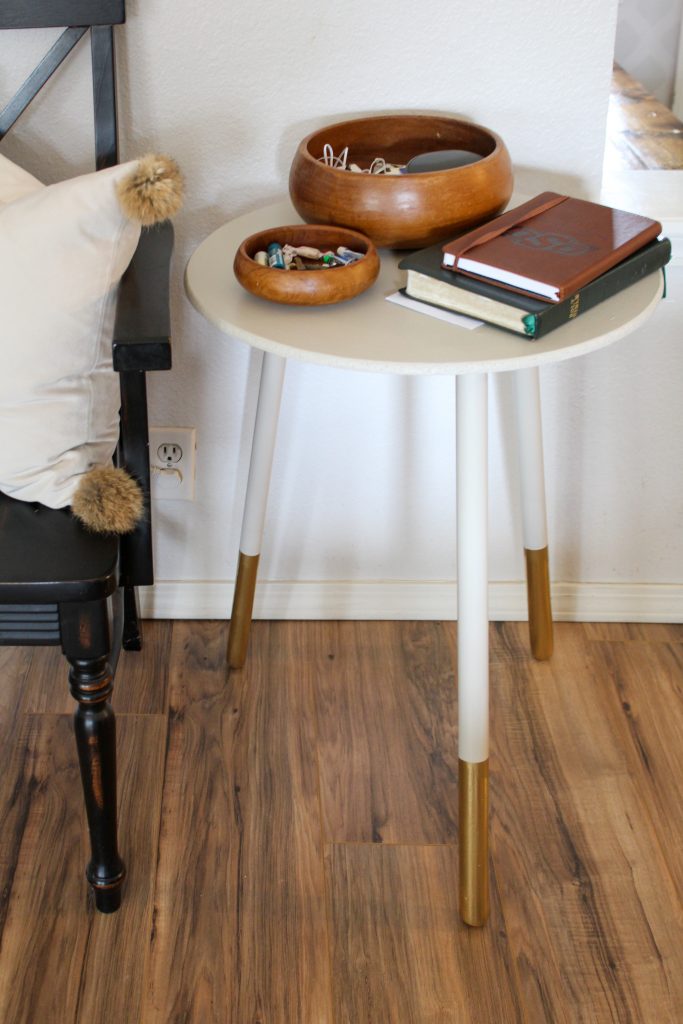
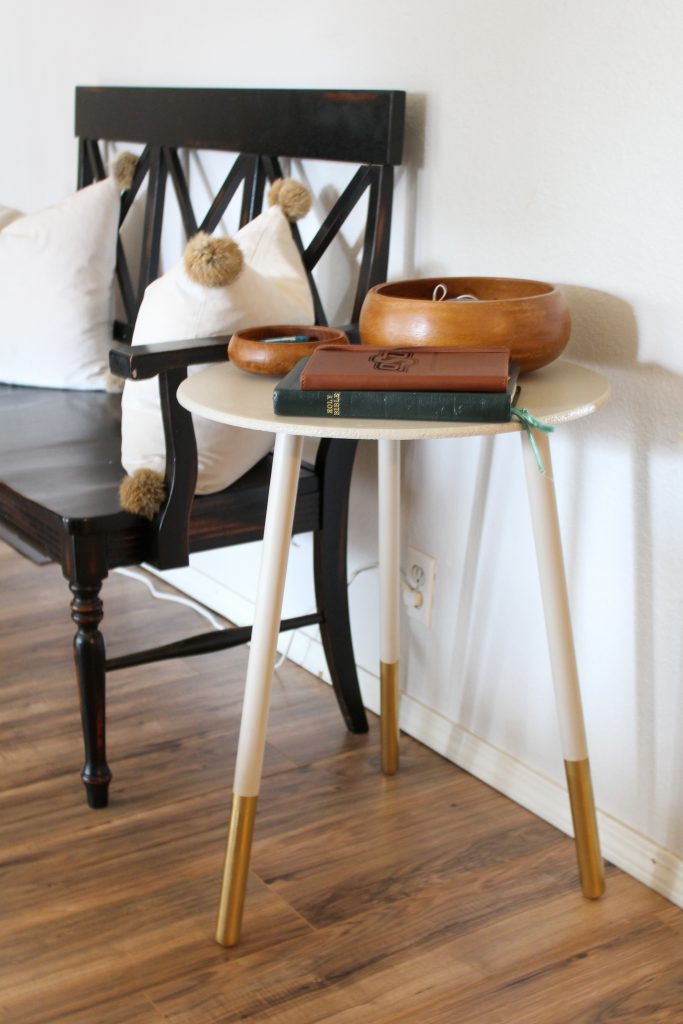
I peeled back the tape and voila!
It looks so good it the space now! And, it looks like a brand new piece of furniture that I paid $40-50 for instead of a garage sale piece that I paid $2 for at some point, that had been gathering dust in my garage.
The boys are happy to have their drop zone back, and so am I!
Have you brought life back to a tired piece of furniture lately?? It’s really not that hard, and one of my favorite DIY projects to do. Easy and quick!! This project took me 3 or 4 hours and that includes drying time! Can’t beat that!
By the way, I kept that cutie-patootie $15 side table. It’s in my garage. I will find a place for it, and when I do, it’s going to get a makeover too!! 🙂


Leave a Reply