I have been wanting to try my hand at one of these for a long time. I’ve seen them floating around the interwebs for a while! So, even though this isn’t a “new” creation, I thought I would share my process with you. 🙂 It was not a perfect process by any means, but I feel like you should know that not all DIY is perfect. Not everything goes exactly as planned, and sometimes you have to go with plan B or plan C. So, I’m gonna share it all – the good and the not so good. haha
Some affiliate links used for your convenience. See disclosures for more details.
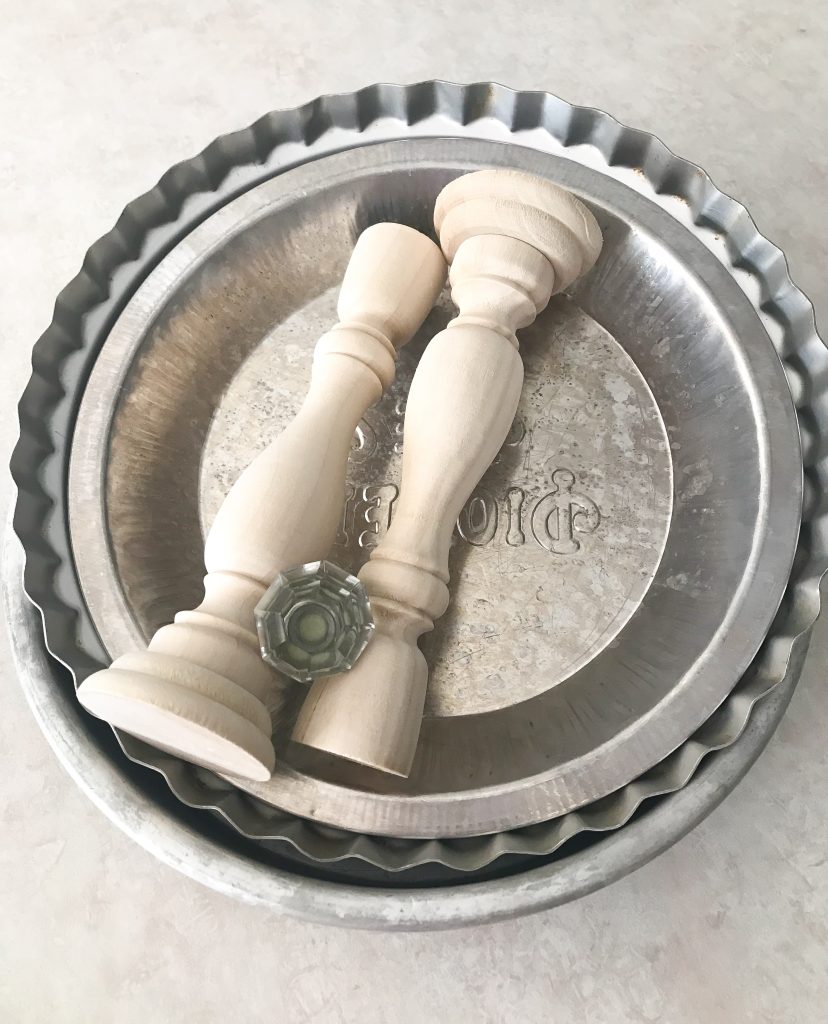
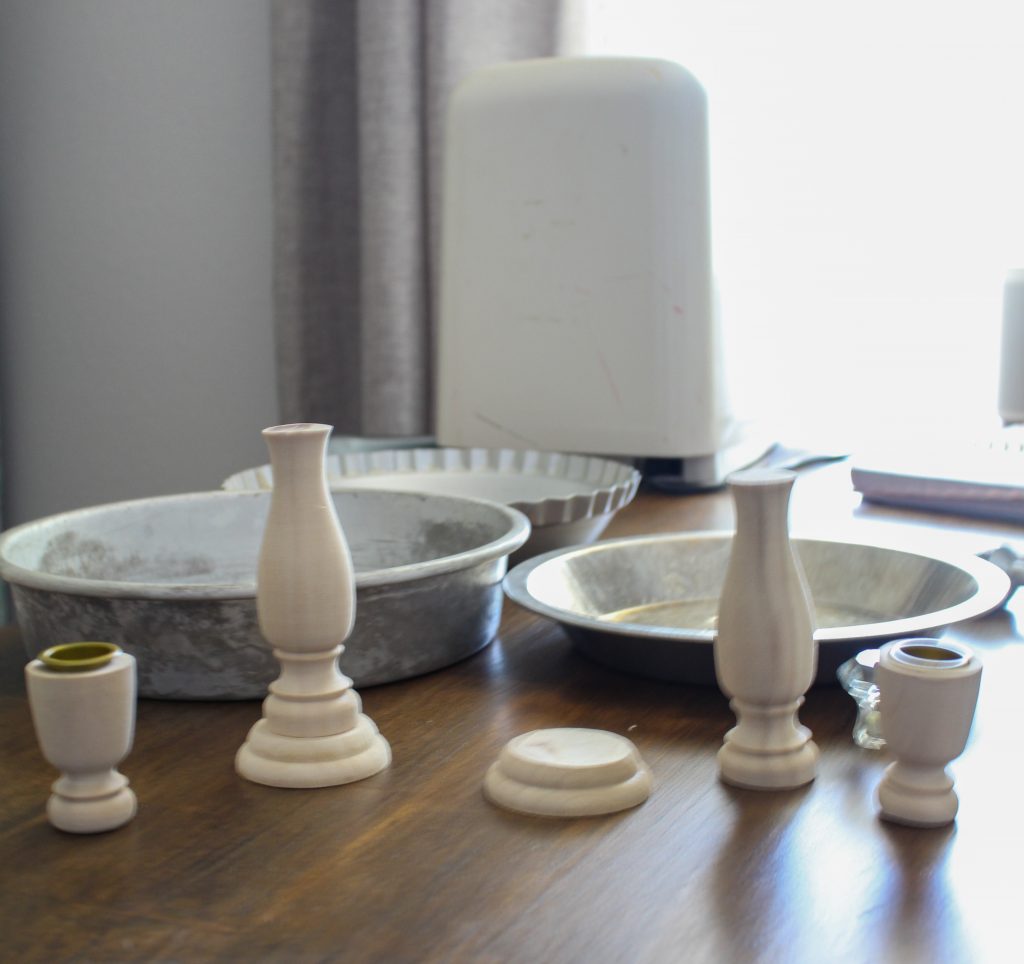
Here are the supplies I started with – pie tins from the thrift store, a couple of unfinished wood candlesticks from Hobby Lobby, and a glass knob from Hobby Lobby as well.
The first step was to determine how much space I wanted between each tin, and then cut the candlesticks accordingly.
I used my chop saw to do this, which may not have been the best idea. But, honestly any way I would have cut these would have been challenging since they are round and not the same shape from top to bottom – very hard to hole straight. I got them cut, did a little sanding to get the tops and bottoms as level as possible, then I stained the wood. I used the same stain I used on the table in my craft room since that’s where it will be living.
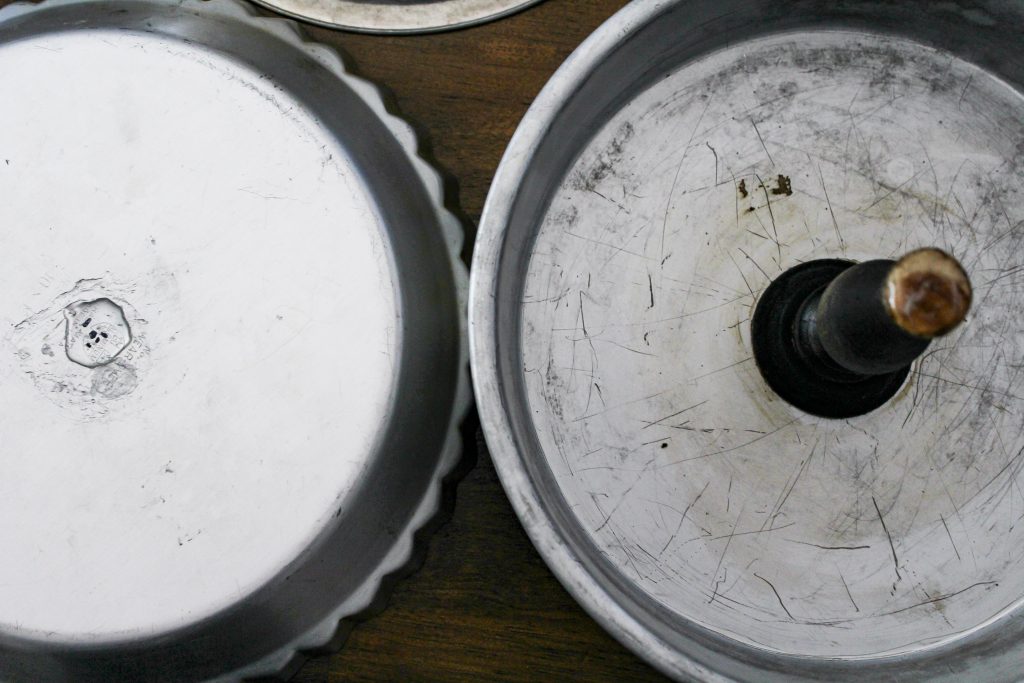
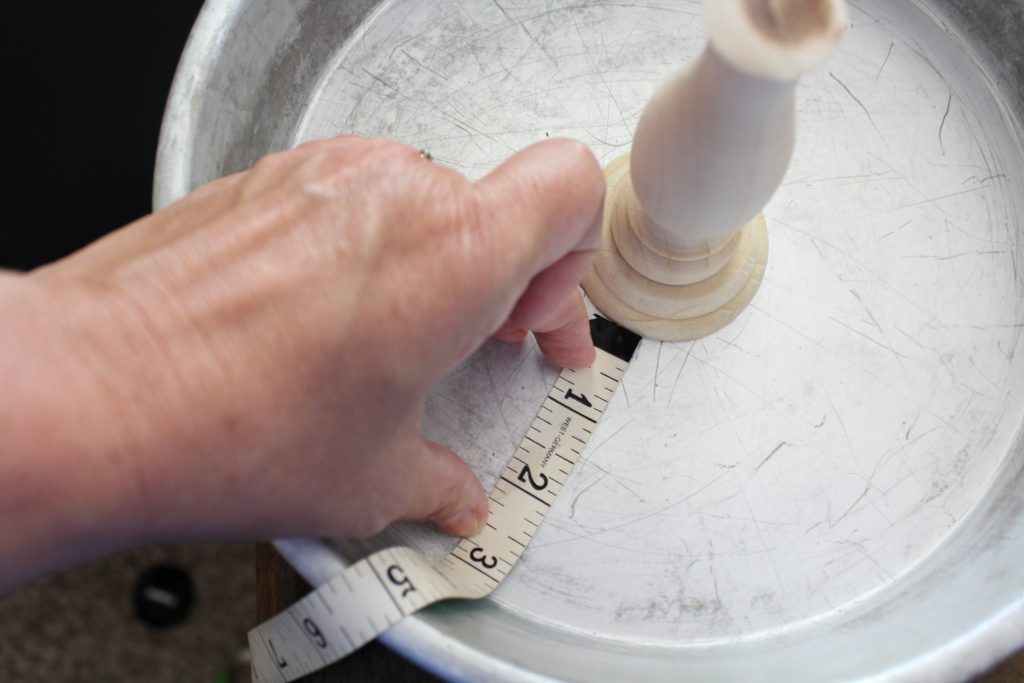
Next step was to try and find the middle of each pan. I measured the inside of each circle from edge to edge and marked it as best I could. Again, not a perfect measurement, but I’m ok with that!
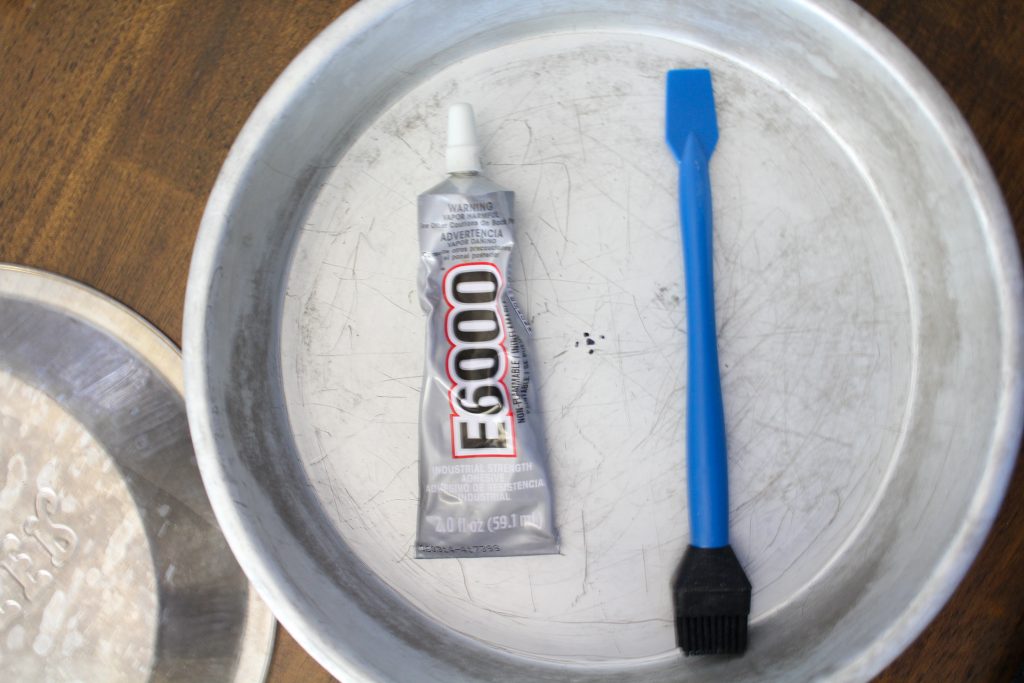
I decided to glue all the pieces together rather than worrying about drilling a hole and screwing things together. I went with this glue and this tool – which is amazing by the way if you use any kind of glue in your projects. It’s silicone so it’s super easy to clean!
This glue takes a while to dry – like an hour – to be super secure – trust me. It also works best if you put a little bit of glue on each piece.
Once a piece was glued on I did a second check to make sure the candlestick was pretty close to the center of the pan. Then repeat for other pan.
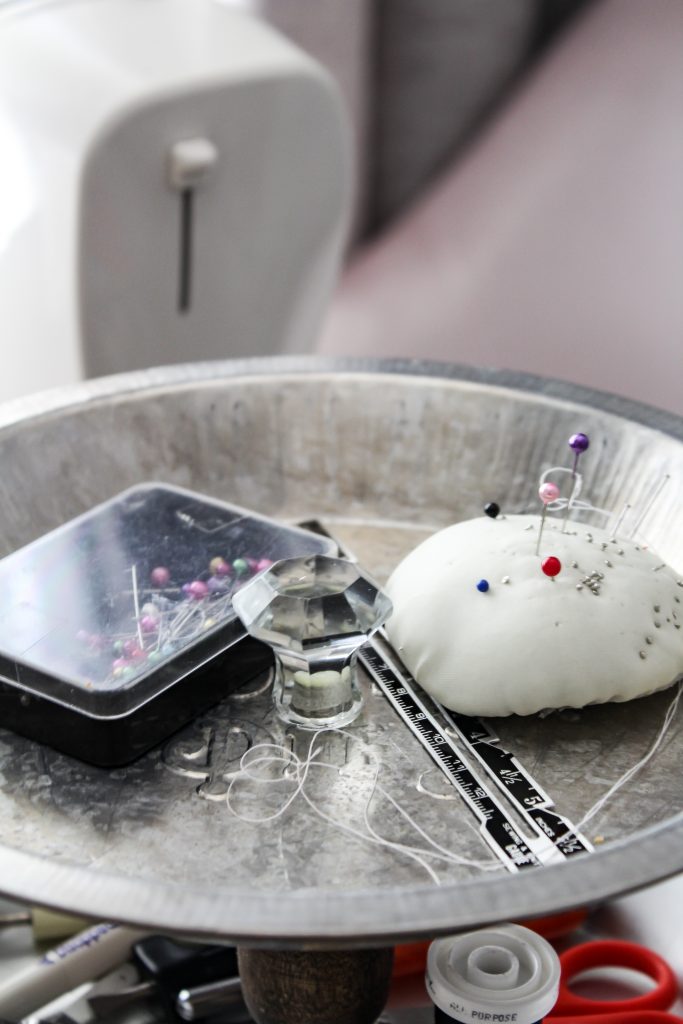
The last step was adding the glass knob. This was another puzzle. Since the knobs from Hobby Lobby come with a screw attached…I had to figure out a way of cutting that off, because it’s long and there was no other way. I tried several things – pipe cutter, drimel (probably would have worked if I had the right attachment), and finally landed on a small hacksaw that hubby had.
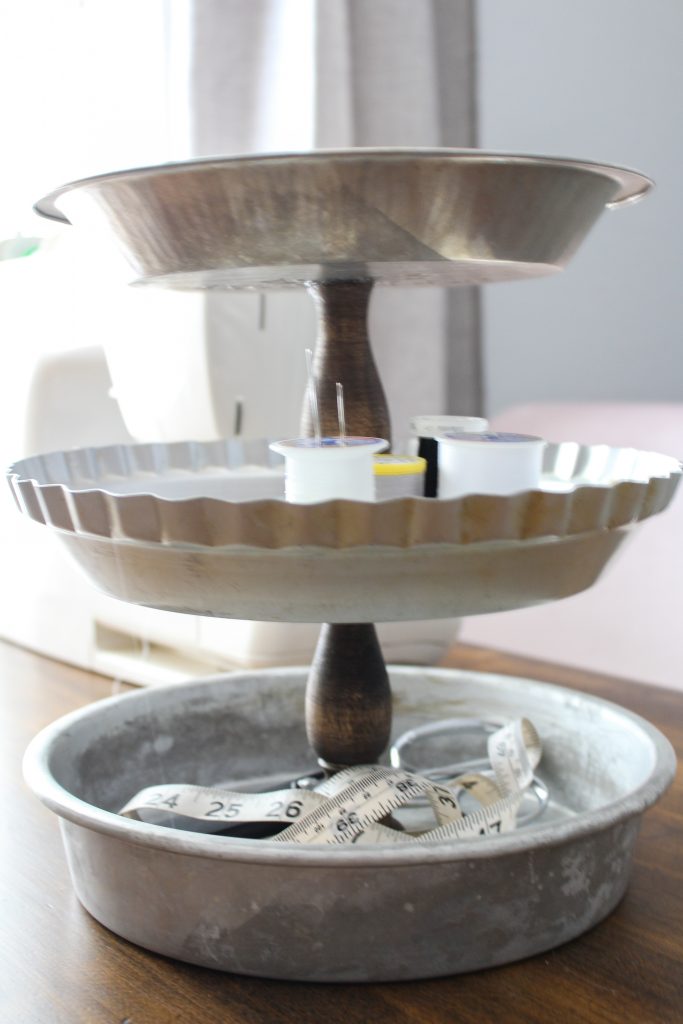
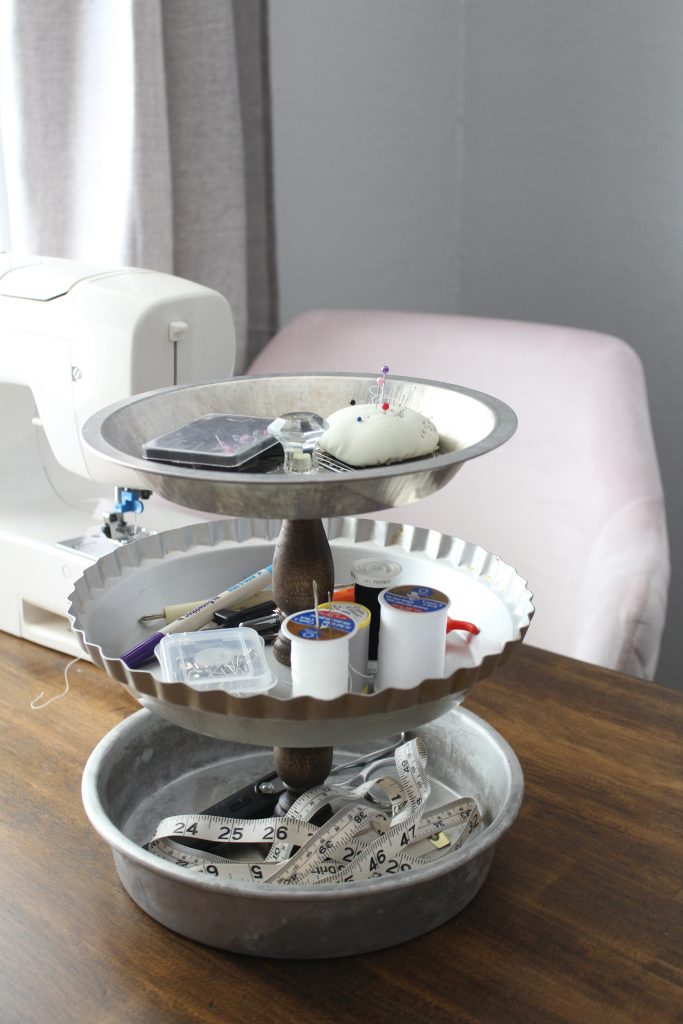
And there you have it!
If you look really close on all sides you will be able to see that the middle pan tilts a little to one side and the knob is not exactly in the center on the top. But, again, I’m ok with it. I DIYed it, it cost me little to nothing, it serves the function, and I think it’s super cute!! All way more important than perfection! (or at least that’s what I’m going to keep telling myself, lol)
Have a great day friends! And, go make something!!
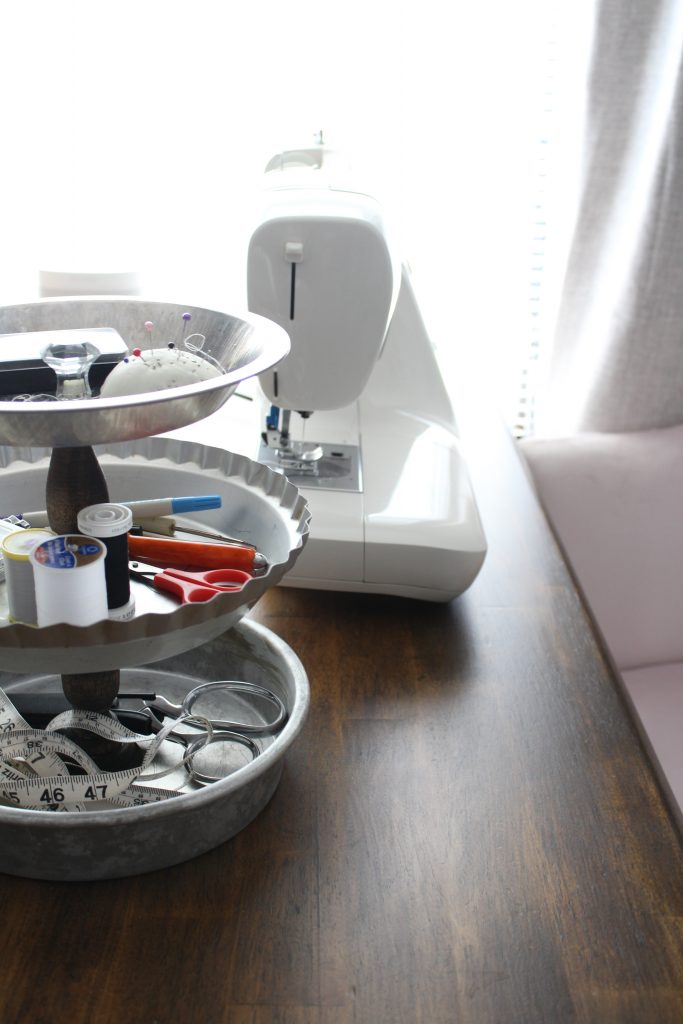


I like it! Great idea for all those sewing notions!
Thanks Sharon!