Hey there friends! Thank you so much for all your sweet comments about our new office space! Seriously, I am getting so much more work done simply because I don’t hate sitting at that ugly desk anymore!!
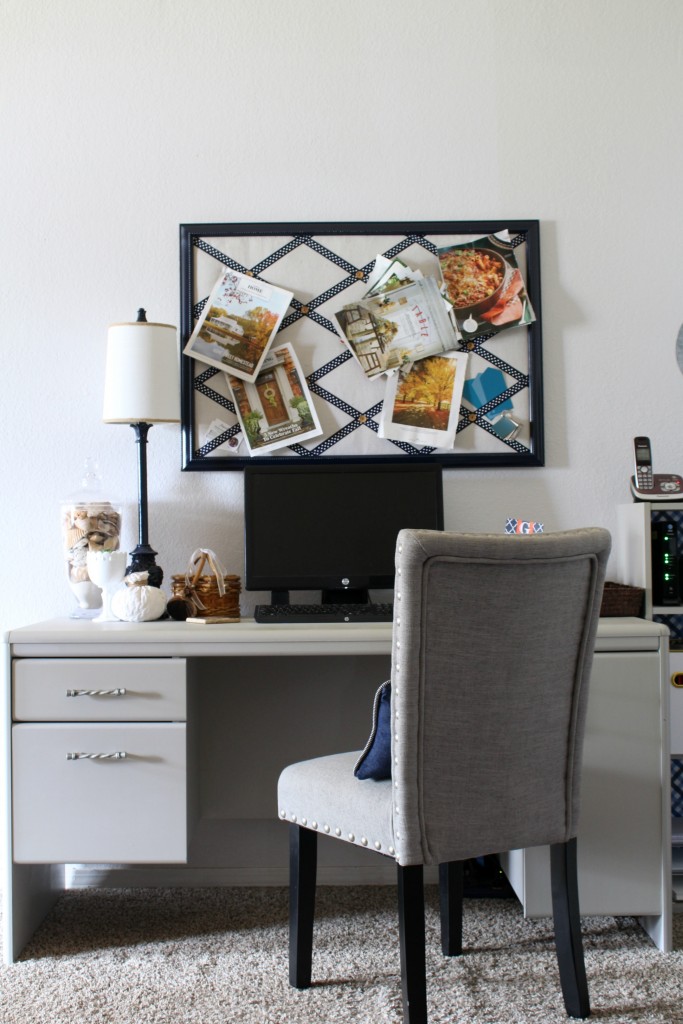
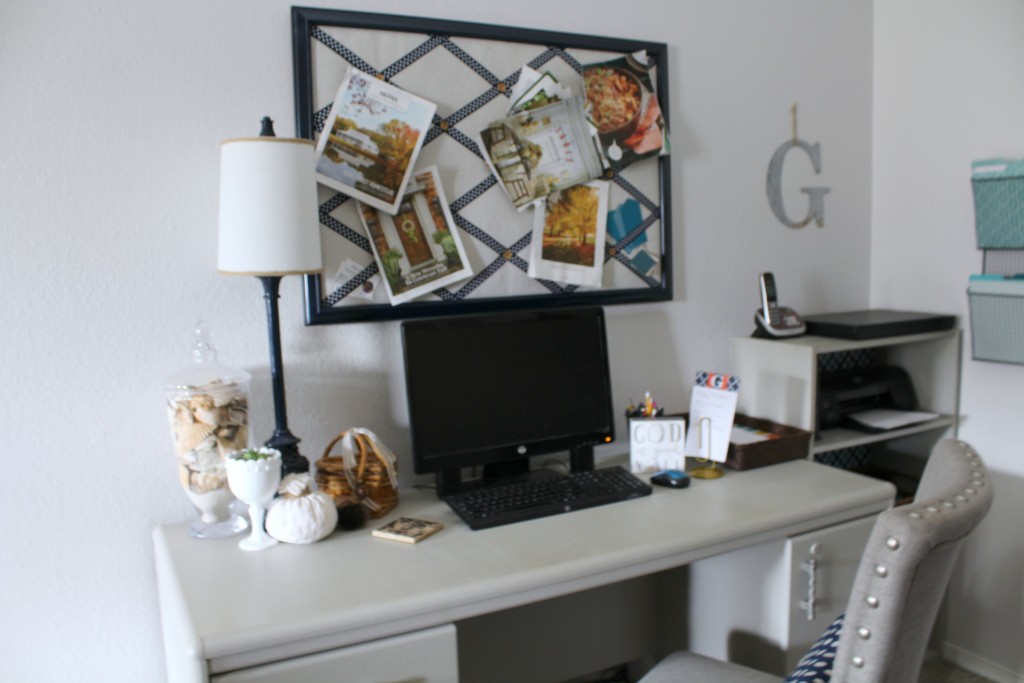
Today I want to share with you one of my favorite pieces from this makeover – the inspiration board – which is simply a DIY bulletin board that will hold all of my craft/design/food inspiration. 😉
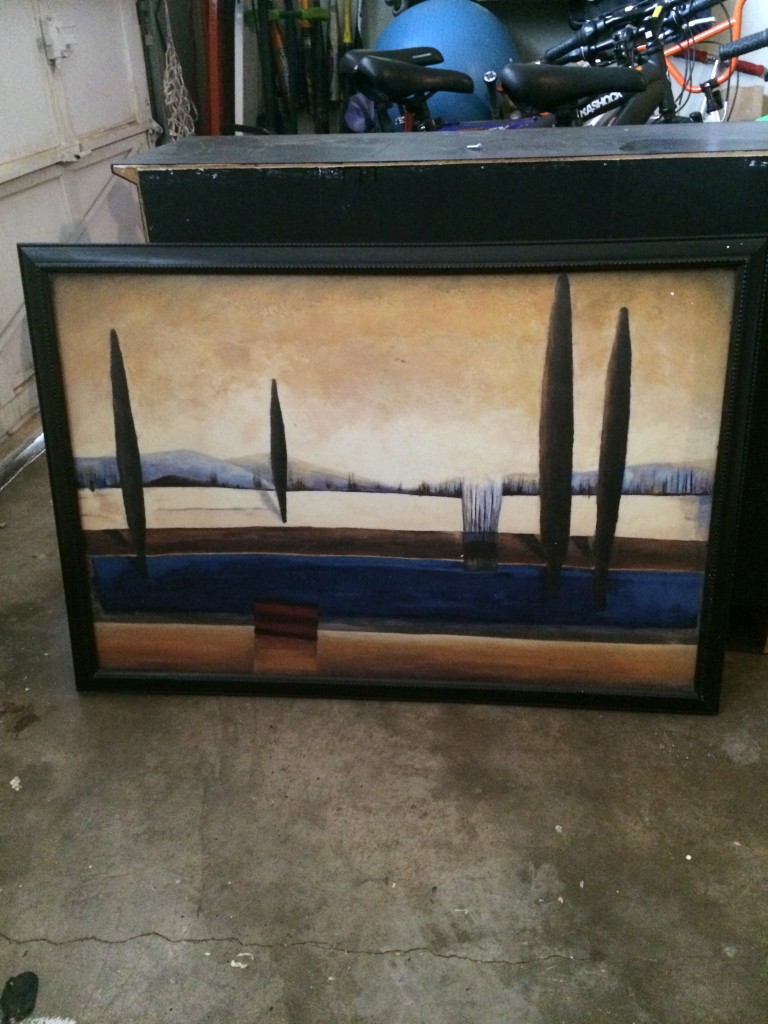
It was an easy and fairly inexpensive DIY. First, I found a large frame at one of our local thrift stores. It did not include glass which was actually what I was looking for. If you can find one without the glass you will probably also find a cheaper price. I wanted a large frame that would cover most of the wall space above the desk. Mission accomplished!
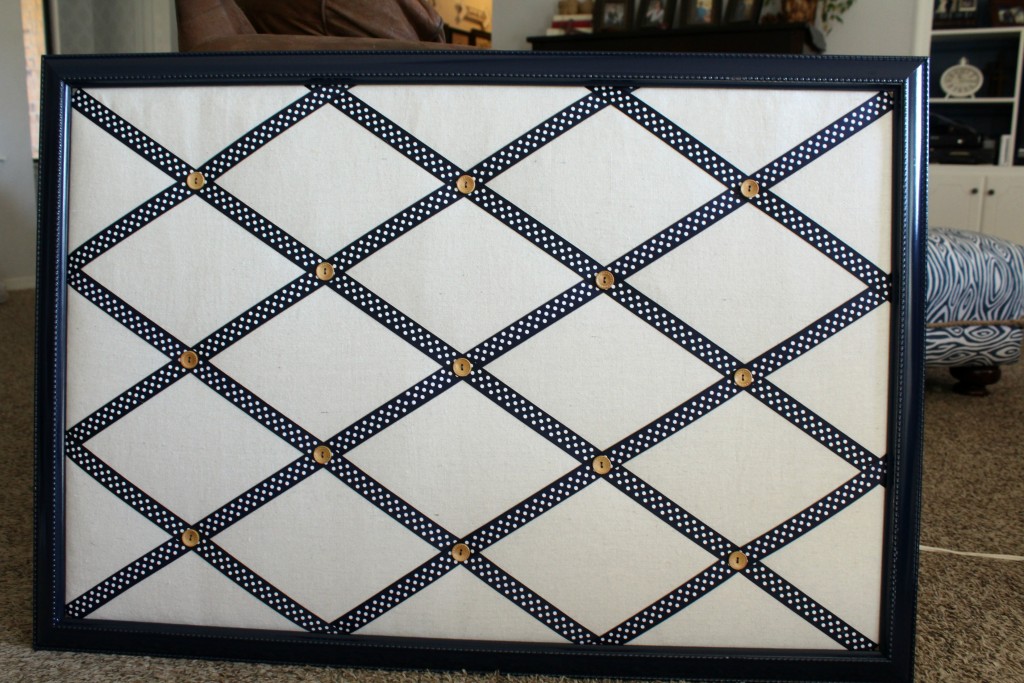
I used some navy spray paint and painted the frame. And then I got to work on the board itself.
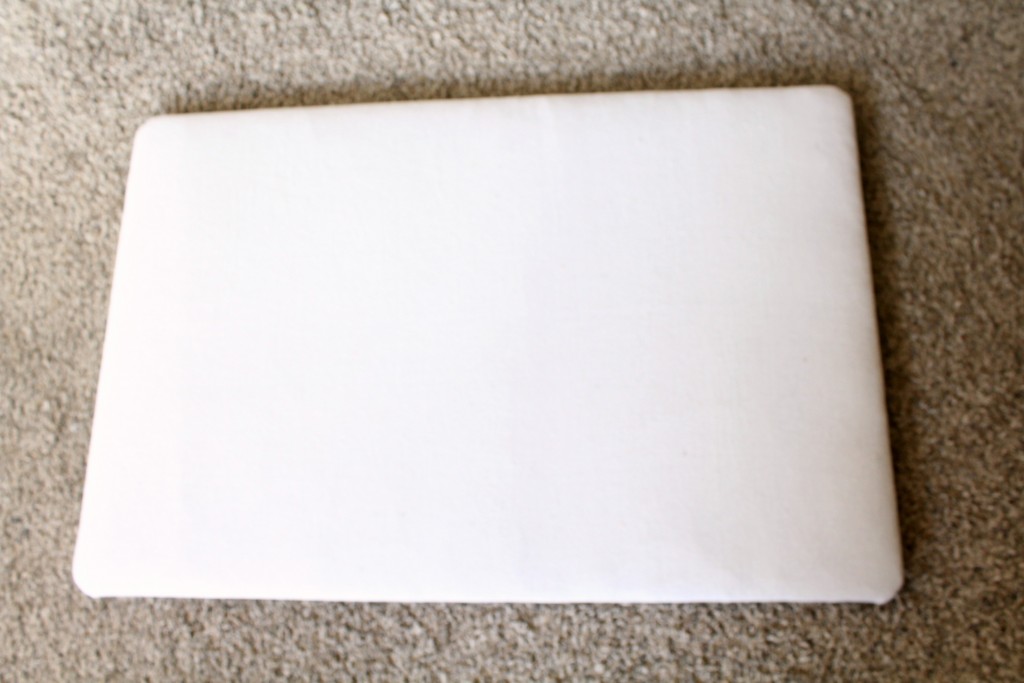
The base is simply a piece of foam core board. To that I added a piece of quilt batting, and a piece of fabric. (I used a piece of a canvas dropcloth – I keep these on hand for so many projects!)
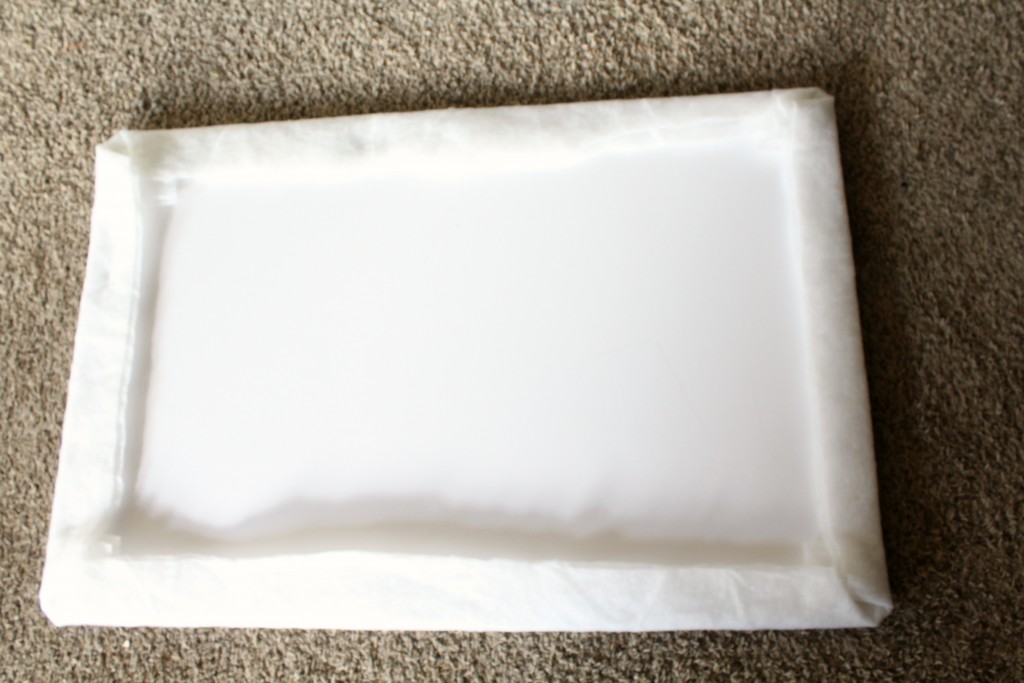
Carefully wrap your foam board with the batting first,
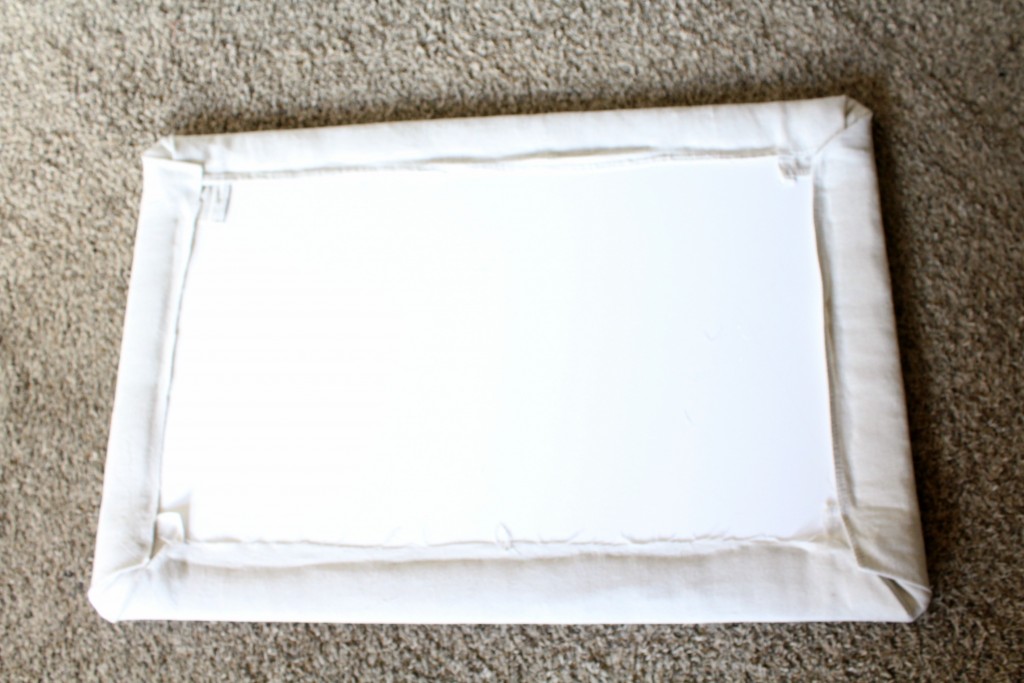
and then the fabric – hot gluing the edges down as you go.
You will want to be sure to pull each piece somewhat tightly so that you end up with a smooth surface.
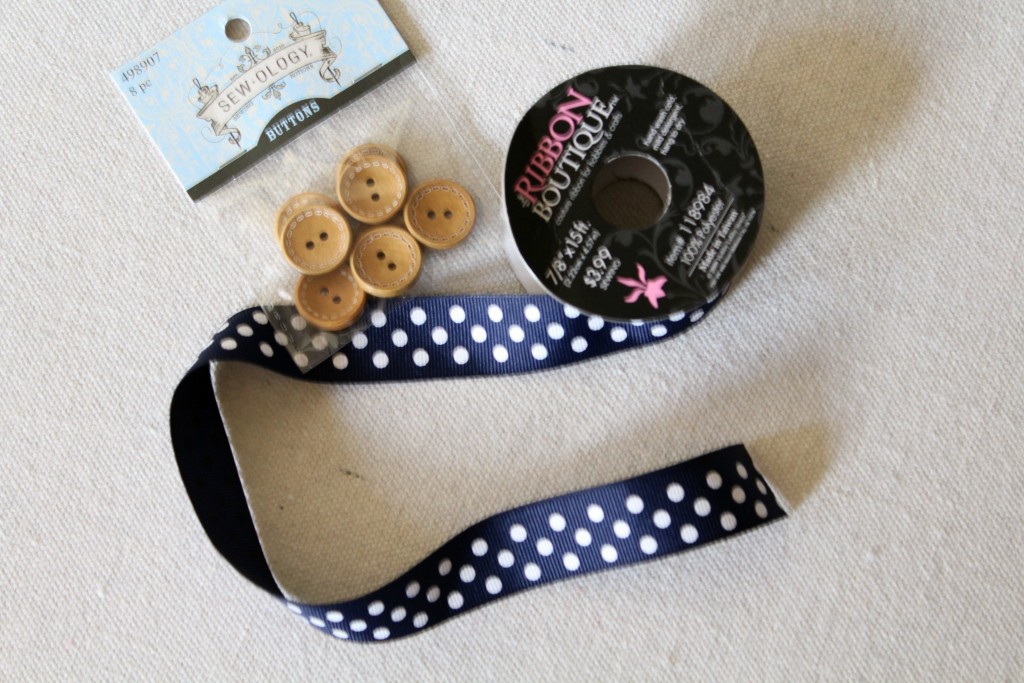
Next up is making it cute! Hobby Lobby to the rescue!
I LOVE polka dots, so this ribbon was a given! (I used it before in our bathroom reno on the shower curtain) I knew I needed something to anchor the ribbon and decided to go with buttons.
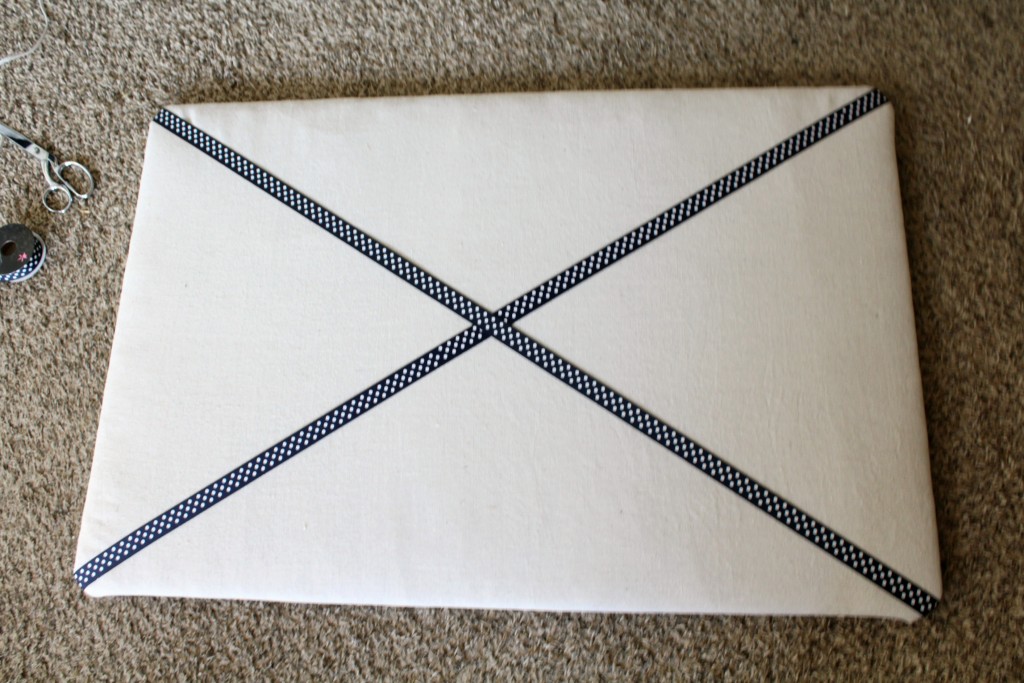
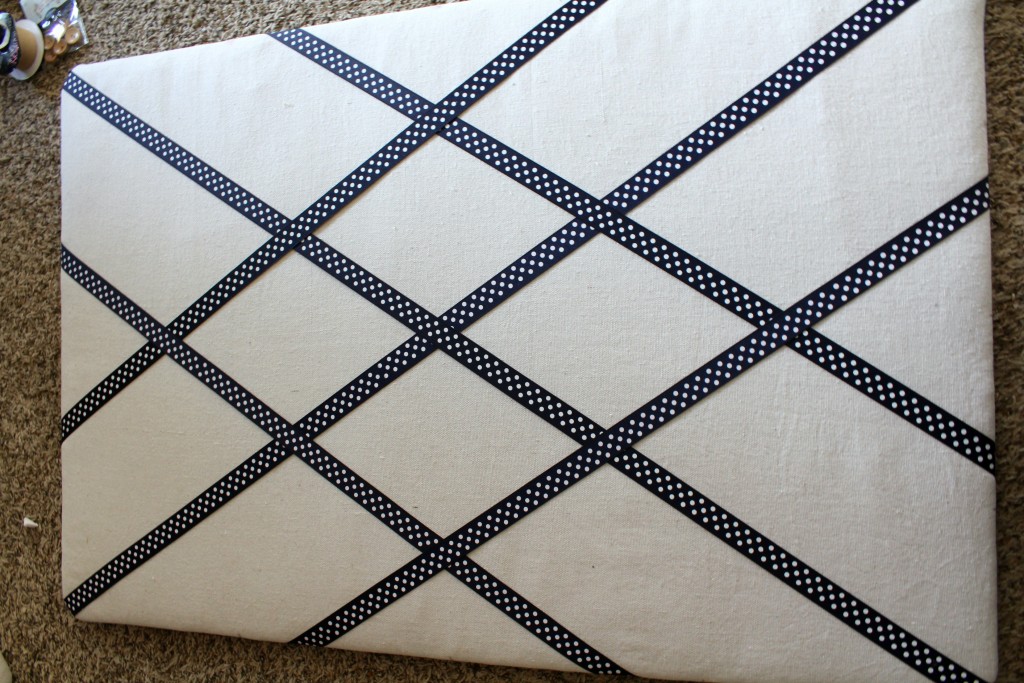
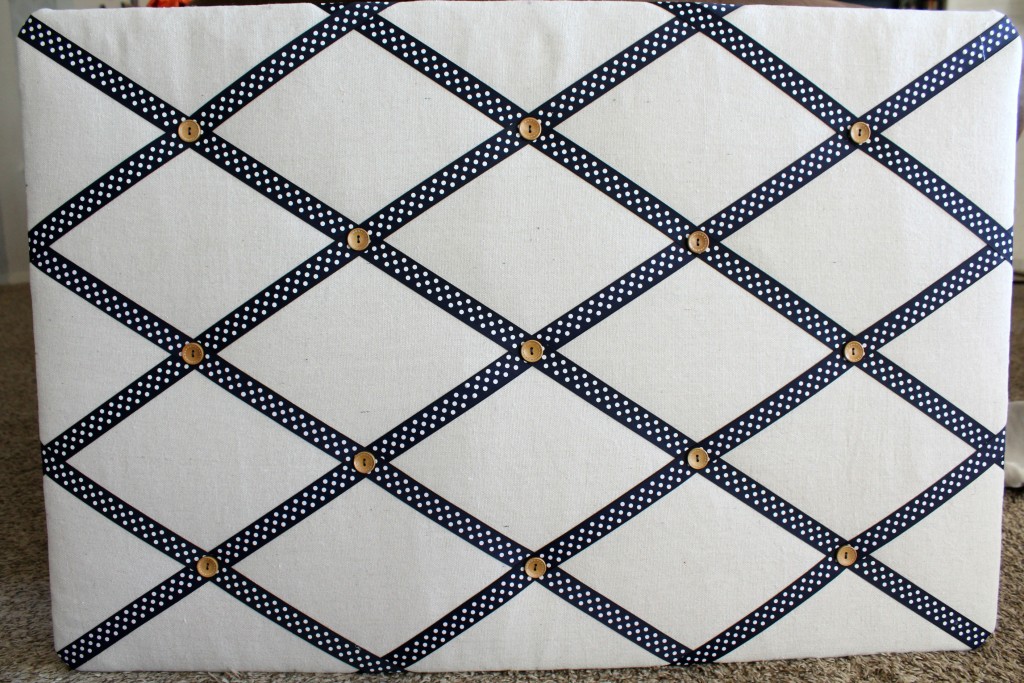
Start with attaching your ribbon from one corner to the other and repeat for the other corners.
I simply used hot glue again to attach the ribbon to the back of the foam board.
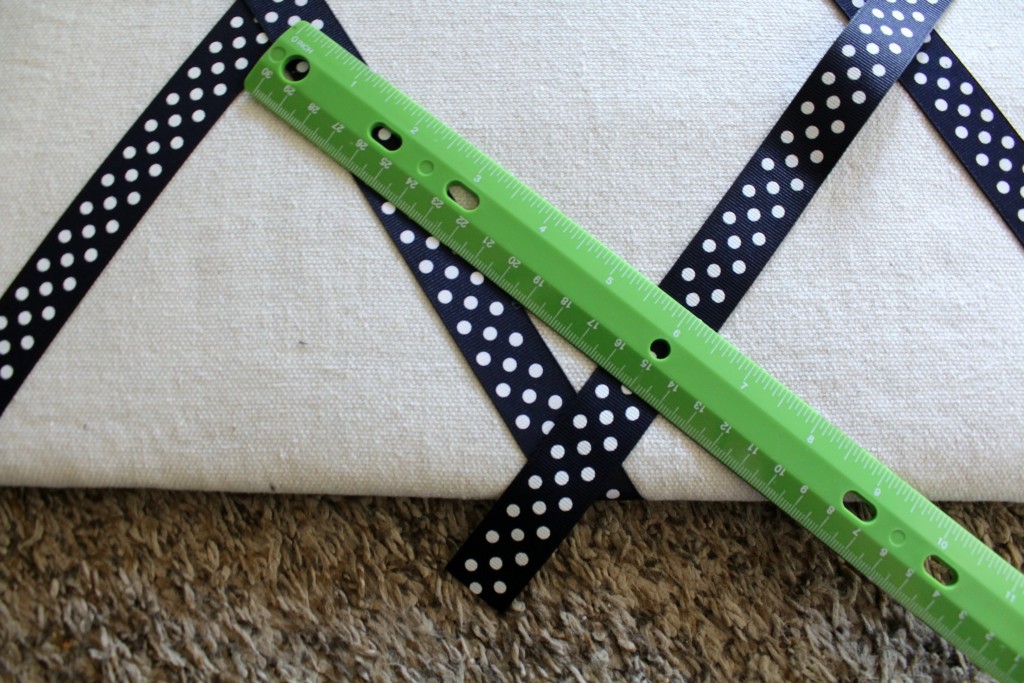
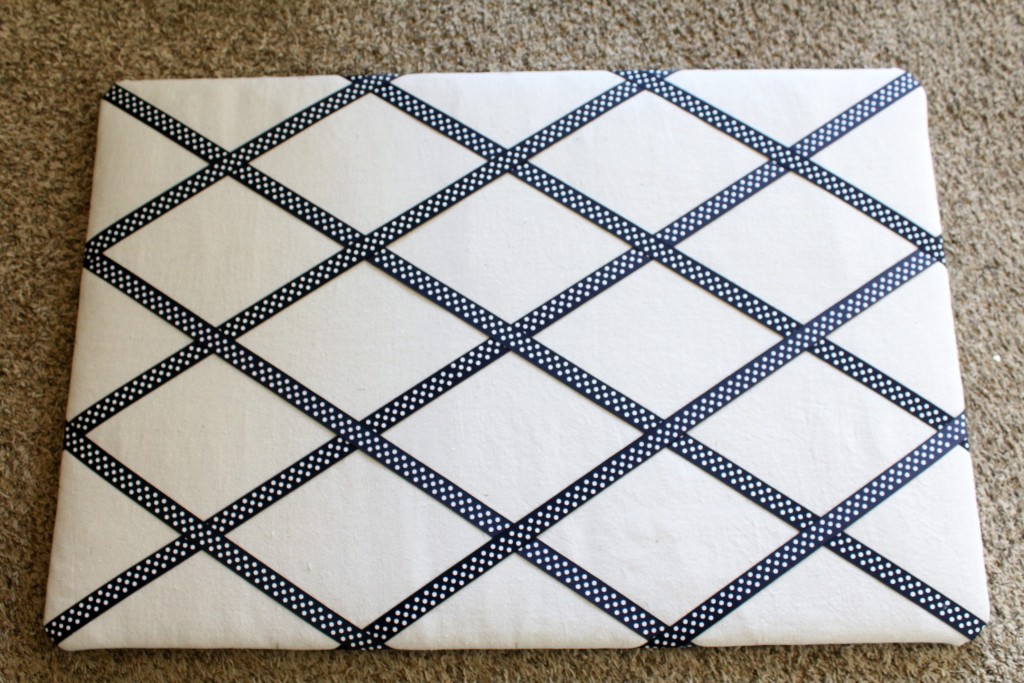
Next you will need to decide how many more ‘stripes’ you want and how you want them spaced. I’ll be honest and let you know I started by eye-balling this. I moved the ribbon spacing around until it looked pretty good and then I measured to find an even distance based on that.
I worked my way around the board in a circle so that the ribbon would overlap in different places – kind of like I weaved it.
After I had all the ribbon attached,
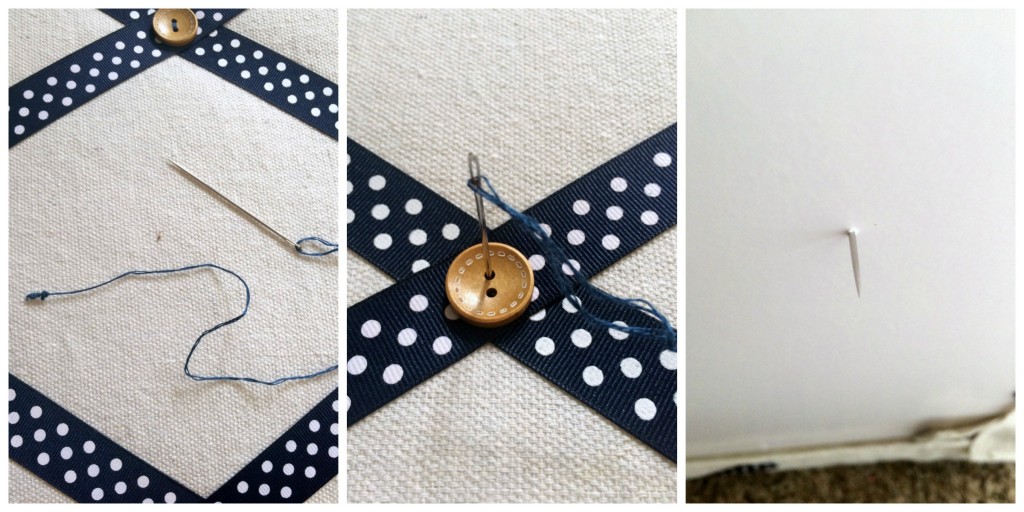
it was time for the buttons. This part was a little tricky, but once I got a system down it went pretty well.
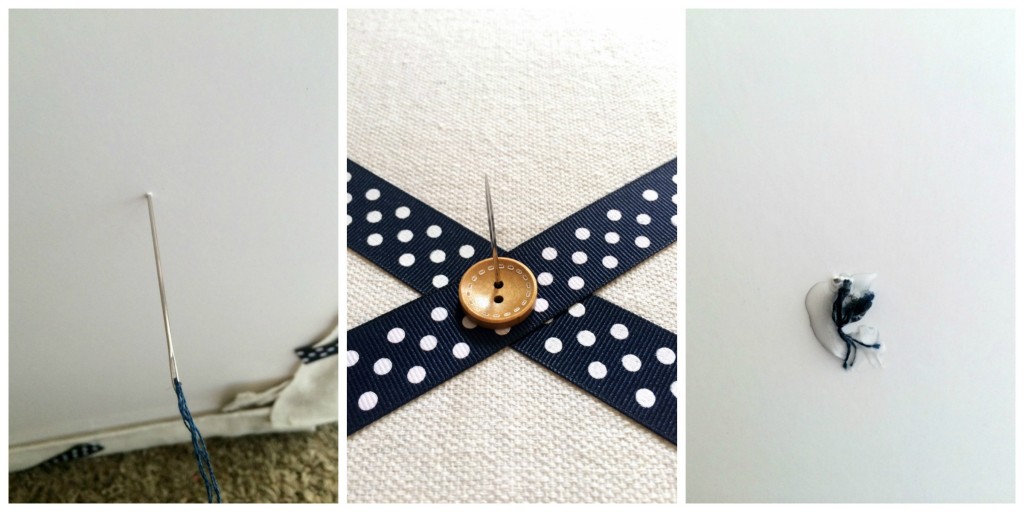
First, thread a longer and thicker needle (I used three strands of embroidery thread), and make sure you have a larger knot. Second, place your button in the middle on the cross, and poke a hole with your needle where the button hole is (do not pull thread through) – so that you can see the needle on the other side. You have just created a reference hole, so you know where to put the needle in.
Next, put the needle in the reference hole you created and pull through. Then sew on just like a button. I only went through twice because I didn’t want to create too big of a hole in the foam board that the knot wouldn’t stay. Lastly, just to be safe I put a generous glob of hot glue over the knot.
Repeat for the remaining buttons until you have this.
Then it’s time to pop it in the frame. And there you have it!
Cute all by itself, but my hope is to keep it covered with lots of ideas!!
Happy DIYing everyone!! Did you miss our office reveal?? Be sure to check it out here!! I’ll be back in a couple of days to share some office organization tips, and then I think it might be time to break out Christmas!! 😉
Linking up with Wow Us Wednesdays / The Creative Circle / Work It Wednesday / The Inspiration Gallery / Inspire Me Monday / Inspire Me Tuesday / Tutorials & Tips Link Party


Oh how pretty! One day I’m going to stop procrastinating and either buy one of these ore make one. They are so handy! Thank you for sharing this on the Creative Circle link party! 🙂
Thanks Iris! I had been wanting one forever too! So glad I finally did it 🙂