It’s time for another Remodelaloholic DIY Challenge!! This time it’s all about Christmas!! The Creative Christmas Challenge has brought together 22 talented bloggers (including myself :)) to share with you their Christmas DIY project!! I’ve been so intrigued by the macrame trend that has re-emerged from years ago. It was the one craft that my mom did that she didn’t pass on to me. Haha. So, after perusing a few tutorials and a couple of videos I decided to give it a try. And, that is what I’m sharing with you today! Be sure to scroll down to the bottom of the post and check out all the other inspiration from all the other bloggers!! Also, a lot of them included a video tutorial! There are links to those as well at the end of this post.
I did my best to take plenty of pictures to explain the process for you visual folks like me, since I haven’t jumped into the video side of this business yet. And, I will give you the link of a video I watched that walks you through several basic knots like the square knot that I will be using. Once you learn the basics you can pretty much create any design you like!
I decided to keep it pretty simple. The knot I chose, and the design. And I really like the way they turned out. All of the progress pictures I will be sharing are the with the white yarn. It’s a little thicker and I thought it would come across better on the screen. But, I really love the variegated green cotton yarn that I found at Hobby Lobby. (they have started putting ALL of their yarn on sale every other week now, which is great – it’s only 30% though so if you only need one skein, you’d be better off using your 40% off coupon)
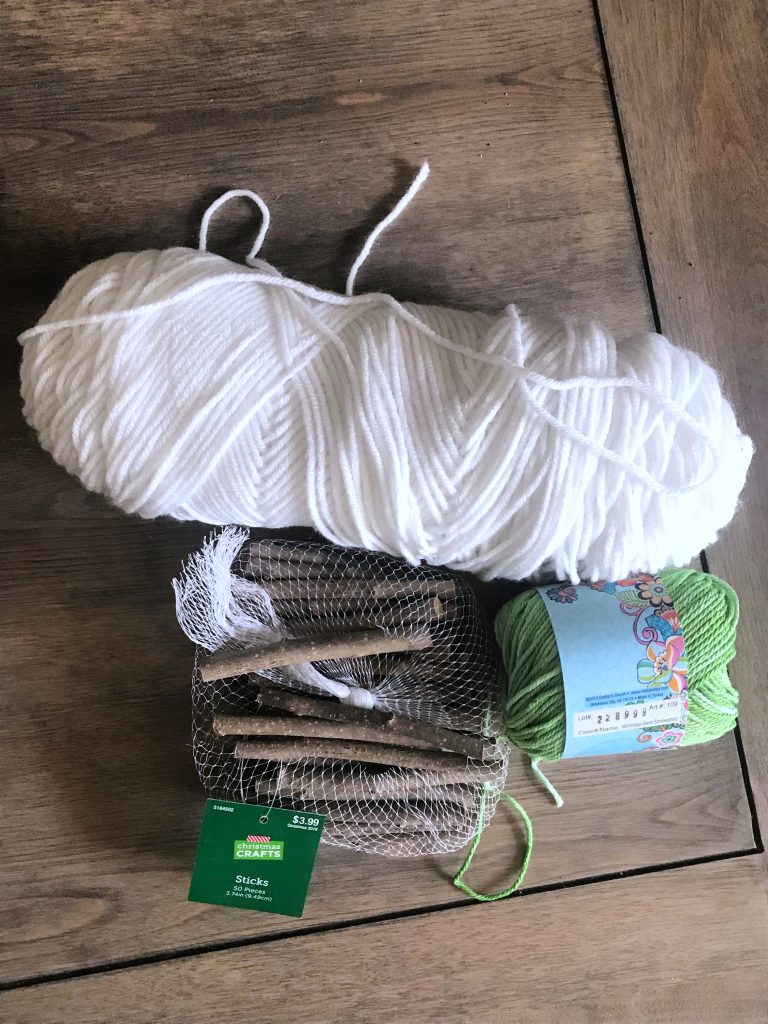
Here are the supplies that I started with. The white yarn came from my stash but the back of sticks, and the green yarn I picked up from Hobby Lobby.
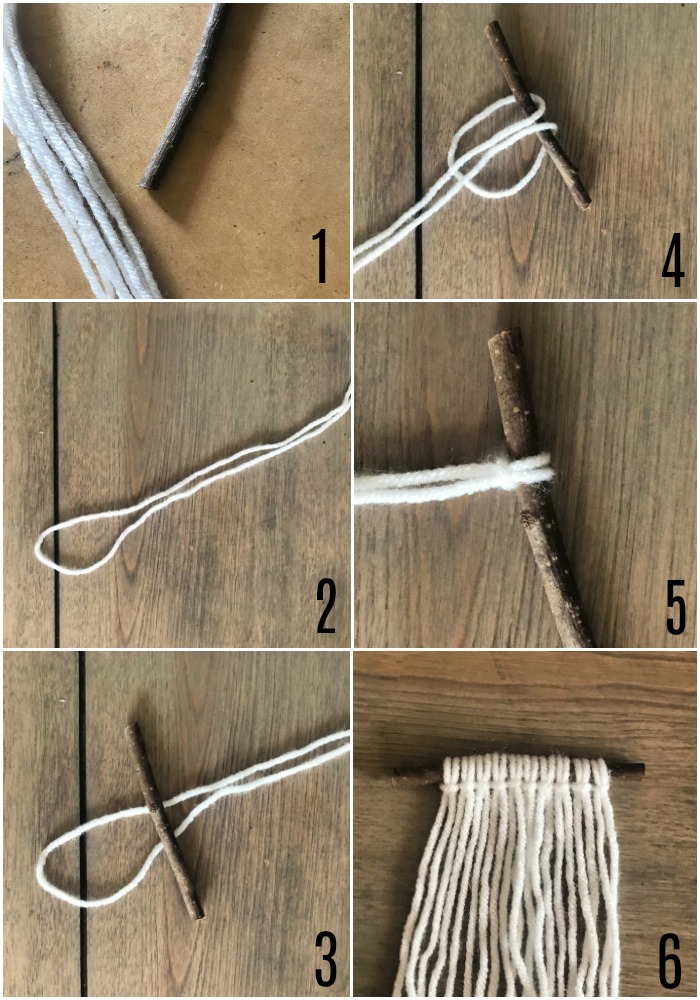
I decided to create collages for the steps because otherwise there would have been an OVERLOAD of pictures! I hope these help!!
Step One – Cut yarn to length desired. With the sticks I found I could fit 12 pieces of yarn on them and I cut my yarn to about 24″ each.
Step Two – Fold piece of yarn in half.
Step Three – Position stick on top of loop as pictured.
Step Four – Fold ends of yarn over the stick.
Step Five – Create a knot by threading ends of yarn through the loop and pulling tight.
Step Six – Repeat these steps with all 12 pieces of yarn.
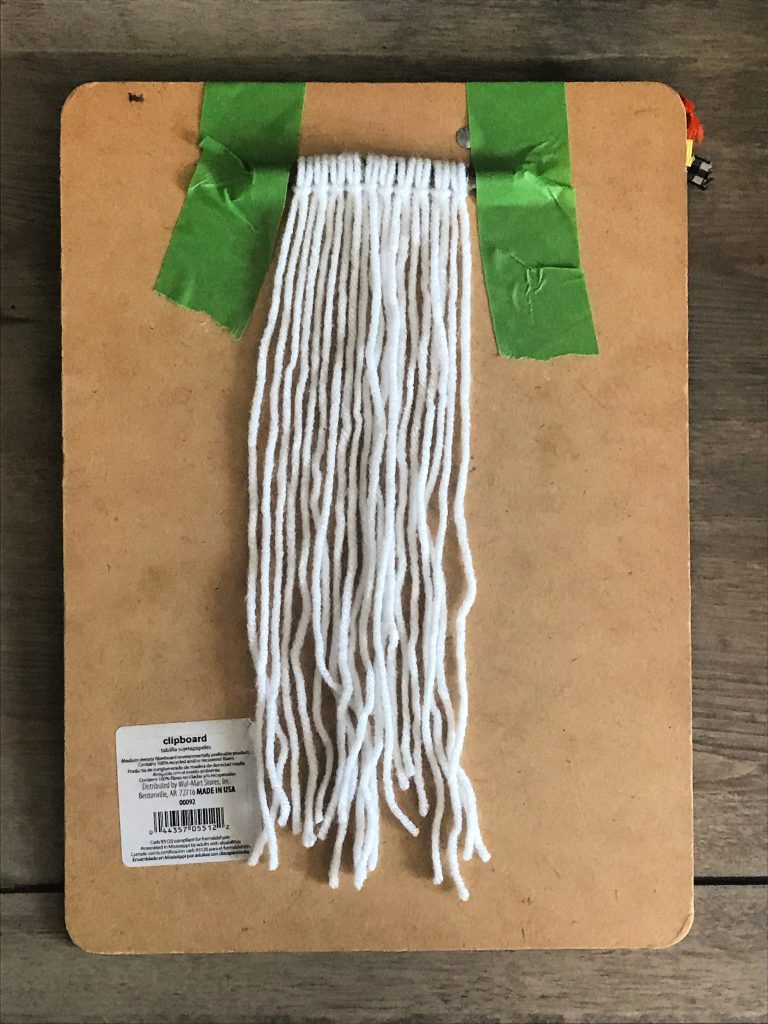
After you’ve got your yarn secured to the stick hanger, you will want to secure it to some sort of surface. I used the back of a clipboard.
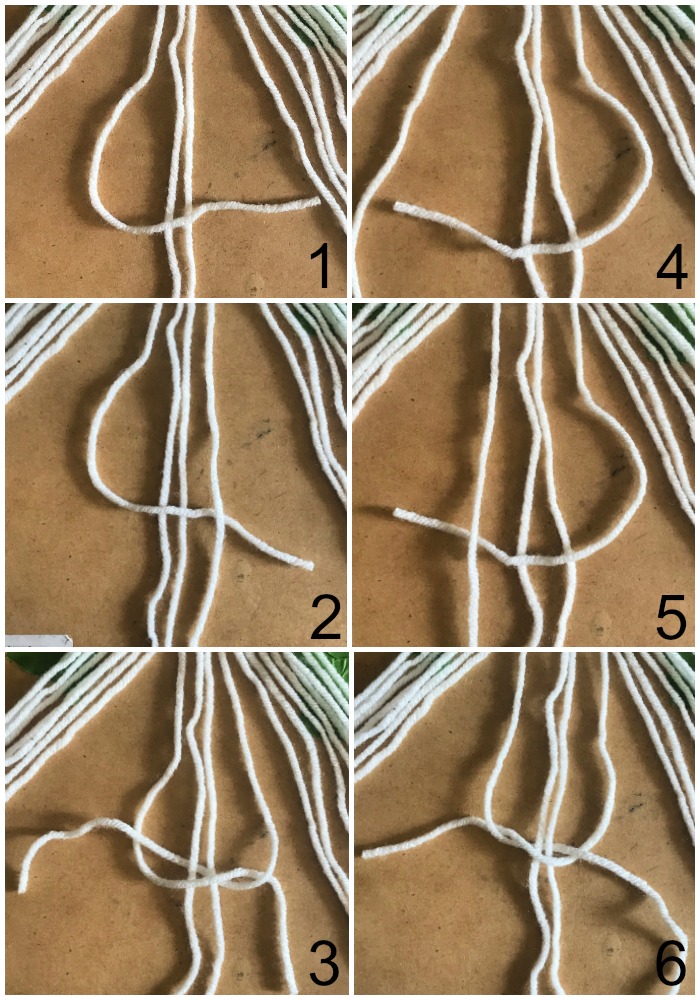
Now you are ready to start knotting! Like I said I went with a basic square knot. There are so many different things you can do with it and it’s pretty straight forward and simple.
Step One – Separate out four strands of yarn (two sets of two), lay the far left strand over the other three strands.
Step Two – Lay the far right strand of yarn over the end of the far left strand.
Step Three – Loop the far right strand under the two center strands and back over the far left strand to make your knot. Pull to secure.
Step Four – Same idea from the other side. Lay the far right strand over the other three strands.
Step Five – Lay the far left strand of yarn over the end of the far right strand.
Step Six – Loop the far left strand under the two center strands and back over the far right strand to make your knot. Pull to secure.
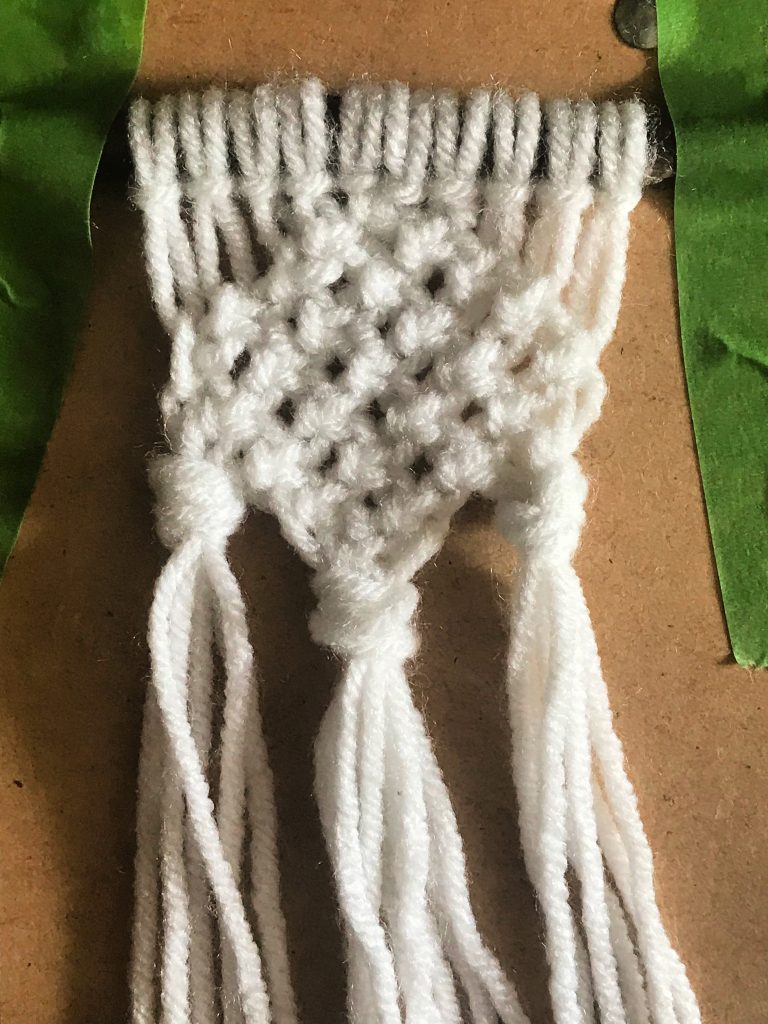
You’ve now completed your first square knot! For my pattern, I chose to start with the four strands in the center. You can see that in the pictures below.
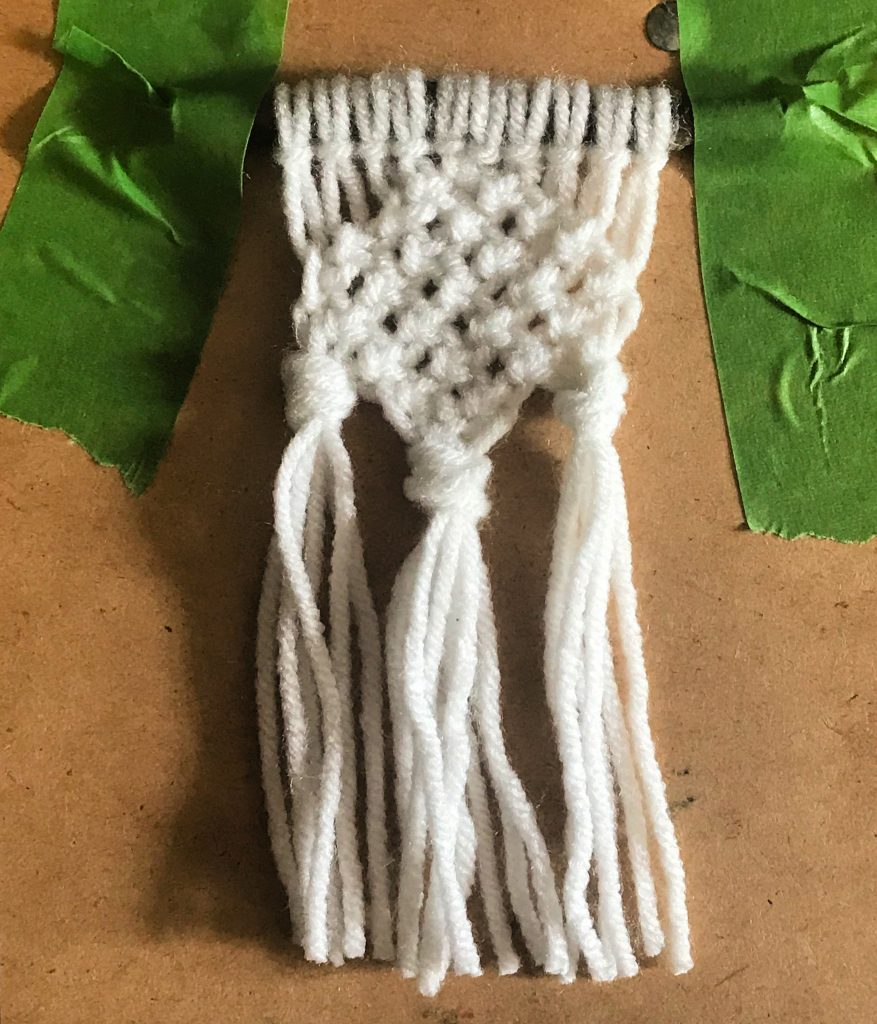
The first row is just one square knot made with the four center strands of yarn. With each row I added two strands on either side. When I reached the row where I had knotted all the strands across, I started taking away two strands from each side on each proceeding row. What I ended up with was a cute little diamond! 🙂
I missed photographing a few rows, but hopefully you get the idea!! To finish off the project I separated the strands of yarn out into three sections and just tied those into a basic knot.
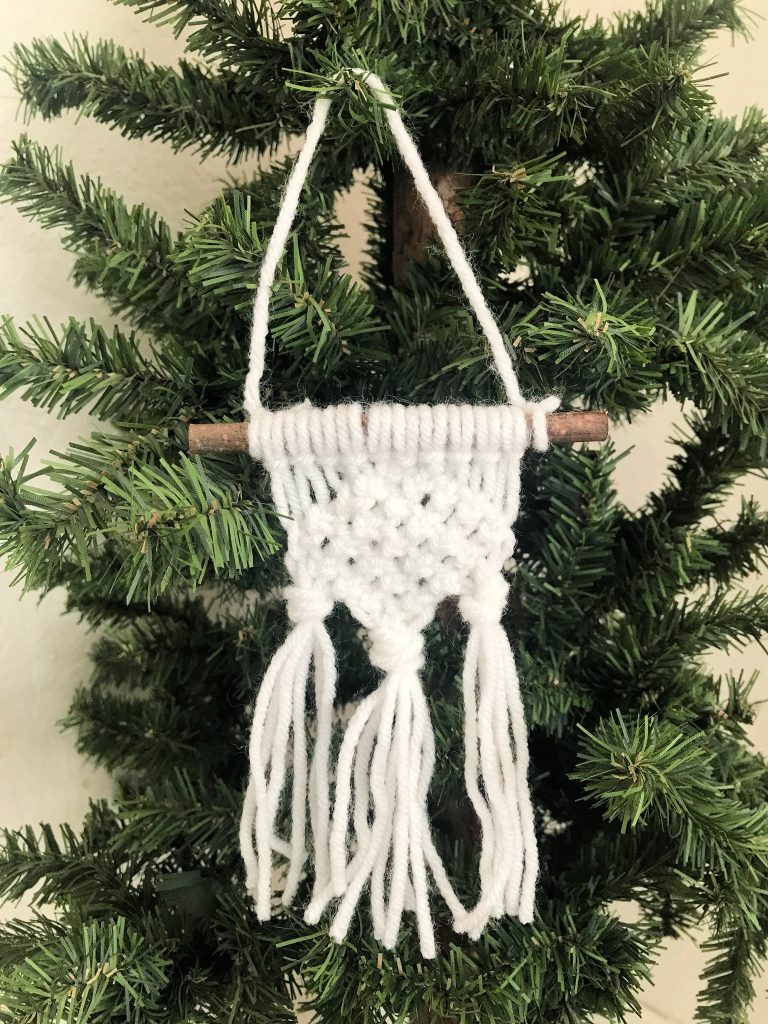
Then trim the ends to make them even and you’re done!
I love how they turned out!
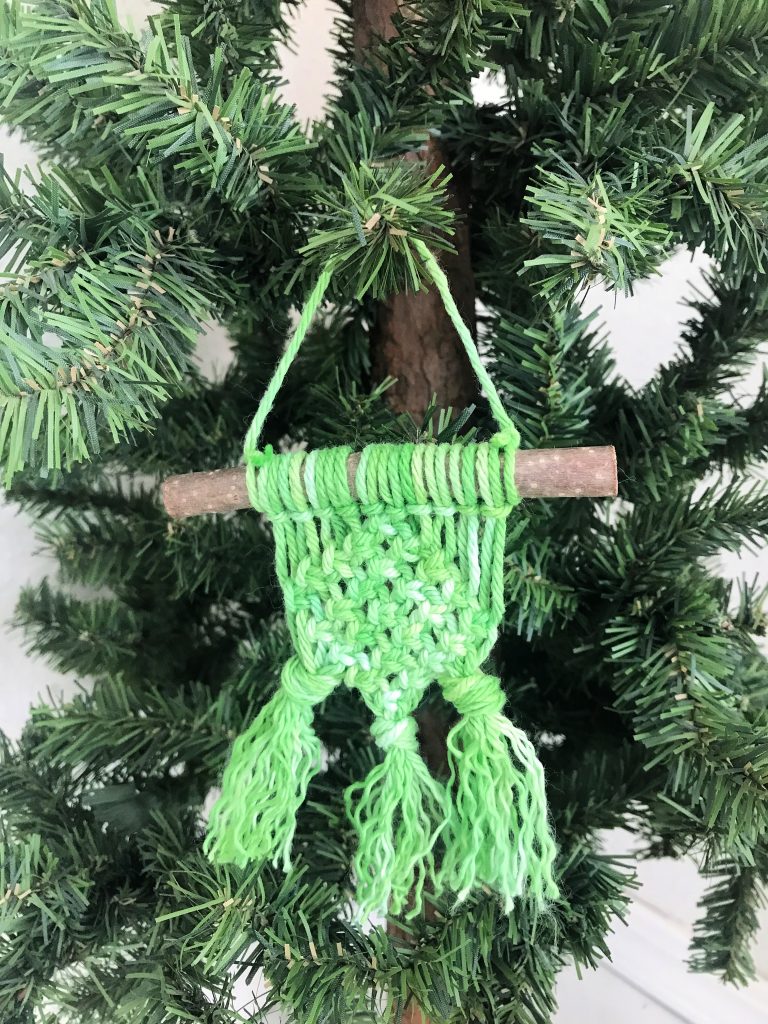
Here is how the green variegated version turned out. And, I decided to do the ends of the ornament a little different by fraying the ends of the yarn.
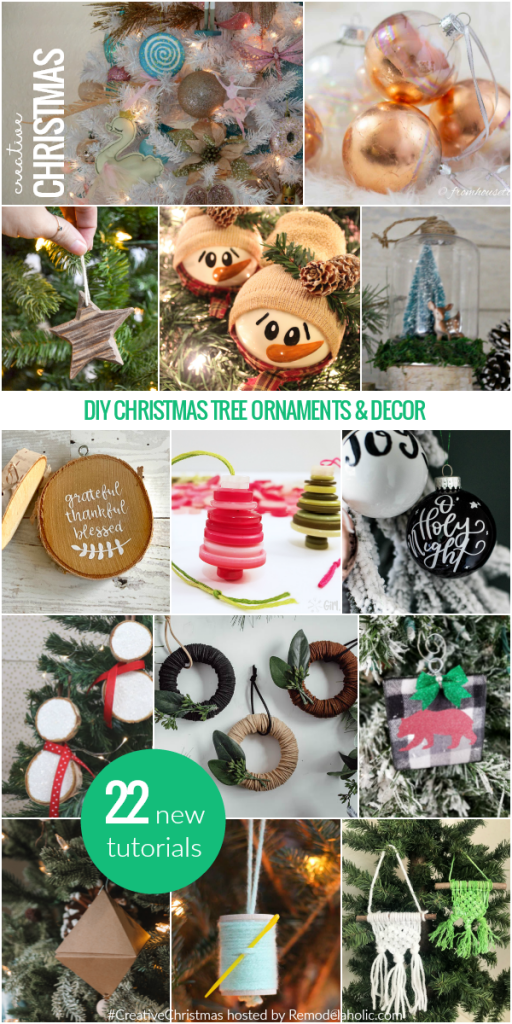
I’ve teamed up with 21 other bloggers to share DIY Christmas ideas and there are some great ones! Follow the links below the photos to check out all the great projects and inspiration!!
Nutcracker Christmas Tree Decorating | Remodelaholic
Copper Christmas Ornaments | From House to Home
DIY Rustic Carved Wood Ornaments | Ugly Duckling House
Snowman Globe Ornaments | Kailyn Williamson
Dollar Store Snow Globe Ornaments | Our Crafty Mom
Wood Disc Ornaments | Everyday Party Magazine
Button Christmas Ornaments | Girl Just DIY
Handlettered Ornaments 3 Ways | Lemon Thistle
Wood Slice Snowman Ornament | Creative Ramblings
Mini Wreath Ornaments | Love Create Celebrate
Buffalo Plaid Ornaments | Leap of Faith Crafting
Easy DIY Geometric Ornaments | Practical and Pretty
7 Cheap and Easy Christmas Ornaments | Toolbox Divas
Macrame Ornaments | Frazzled JOY
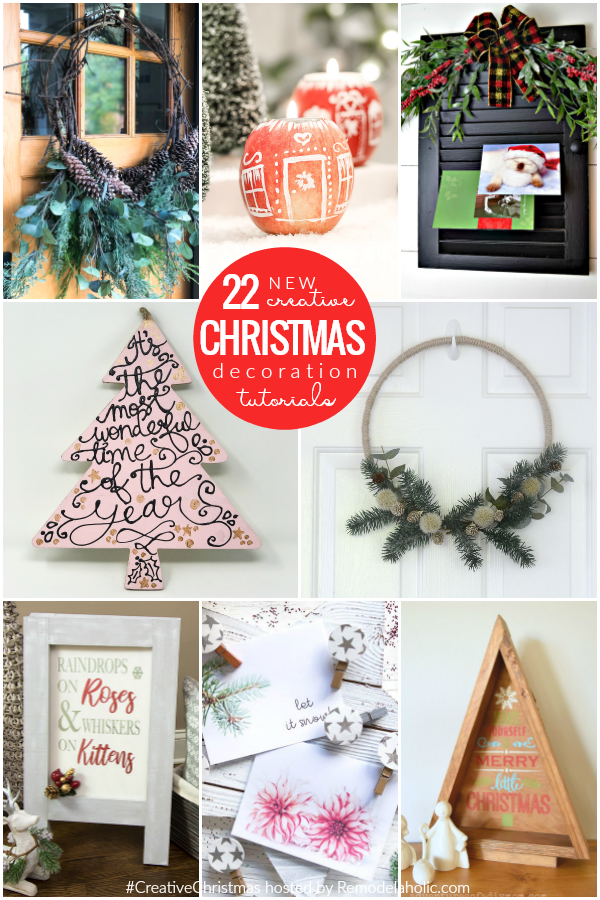
Grapevine Christmas Wreaths | Grace in My Space
DIY Apple Candle Village | Life on Summerhill
Festive DIY Christmas Card Holder | Red Cottage Chronicles
Lettered Tree Sign | Smiling Colors
Modern Christmas Wreath | Sister’s What!
Reversible Holiday Easel | Queen Bee of Honey Dos
Pretty Decorative Clothespins | Sustain My Craft Habit
DIY Wooden Triangle Christmas Tree | Adventures of a DIY Mom




I haven’t done macrame in years but I might have to dust off my old skills to make these DIY Christmas ornaments. They are so cute!
Thanks Wanda! They were easy once I got the hang of it!
Your tutorial is great, really clean photos and details thank you. I love the look of macrame but have never tried it, I think starting small like this is a great idea. Thank you.
Thanks Sarah! This was my first time to try it as well! I’m glad the instructions are clear!!
These are so cute. You did such a good job!
So cute in miniature! Thanks for joining Creative Christmas!
I’ve been wanting to try macrame and your ornaments have totally inspired me!