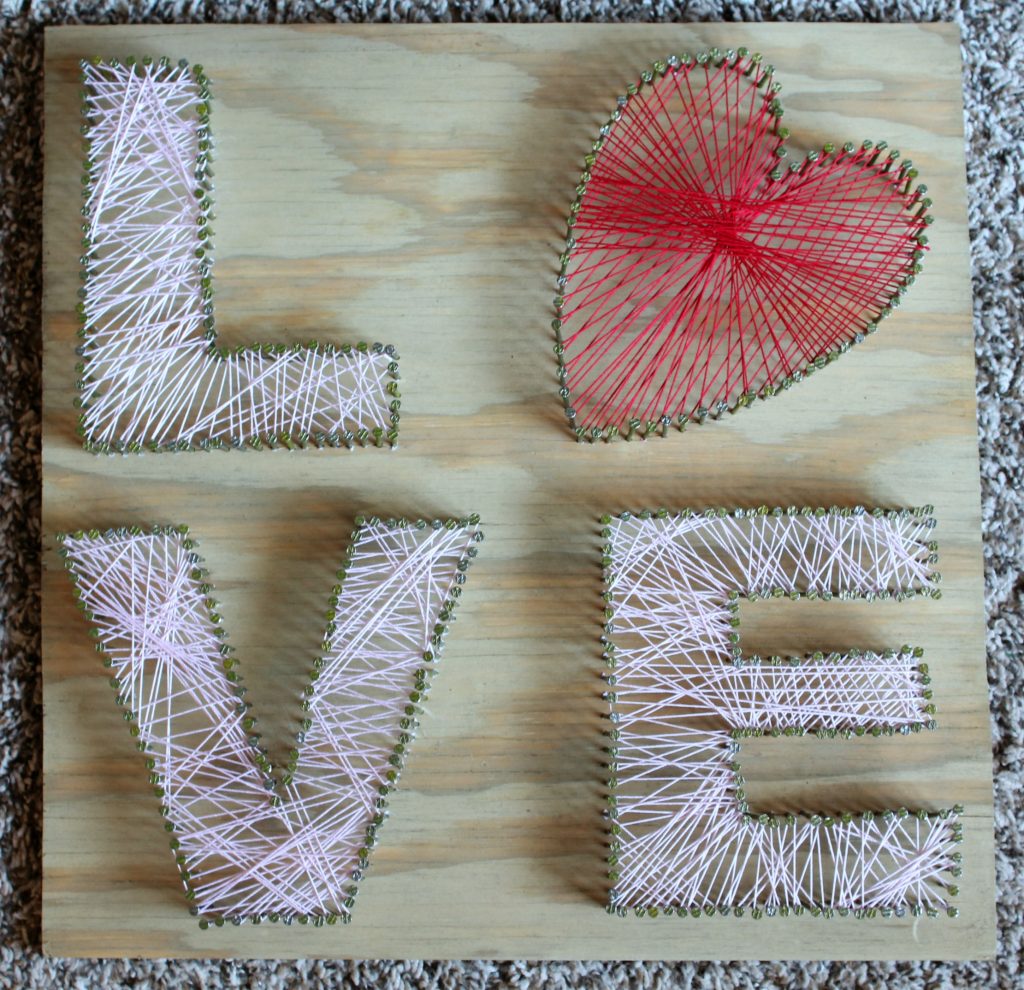
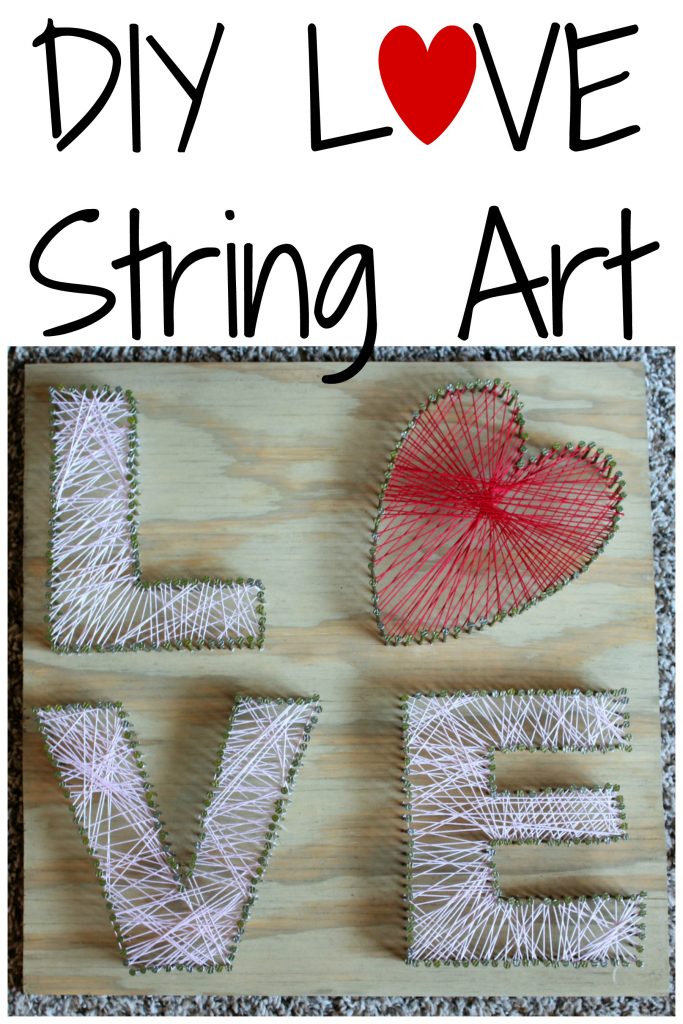
If you saw my Valentine’s Day mantel last week, you may have noticed a cute LOVE string art taking center stage. Yes, folks that was of course a DIY. I remember doing string art as a kid, and I have always loved the look. It has made quite the comeback as of late and it is everywhere! I even saw some cute pieces on the shelves in Dillard’s! So, I decided to give it a go on my own, and this is what I came up with! 😉 Don’t ya just “LOVE” it?? Ha!
*Some affiliate links used for your convenience. I make a small commission at no extra cost to you for any purchases made through these links. For more information see my disclosures here. Thanks for helping support Frazzled JOY!
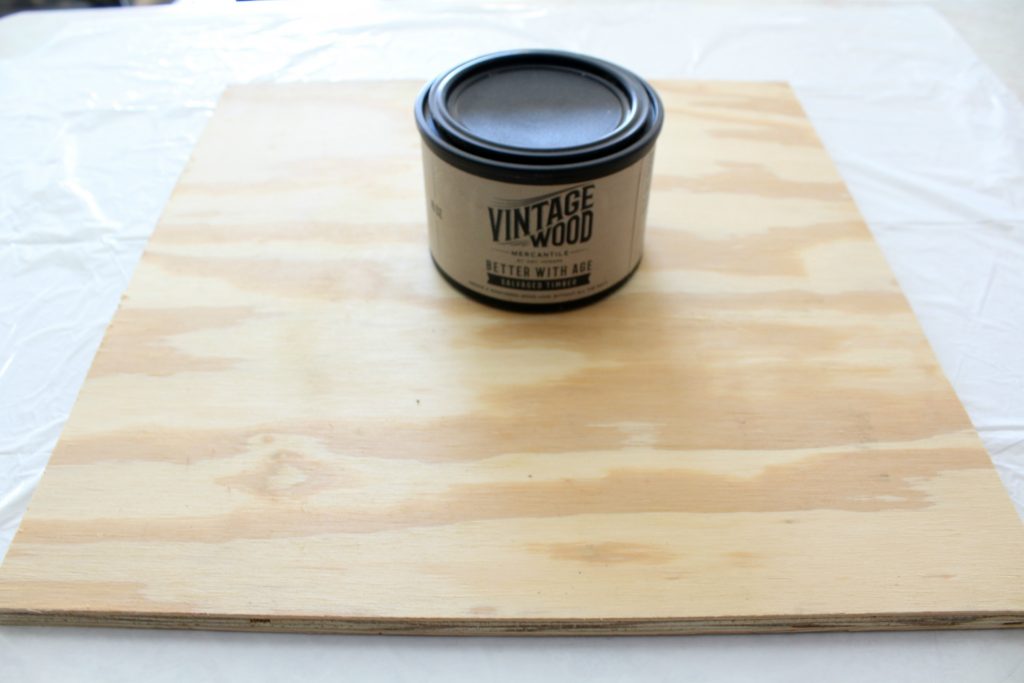
I must confess that I looked at zero tutorials before I started this project. I barely referenced a couple of pics. I knew what I wanted to create and I dove in head first. (this is a pretty normal strategy for me and projects 😆 ). I started out by having hubby cut me a square out of some scrap plywood we had. I finished that with some of this Vintage Wood Better With Age.
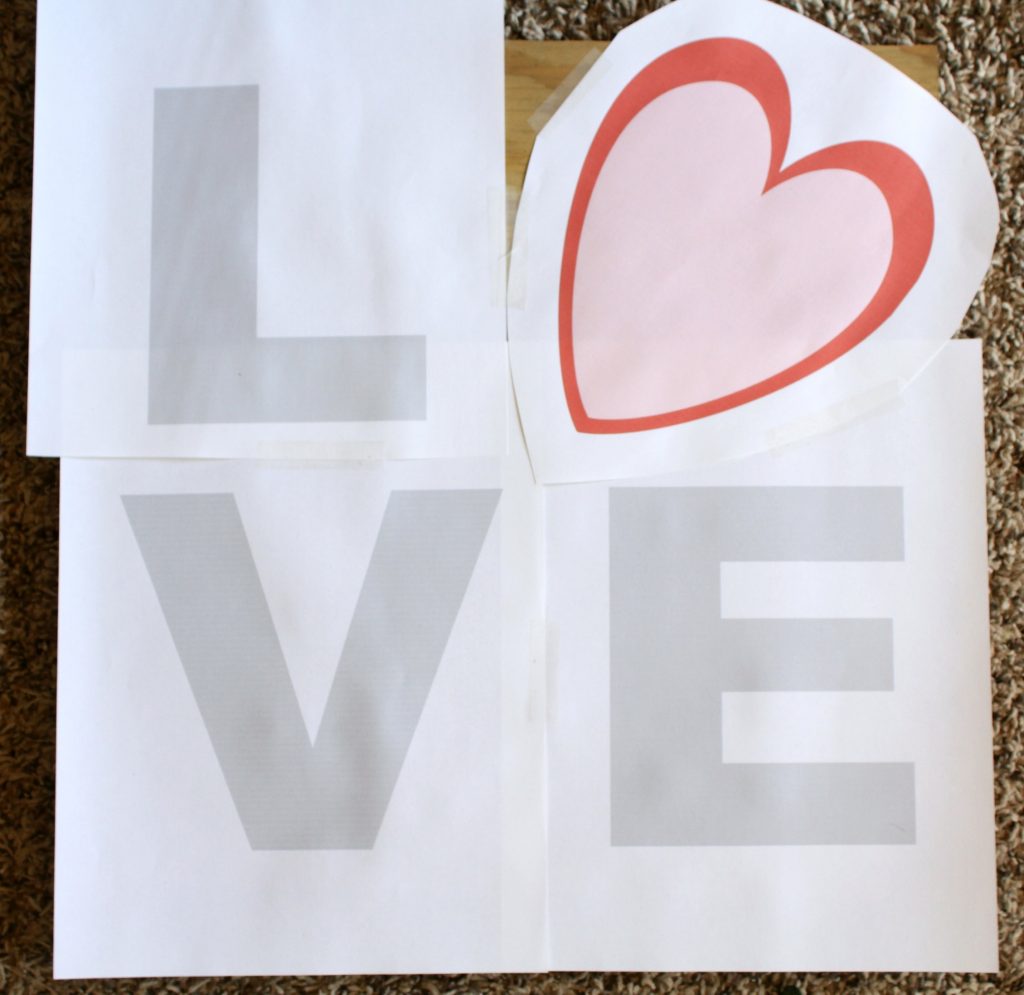
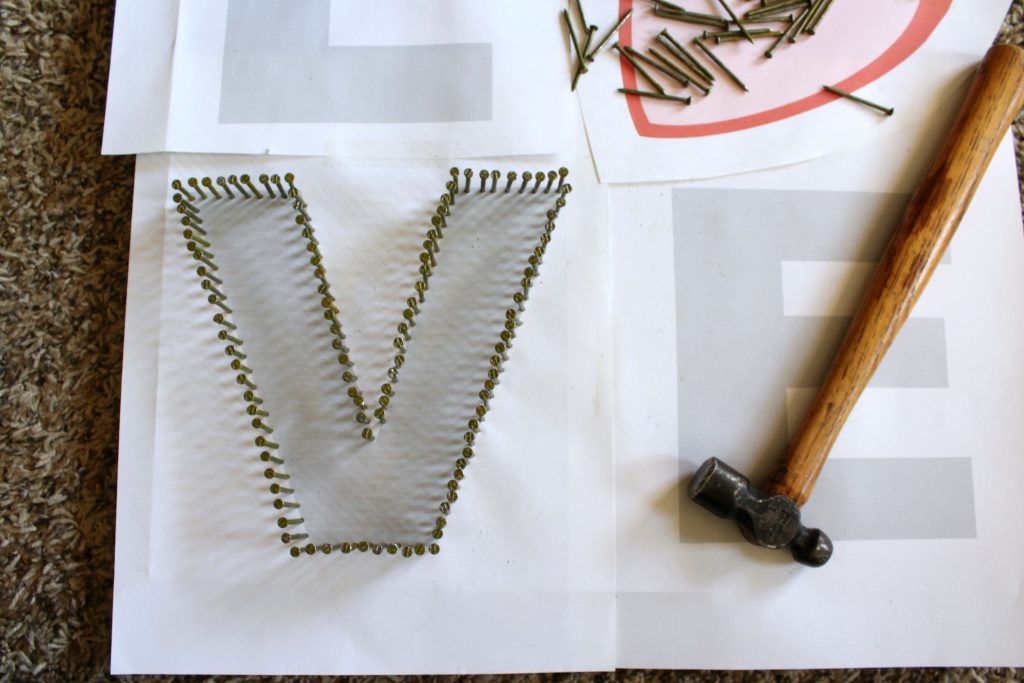
Next, I printed out my template. The letters “L”, “V”, and “E” and a heart for the “O”. I used picmonkey for these, but you could easily use a simple word processing program. Just make sure your letters are thick enough that you have room for the string.
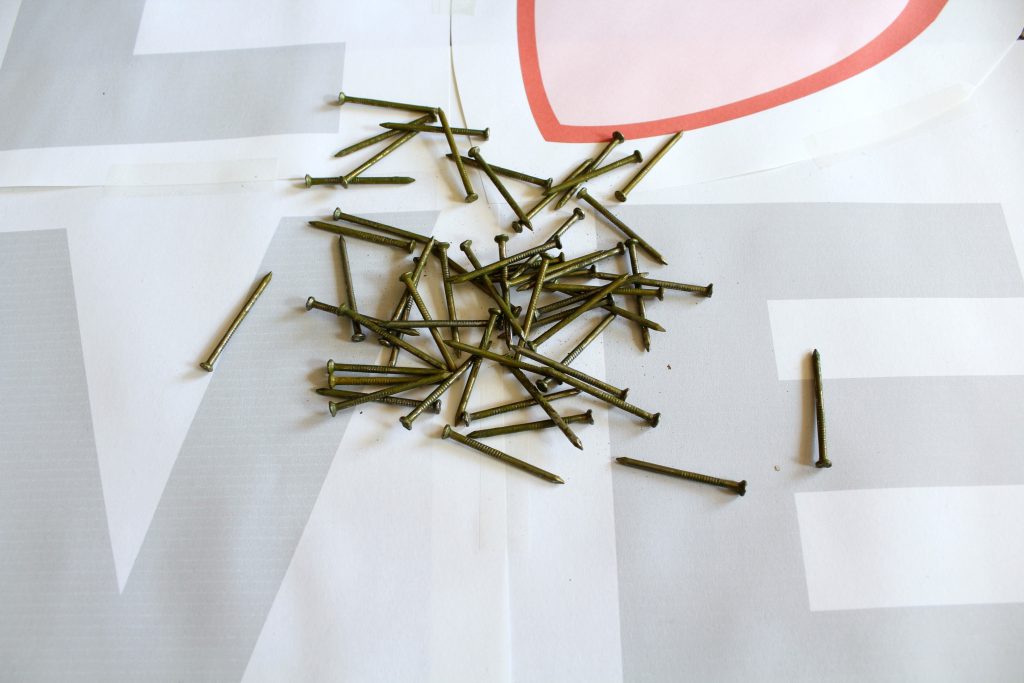
After positioning the templates on the wood, I moved on to nailing. I found my nails at Ace Hardware, and I bought a large box. These have a slight gold or brass color to them which I thought was interesting. It doesn’t really matter what kind of nails you use necessarily, you just want them to have a head on them (what will hold the string on), and be long enough. I wanted my nails to stick up about an inch off the board, so I used 1 3/4″ nails.
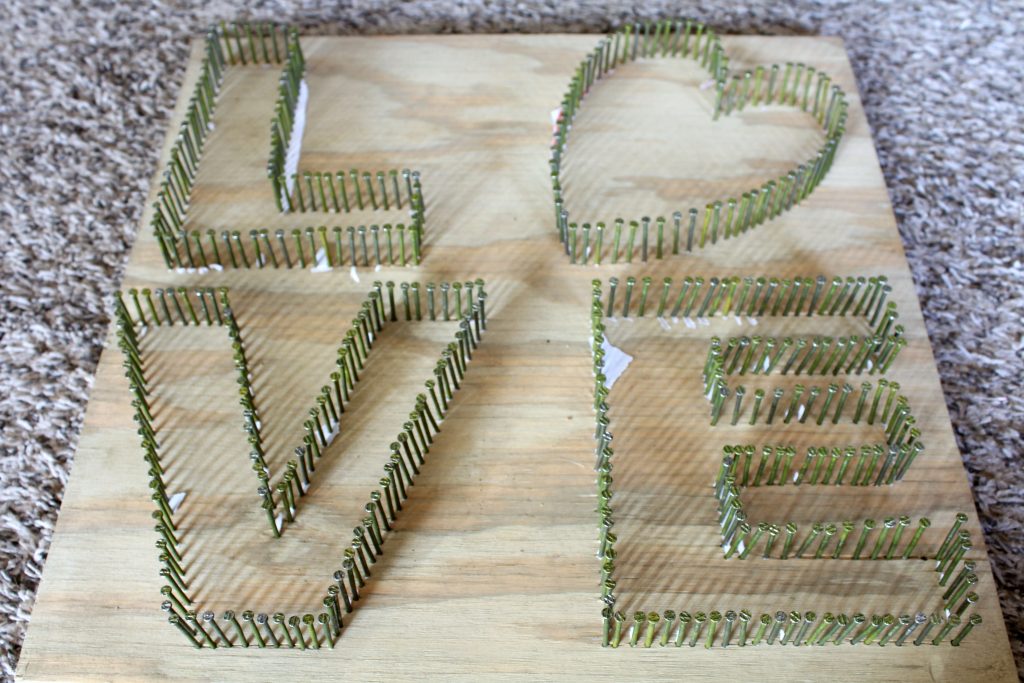
After getting all the nails in and starting to add the string, I realized that I may have placed the nails a little too close together. I recommend that you think about that in the beginning, because you want them to all be uniform, so once you start you can’t change it. Anywho!! I did my best to keep the distance in between the nails close to the same, and the height of the nails the same. Uniformity in this stage is what will make your finished product look awesome!
When you are finished nailing, you will want to remove your template. I did have a few places where I had to work at getting all of the paper off (as you can see in this picture). But, it wasn’t too bad.
Next step is adding the string. I’m sorry to say that I have no progress pics of this process because I was so enjoying it that I forgot!! 😳
The how to is pretty simple. Tie the end of your string to one nail (I chose to start in corners). Pull the string across to another nail, wrap it around that nail a couple of times and then pull across to another nail and so on. Skipping nails and varying where your string goes will give you an interesting pattern. If you want something a little neater or more symmetrical then you can do that as well. This is the creative part, the fun part. Where you can make it look however you like!! And when you’re done you’ll have something like this!!
Super fun, don’t ya think?? You could do this with any design! I hope you try it out!! Let me know if you do!!
Linking up with Wow Us Wednesdays / The Inspiration Gallery / The Creative Circle / BFF Link Party


Leave a Reply