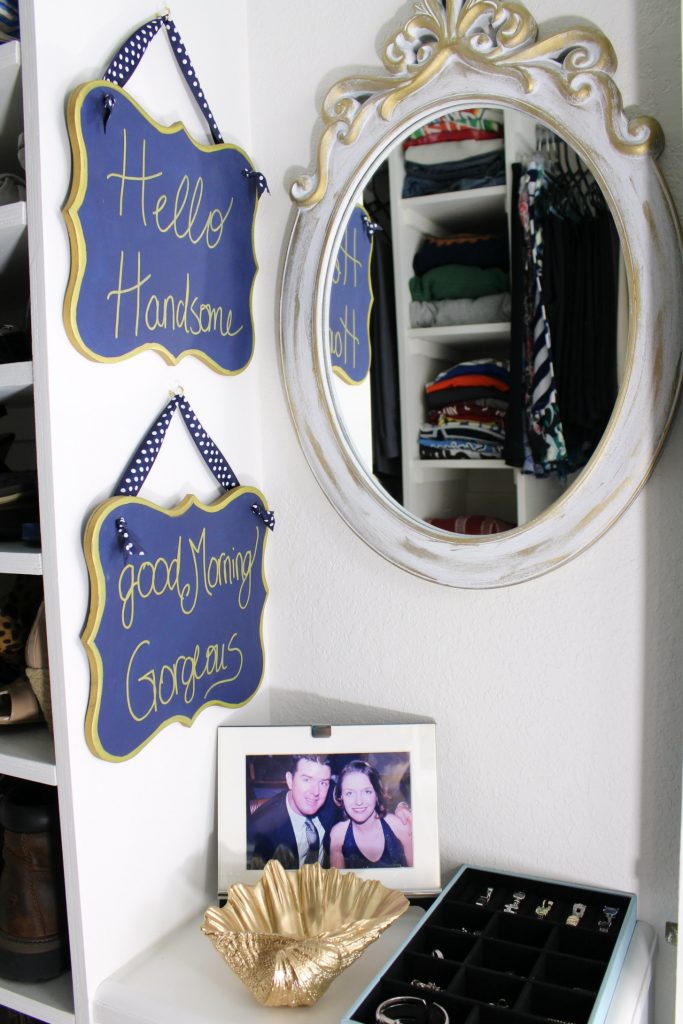
Hey there! Today I’m going to share with you a craft moment from our closet. Cute signs with these words were on my list, and I ended up crafting my own to save a little bit of $$.
I started out with two of these chipboard pieces from Hobby Lobby. They are regularly $3.99 (which is already cheap) but you can catch them on sale sometimes for 30-50% off. (if not you can always use their handy 40% off coupon) I just saw online one that is all chipboard, but our store only carries this one that is actually chalkboard on one side and regular chipboard on the other side.
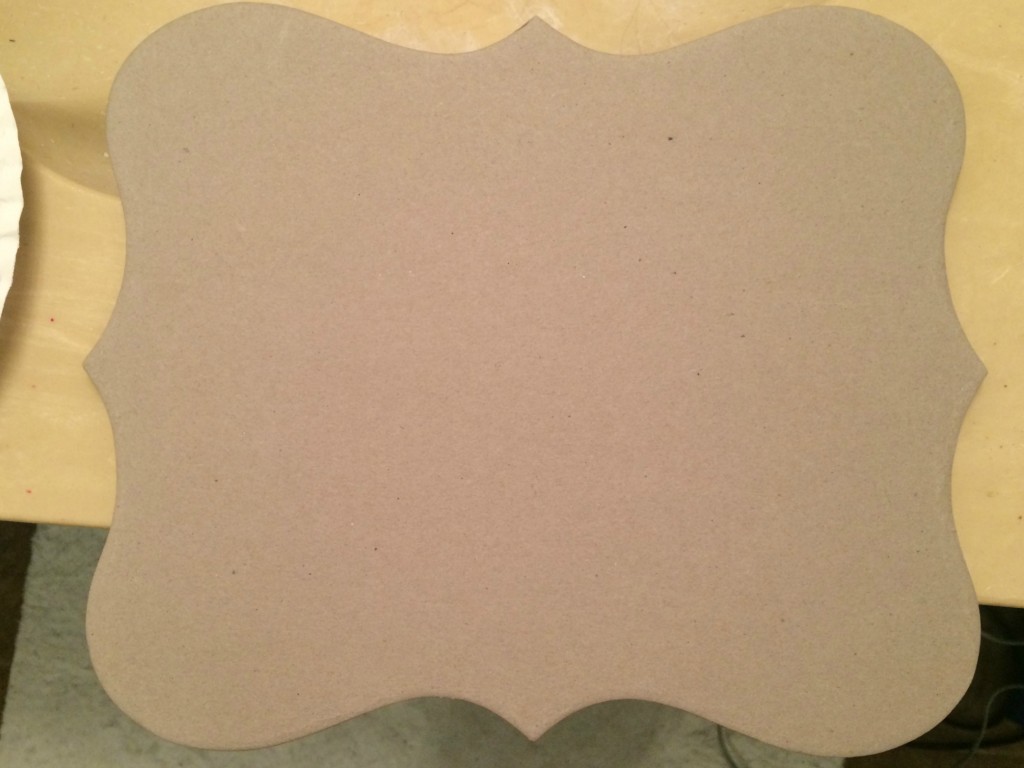
I used one of these for my daughters senior photos. (graduation is Saturday – hold me)
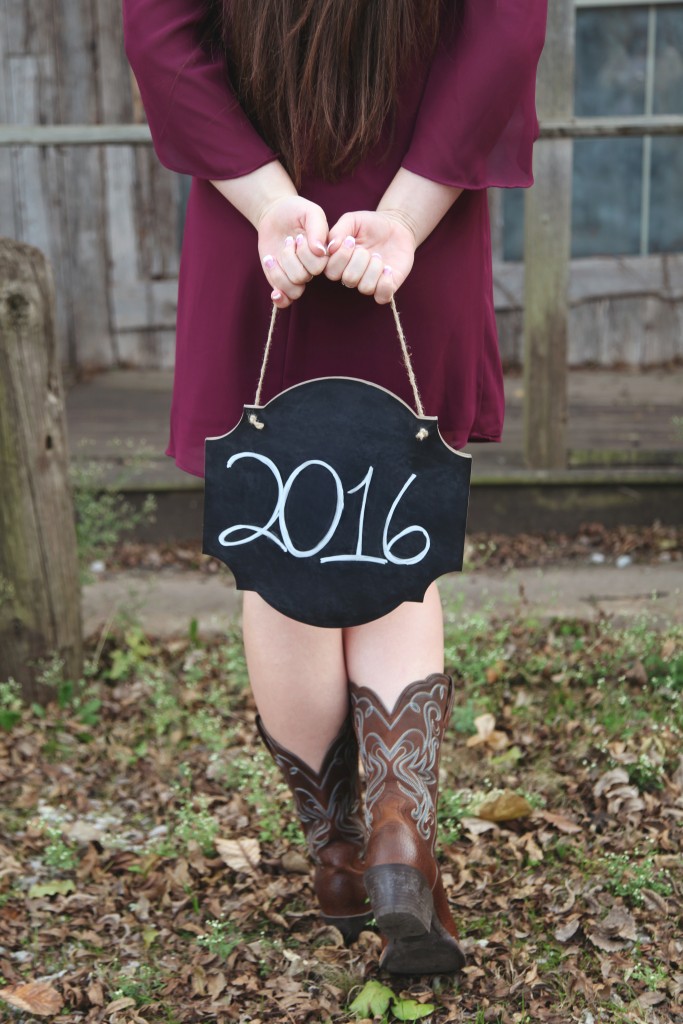
photo courtesy of CaitPhoto
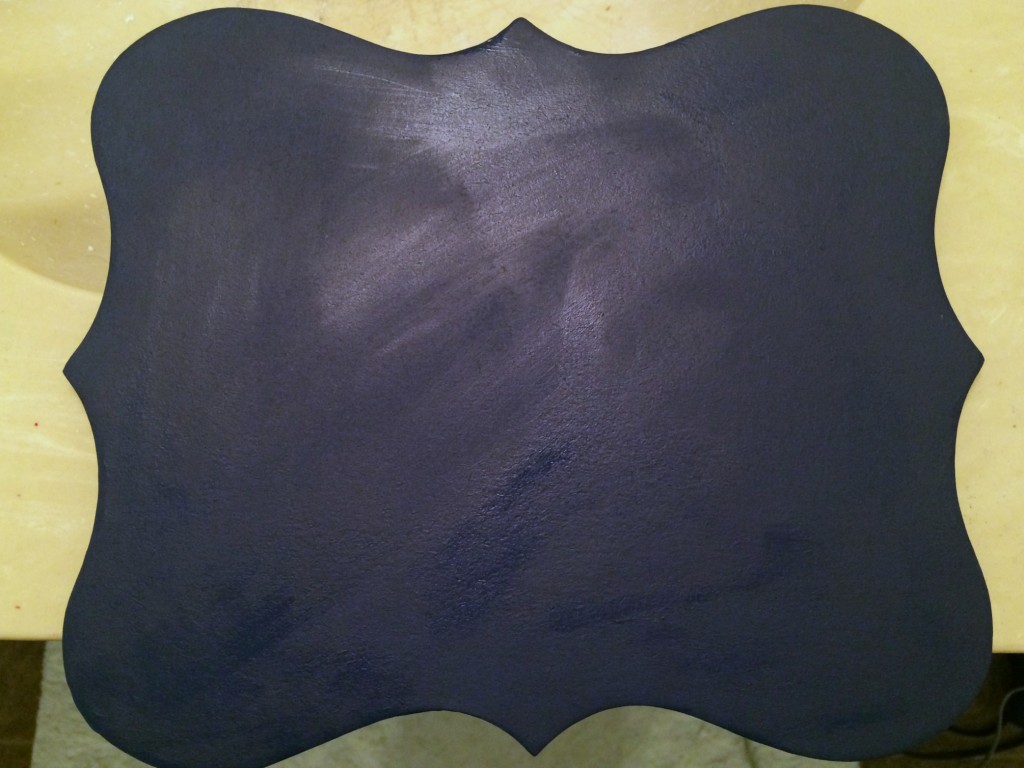
For this project, I knew I wanted to paint them navy blue to bring the closet together with the bedroom, so I flipped them over to the chipboard side. Using acrylic paint I painted the whole surface.
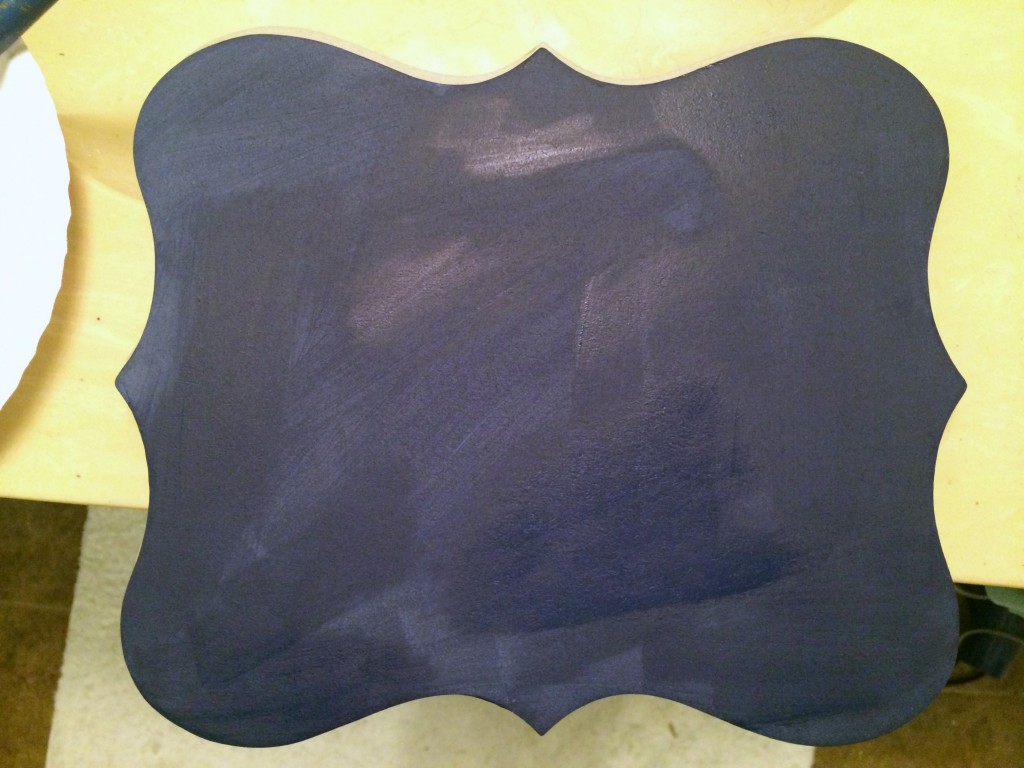
It was still a little streaky after the first coat, so I gave it a second coat.
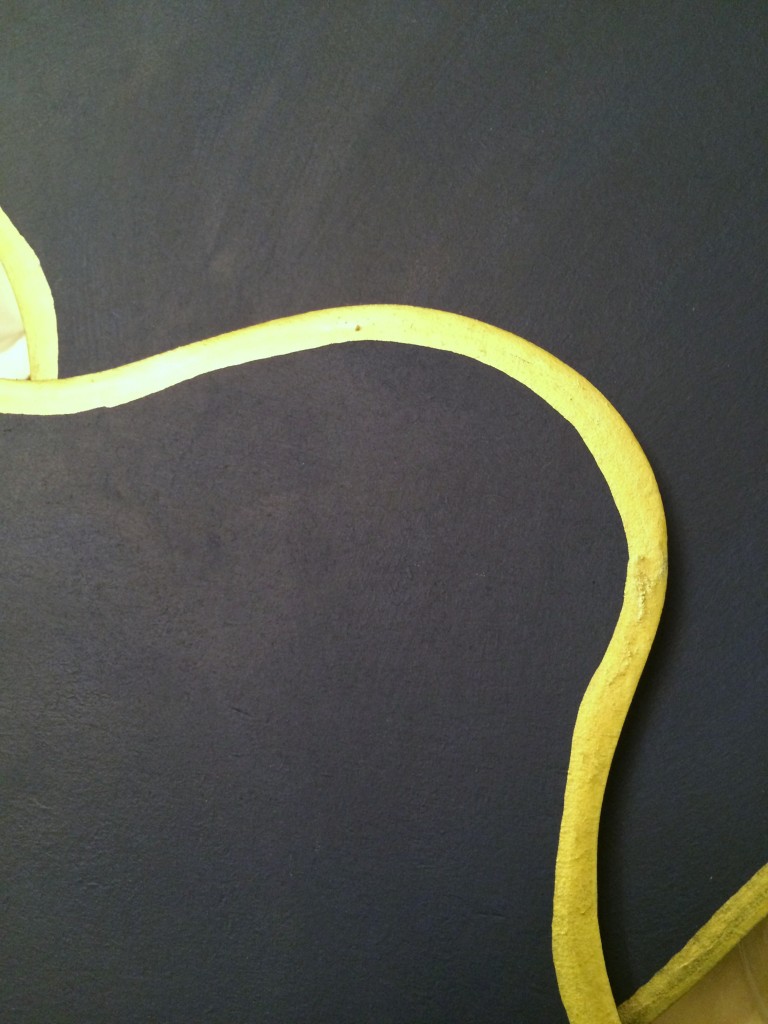
Then, to add a little something, and give it more of a framed look, I used a gold sharpie paint marker (water-based- which are hard to find – I bought mine at Michael’s) and drew a gold edge around the piece. (sorry for the blurry cell phone pic) I also made sure the edge was gold since that would be showing.
Using these that I found at Hobby Lobby as my inspiration
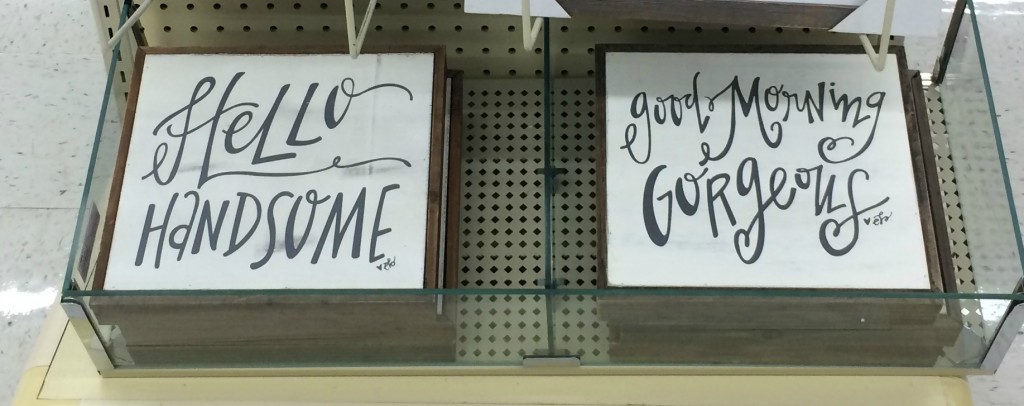
I drew my words on the board. (very lightly as to not make grooves in the cardboard)
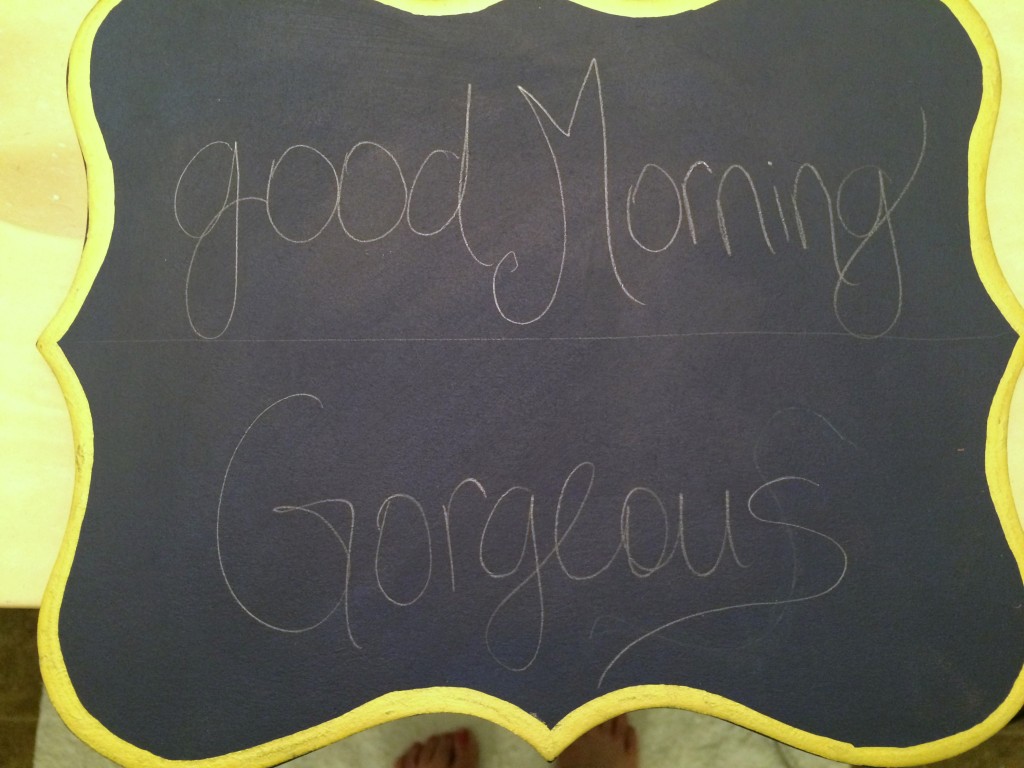
It is a good idea to practice how you are going to write it on regular paper a few times. I’m not super gifted in fancy handwriting, but I did my best. 😉 Then, I went over the pencil with the same sharpie paint marker.
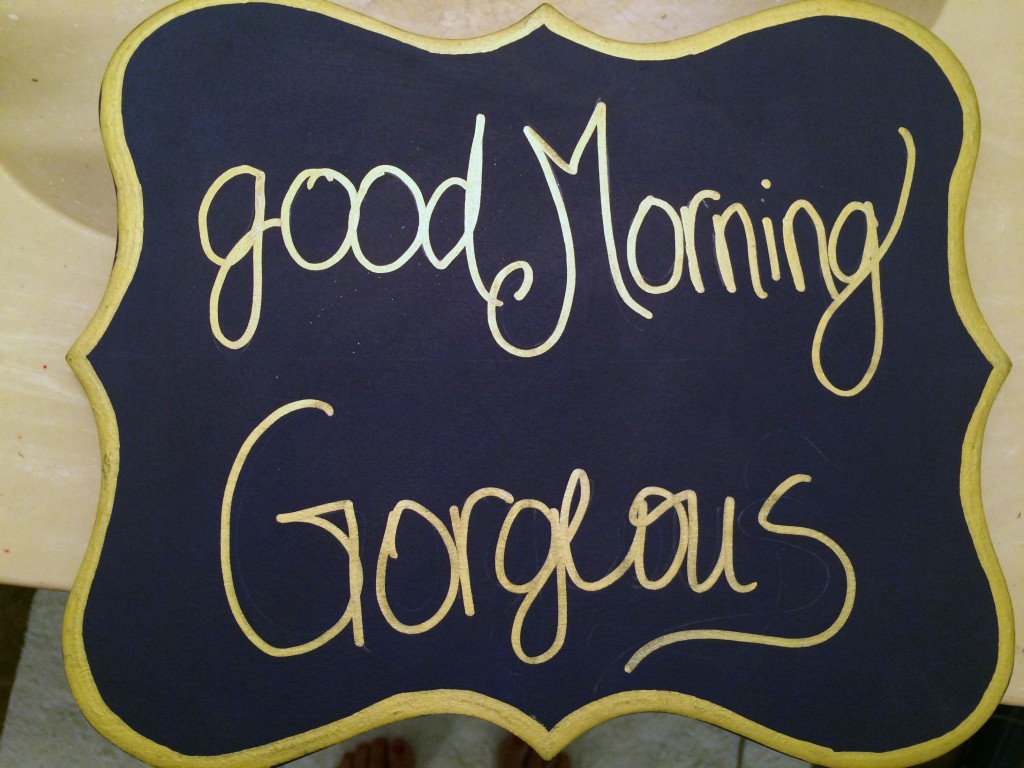
I didn’t perfectly trace the pencil lines, so I needed to erase in a few places, and touch up with blue paint in a few other places – easy peasy.
The last part I neglected to get pictures of – bad blogger. In order to hang the pieces I wanted to attach ribbon. Yes, you could probably attach it to the back with some hot glue and it would be fine – they are not that heavy. But, when I made my daughters sign, I used rope and tied cute knots on the front, so I decided to do the same with the ribbon.
The trick I use is to drill holes in the corners of the board. It is tricky, and most likely the chipboard will come apart a bit on the back when you try to drill through. But, for me – it’s the back and it doesn’t matter. If you’re a perfectionist I would recommend gluing the ribbon to the back – ha! 😆
Here is the after again.
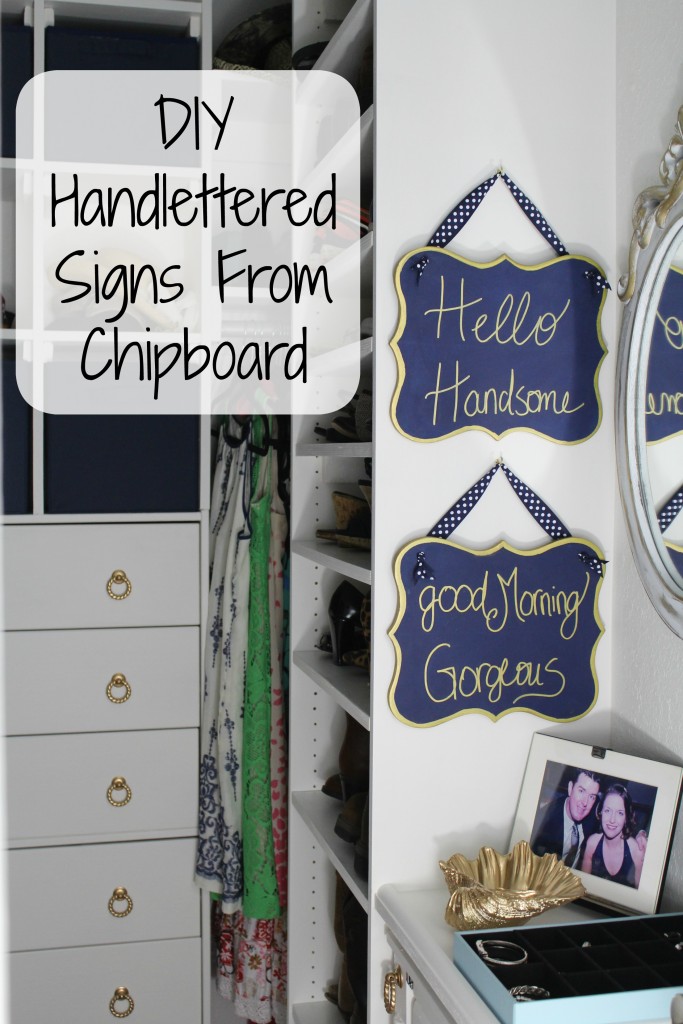
They are not perfect or store worthy by any means, but I kinda like that they are made with my own handwriting instead of someone else’s or even a computer.
Crafting is therapy to me! I love working with my hands! You should definitely give it a try!


Linking up with Create It Thursday / May Pretty Project Party / The Inspiration Gallery / That DIY Party / The Creative Gallery / Show and Tell Link Party / Tutorials & Tips Link Party / Inspire Me Monday / Wow Us Wednesdays / Work It Wednesday / The Creative Circle

Leave a Reply