• ALL ABOUT ME
  • OUR HOME
  • ABOUT FAITH
  • CONTACT ME
  • DISCLOSURES
  • Nav Social Menu

    • Bloglovin
    • Facebook
    • Instagram
    • Pinterest
    • Twitter

  • DIY
  • Family
  • Home Decor
  • Encouragement
  • Organizing
  • Shop My Favorites

January 13, 2016 · Leave a Comment

DIY Board & Batten

DIY

Now that the holidays are over and I have my brain back, I want to share a couple of the DIY projects from our bathroom makeover.

First up, our DIY board & batten. 

Supplies needed:

Lattice wood
Liquid nails (optional but I liked using it)
Finishing nails and hammer (or finish nail gun)
Nail set
Sandpaper
Saw (hand miter saw works just fine)
Caulk (paintable)
Primer
And of course paint color of your choice

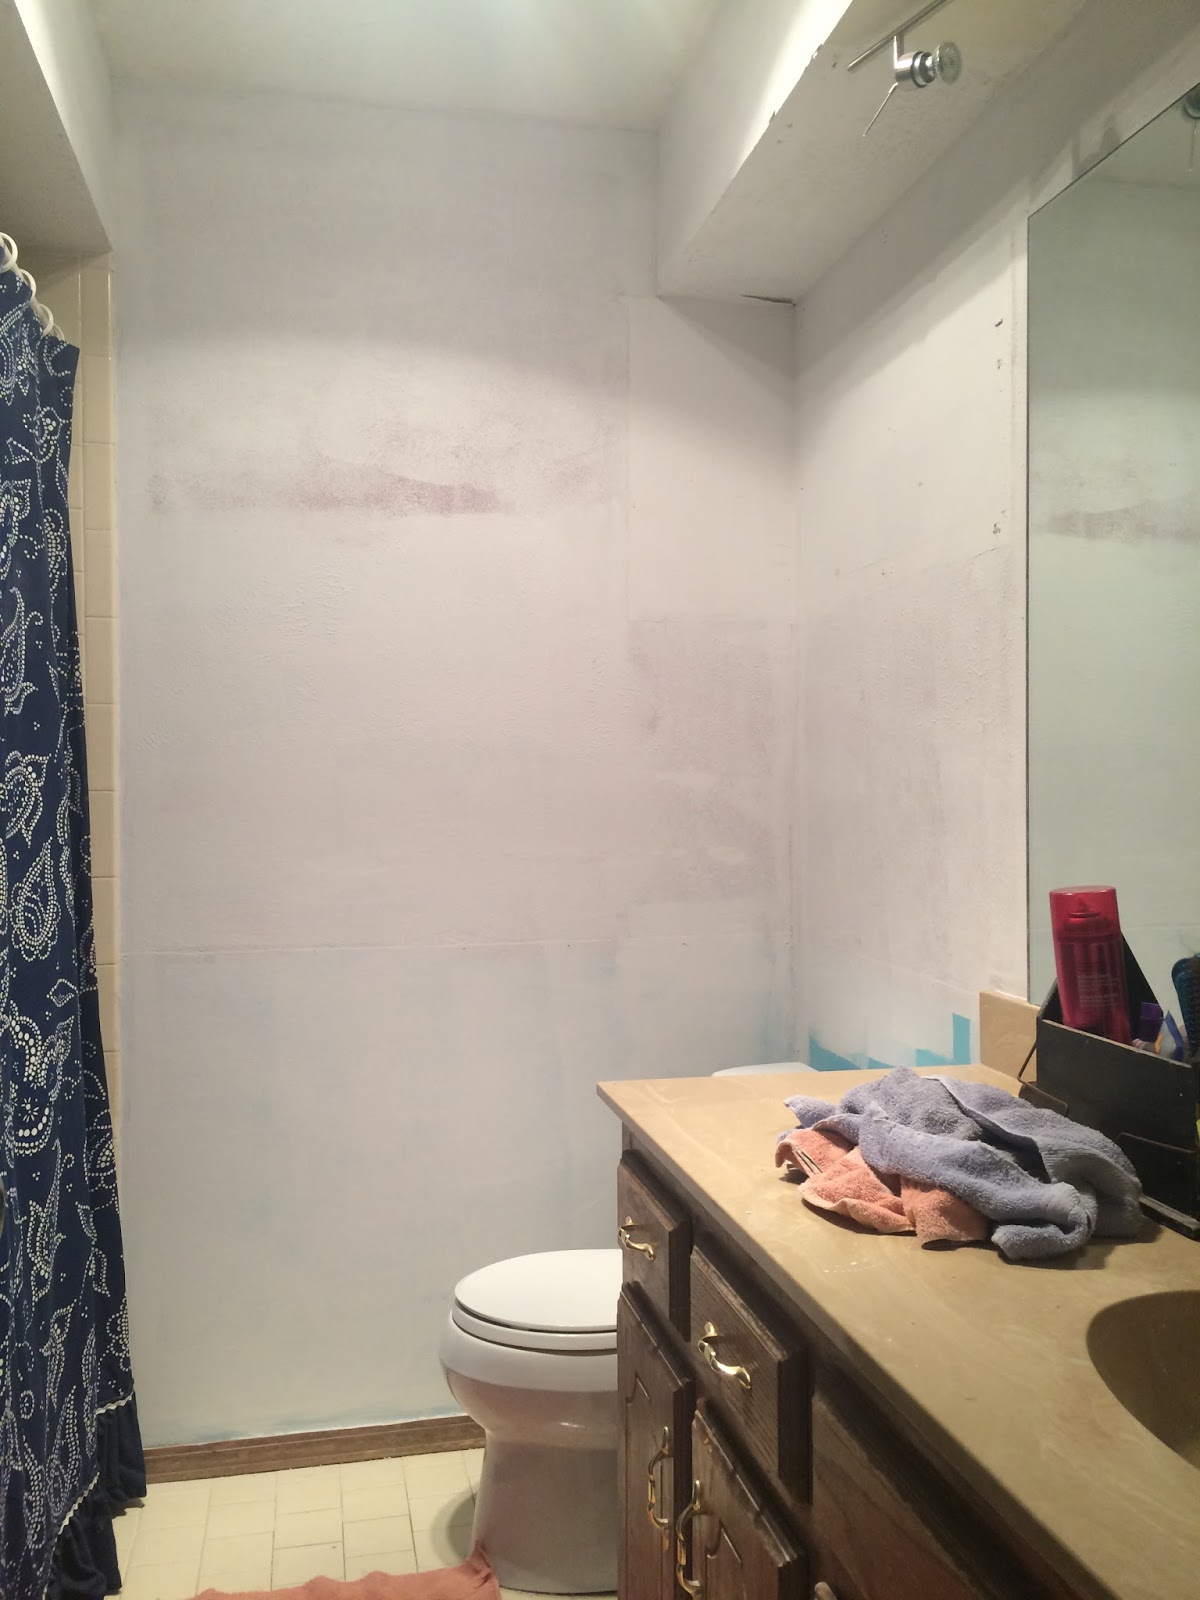
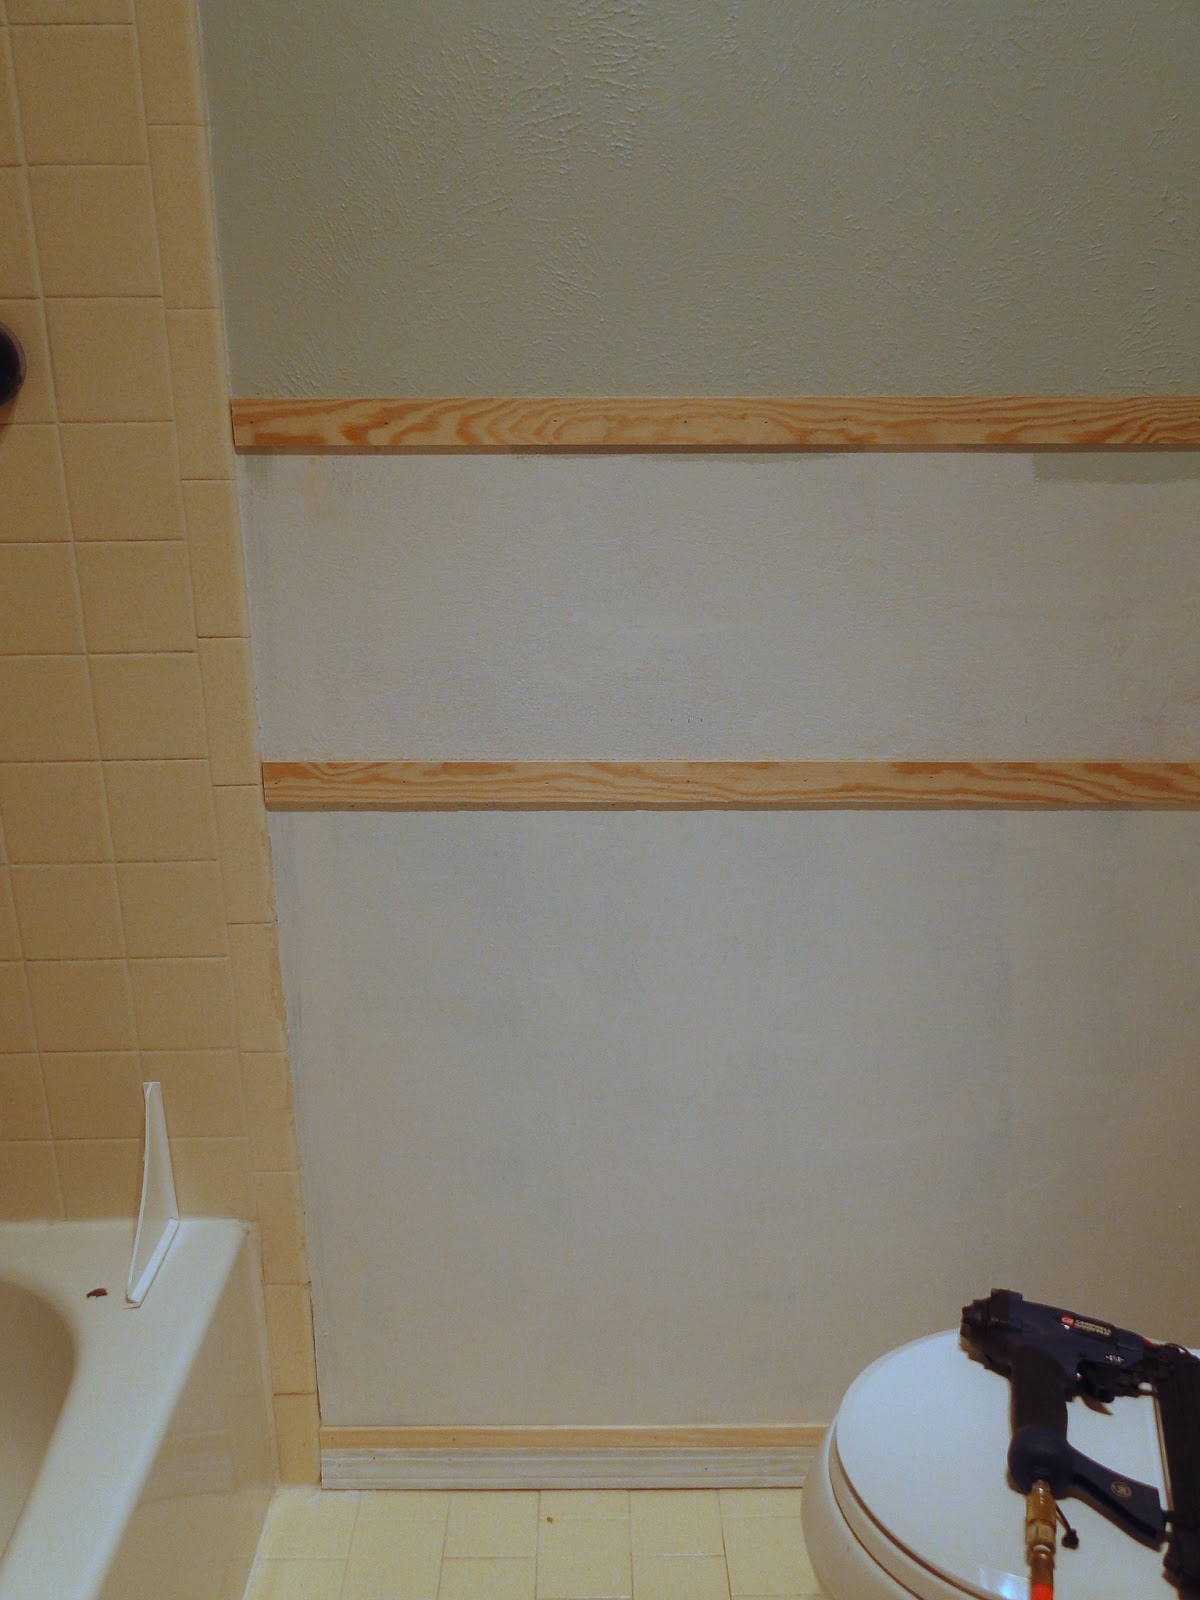
First step was to prime the wall. Especially since we were going with a traditional white finish. (You’ll see in later pictures that I also went ahead and painted the top half of the wall – really doesn’t matter which one you do first.)

Next was to purchase supplies. I found my lattice wood at home depot with the molding. Looks like this.


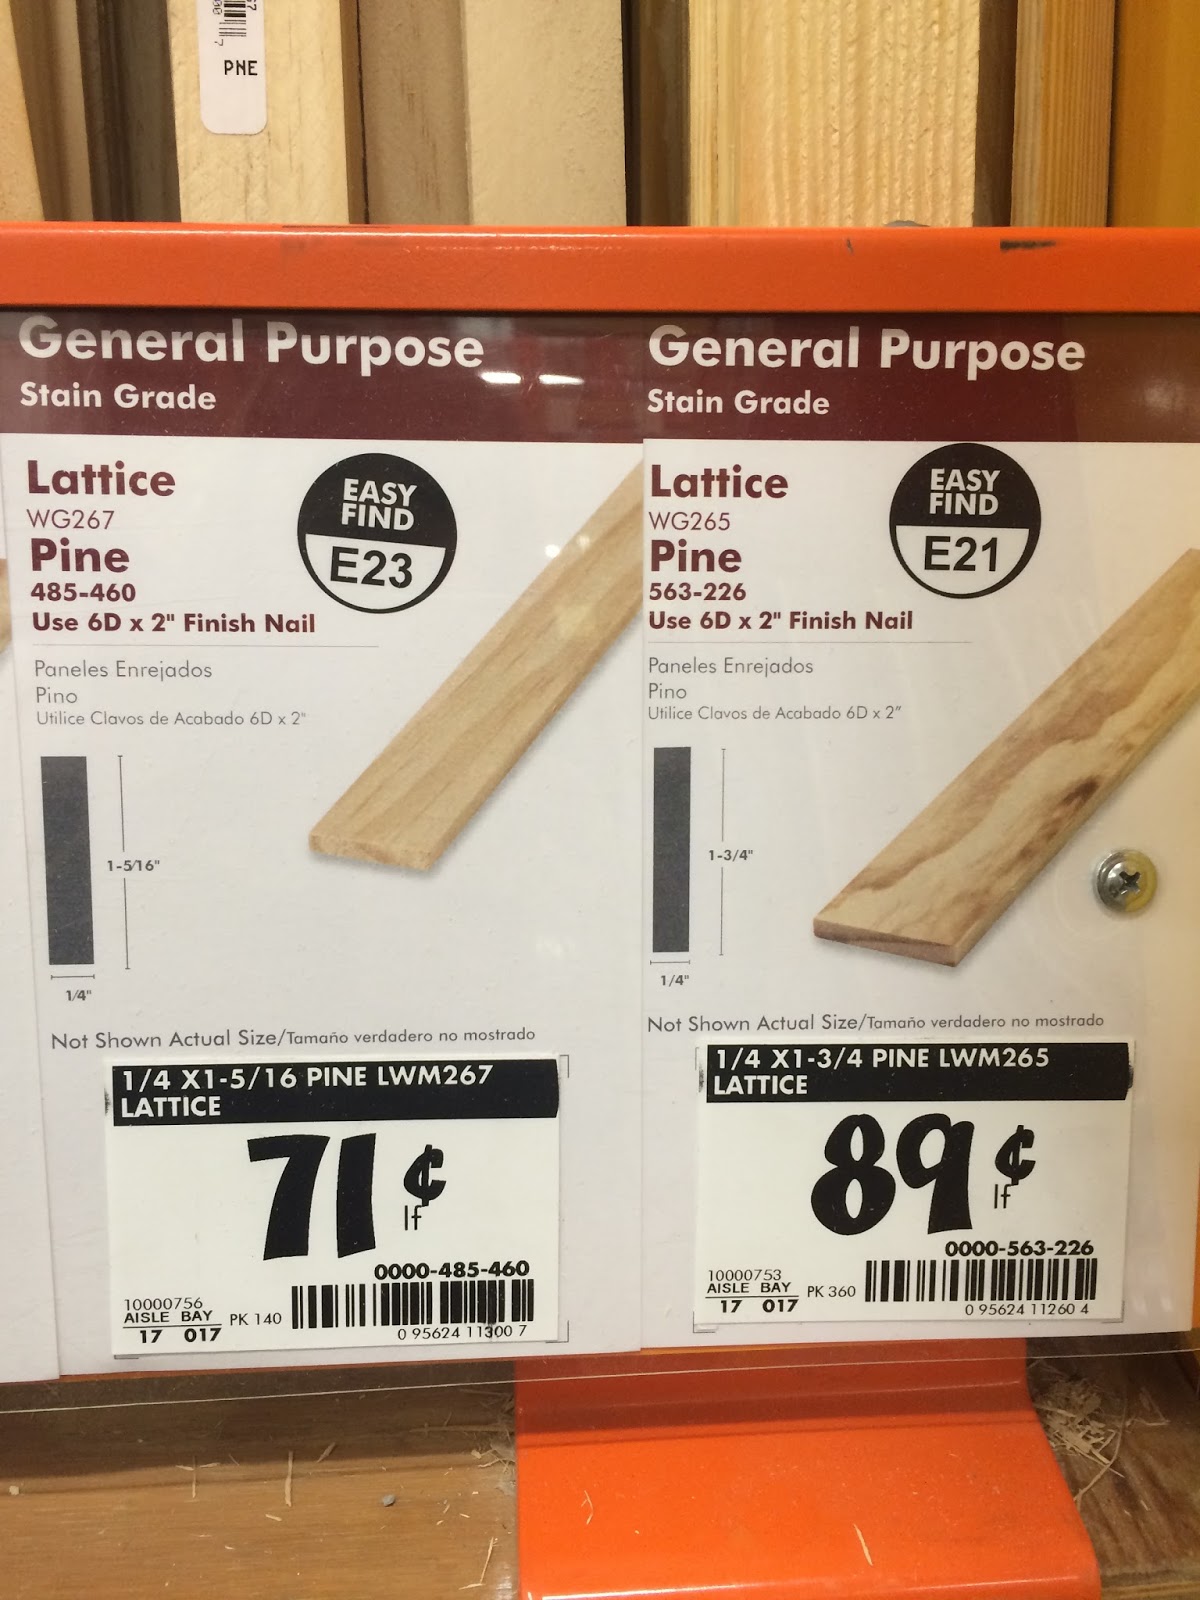
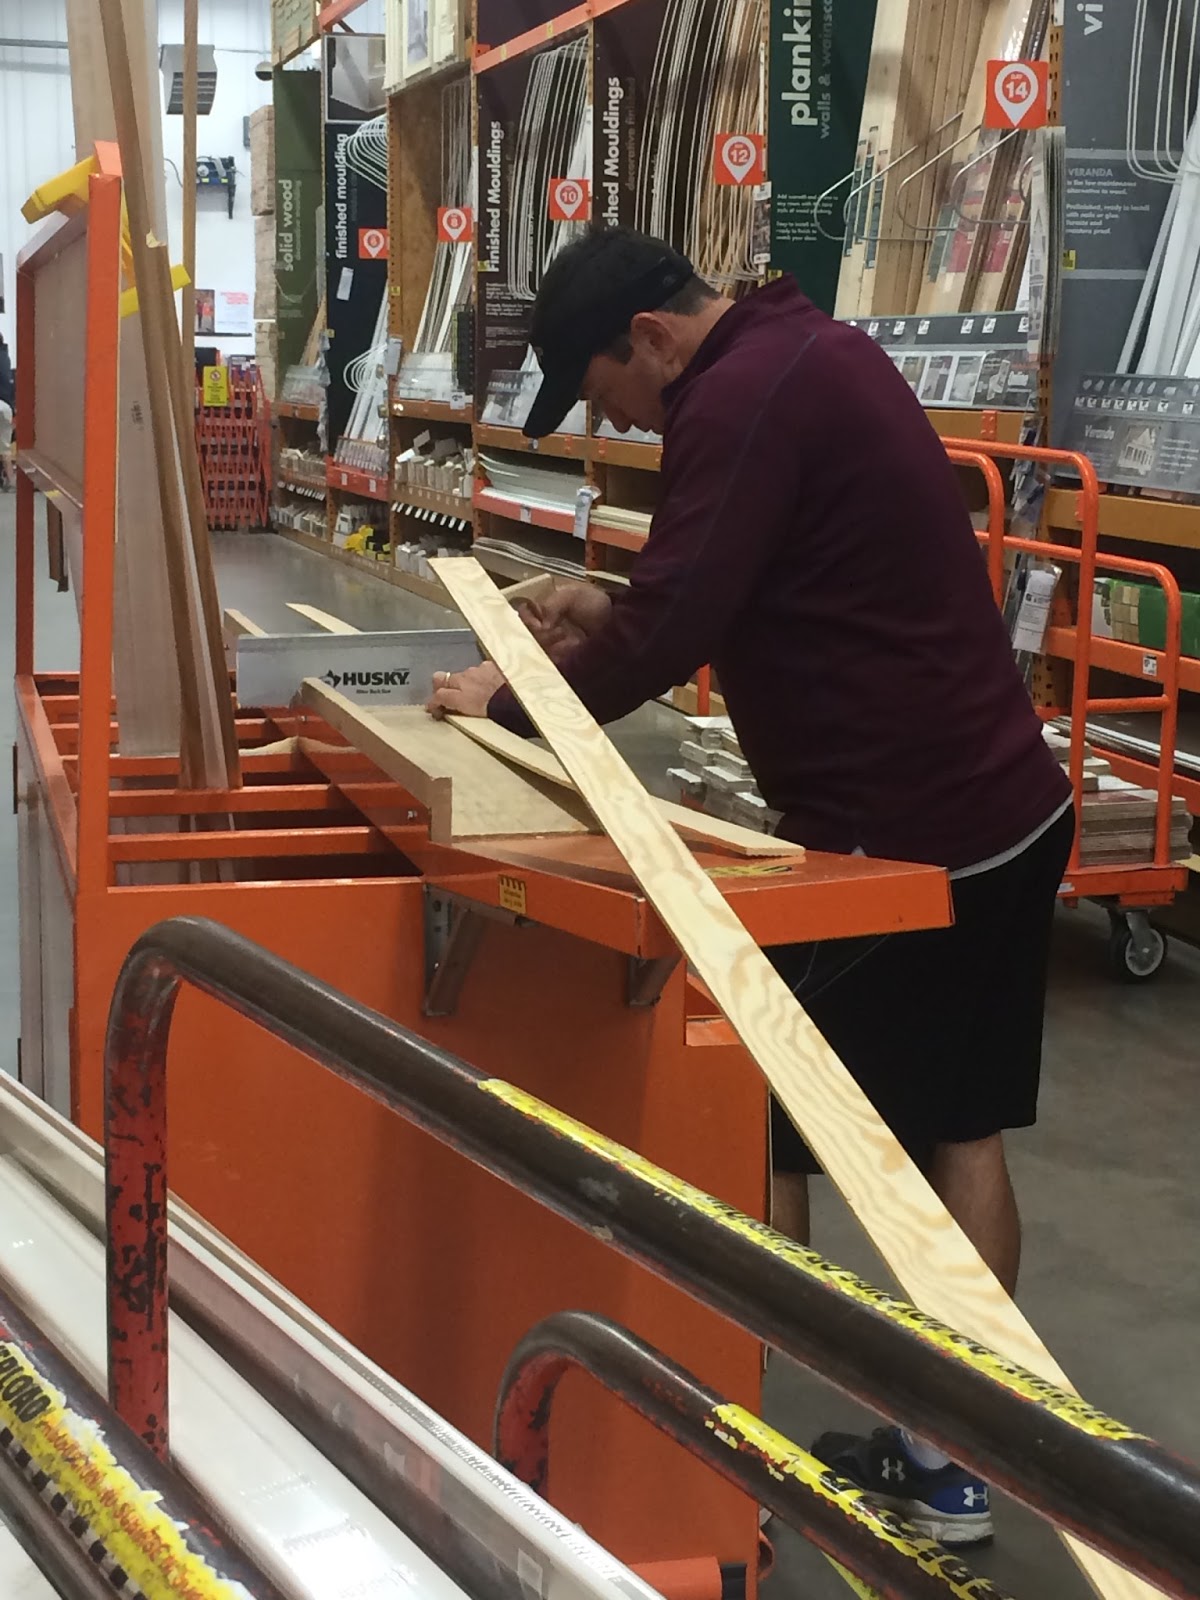
We used 1″ and 1 3/4″ width to get the look we wanted. It is sold here by linear foot. Hubby cut it down to an approximate size in the store to make it easier to transport.

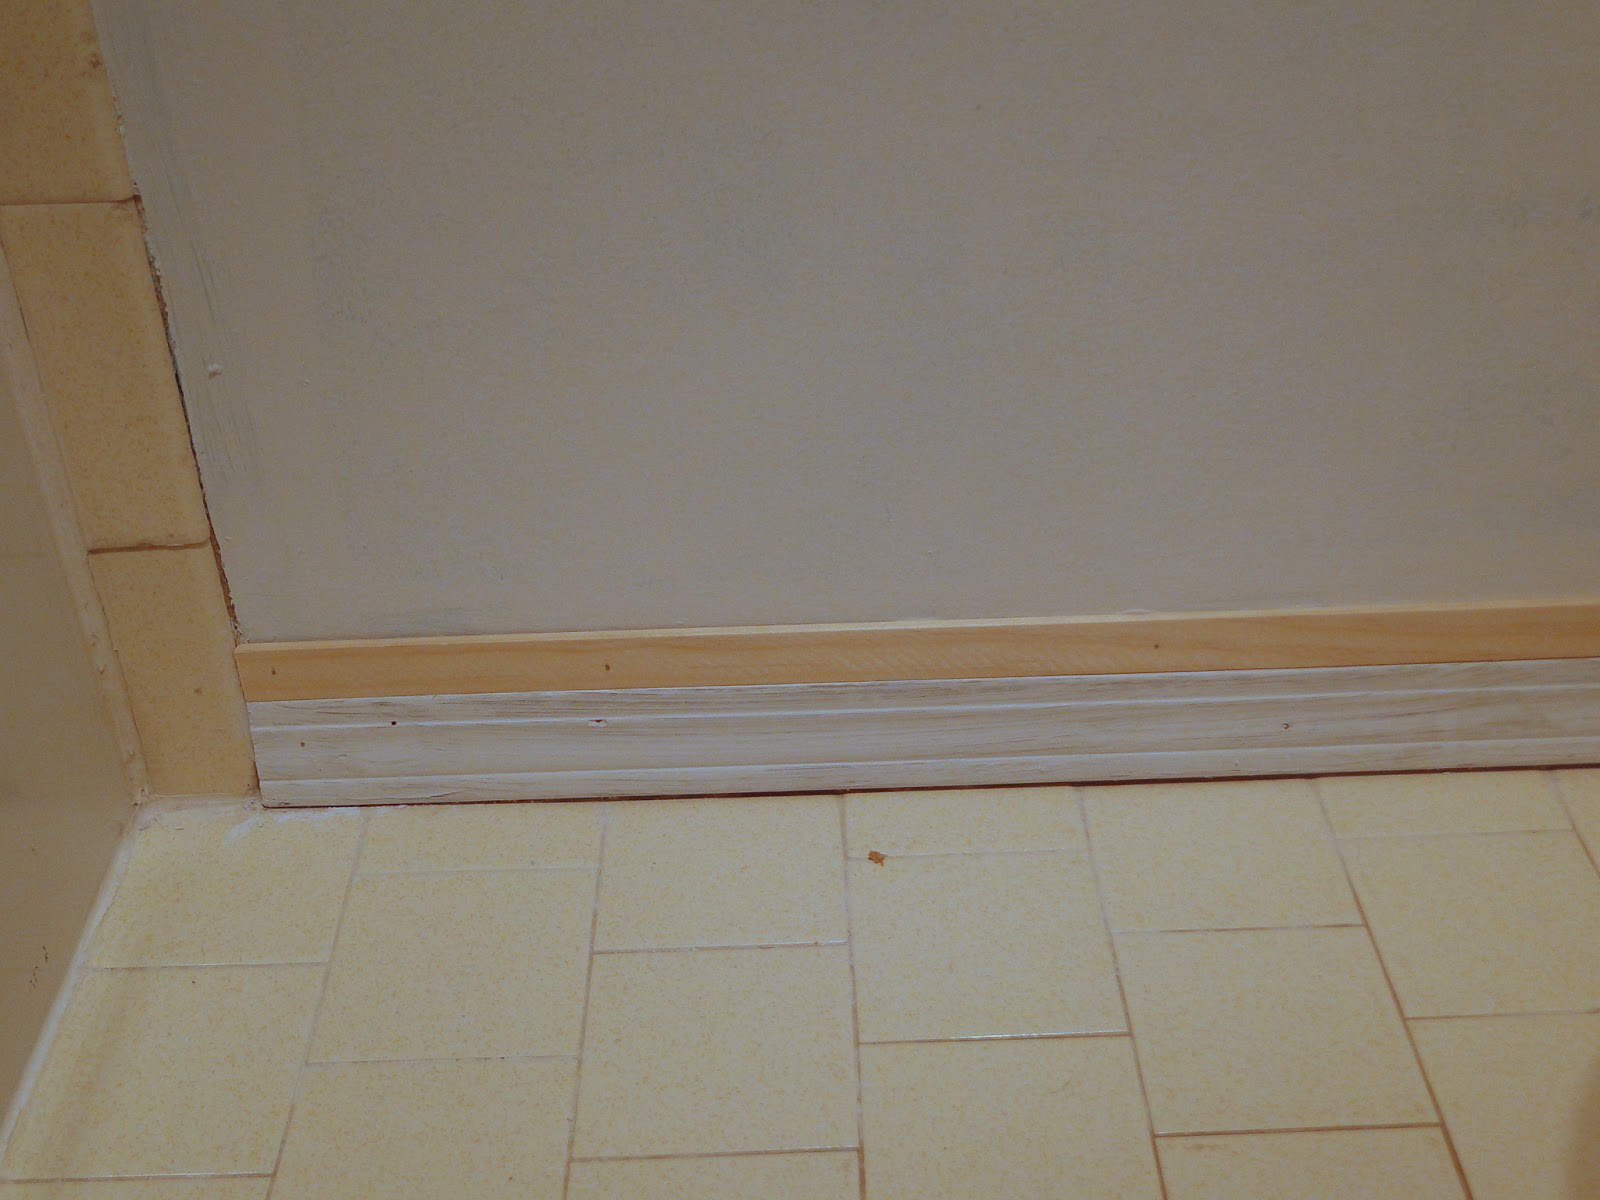
Start with your horizontal pieces first. Measure and cut to size each piece. I used a 1″ piece along the bottom since I was leaving the baseboard, but the other two horizontal pieces are 1 3/4″.


Apply liquid nails. (look for the type made for paneling)


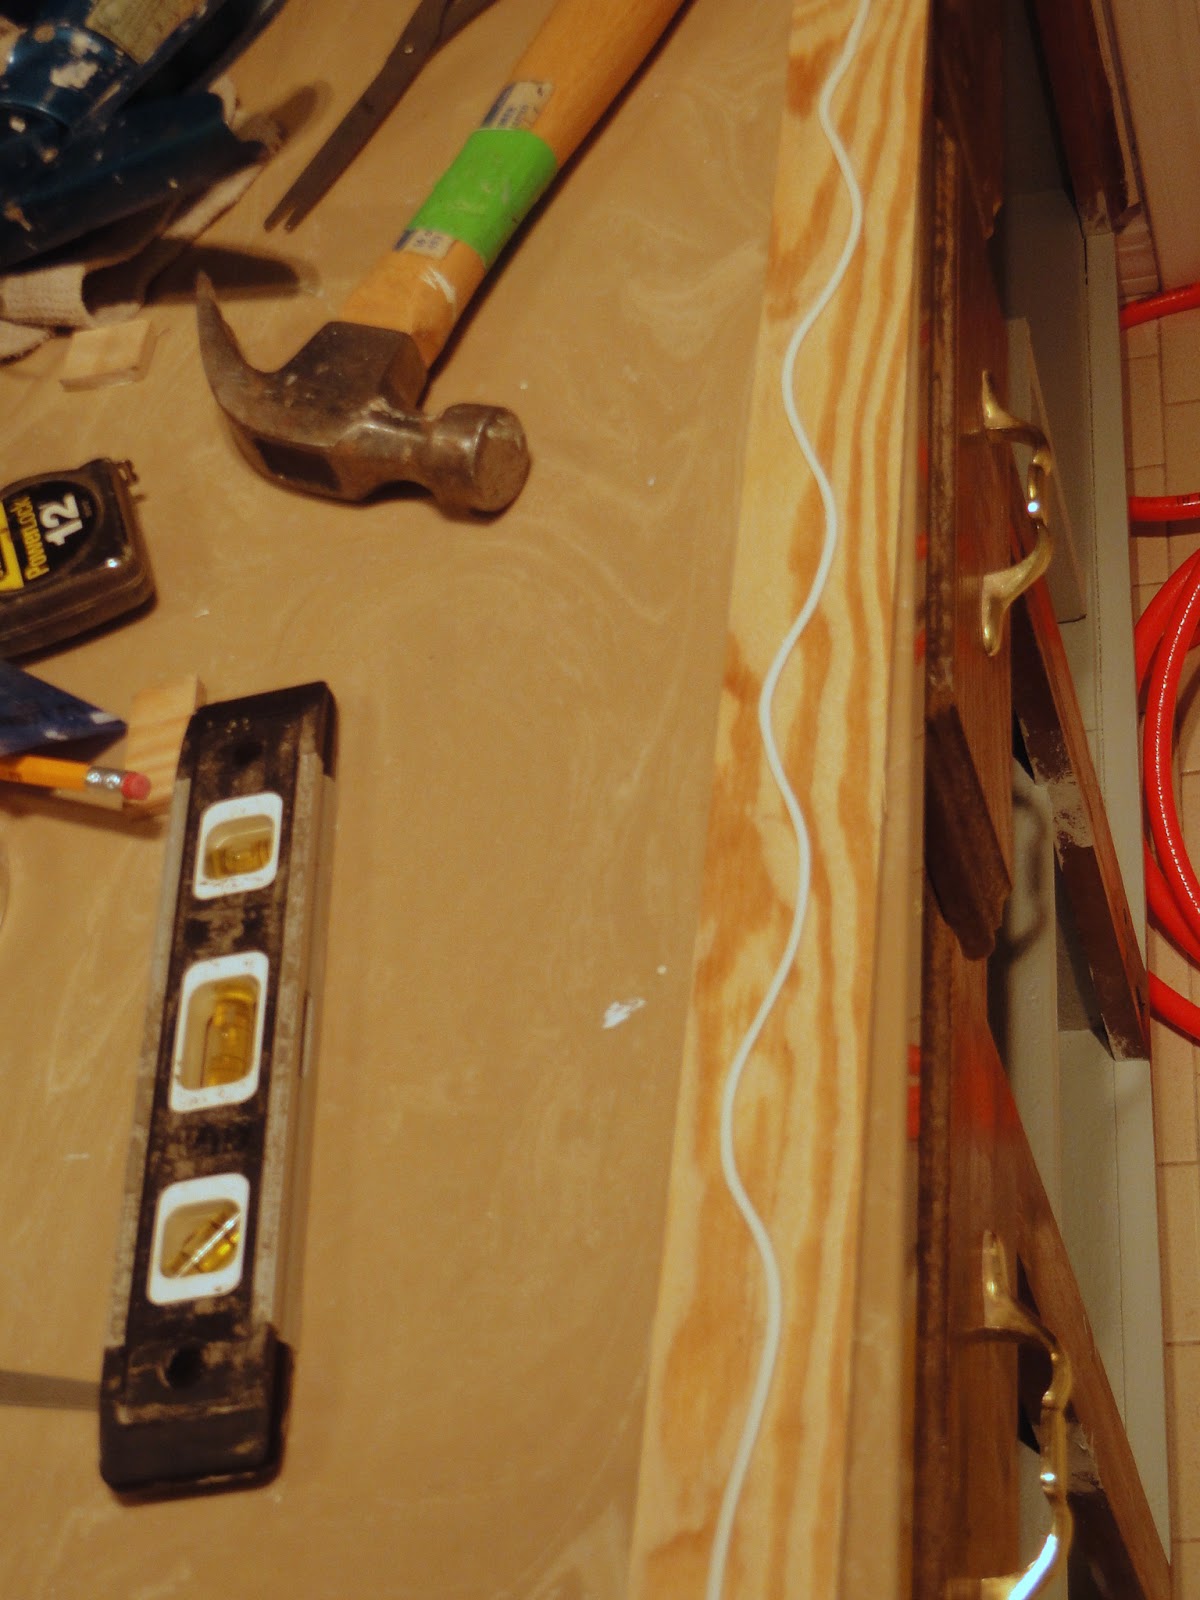
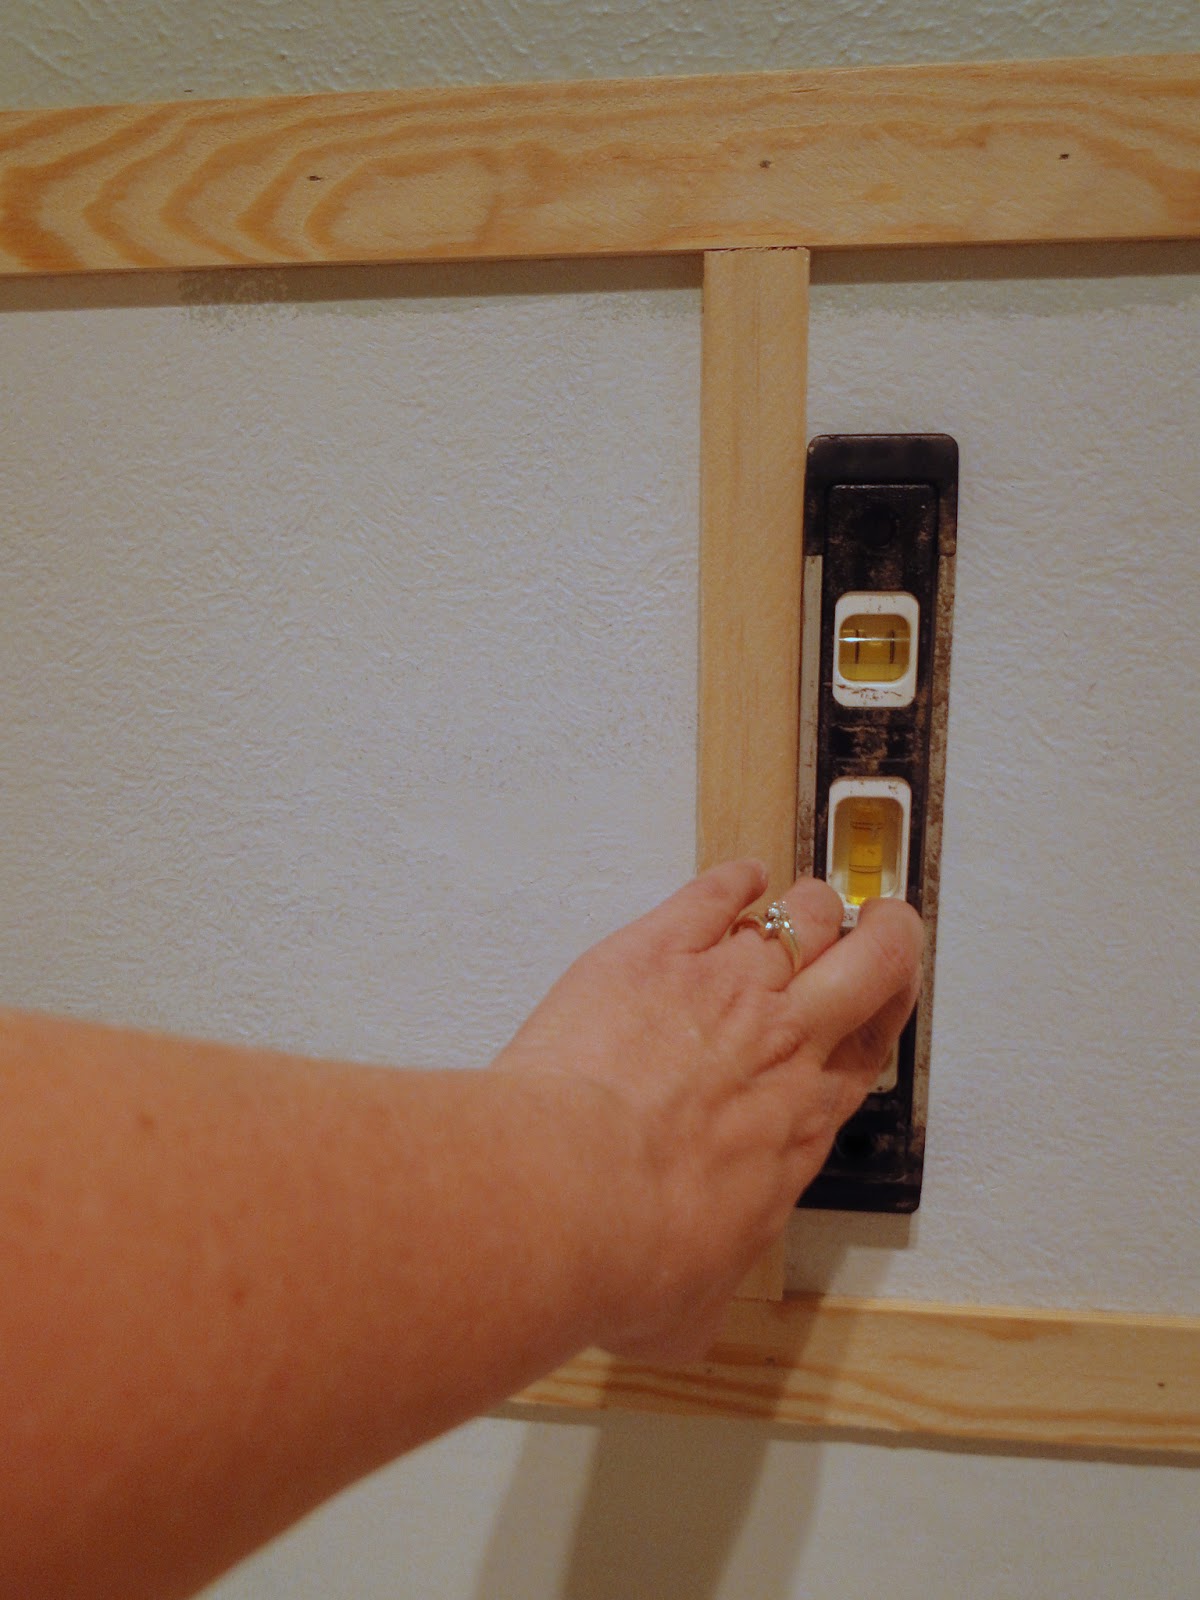
Make sure it is level.


Nail in place. This little guy was a Christmas present and he made this job a lot easier, but it is totally doable without.


Continue with all horizontal pieces.


Now it is time to add the vertical pieces. To measure each piece to size I simply held it in it’s place and marked and cut.


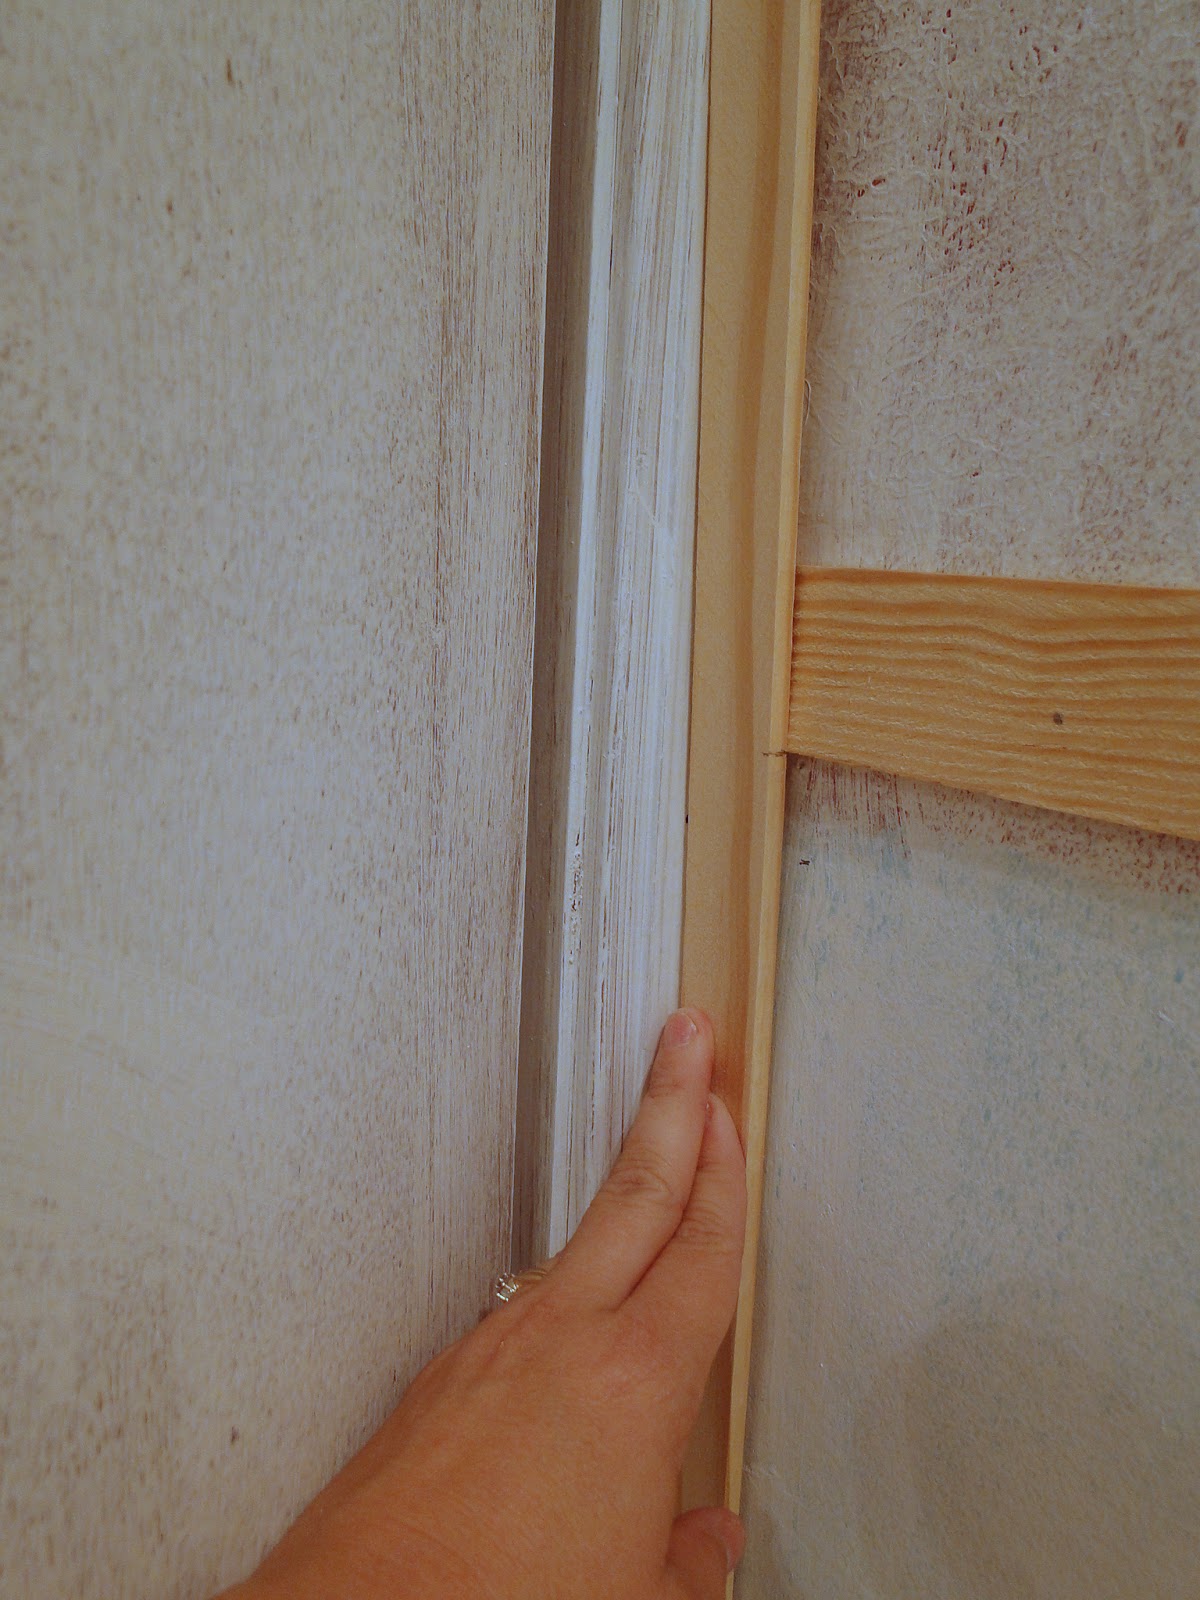
These are the same as the others – glue, level, nail. I will pause here to talk about the spacing of all the boards. This is a matter of taste really. Check out the internet for pictures of all different kinds of board & batten. The options are endless. I will admit that the spacing between my vertical pieces is not the same around the room. I went by look. I knew how many vertical boards I needed to get the look I wanted, measured the width of the space, did some division, and came up with the placement. This might have actually been the hardest part of the whole project!!

After all your wood is in place, you will want set your nails with a nail set. Then I would recommend that you sand the wood. This wood is not great quality, smooth wood, so this step will help it look even better. Then you will need to get busy filling all the nail holes, and caulking between the wood and the wall, and filling any cracks left behind from human error. 


Lots of caulk, tired fingers, necessary evil to make the end product look good.

The last step is just paint – you will want to prime the lattice wood, and then paint all surfaces, including the wall, with the same paint.

And you are left with this!!


The look I wanted at a fairly reasonable cost, and a doable DIY, all things I LOVE!

 photo Blessingssignature_zps514a1303.png

 photo Namesignature_zpsd15d2f6d.png

Linking up with TDC FEbruary Before and After Party / Wow Us Wednesdays / Work It Wednesday / The Creative Circle / Create It Thursday / Remodelaholics Anonymous / The Inspiration Gallery / Link Party Palooza / Tutorials & Tips Link Party / Inspire Me Monday
Previous Post: « Plans For 2016
Next Post: How To Update A Wicker Basket With Stain »

Reader Interactions

Leave a Reply Cancel reply

Your email address will not be published. Required fields are marked *

Recipe Rating


This site uses Akismet to reduce spam. Learn how your comment data is processed.

Primary Sidebar

Welcome

Hey friend!! I'm so glad you stopped by today!! I am married to the love of my life and I have been blessed with four amazing kids. My life is kinda crazy some days and I feel frazzled often. But, Jesus brings me JOY each and everyday in the little things. I love everything home decor, DIY, and crafts!!
Read More…

Categories

Archives

Copyright

I share to inspire!! Please feel free to use and share my ideas!! I simply ask that you give credit back to my site and add a link back to my blog if you reference one of my projects, or photos. Thank you so much!!

Recent Posts

  • Empty Nesting, My Thoughts
  • Kitchen Cabinet Facelift
  • Just Popping In To Say “HI”
  • Knock, Knock….Anyone There?
  • Easter Tablescape 2022
  • CONTACT ME
  • DISCLOSURES

Footer

Hubby and I took a little trip to Colorado Springs Hubby and I took a little trip to Colorado Springs and had the best time! ❤️ We took off as the sun was rising in OKC and landed in the mountains! 🥰 It was so good to get away together! We hit all the high points (pun intended haha) - Royal Gorge, Pikes Peak, Garden of the Gods, and Seven Bridges. We hiked everyday! Can’t wait for our next adventure!! 🥰
.
#emptynestingrocks #travel #marriage #emptynesterlife❤️
31 years with my favorite! So thankful for you! ❤️ 31 years with my favorite! So thankful for you! ❤️❤️ #marriage #anniversary #growingoldtogether
Our baby graduated from college last night!! From Our baby graduated from college last night!! From our alma mater! 🧡🖤 We are feeling beyond blessed and are so loving this stage of parenting! Watching our adult kids live life well is truly remarkable! God has big plans for you Gavin and we can’t wait to watch him work in and through you! Love you!
Happy Resurrection Day!! He is risen!! Happy Resurrection Day!! He is risen!!
Haven’t shared something from my house in months! Haven’t shared something from my house in months! Just refreshed our mantle for spring and I love it! So happy that Oklahoma’s weather has finally chilled out and become more springy! ☀️🌸🌺
.
#homedecor #ourhome #spring #springismyfavorite #springdecor
One month of being Gigi and Pops to this precious One month of being Gigi and Pops to this precious little blessing!! 💕 We love you so much Blair!!
Five more sleeps! ❤️🎄 Nothing better than twinkle Five more sleeps! ❤️🎄 Nothing better than twinkle lights on a Christmas tree ✨☺️ Looking forward to all the family festivities over the next few days. Merry Christmas to you all!! 
.
#christmas #christmastree #christmasdecor #christmaslights #merrychristmas
32 years ago today I made one of the best decision 32 years ago today I made one of the best decisions of my life when I said “yes” to marrying this guy. We celebrated our 30th anniversary back in May! We’ve experienced a lot over the years but there’s no one I would rather be doing life with! @vangreenwood you’re my favorite!! ❤️❤️
.
#marriage #proposalanniversary #youremyfavorite
I really enjoyed decorating my new kitchen shelves I really enjoyed decorating my new kitchen shelves for Christmas! What’s your favorite spot to decorate? I really like to spread out Christmas décor throughout the house! 🎄❤️
.
#homedecor #christmasdecor #christmas #itsbeginningtolookalotlikechristmas #favoritetimeofyear
Follow on Instagram

Copyright © 2025 · Captivating Theme on Genesis Framework · WordPress · Log in