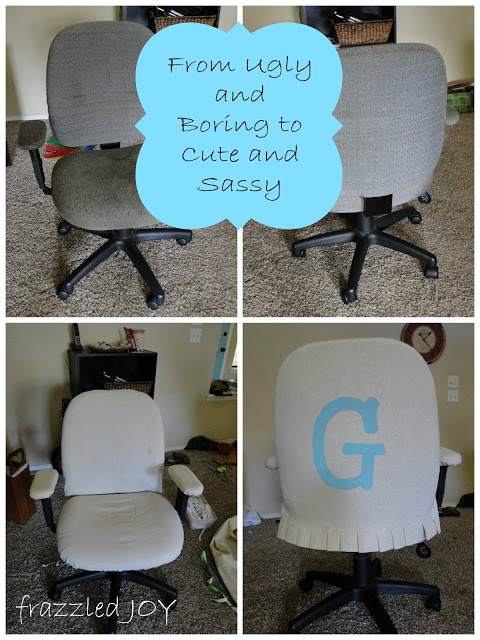
I am excited beyond belief!!! It is exactly what I wanted and even more!!! {I’m sorry for all the exclamation marks, but man I love it when I can actually create what is in my head!!!}
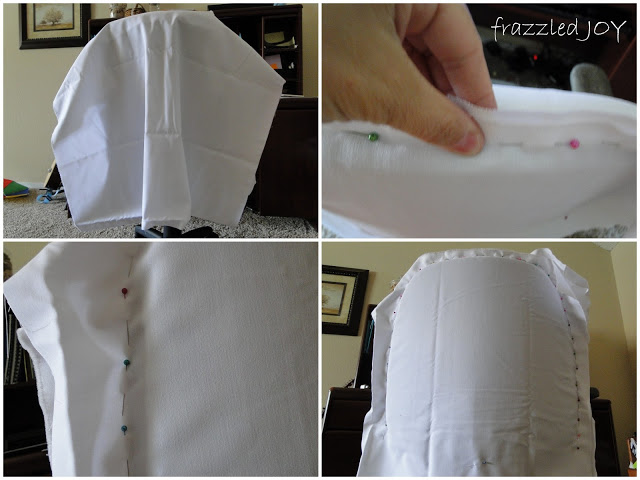 |
| you might notice that the fabric in these picture look a little whiter than the others- it is – I was going to line it and decided against it – because I’m too lazy :), and it really wasn’t necessary. |
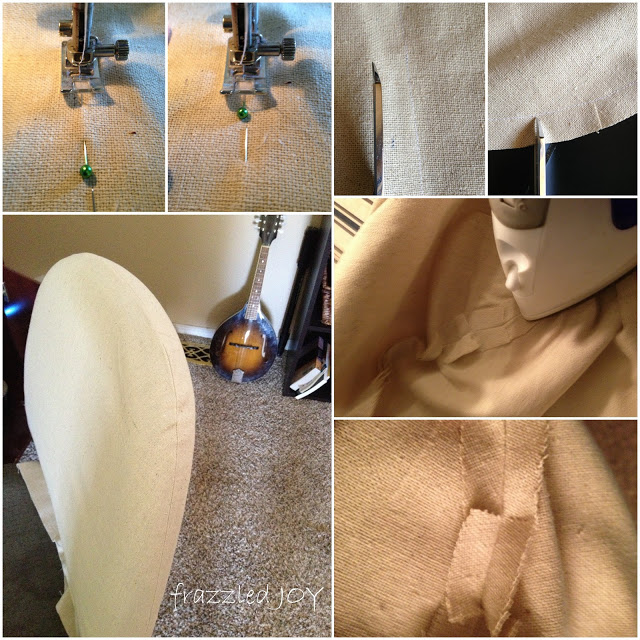
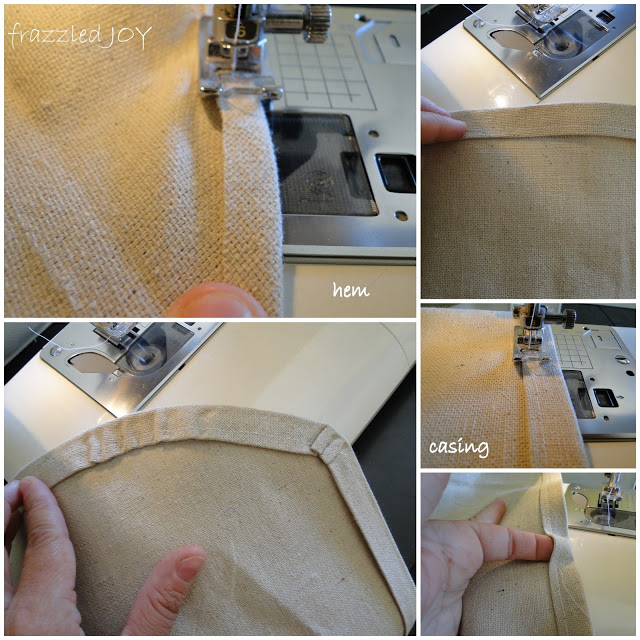
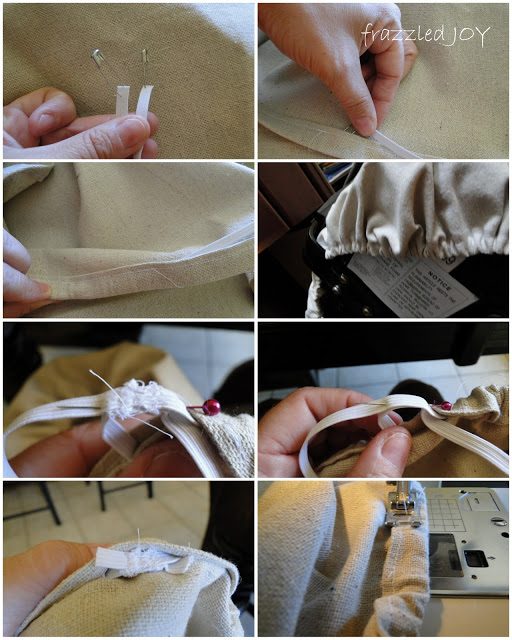
Take your piece to the machine and sew right on the line created by your pins. Easy peasy!! {If you are using a fabric that has a definite wrong and right side, make sure the right side (the pretty side) of the fabric is facing or against the piece you are covering – ugly side showing.}
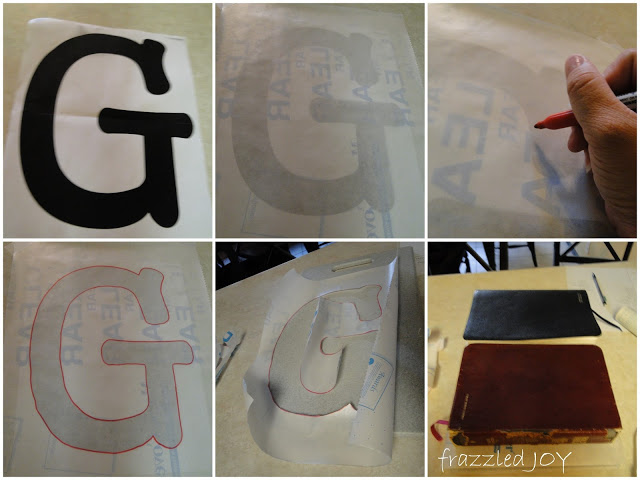
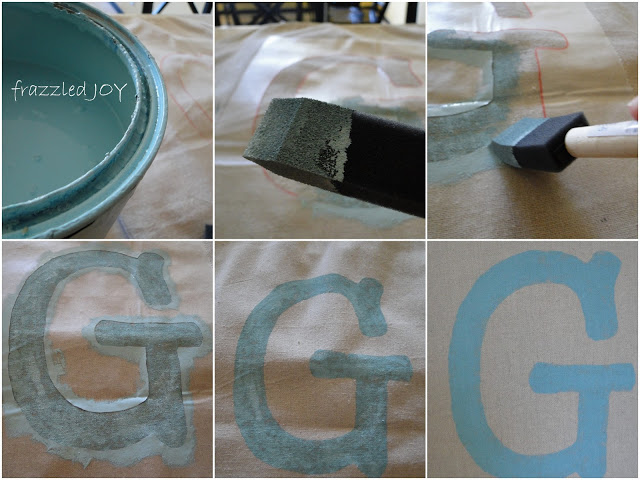
Pealing off the paper backing from the contact paper proved to be pretty tricky. Then I placed the stencil in the middle of the back of my chair cover, pressing down all the edges really good. I pulled out the paint I used on my front door, and a sponge brush, and went to work. I squished off most the paint on my brush each time to help keep it from bleeding beyond the stencil. Perfect!!
Linking up with Jen at Tatertots & Jello for this

Sarah at Thrifty Decor Chick here
and Courtney at A Diamond in the Stuff here 
andJen at Tatertots & Jello here 
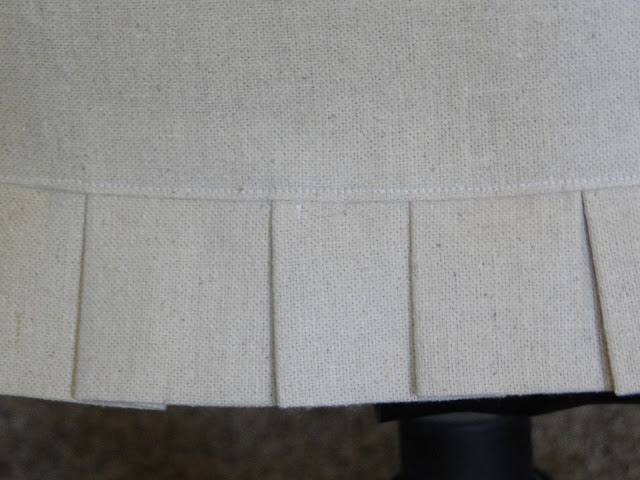
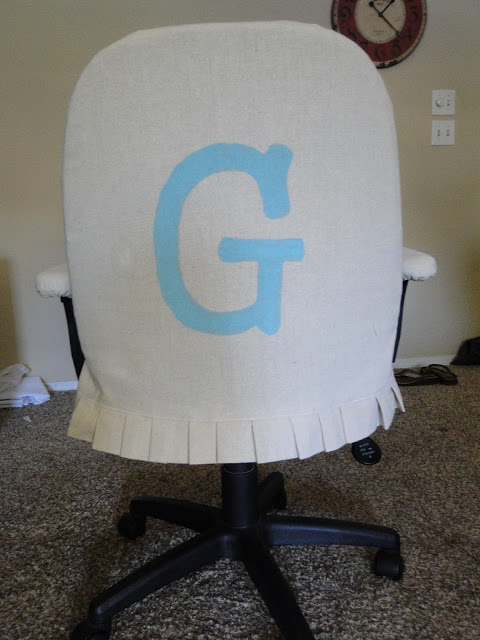


I love the pleats at the bottom! What a great transformation. I'm visiting from Thrift Decor Chick.
Christy @ Creating a Beautiful Life
Oh wow! This is an excellent tutorial. I've never had the nerve to try and recover anything. There's so much detail here, I think maybe I'll try to recover my office chairs, too.
I also learned from your stenciling. Thanks so much for sharing this. I just found your blog. I'm glad!
It's pinned! http://pinterest.com/pin/257690409901804912/
Laura
Harvest Lane Cottage
Loving your chair transformation! Thanks for sharing it.online beds for sale UK
Love your chair!! What a clever idea.beds and mattresses for online sale