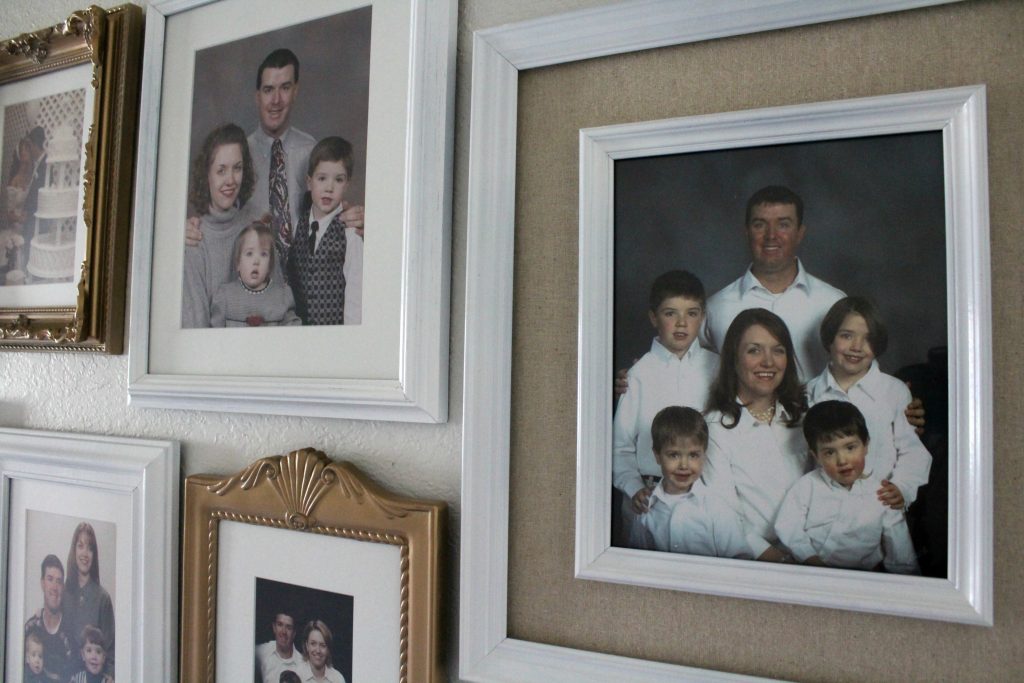
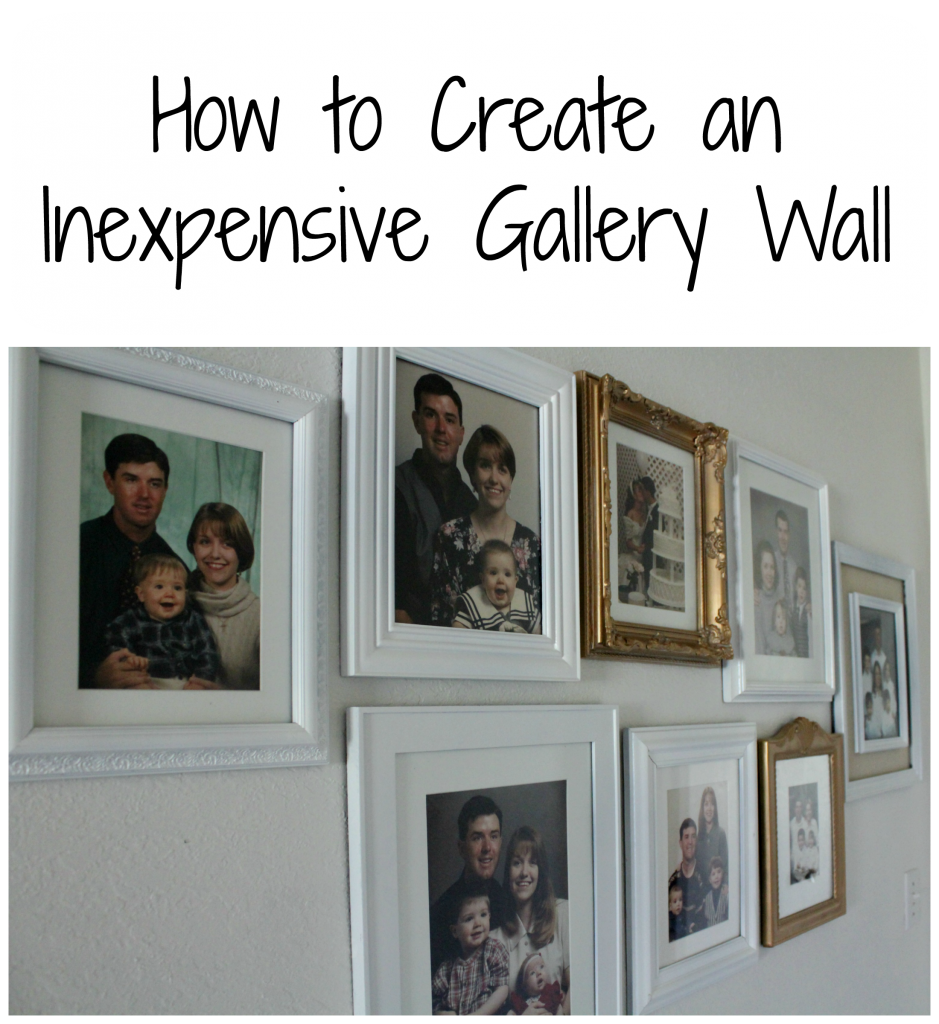
Last week I shared our refreshed hallway which included the beginnings of a new family gallery wall. Really to be honest almost all of the gallery walls I have in our home are comprised of pictures of those I love.
*Some affiliate links used for your convenience. I make a small commission at no extra cost to you for any purchases made through these links. For more information see my disclosures here. Thanks for helping support Frazzled JOY!
And 2 out of 3 of them were created with garage sale or thrifted frames. My budget doesn’t allow me to spend money on new frames, not even cheap new frames most of the time. So, this is one item I am always on the lookout for at garage sales and thrift stores. I’m not too picky. If the price is right and I like the look of the frame it’s a winner. I know spray paint can always make anything look better.
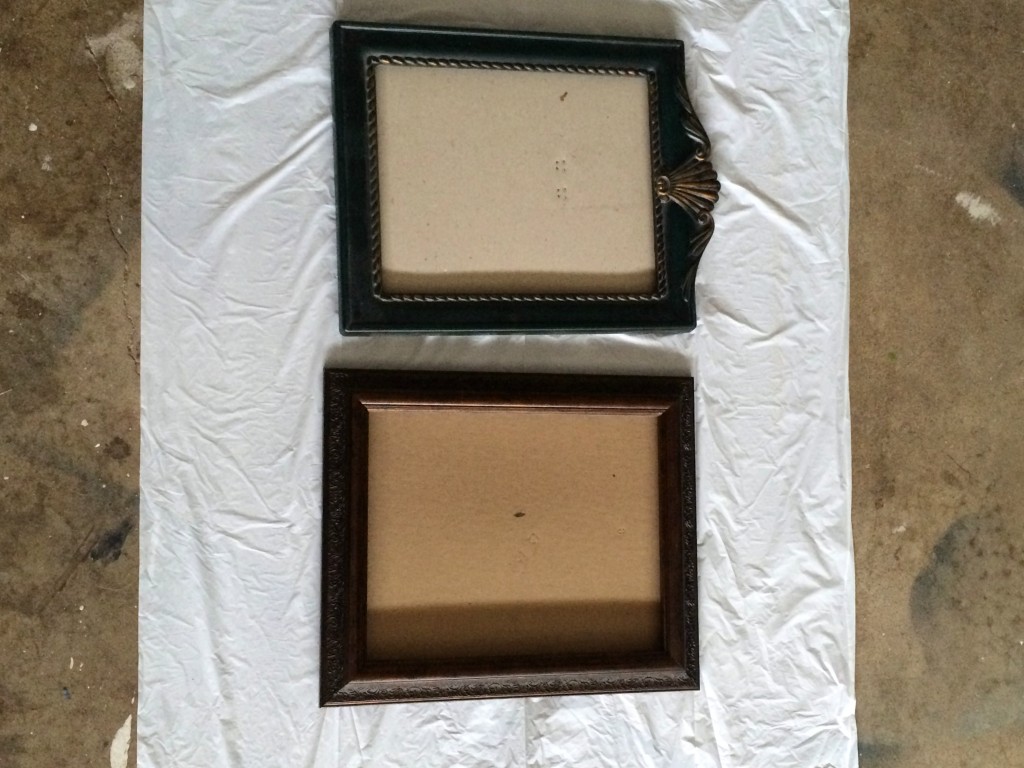
This spring I hit the jackpot at a garage sale. I paid $10 total for all of these frames!
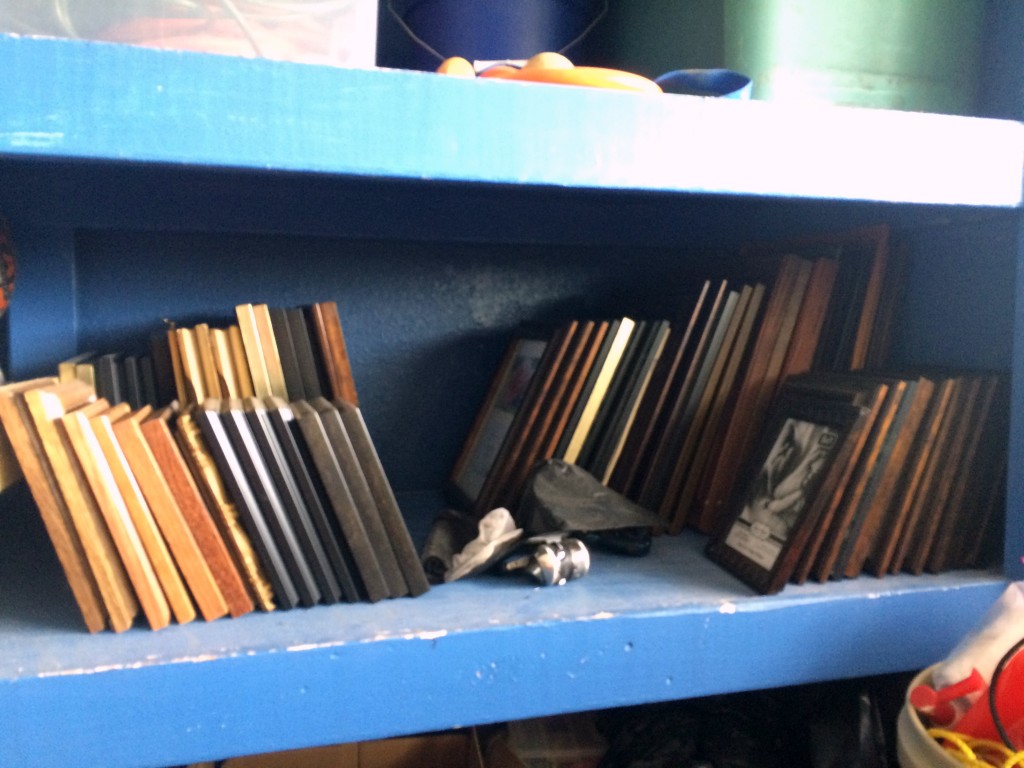
They were about 50/50 wood and not wood, but like I said I’m not that picky.
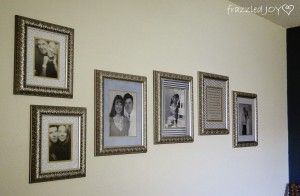
For this wall I knew I wanted the pictures to be the stars and I didn’t really want to add a lot of color back into the hallway that I was trying to brighten up. So, I went with white gloss spray painted frames (with a few gold frames thrown in here and there).
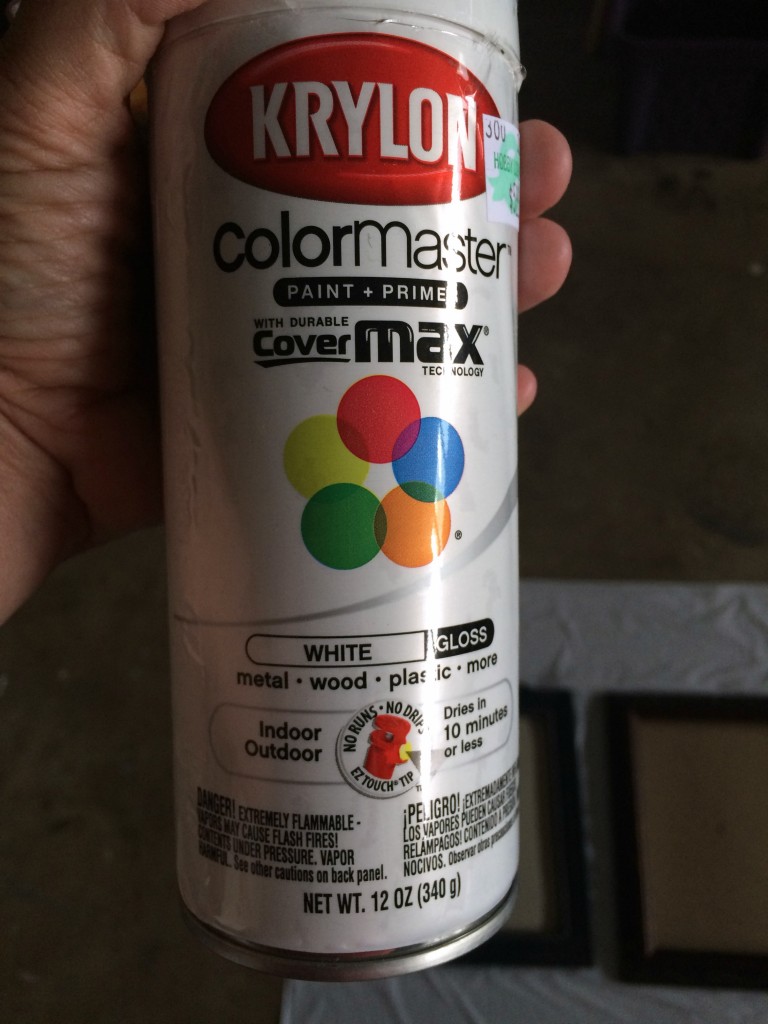
I chose the frames I wanted to use and got to work.
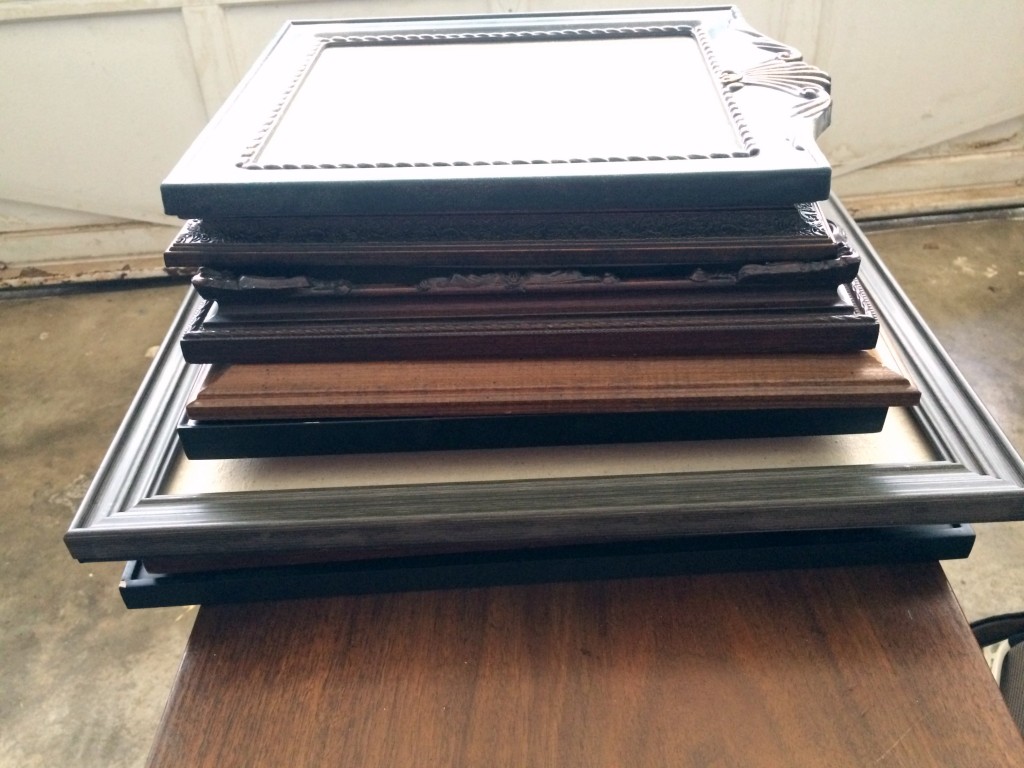
Spray painting frames is easy peasy. Remove the glass and the backing of the frame, clean (bleach wipes are quick and easy), and paint.
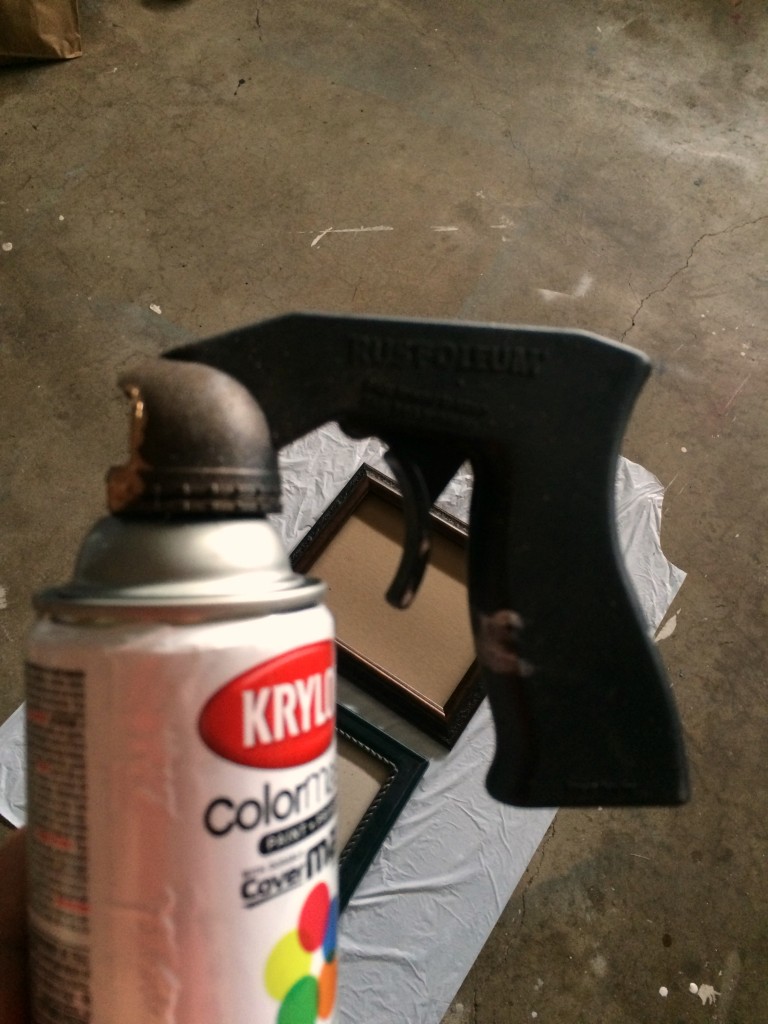
If you don’t have one of these guys – you need one. Keeps the paint off your fingers, and keeps your fingers from cramping up!
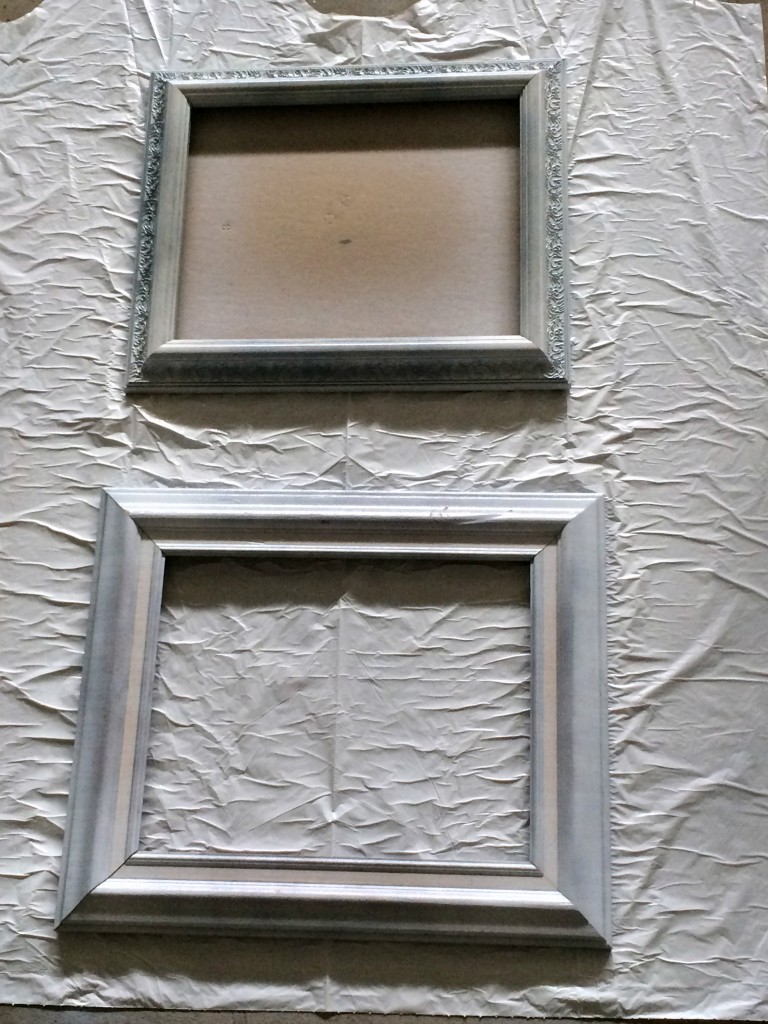
After several light coats I now had beautiful white frames.
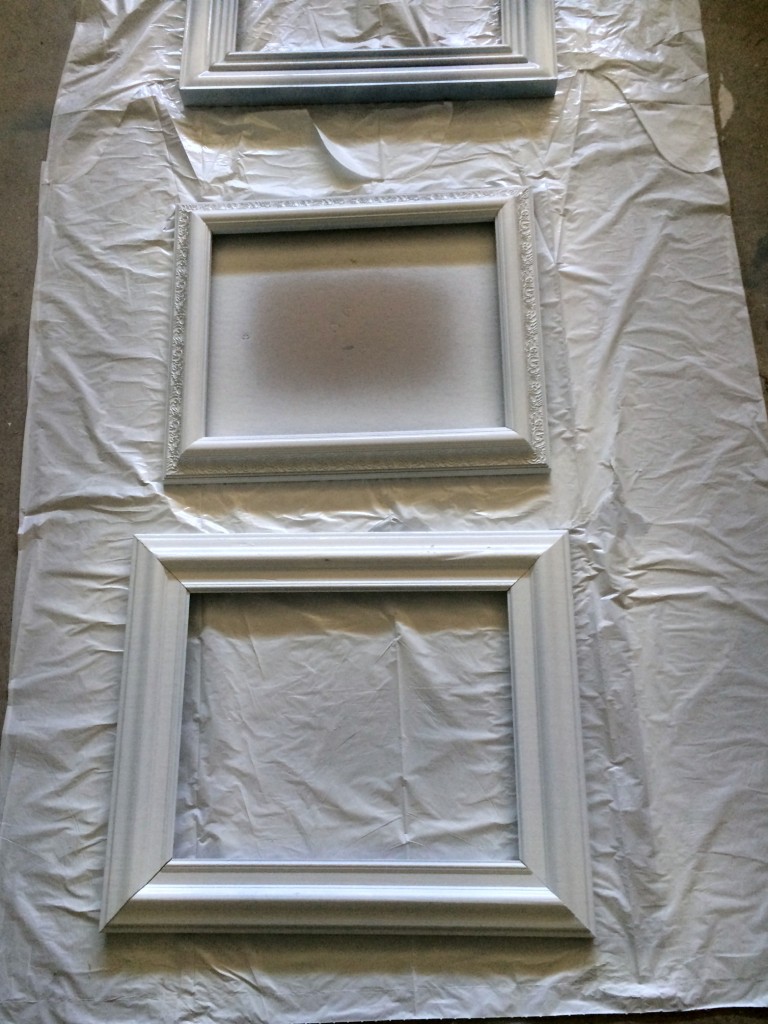
Tip – I usually don’t prime anything before I spray paint it but my first set of frames took several coats of paint to cover completely. So, I went back and bought some less expensive primer for the first few base coats. This way I wasn’t throwing money at the window on spray paint.
My new budget helper was to make my own custom mats. I knew that I would not be able to use stock photo mats on most of the photos, and custom mats can be expensive to buy. So instead I made a one time investment in a mat cutter. (using my 40% off coupon of course) There are several levels of mat cutters, and you can make a big investment if you want, but honestly this one worked great! Then I purchased a sheet of mat board – found near the framing section (also with my 40% off coupon) and started cutting using this tutorial as my guide. I did not purchase the guide that she uses but I have a rotary cutter ruler similar to this one that did the trick. Tip – if you shop at Hobby Lobby and haven’t downloaded their app you should – having that 40% off code at your fingertips every time you shop is awesome!
It was really much easier than I ever thought it would be to cut my own mats! And after I had a custom and personal gallery wall that my family will enjoy daily!
Other gallery walls in our home:
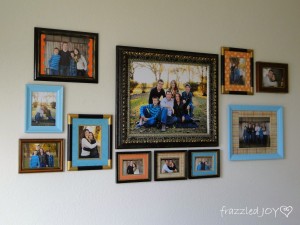
Thrifted Gallery Wall
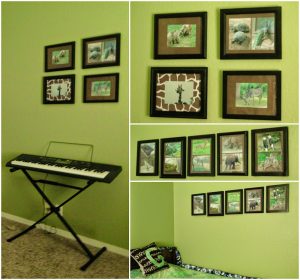
Zoo Prints Gallery Wall
Memory Lane Gallery Wall
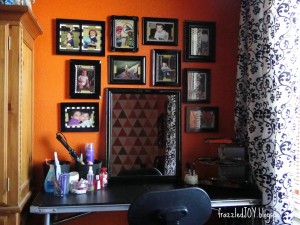
Master Bedroom Gallery Wall
Thanks for stopping by today! I hope you were inspired to get some pictures up on the wall!!


Linking up with Show and Tell Link Party / The Creative Circle / Create It Thursday

Great idea about spray painting frames from thrift stores! One of the things that has been holding me up in creating gallery walls for our home is this cost of framing pictures! Will definitely try these ideas:)
Thanks Kristen! Let me know how it goes! 😉
The pictures are beautiful. Very inspiring article! You take a boring pile of dark frames and turn them into a gorgeous arrangement on the wall. A frugal way to have magazine-worthy decor in your home! And may I add that the photos of you and your family growing and changing through the years are so precious. God bless you, Lori
Thank you for your sweet words Lori! I’m glad you were inspired!! 🙂