Whew! It has been nice to not be consumed only with all things closet for a few days! I’m back today to share some details, source, and how we came out on the budget.
 Some affiliate links used for your convenience. See disclosures for more details.
So, I’ve broken it down into three categories – Building, Painting, and Accessories.
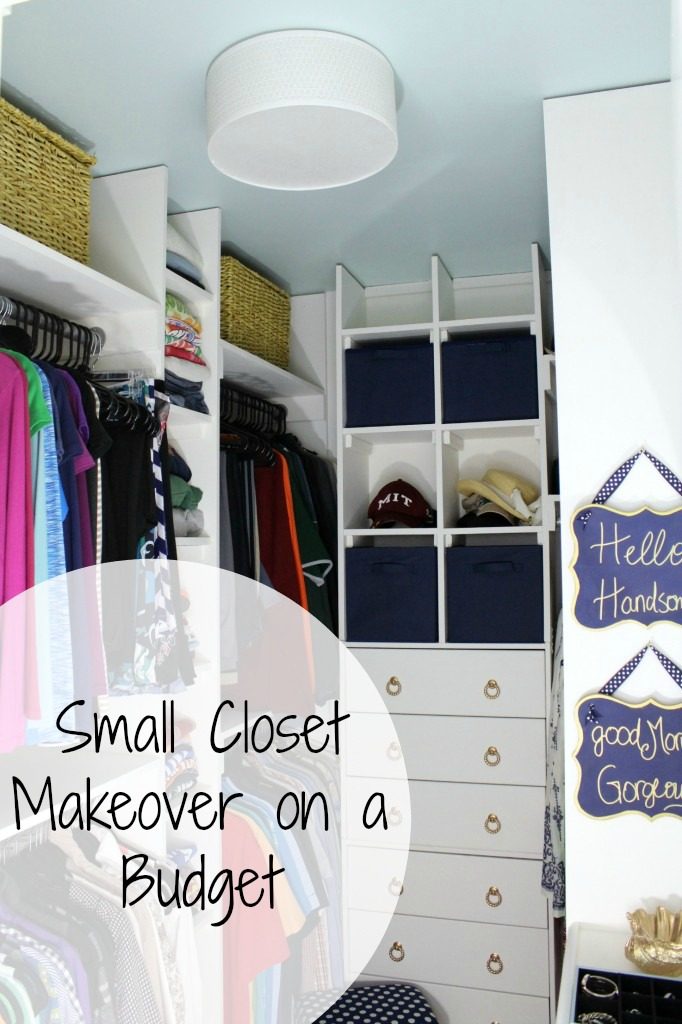
Building was a large chunk, coming in at $340 for wood and supplies (Home Depot). But, we saved so much DIYing it all. And, we were able to totally customize it to maximize every square inch of our tiny little space. For a unit just like the one on the longest wall we would have paid around $300 for it pre-built. The drawers are actually two Ikea Rast dressers stacked one on top of the other using this tutorial.
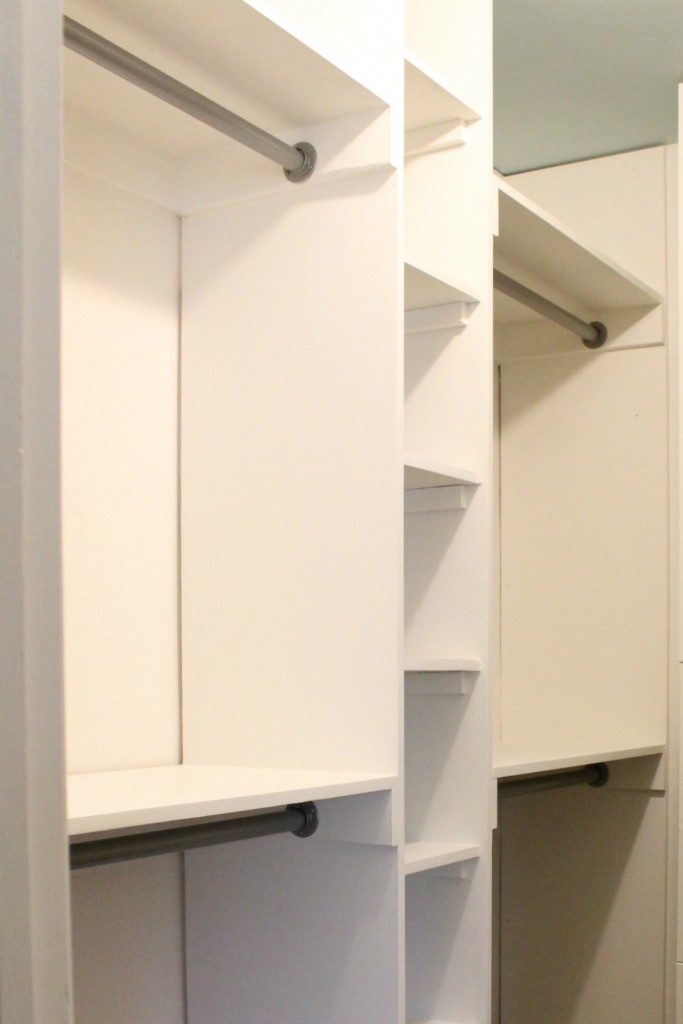
Paint was cheap really because I used the same color and sheen for a lot of it, coming in at around $45. I was able to do it all of the walls and built-ins with one gallon of primer and one gallon of paint. We used Glidden Antique White in satin finish. (I actually used the grab and go Walmart brand paint this time-because they had just the color I wanted.) I have used Walmart paint many times over the years because it’s inexpensive and it does the job. Yes, some of the more pricier paint is worth it, and others are not.
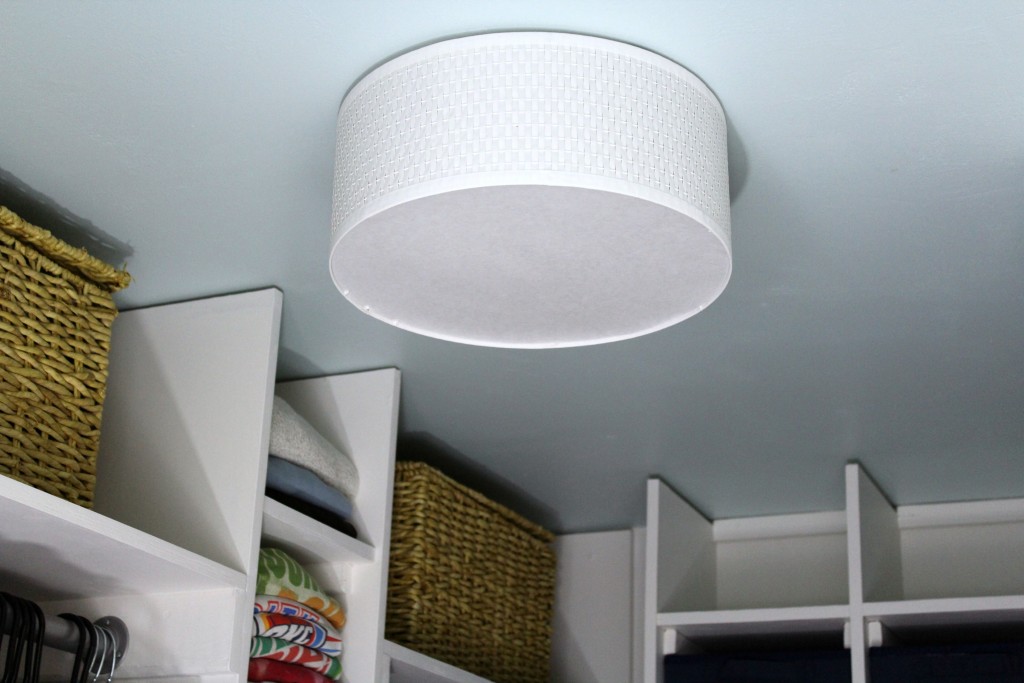
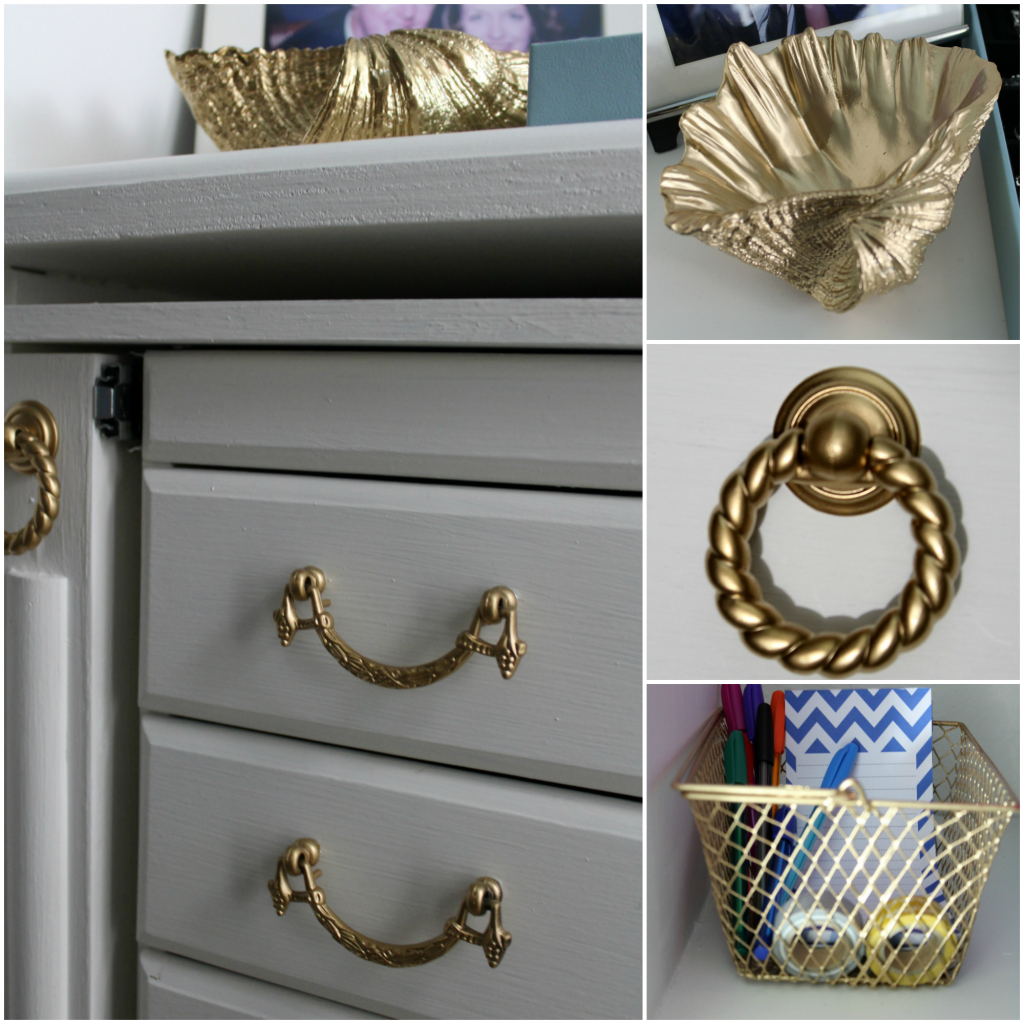
The ceiling was painted with Sherwin Williams (from Lowes) Tidewater – I had a sample from when we painted our bathroom so I just used that, and loved it! Also, as I mentioned I sprayed a lot of the metal with Krylon Metallic gold spray paint (I cannot find the correct paint online but that is what it is called and I purchased it at Hobby Lobby), and other things (the mirror) got a touch of rub N buff in Gold Leaf.
The other big area was accessories and finishing touches coming in at $275 I spent quite a bit upgrading our hangers ($65), which, although not necessary at all, I would highly recommend if you are working with a small space like we are. I found mine at Ross but you can also find them on Amazon for about the same price. I got a combination of the velvet coated hangers and the plastic coated hangers. Hubby would be irritated everyday if he had to wrangle his shirts off of that velvet, but I love it for sweaters and blouses that never stay on hangers. Most of the other accessories came from Ross, Hobby Lobby, or were DIYed. Also included in this category are the finishing touches – hardware for the dresser, for the jewelry cabinet overhaul, shoe shelves, light fixture, and stool.
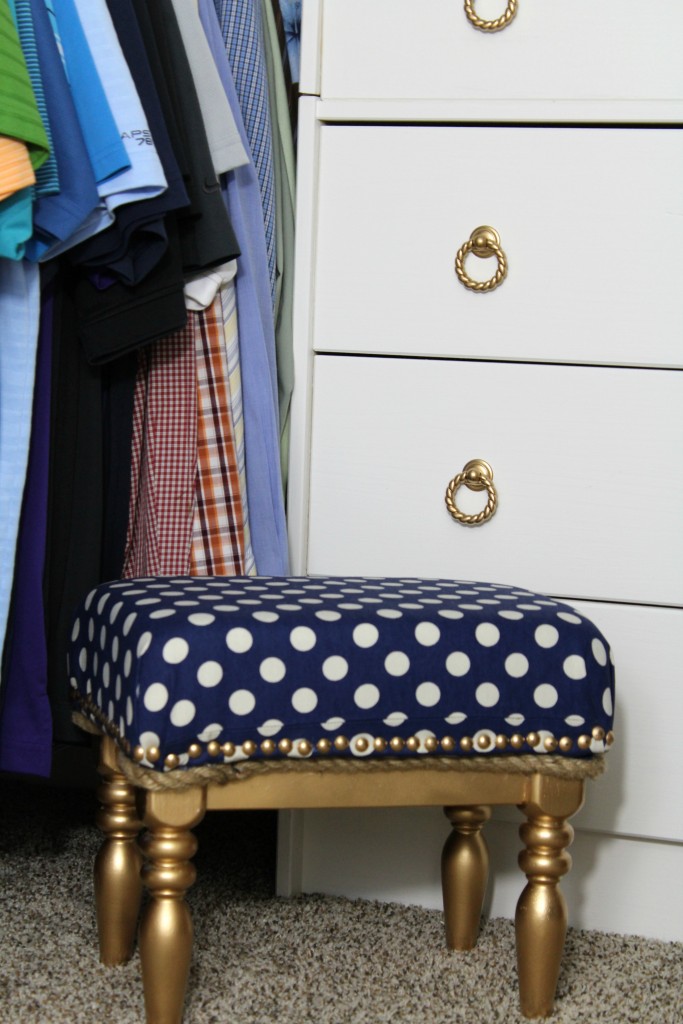
So, there you have it. Total cost for the closet makeover coming in at $660. Originally I had figured somewhere between $500-600, so I think we did pretty good. I am always looking for ways to save and I was lucky enough to find several money savers this time – those pulls for the dresser for instance were $1 each! And they are nice! The color didn’t exactly go, but after a coat of spray paint, they fit in perfectly with the design. 50% off sales at Hobby Lobby and 40% off coupons there as well were a big help. Ross is a great place to look for home accessories – sometimes you get lucky, just like I did with that cute shell and jewelry holder in just the right shade of blue! As I said earlier, building everything on our own saved us a ton, so for me the headache was worth it! 😉
I have had a lot of positive feedback from this makeover!! Thanks to all of your sweet comments and love! I’m glad to see so many people were inspired to take on their own closets! Even if you don’t rip it all out and start from scratch, a good paint job, and cleaning out will always freshen up the space and make it feel brand new!
Be on the lookout for some tutorials on some of the DIY projects that we did in the closet in the near future. I am busy working on getting ready for a graduation party Saturday (which I will also be sharing with you guys). Things are busy around the Greenwood house as always, and I am doing my best to not be too frazzled!! 😀


Leave a Reply