Howdy friends! Happy Monday to you all!! Lately I find myself reminiscing more than normal. I don’t know maybe it’s because my baby is graduating from high school in a mere 7 weeks!! Anywho, as I was looking through some old photos, I came across our master shower remodel that we did a couple of years before I started blogging. It really is one of the projects we’ve done in this house that I am most proud of, so I thought I would share it with you.
Keep in mind that when I was taking pictures, I was only taking them for documentation for us. Having a blog was not even on my radar at this time.
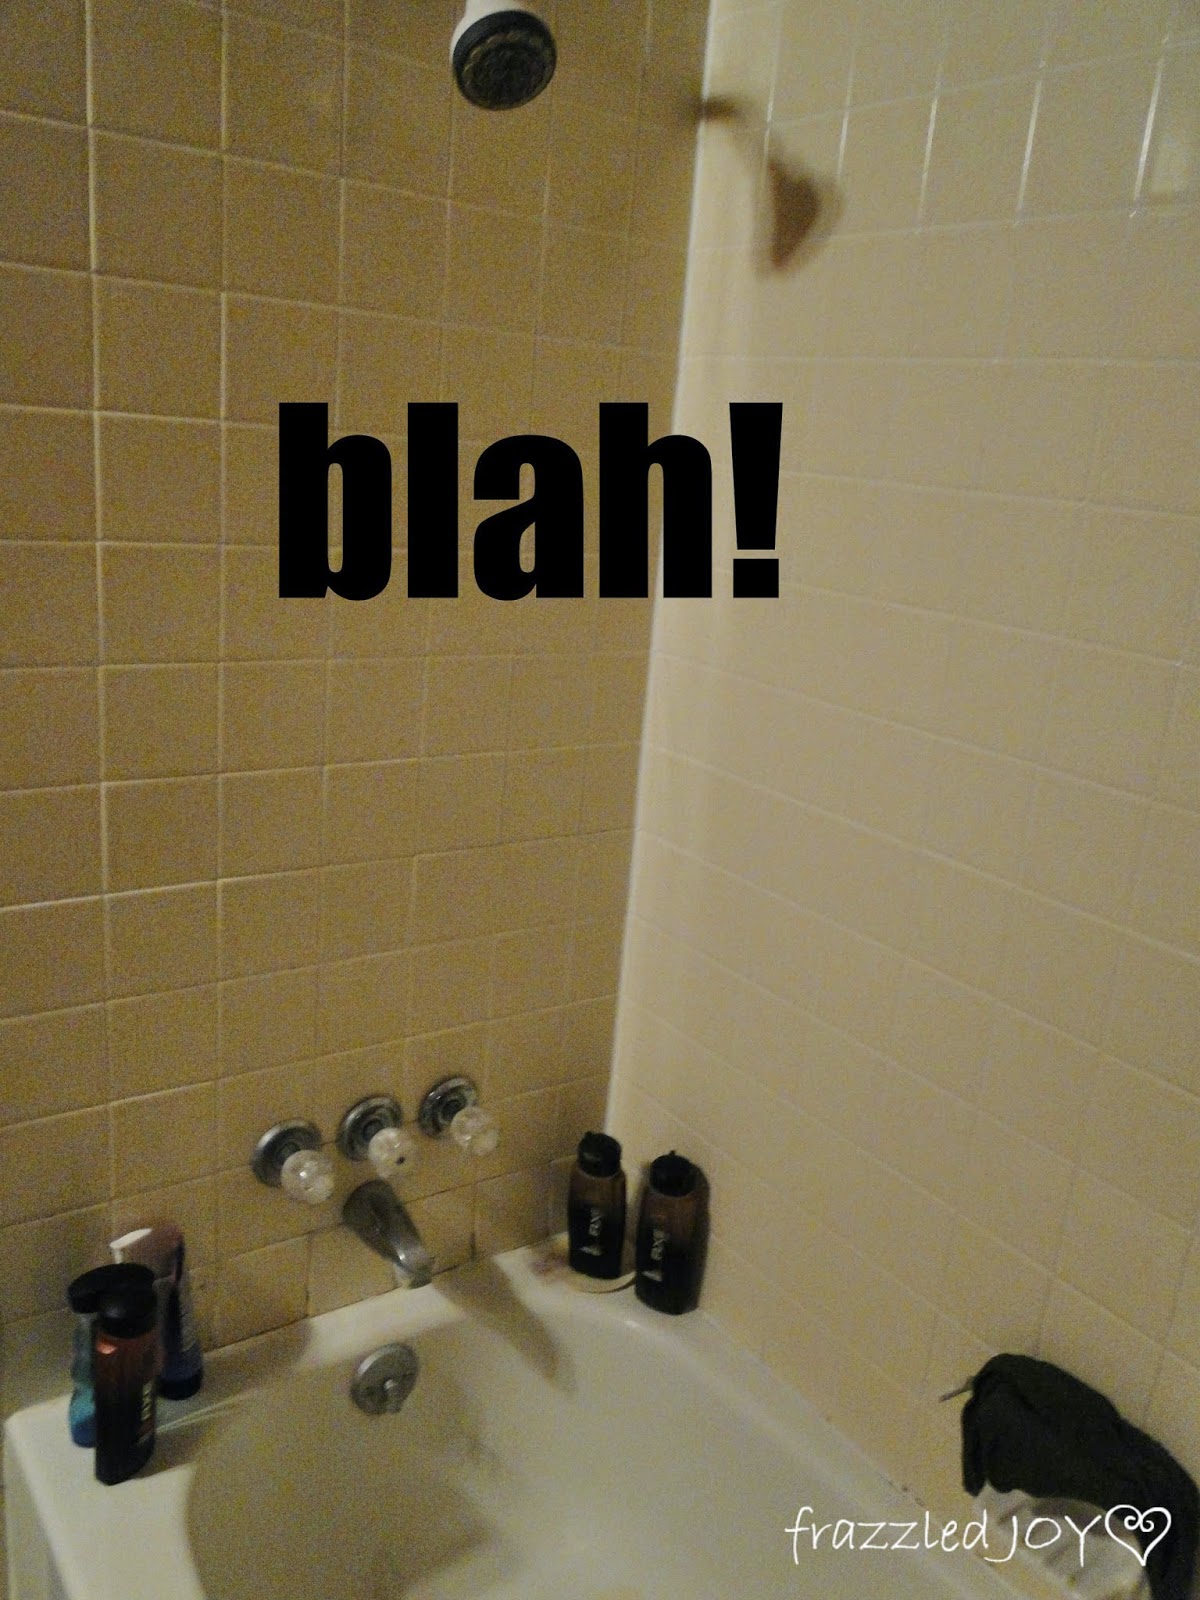
Unfortunately (or maybe fortunately) I don’t have a before picture to share with you but think basic bath-tub/shower combo, with builder basic 4×4 tile, and a shower door that sits on the tub. This door, and the size of the shower area were the two things that spurred on the reno. Here is a pic of our other bathroom that is identical minus the shower door.
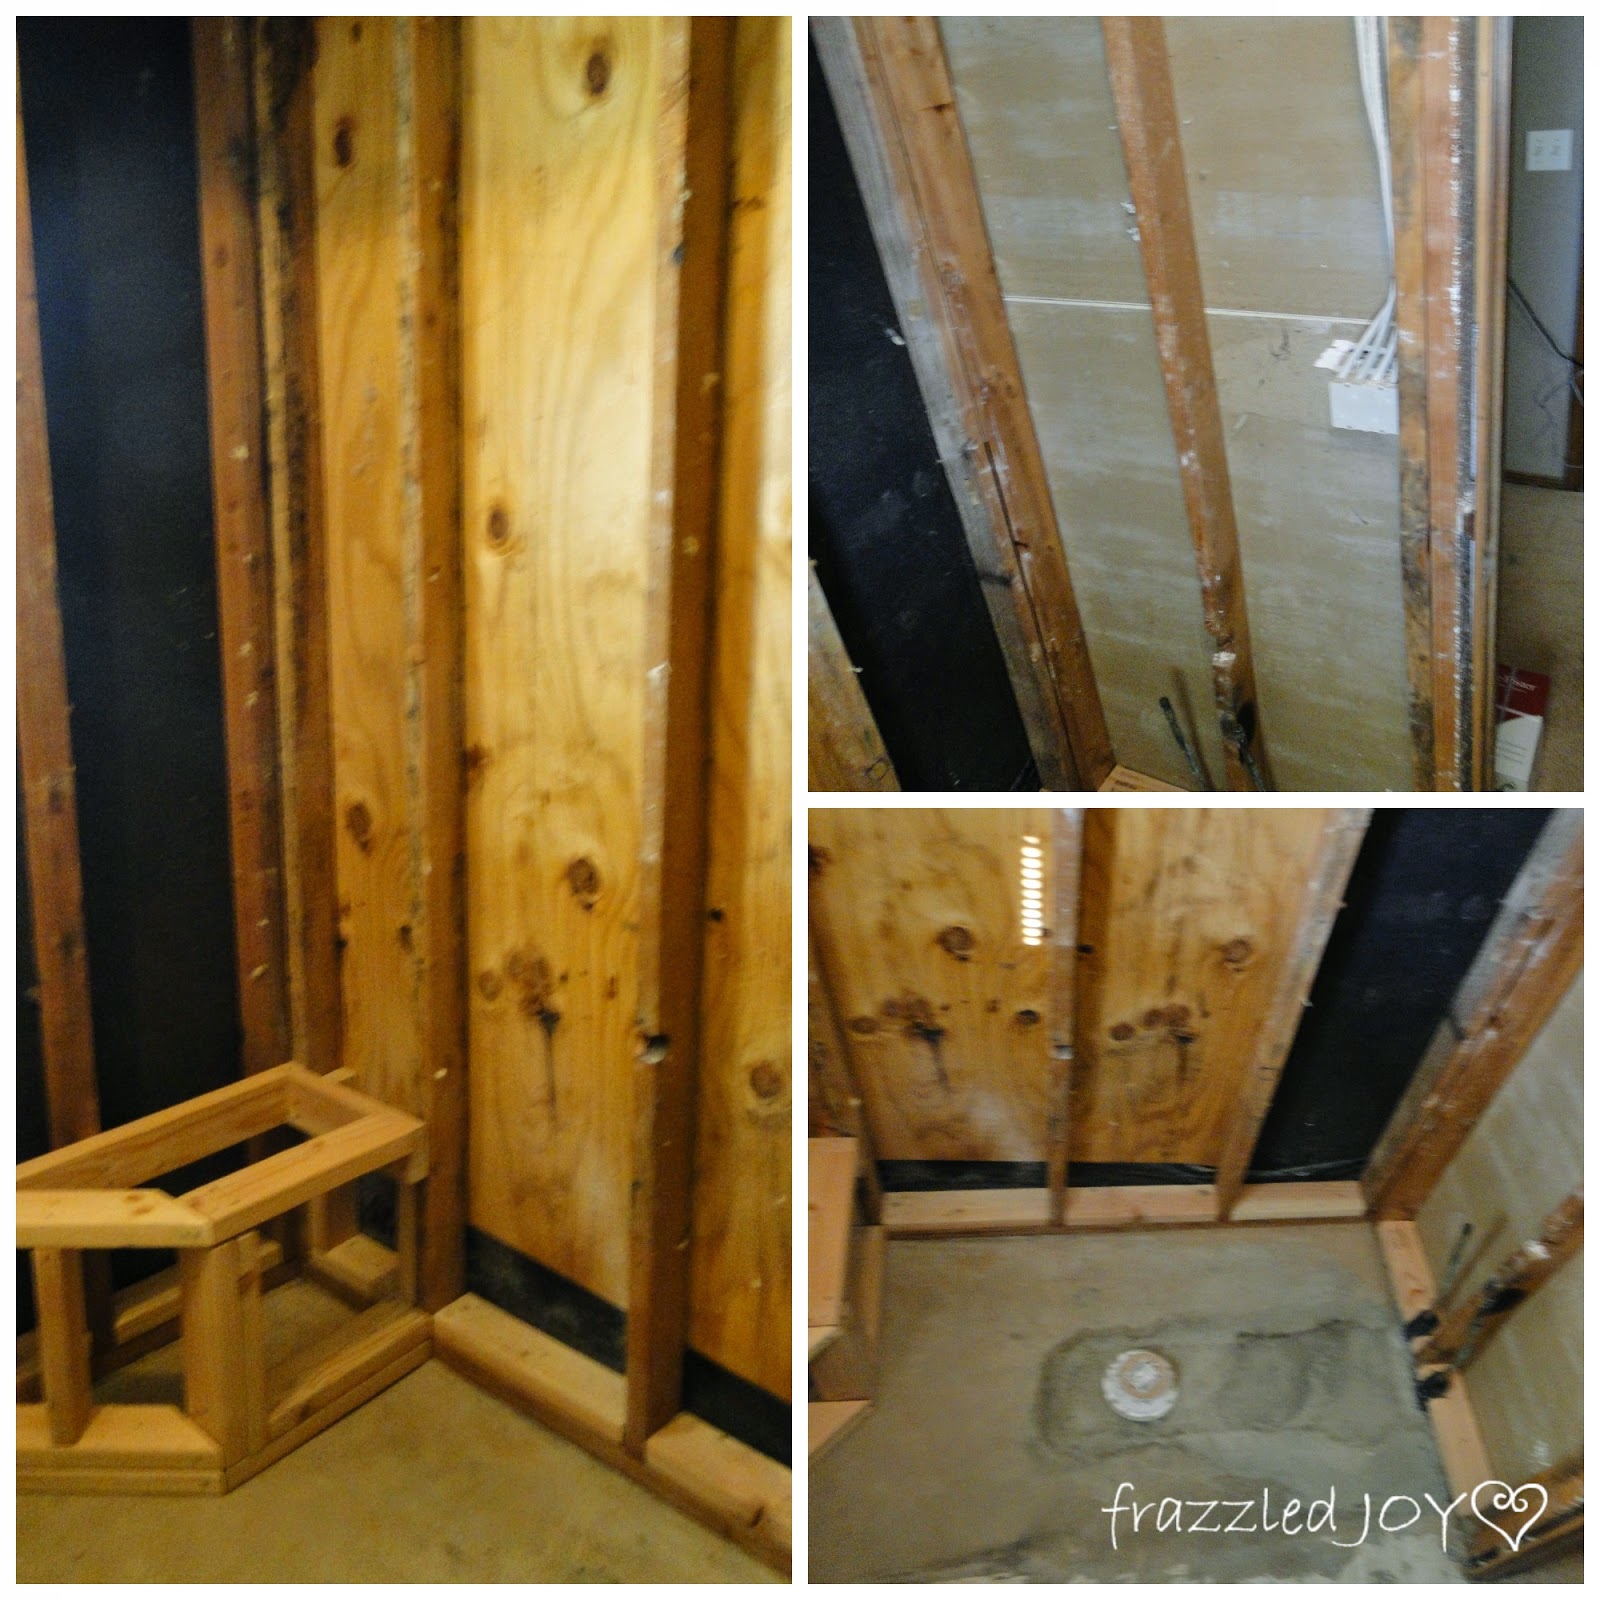
So, we tore everything out. No one ever used the bath-tub in the master – again because of the shower door and the size of the room – it just wasn’t relaxing. The shower area was also very small within the restrictions of the tub – so we decided the tub was not coming back.
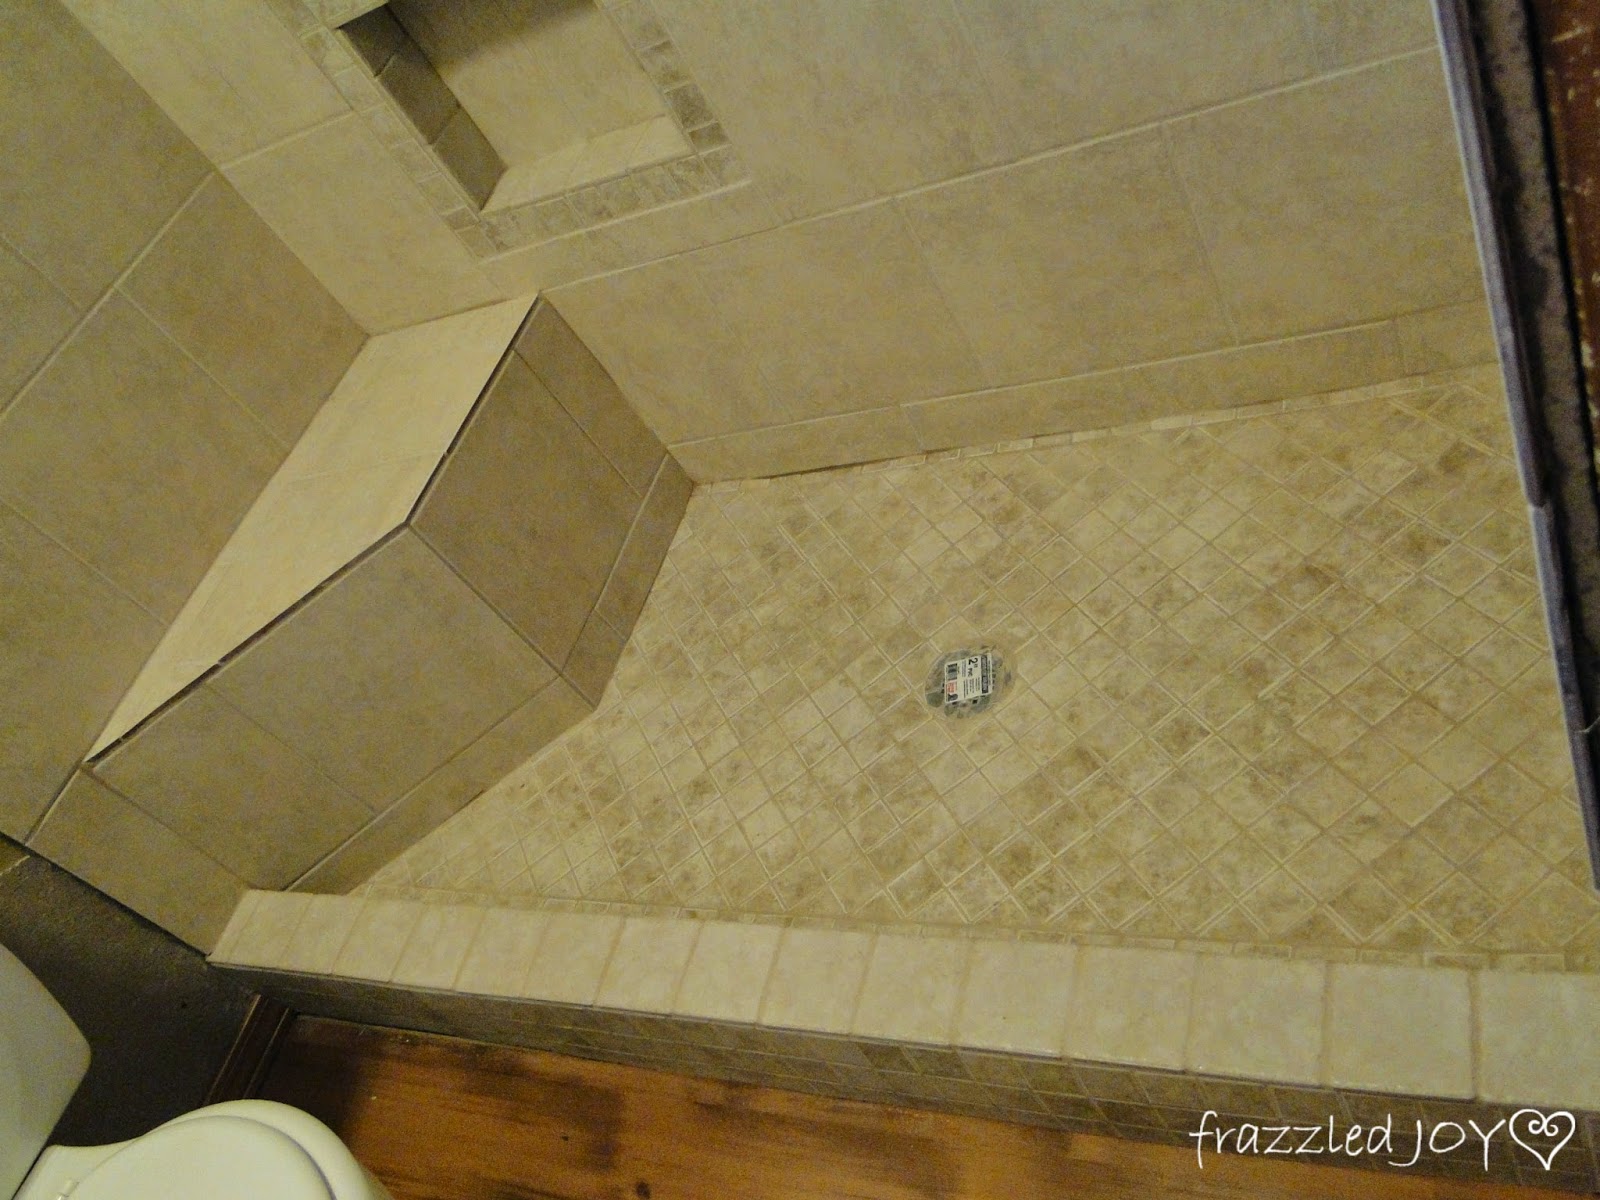
We had a concrete shower floor poured, and had the plumbing moved – drain, controls, and shower head. That was the other thing that was annoying – my hubby had to bend down to wash his hair – and he’s not a tall guy.
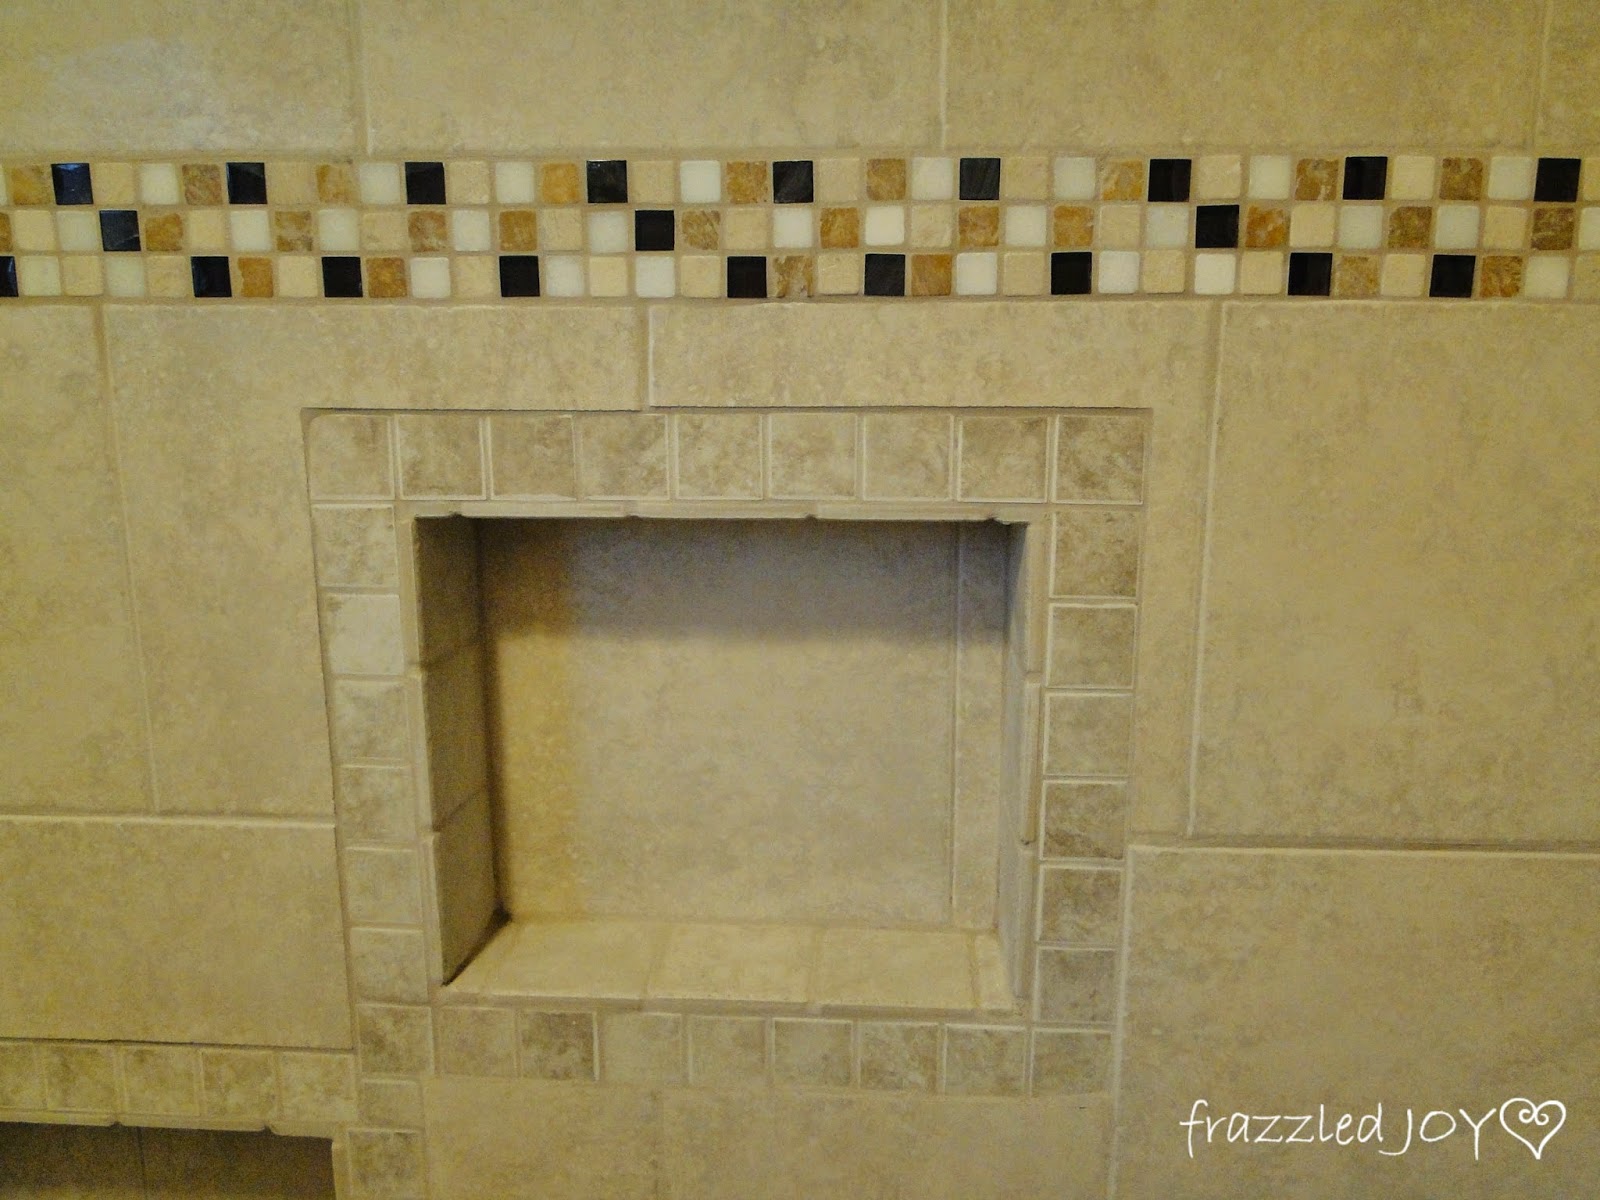
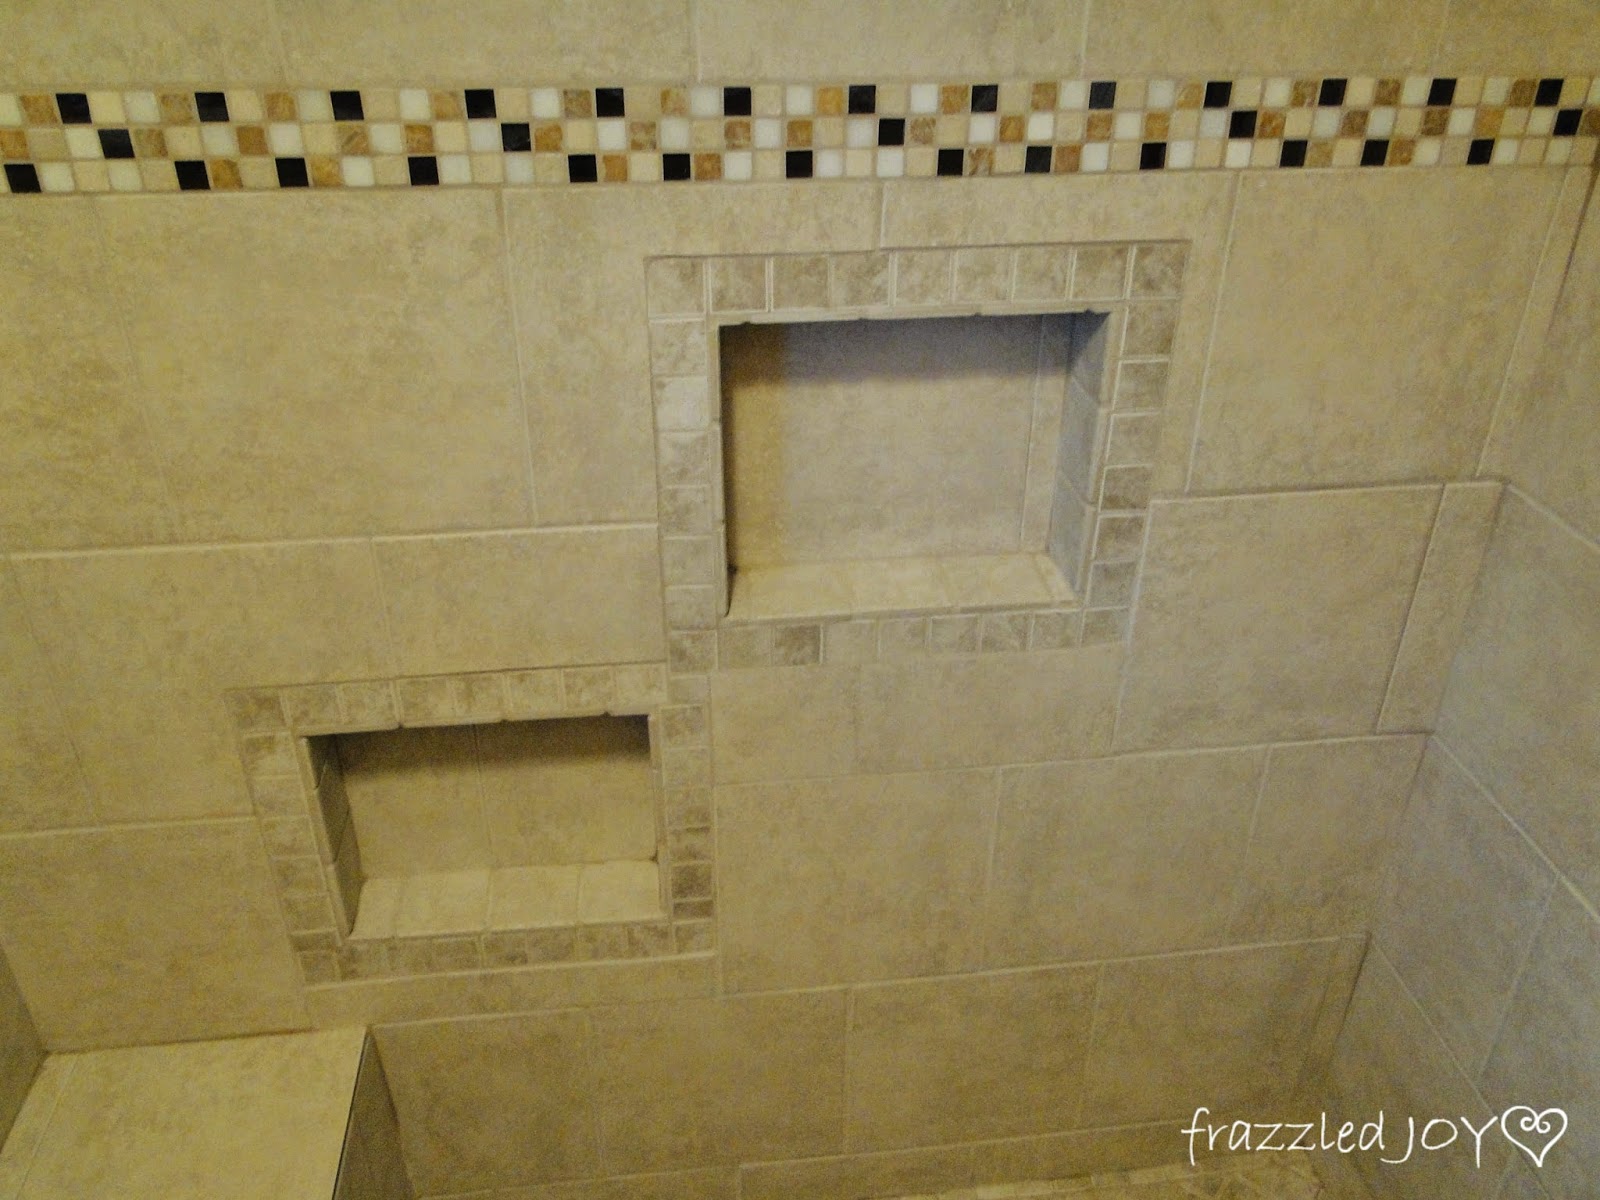
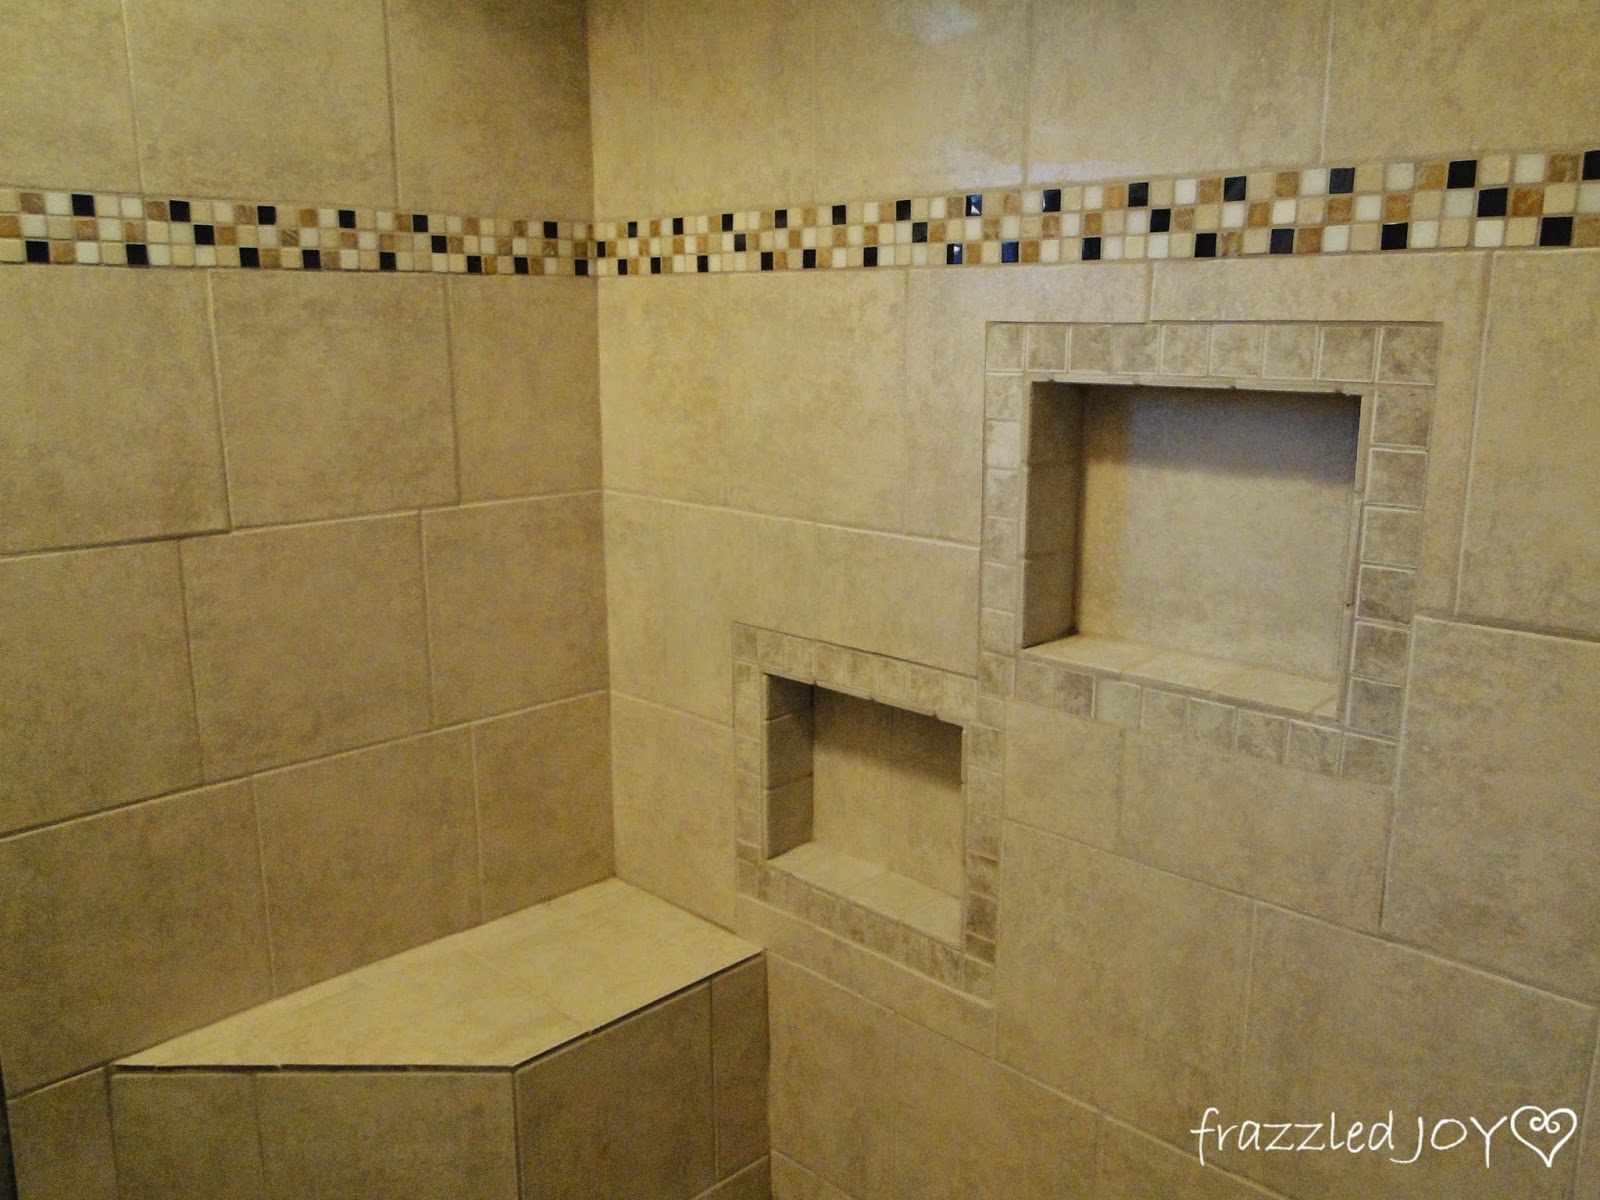
We did a lot of looking around at other shower designs. Magazines, books, and the internet were very helpful. We decided we wanted a small corner bench (which you can see built out in the photo above) and some niches for shampoo and soap and such.
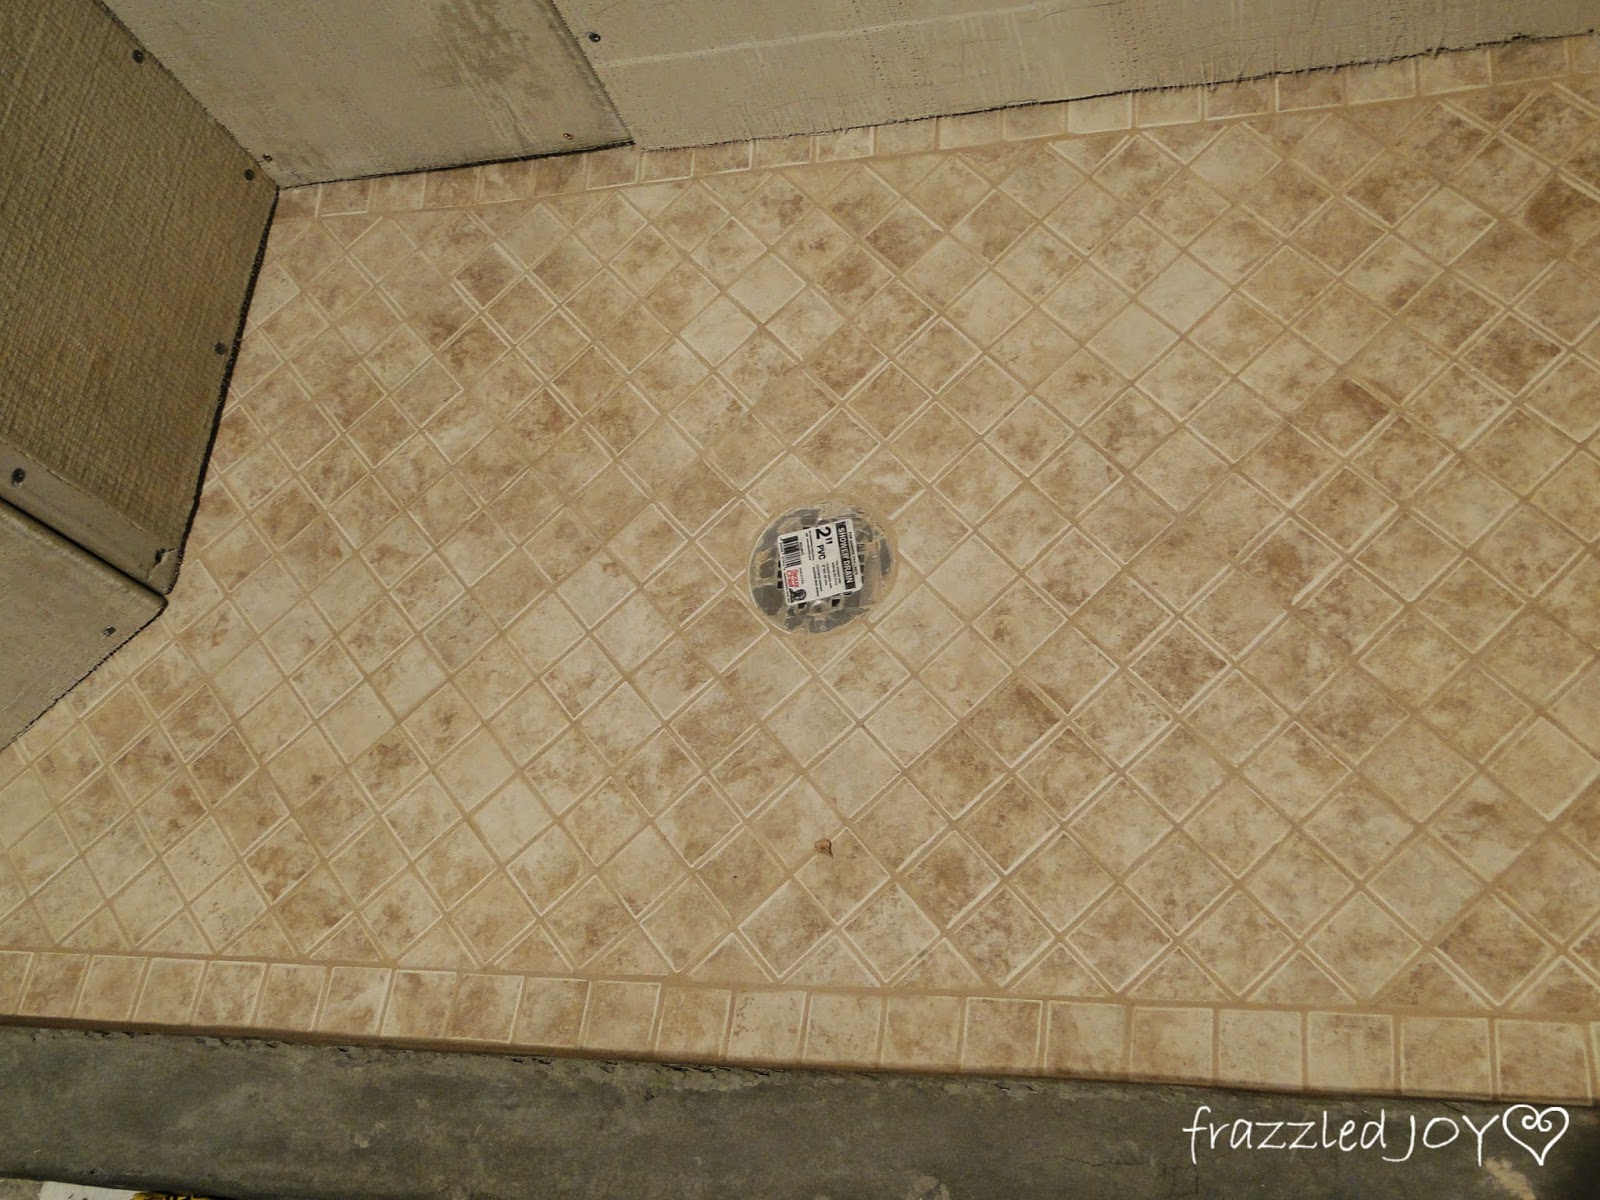
The floor got tiled first.
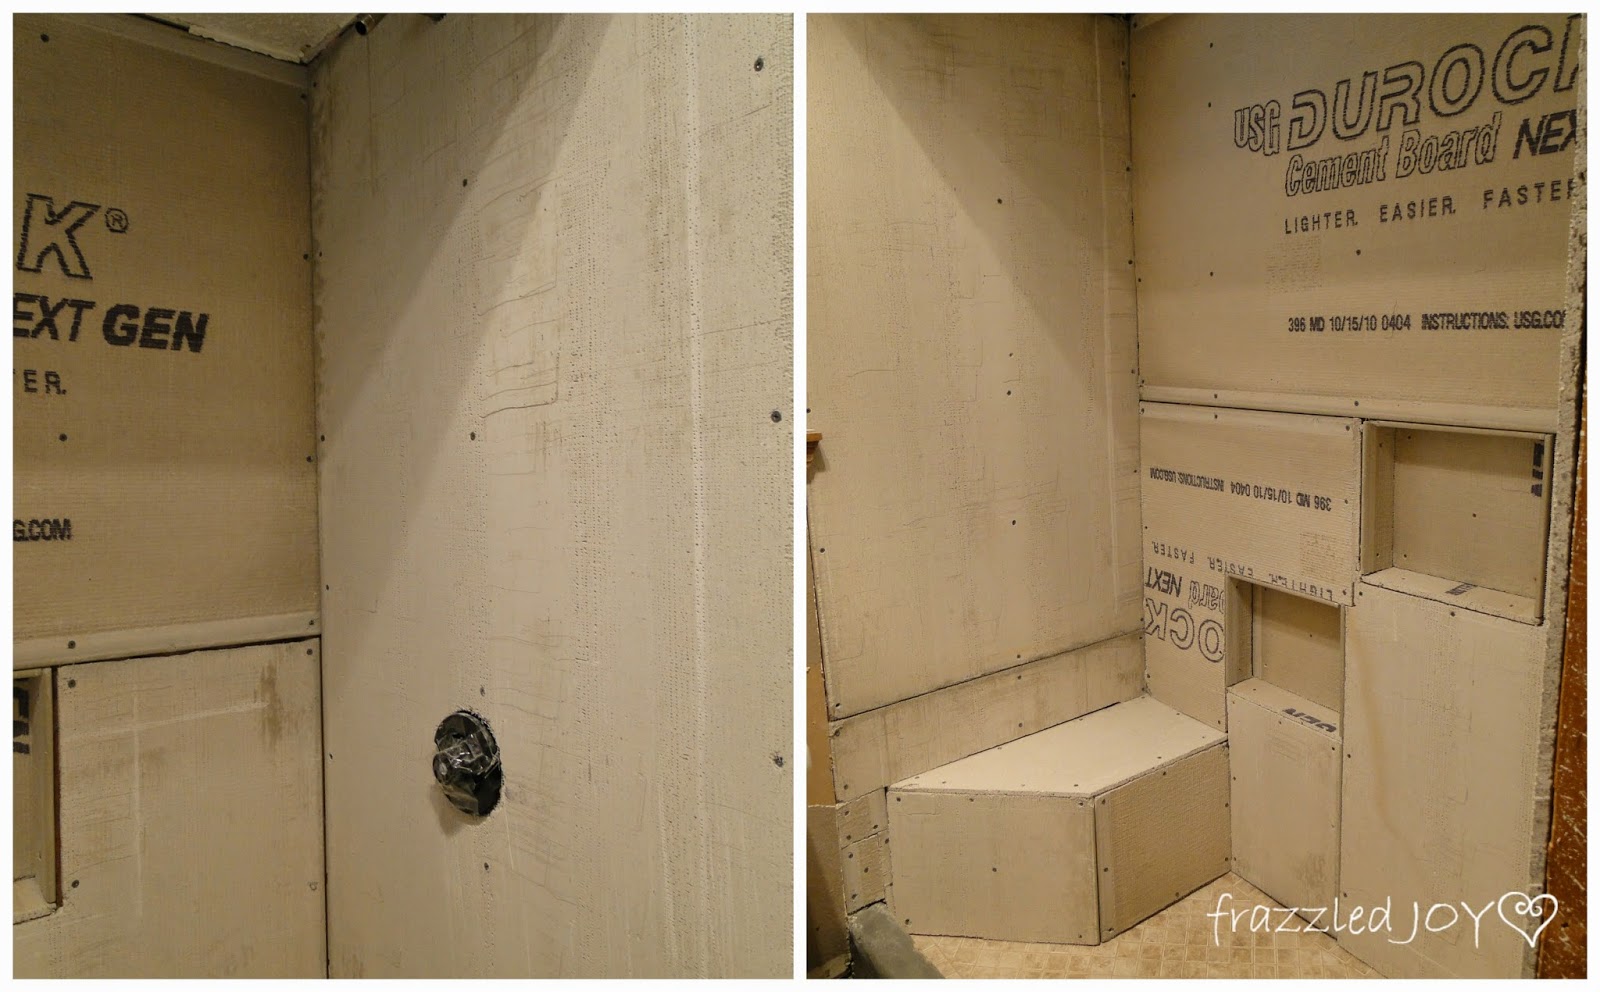
Then everything got covered in cement board.
And then tiled the rest. We chose a sanded grout (recommended by our contractor over the non-sanded) that matched the tones of our tile.
We splurged a little on the floor tile, but not a whole lot. Since it wasn’t a huge area.
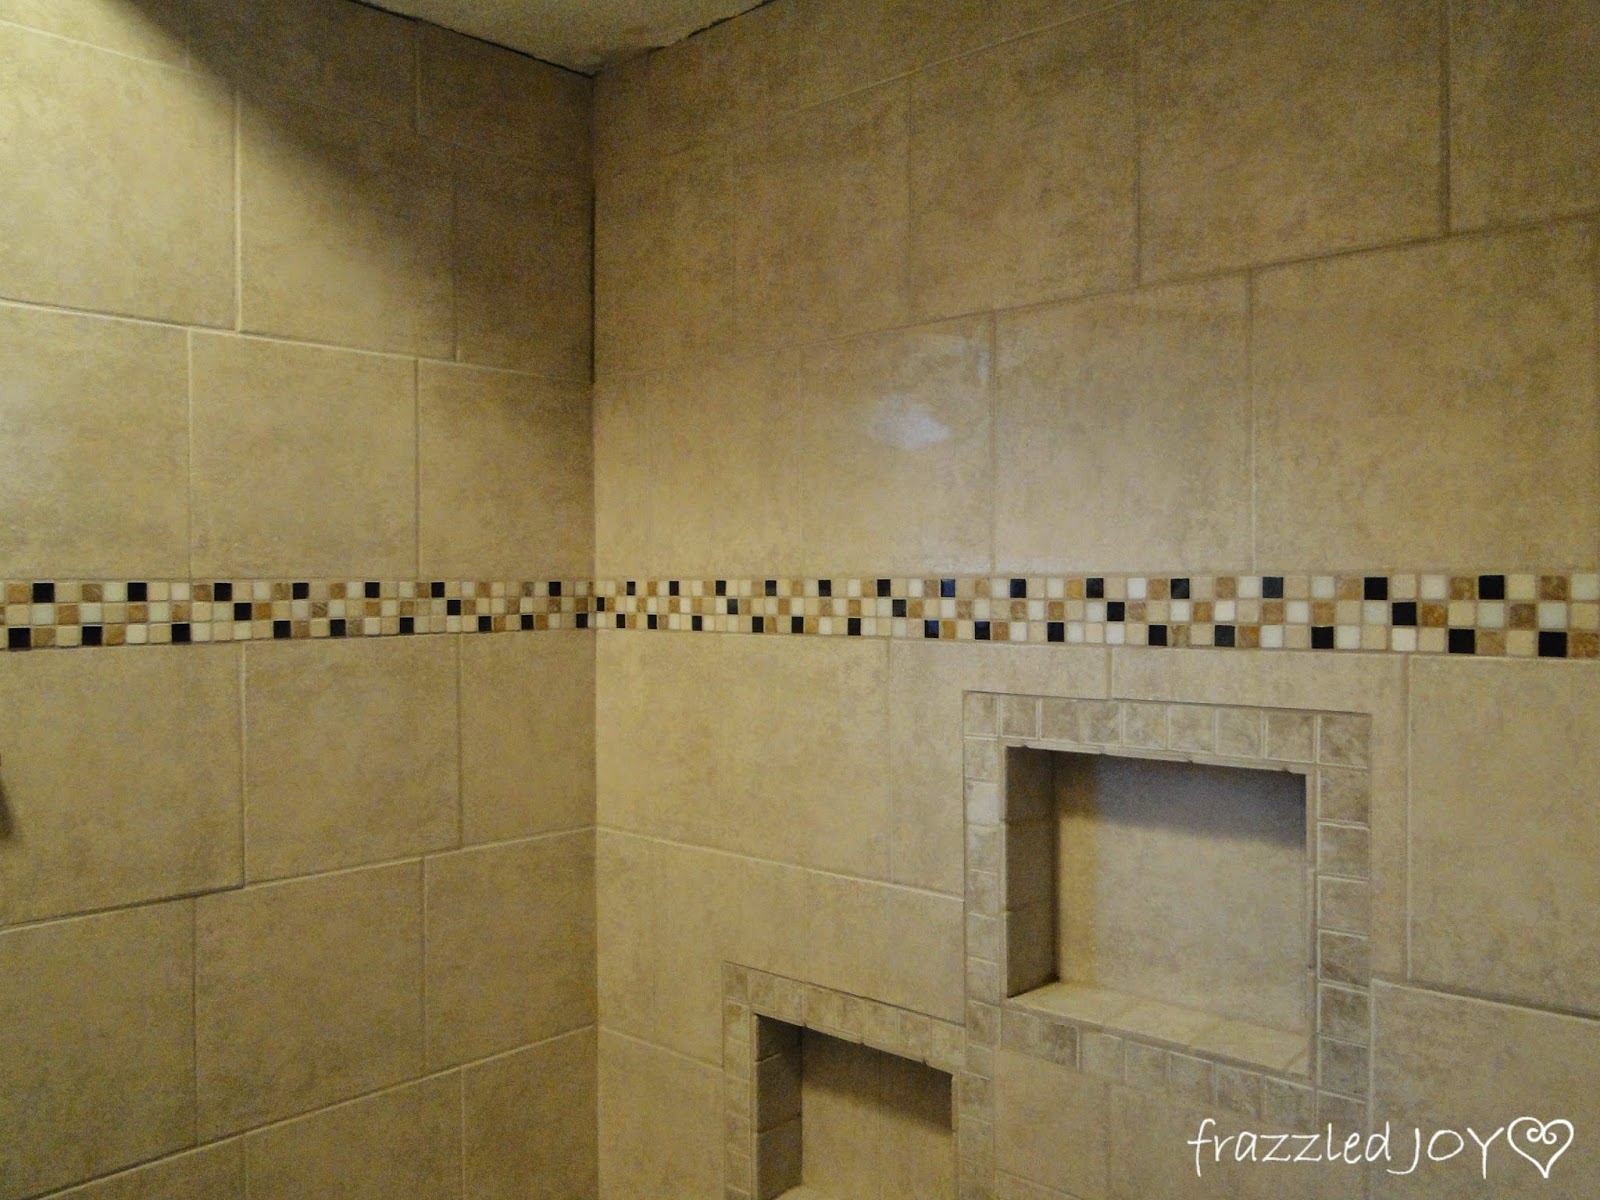
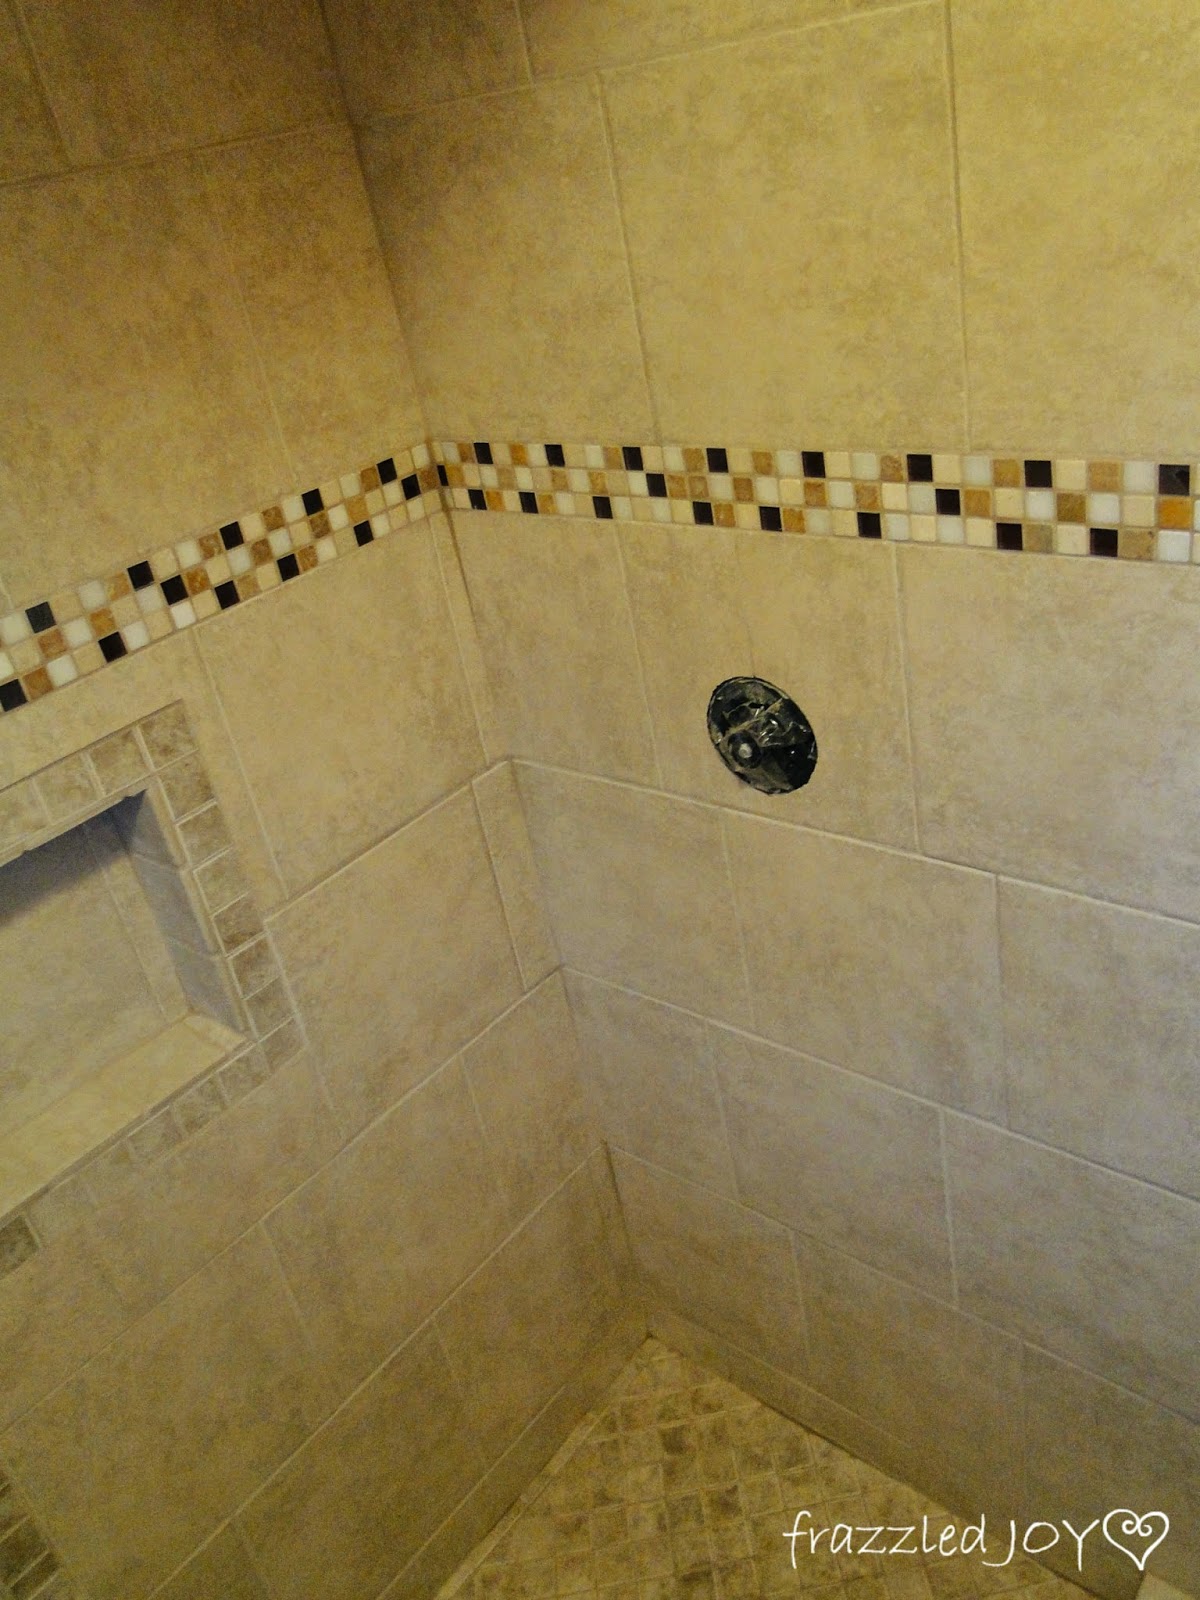
For the wall tile we simply used some inexpensive 12×12 tiles. We also splurged a bit for some accent tile, just to add some interest. We found some 4×4 tile that was a close match to finish of the edge by the floor and the niches.
The finished product was more than we could have ever hoped for.
We had never tiled before, but with a few pointers from our contractor friend, we got the job done. It took us a good 3-4 weeks (sorry I really don’t remember) from start to finish because we were DIYing so much of it. We were exhausted in the end, but really the feeling of accomplishment of doing it ourselves was worth it!!

Linking up with Inspire Me Monday / Tutorials & Tips Link Party / Take-A-Look Tuesdays / Show Me What Ya Got / One Project At A Time / Hit Me With Your Best Shot / Works For Me Wednesday / Create It Thursday / Thrifty Thursday / Fridays Unfolded / Inspire Me Please / Link Party Palooza / Share Your Creativity / Frugal Crafty Home Blog Hop


I just retiled my shower and I am curious what waterproofing method you guys used. I see the cement board, but is there a vapor barrier behind it? Or did you redguard it before tiling? That was the one thing that made me the most nervous.. that I would get a leak.. so I am always interested to know what other DIY'rs did!
In any case… it looks great! I completely understand what a huge undertaking it is!
Thanks Kim!! Good question! We did not use a vapor barrier. The only things we did extra to help with leaks was sealing the grout and caulking all the corners and seams – where the walls met, and the wall met the floor. We just caulked right over the grout using a sanded caulk that matched our grout color. This is all our contractor friend recommended. (Considering that when we took out the old tile, the only thing that was behind it was drywall, I felt pretty good about that!)
It looks fantastic! It must be so nice to step into a brand new, lovely shower each day. Thanks for sharing at Fridays Unfolded!
Alison
Nancherrow
Your bathroom turned out beautiful! Isn't it funny how you wished you took better pictures of projects before you started blogging? I do that all the time!
Thanks Carrie! Yes totally wish I had better pictures, or pictures at all of some of the things we've done!