If you’ve been around my blog for any amount of time you should know that I have two requirements for my home projects. They must be DIYable, and they must be budget friendly.
So, this mini makeover was no exception. Again, so very pleased with the outcome. I love it when things turn out as good or better than the picture in my head.
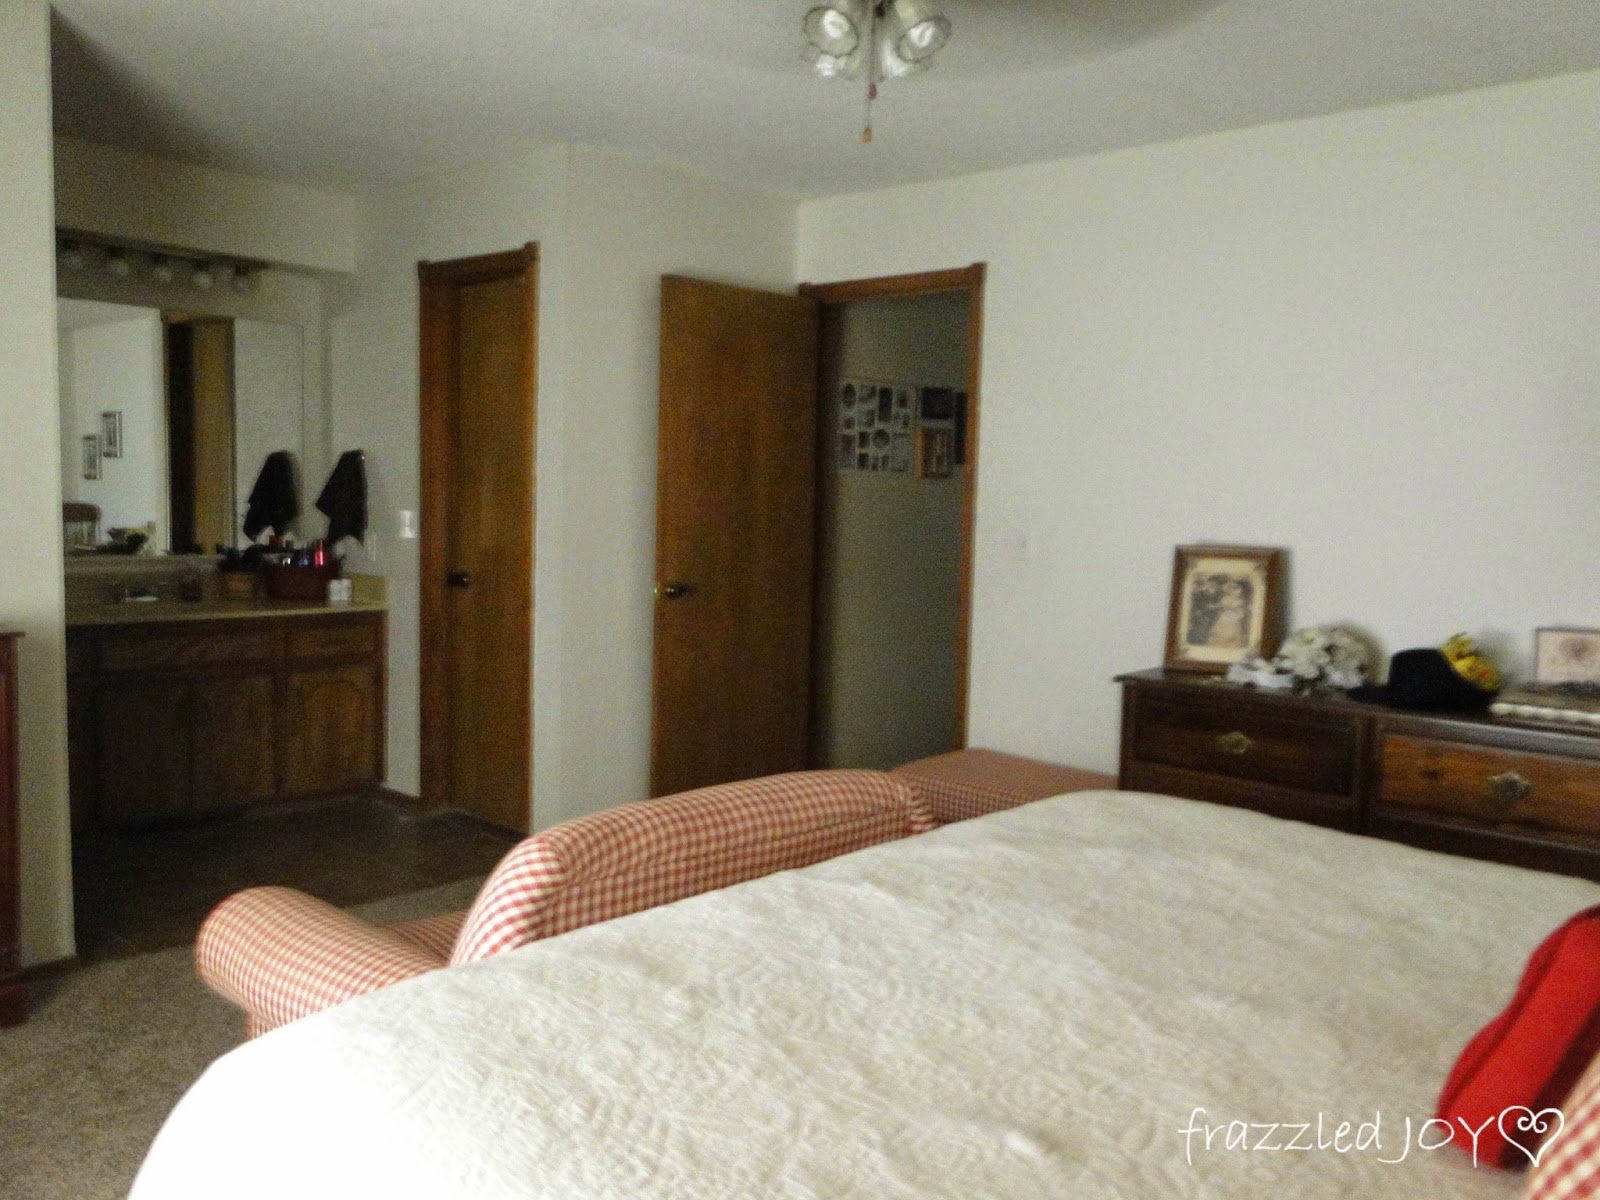
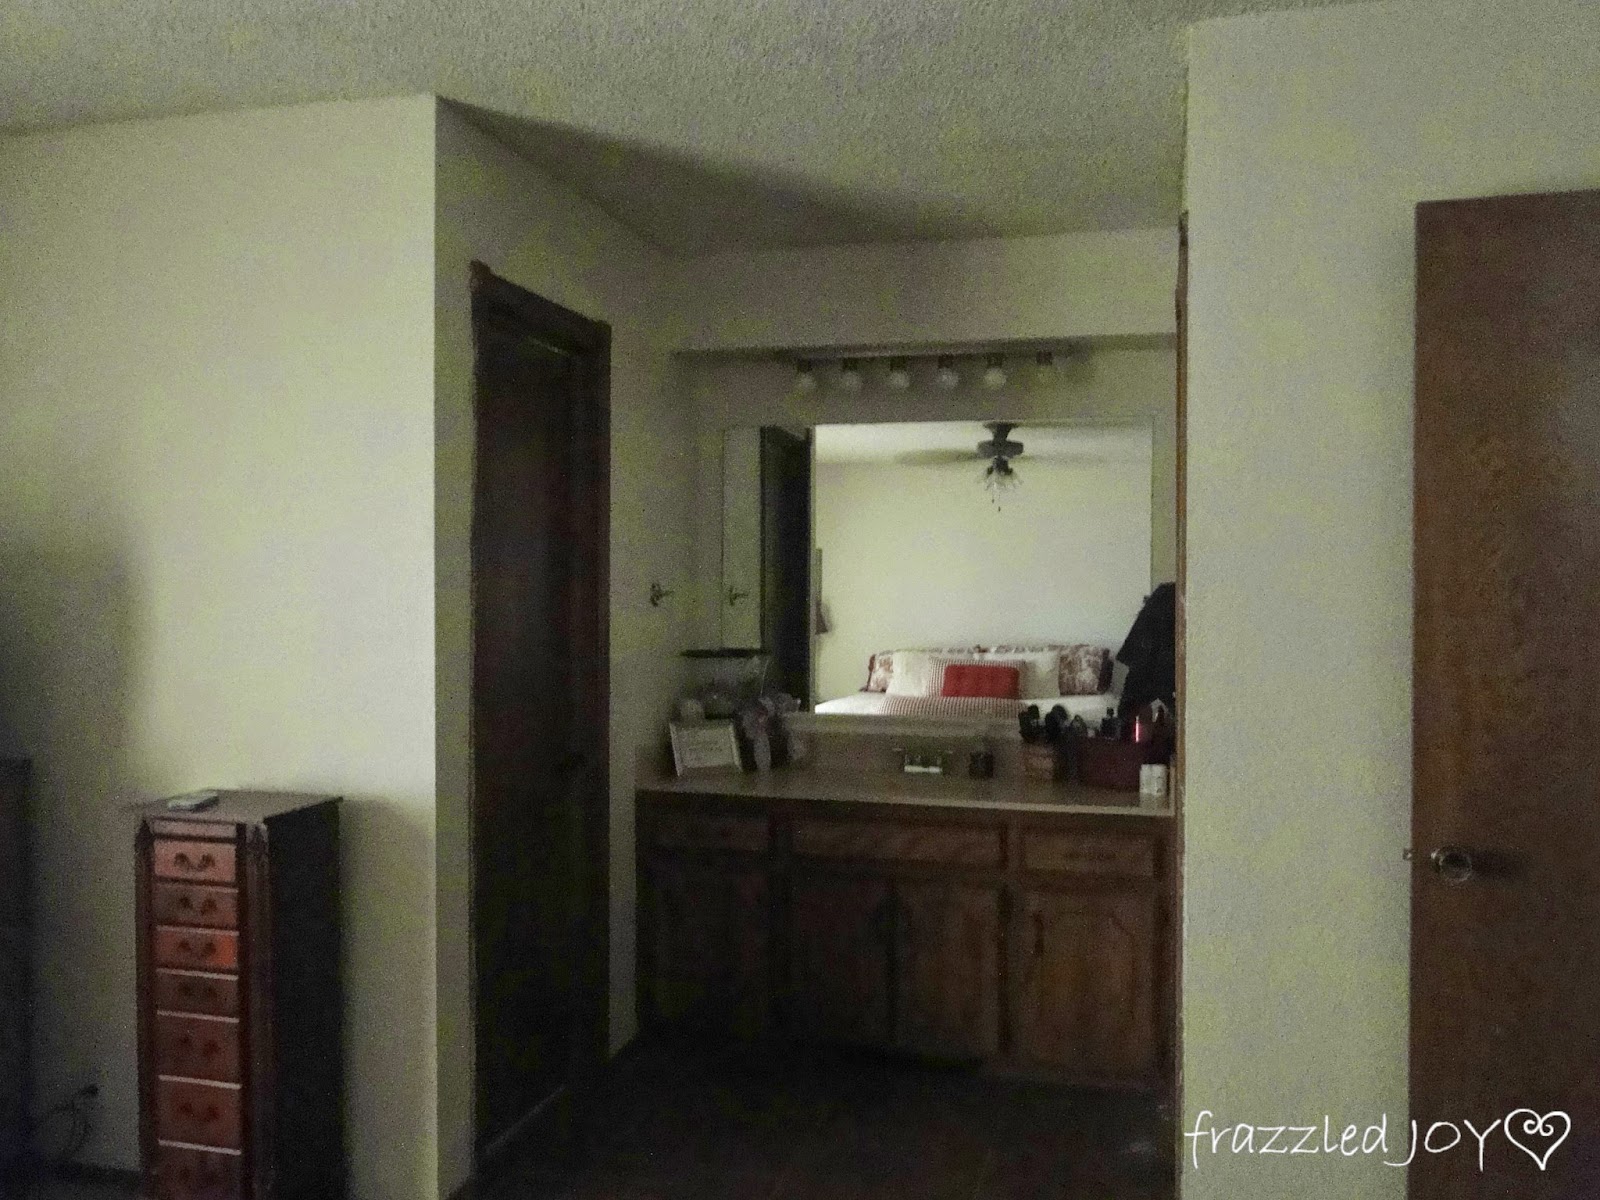
If you were here for my Master Bedroom Update during the One Room Challenge then you probably saw these pictures of this part of our master bathroom.
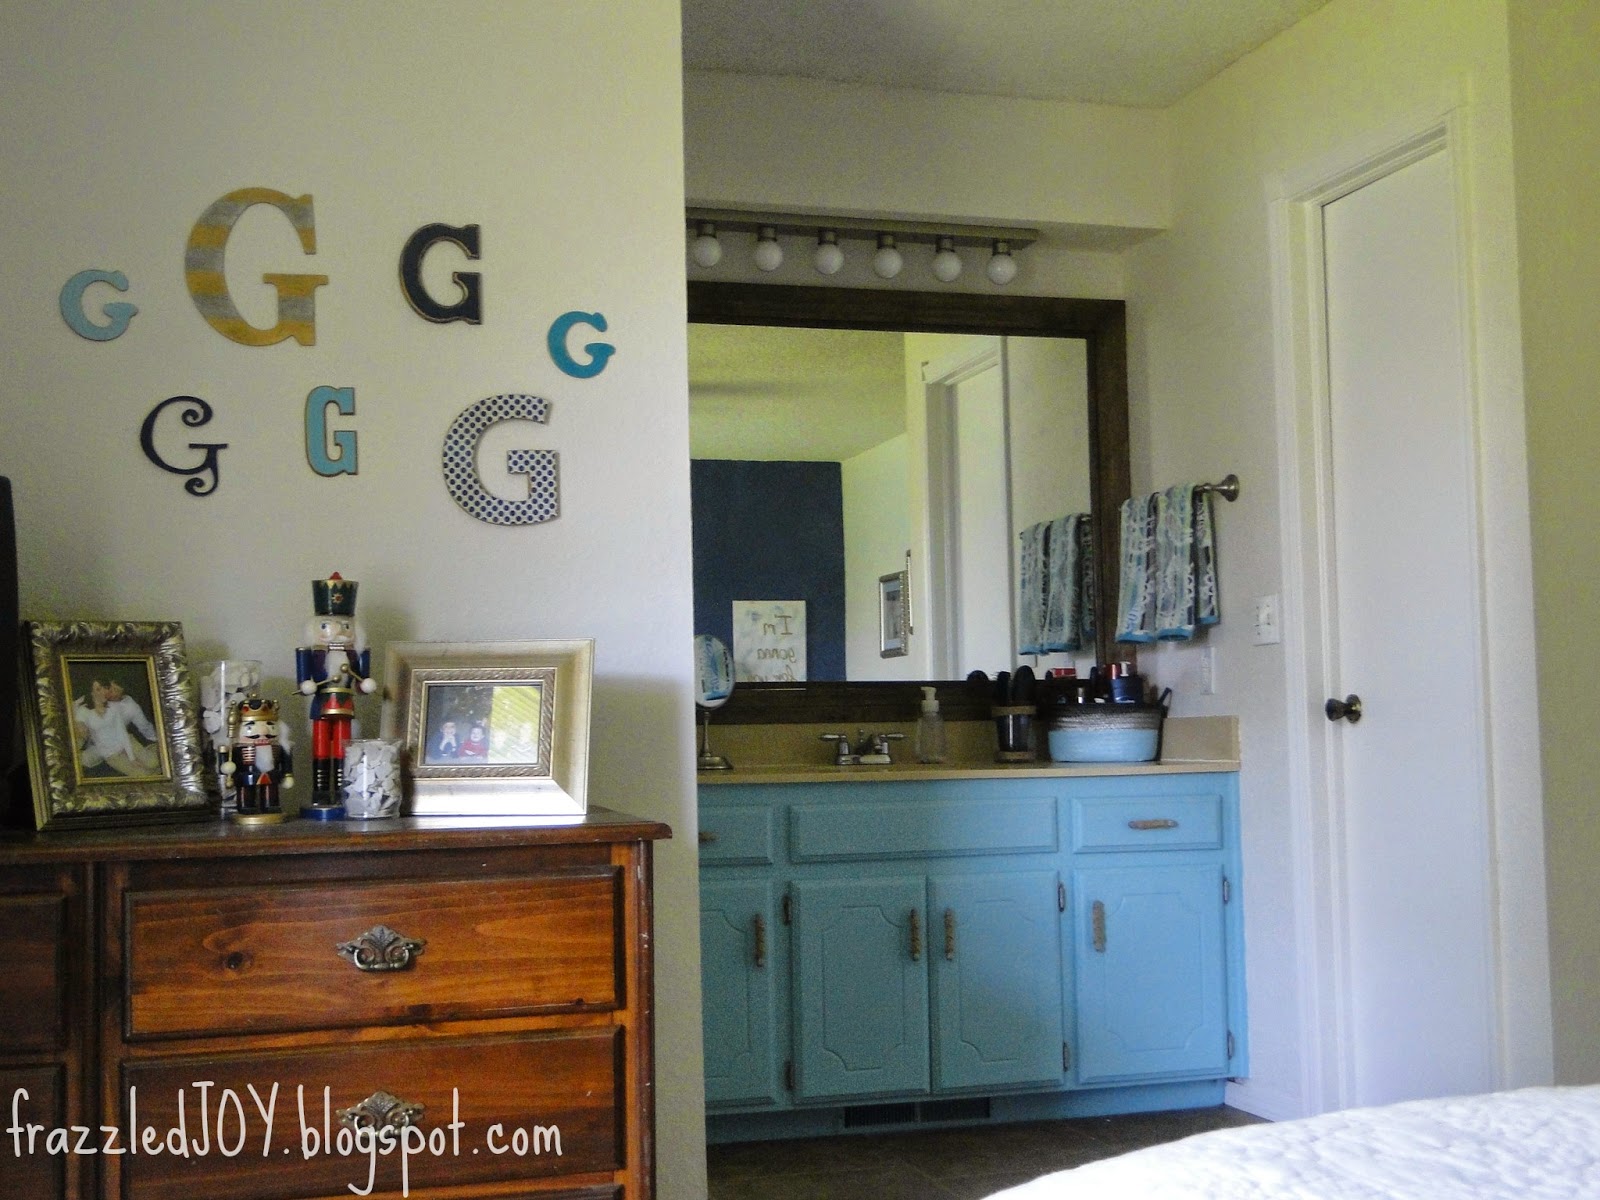
Yes, as I’ve eluded before – this area is open to our master bedroom. I truly hated it before, but now, it doesn’t bother me AS MUCH. Still would love to close it off somehow. But that was more DIY and budget than I wanted to get into right now. Here’s a look from the bedroom now. Not as bad right? (humor me :))
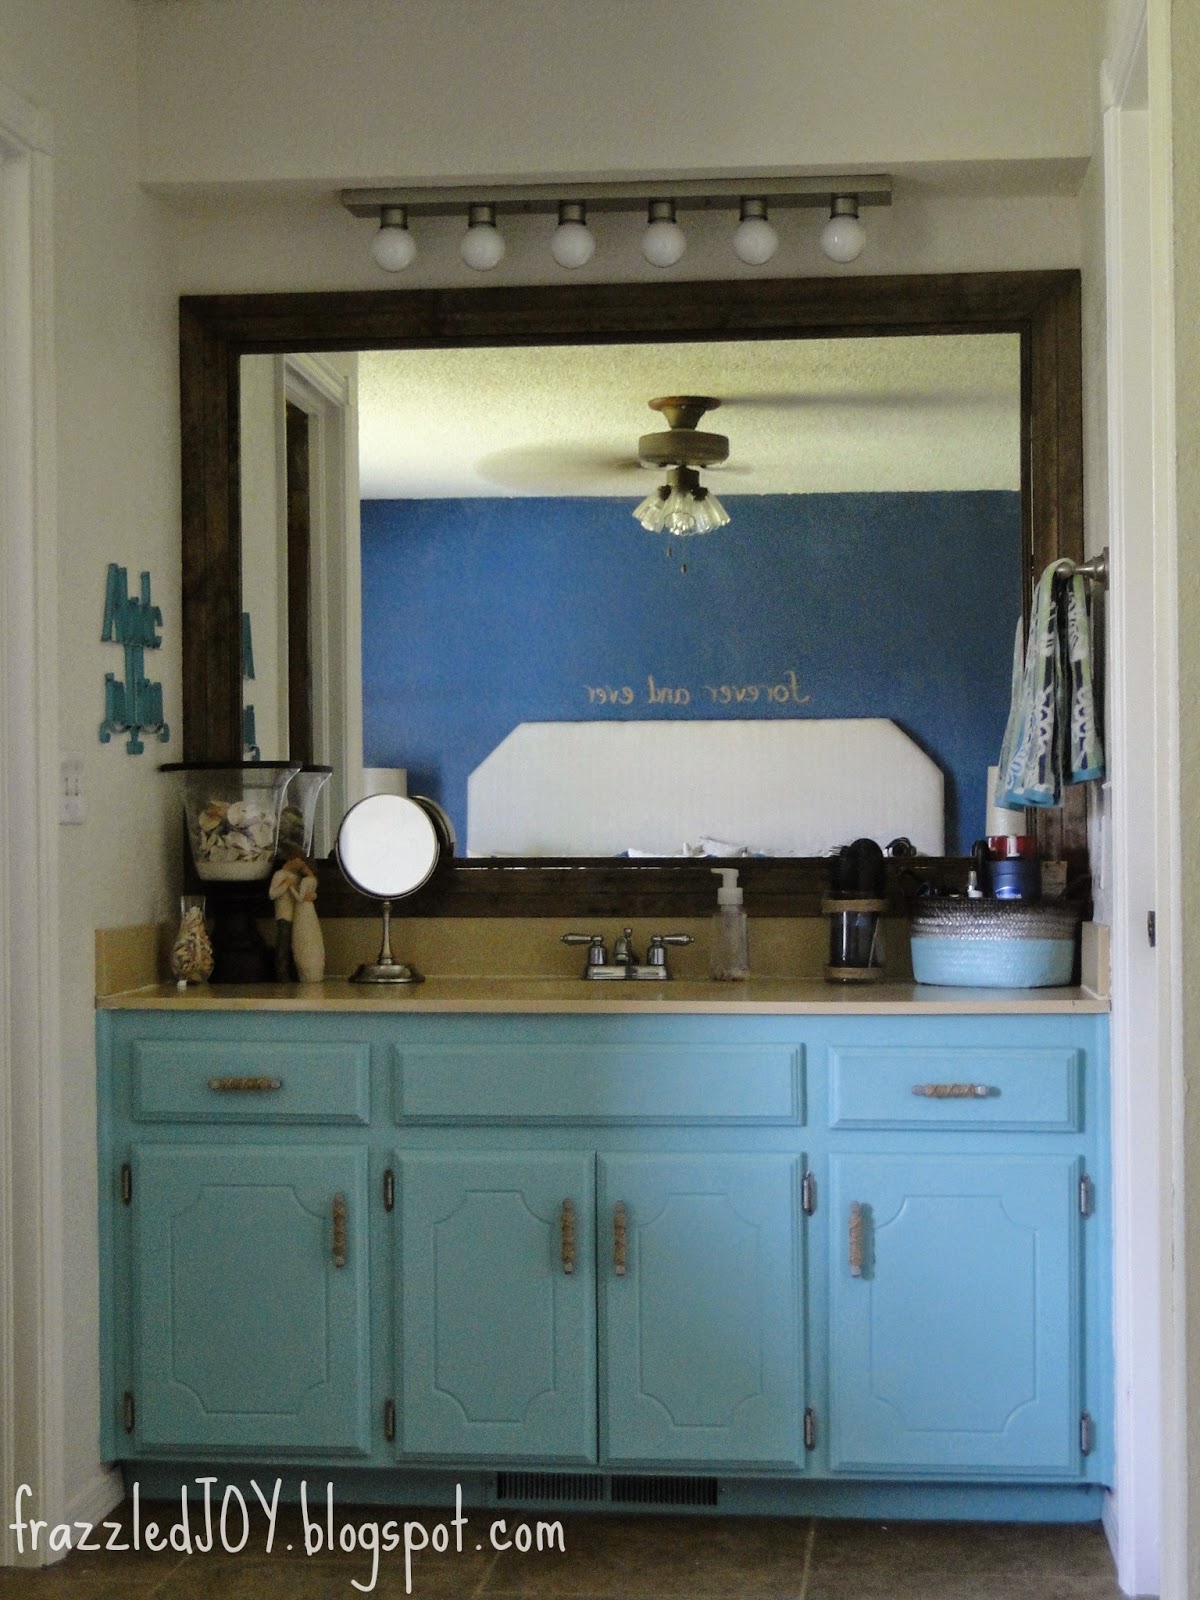
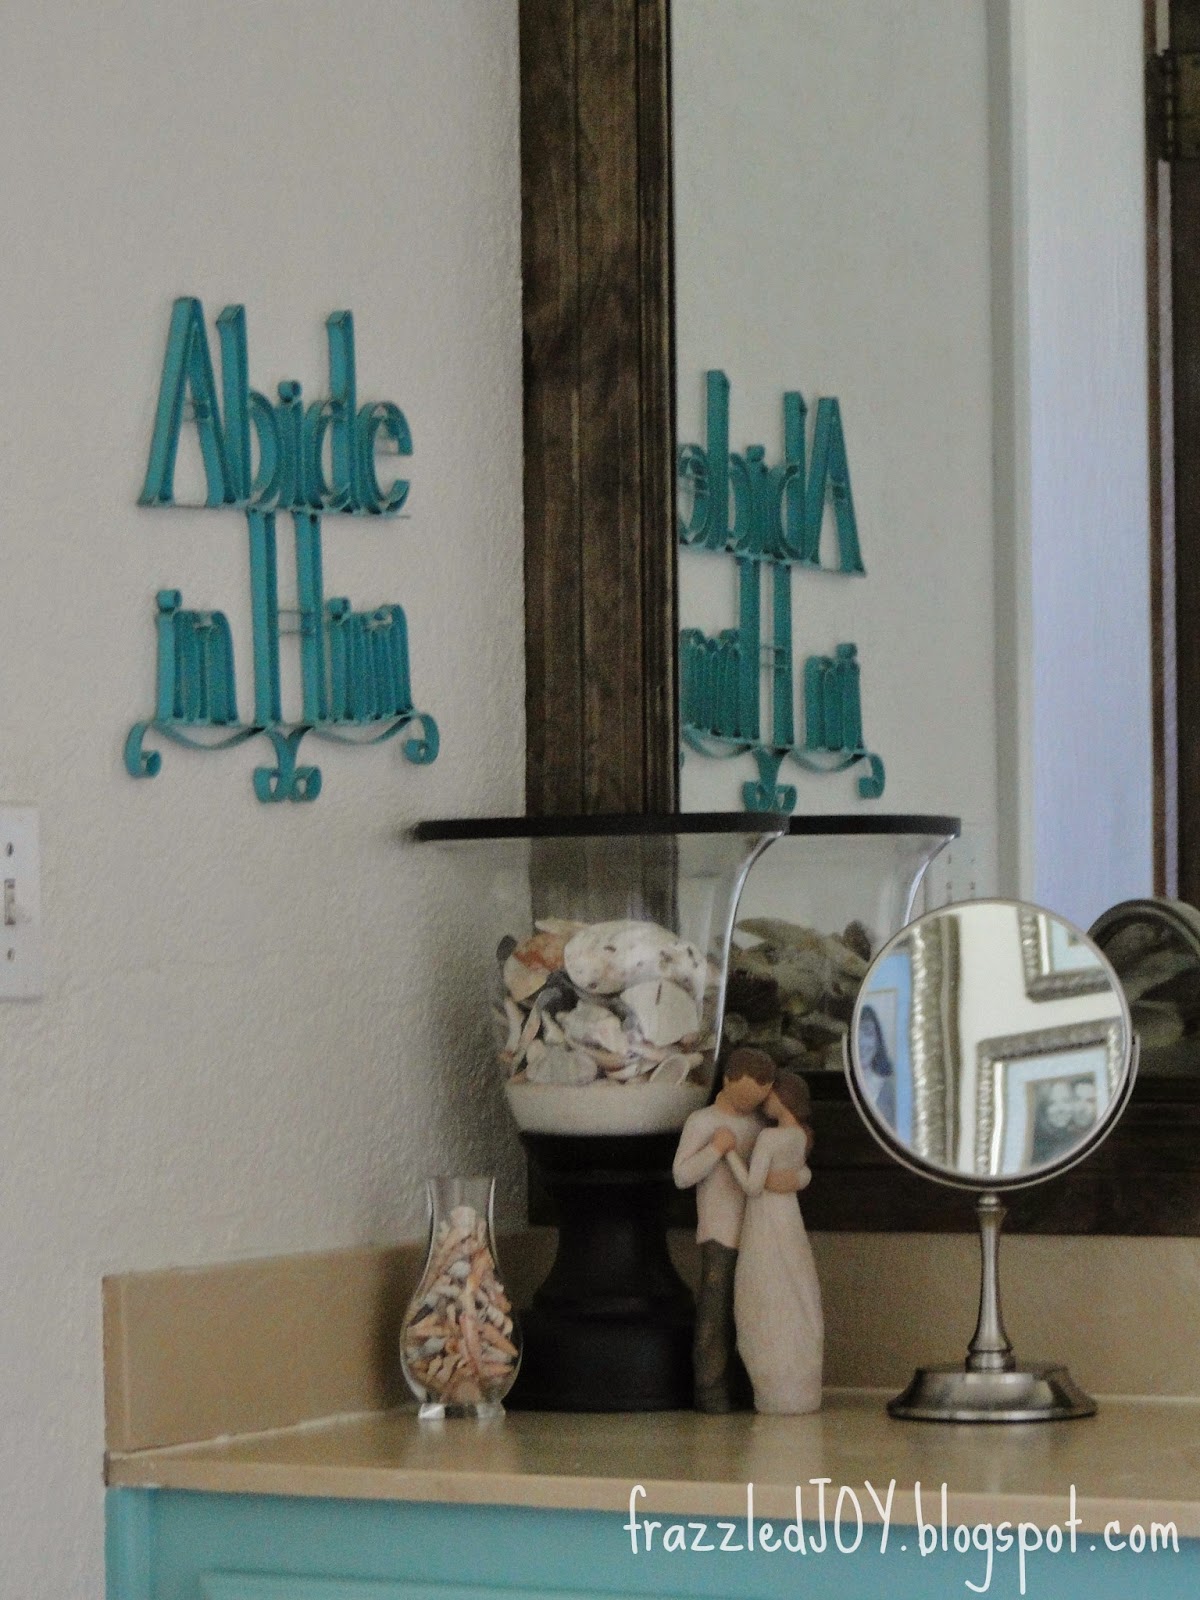
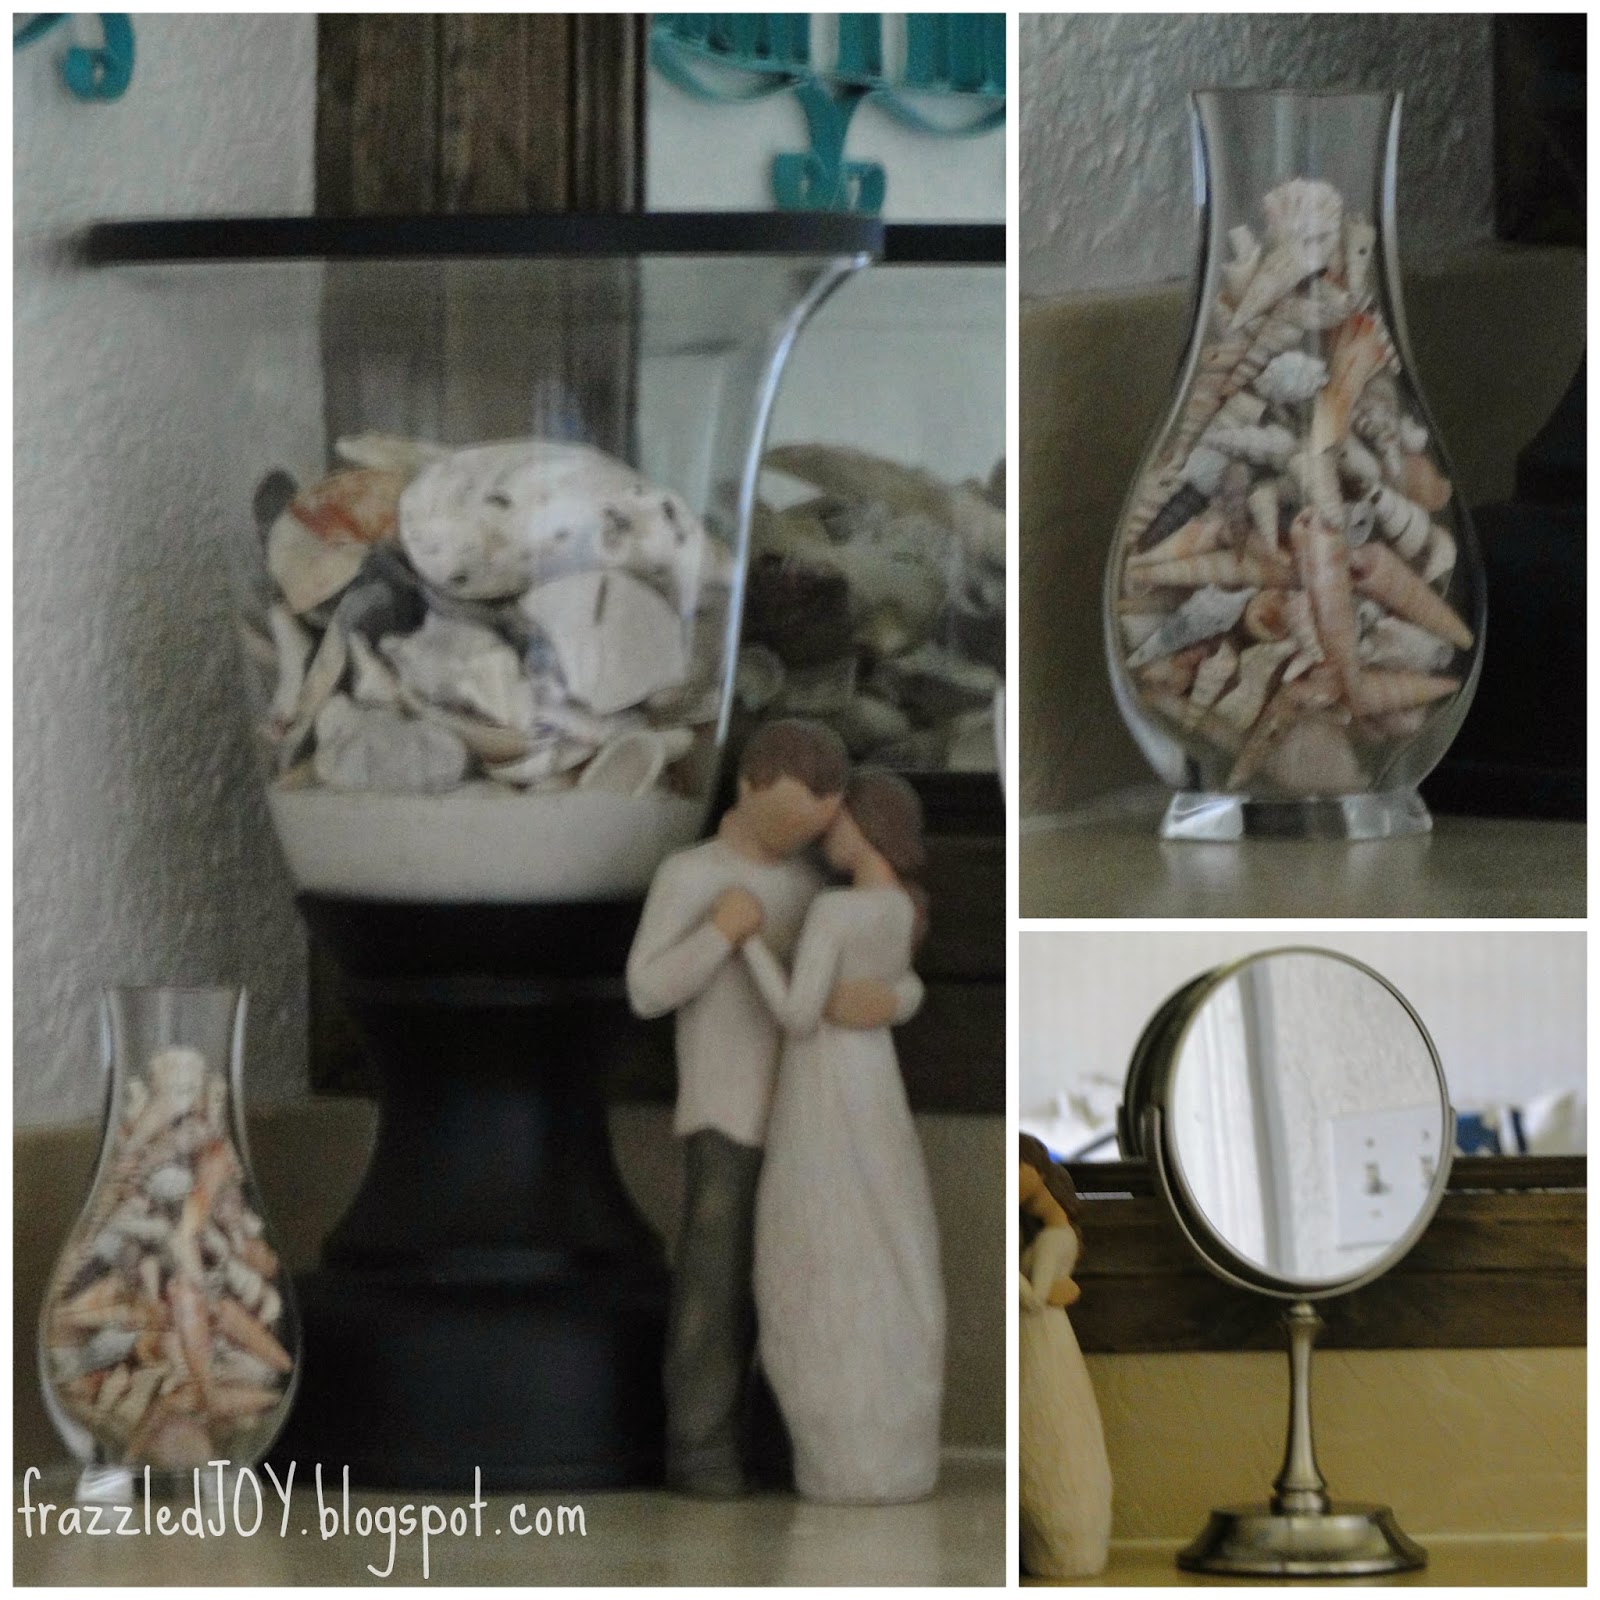
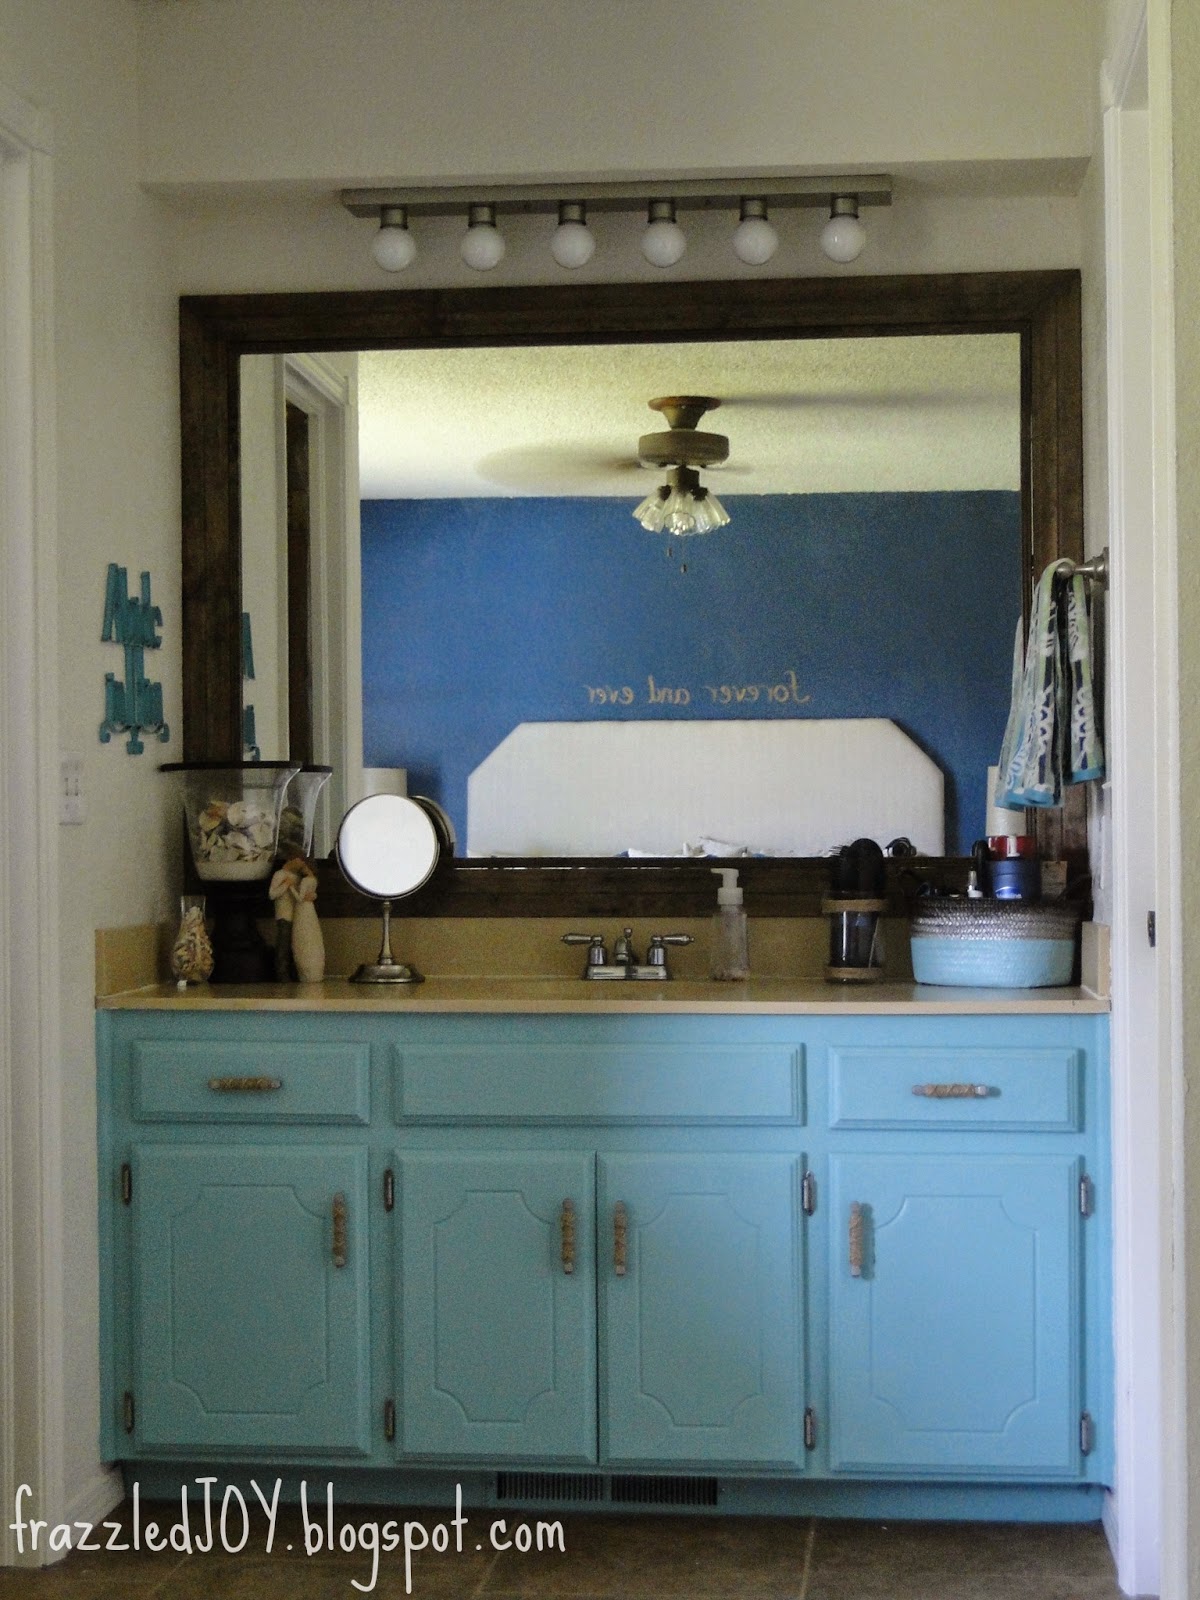
I used most of the same accessories as were here before. That small vase was a wedding gift and it got filled with tiny spiral shells from our 20th anniversary trip to the beach, and the other shells are from our honeymoon. The figurine was a gift from my hubby. The mirror was a Marshall’s purchase (14.99). And the wall art was on clearance at Hobby Lobby (4.99).
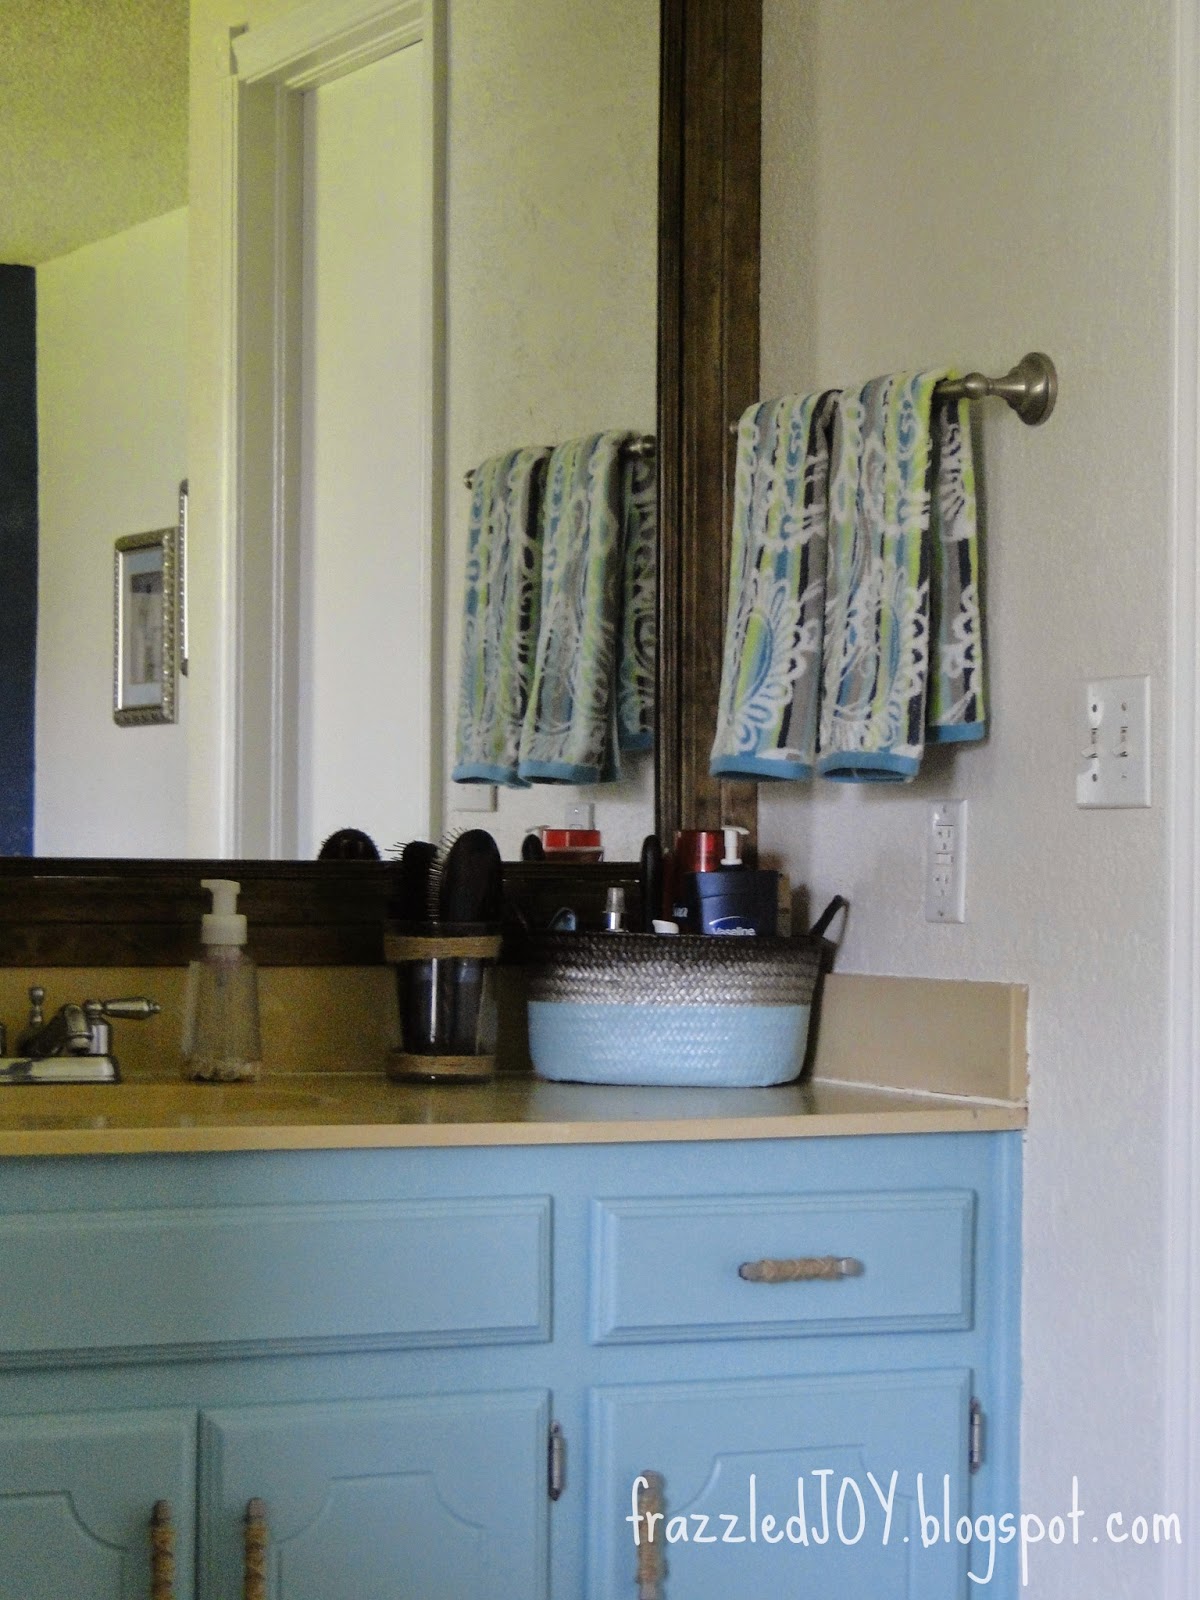
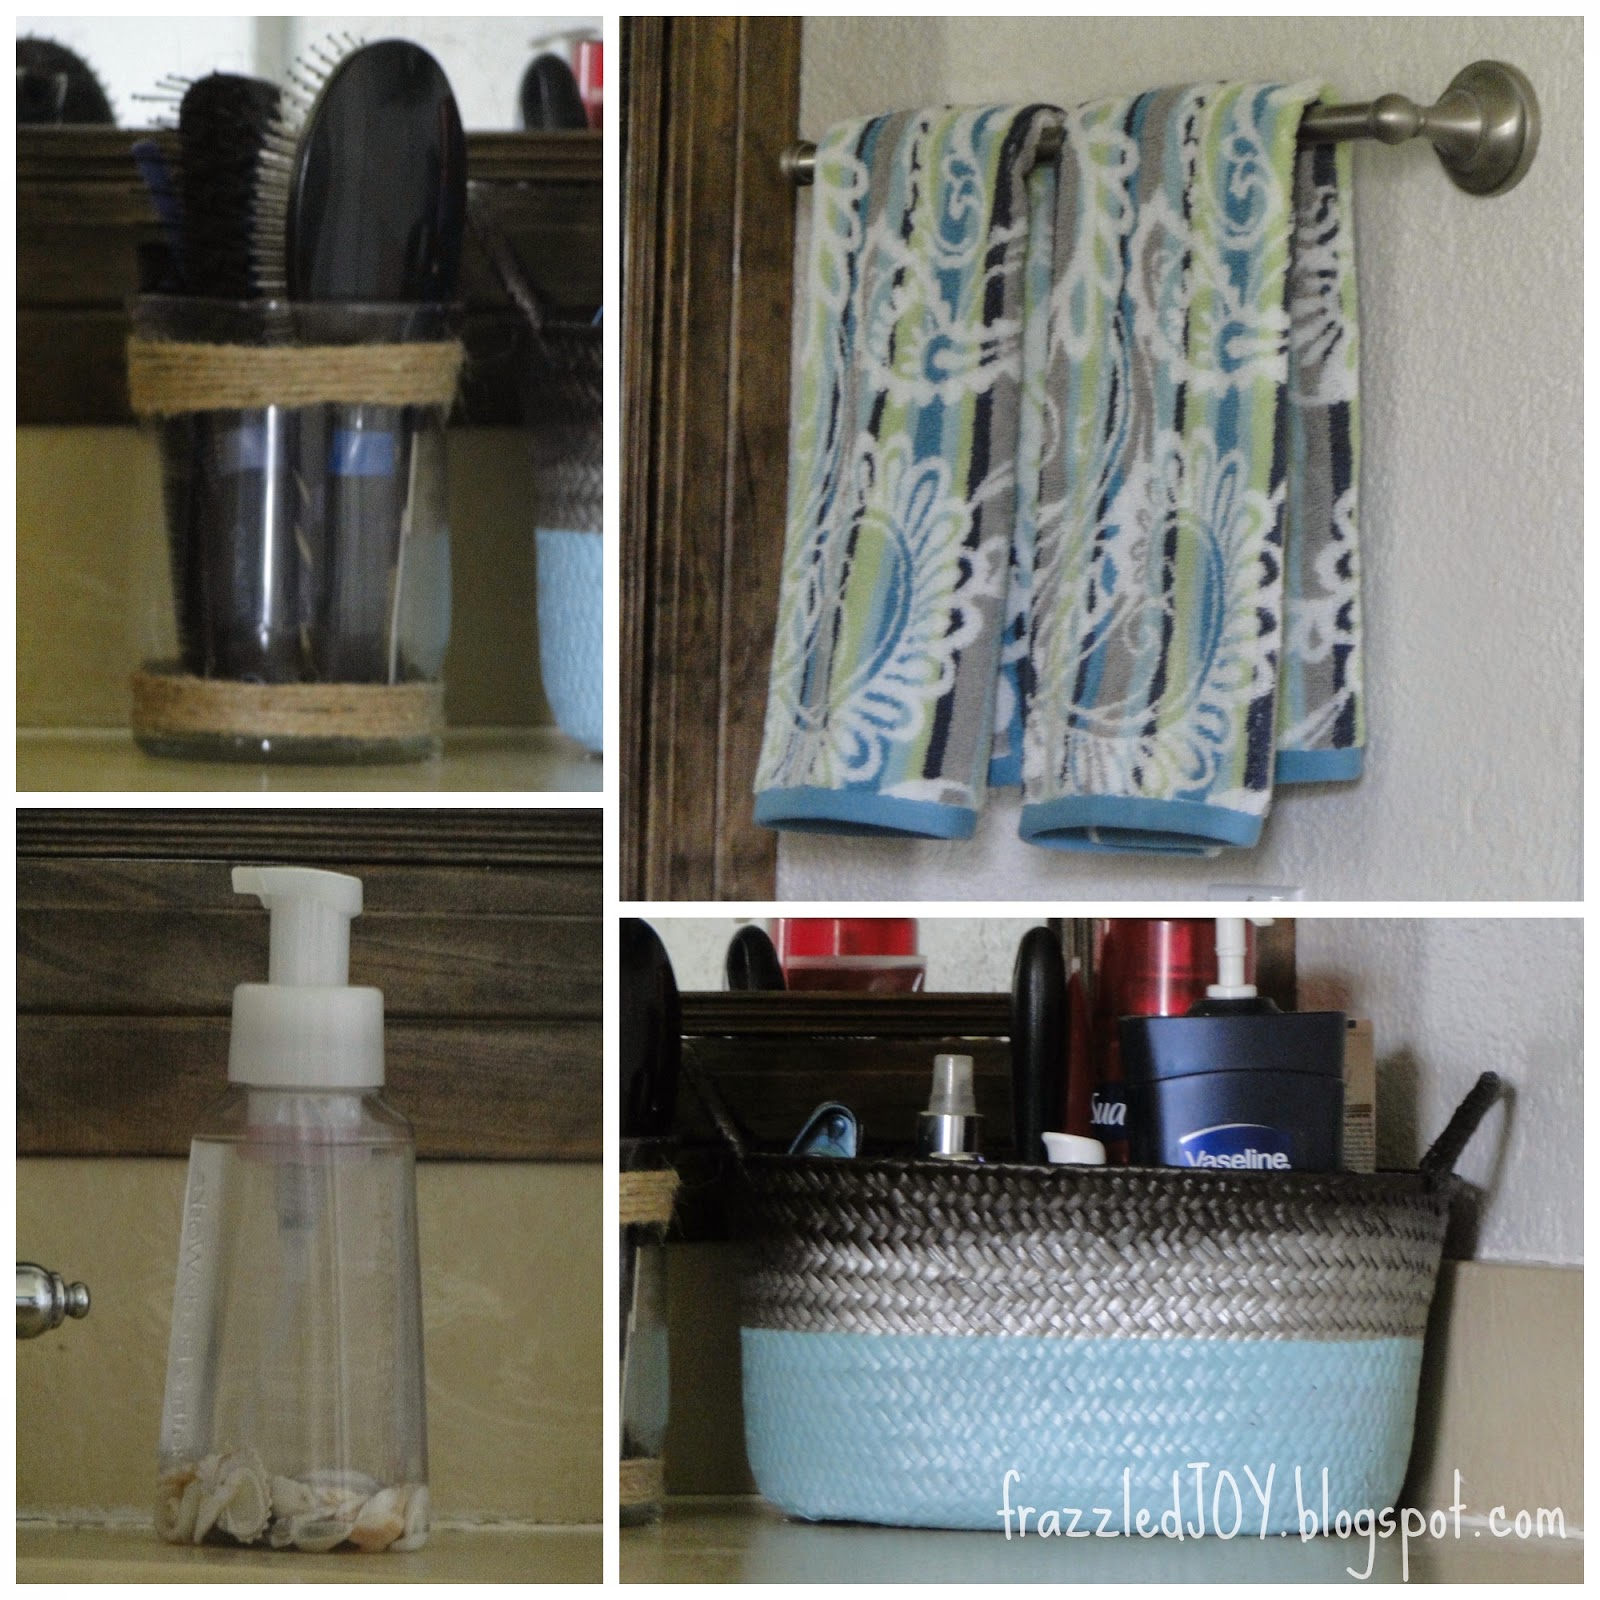
The basket that holds all of our essentials was the same one that was there – it just got a paint job. I made another sea-shell foam soap – this time with clear soap and it definitely shows off the shells better. I wrapped an inexpensive vase (that I had) with some jute to hold brushes and combs. And, to finish things up the towels (aren’t they fab) were also from Marshall’s (5.99 each). The towel rack is one that I had elsewhere that wasn’t being used.
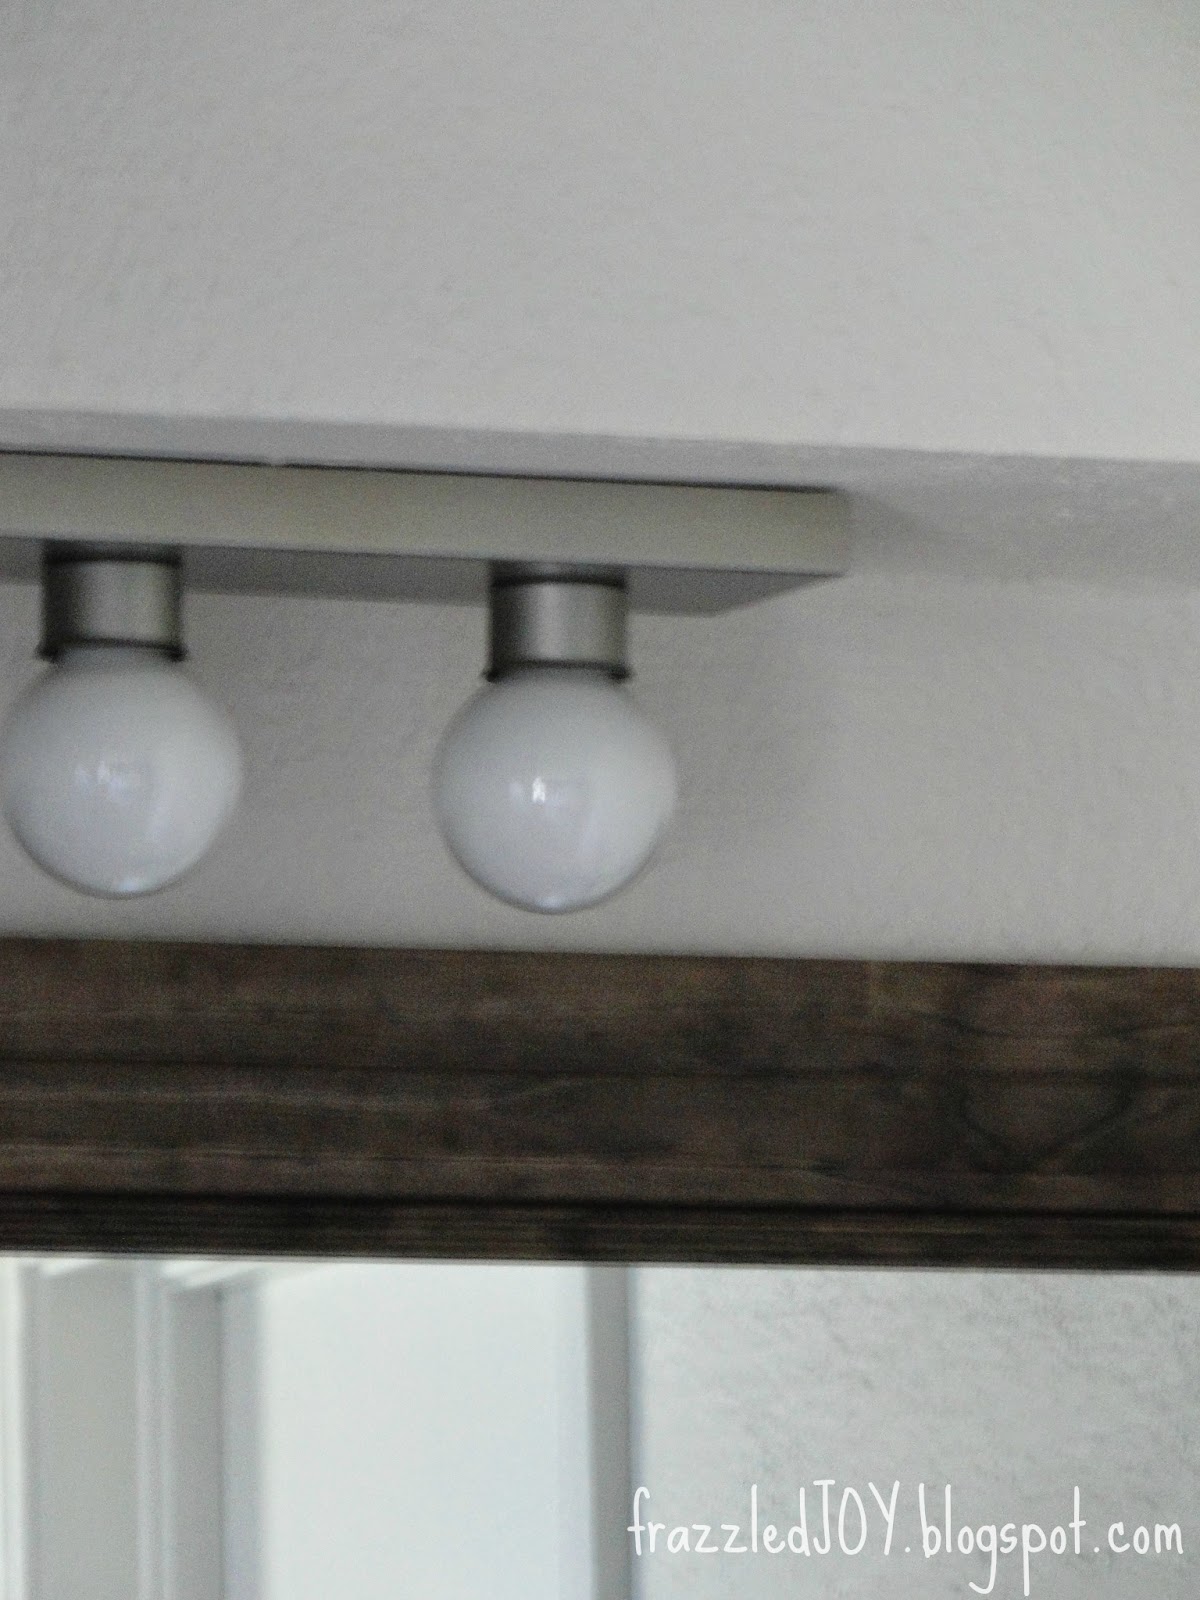
I could not find a before pic of the light fixture (bad blogger). But it was antique brass before and it got a coat of the same spray paint I used on the drawer pulls. Better, for now. And you can see here how I framed the mirror.
So this project was all DIY, and only cost me around $75. (wood for mirror frame – $40, stand mirror, wall art, and towels). That qualifies as a great mini makeover in my book!!
Thanks for stopping by!!! Have a blessed day :).

Linking up at August Before and After / Get Your DIY On: Room Revamps / Best of The Nest / Show Me What Ya Got / One Project at a Time / Tutorials & Tips Link Party / Brag About It Link Party / Wow Us Wednesdays / Create It Thursday / Enchanting Inspiration Link Party / Thrifty Thursday / Fridays Unfolded / Frugal Friday / Remodelaholic Anonymous / Link Party Palooza / Share Your Creativity / DIY Sunday Showcase / That DIY Party / Frugal Crafty Home Blog Hop / Inspire Me Monday / Your Designs This Time


I would definitely say that's a successful mini-makeover! I love how you've used such meaningful accessories, and the cabinet paint color is so pretty!
Hi Denise! I just love how the new paint brightens up the whole vanity area! What a difference! The accessories are just enough and it's great that you were able to repurpose so much. I've been "making" my own foaming hand soap for a while now (really saves quite a bit over time) but never thought to put little shells or pebbles or what have you in the bottom. Great idea! Popping over from Savvy Southern Style! Thanks for sharing your adorable makeover!
Very pretty! I like the beachy theme and light colors you've chosen. Thanks for sharing at Fridays Unfolded!
Alison
I love the cabinet color!
I love the color of your cabinetry!! So adorable. Great makeover!
You know I think you did a fantastic job, Denise. Thanks for linking up with us at Best of the Nest!