Okay I am back with the promised how to for my doors. Really so much easier than even I thought it would be. I’m going to use lots of pictures because I am a visual person. 🙂
First step is picking out what you want the door to look like. Like I said, I went to Home Depot to look at doors and of course checked out the internet. And decided on a basic style that seemed easy to duplicate and would be cost effective since I plan to eventually continue this treatment on other doors.
After you determine what you want it to look like you then need to measure. Decide how far you want the molding from the sides, top, etc., making sure you take into account the hardware. Then it’s time for the fun part – cutting. All you need is a basic miter saw and miter box, and a tape measure.
Some affiliate links used for your convenience. See disclosures for more details.
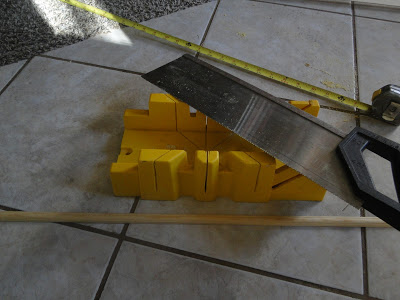 miter box & saw / tape measure

Because I haven’t done much mitering I literally cut one piece, taped it to the door, and then cut another piece, all the while checking multiple times that I had the direction of the angle correct. I only messed up once. 🙂
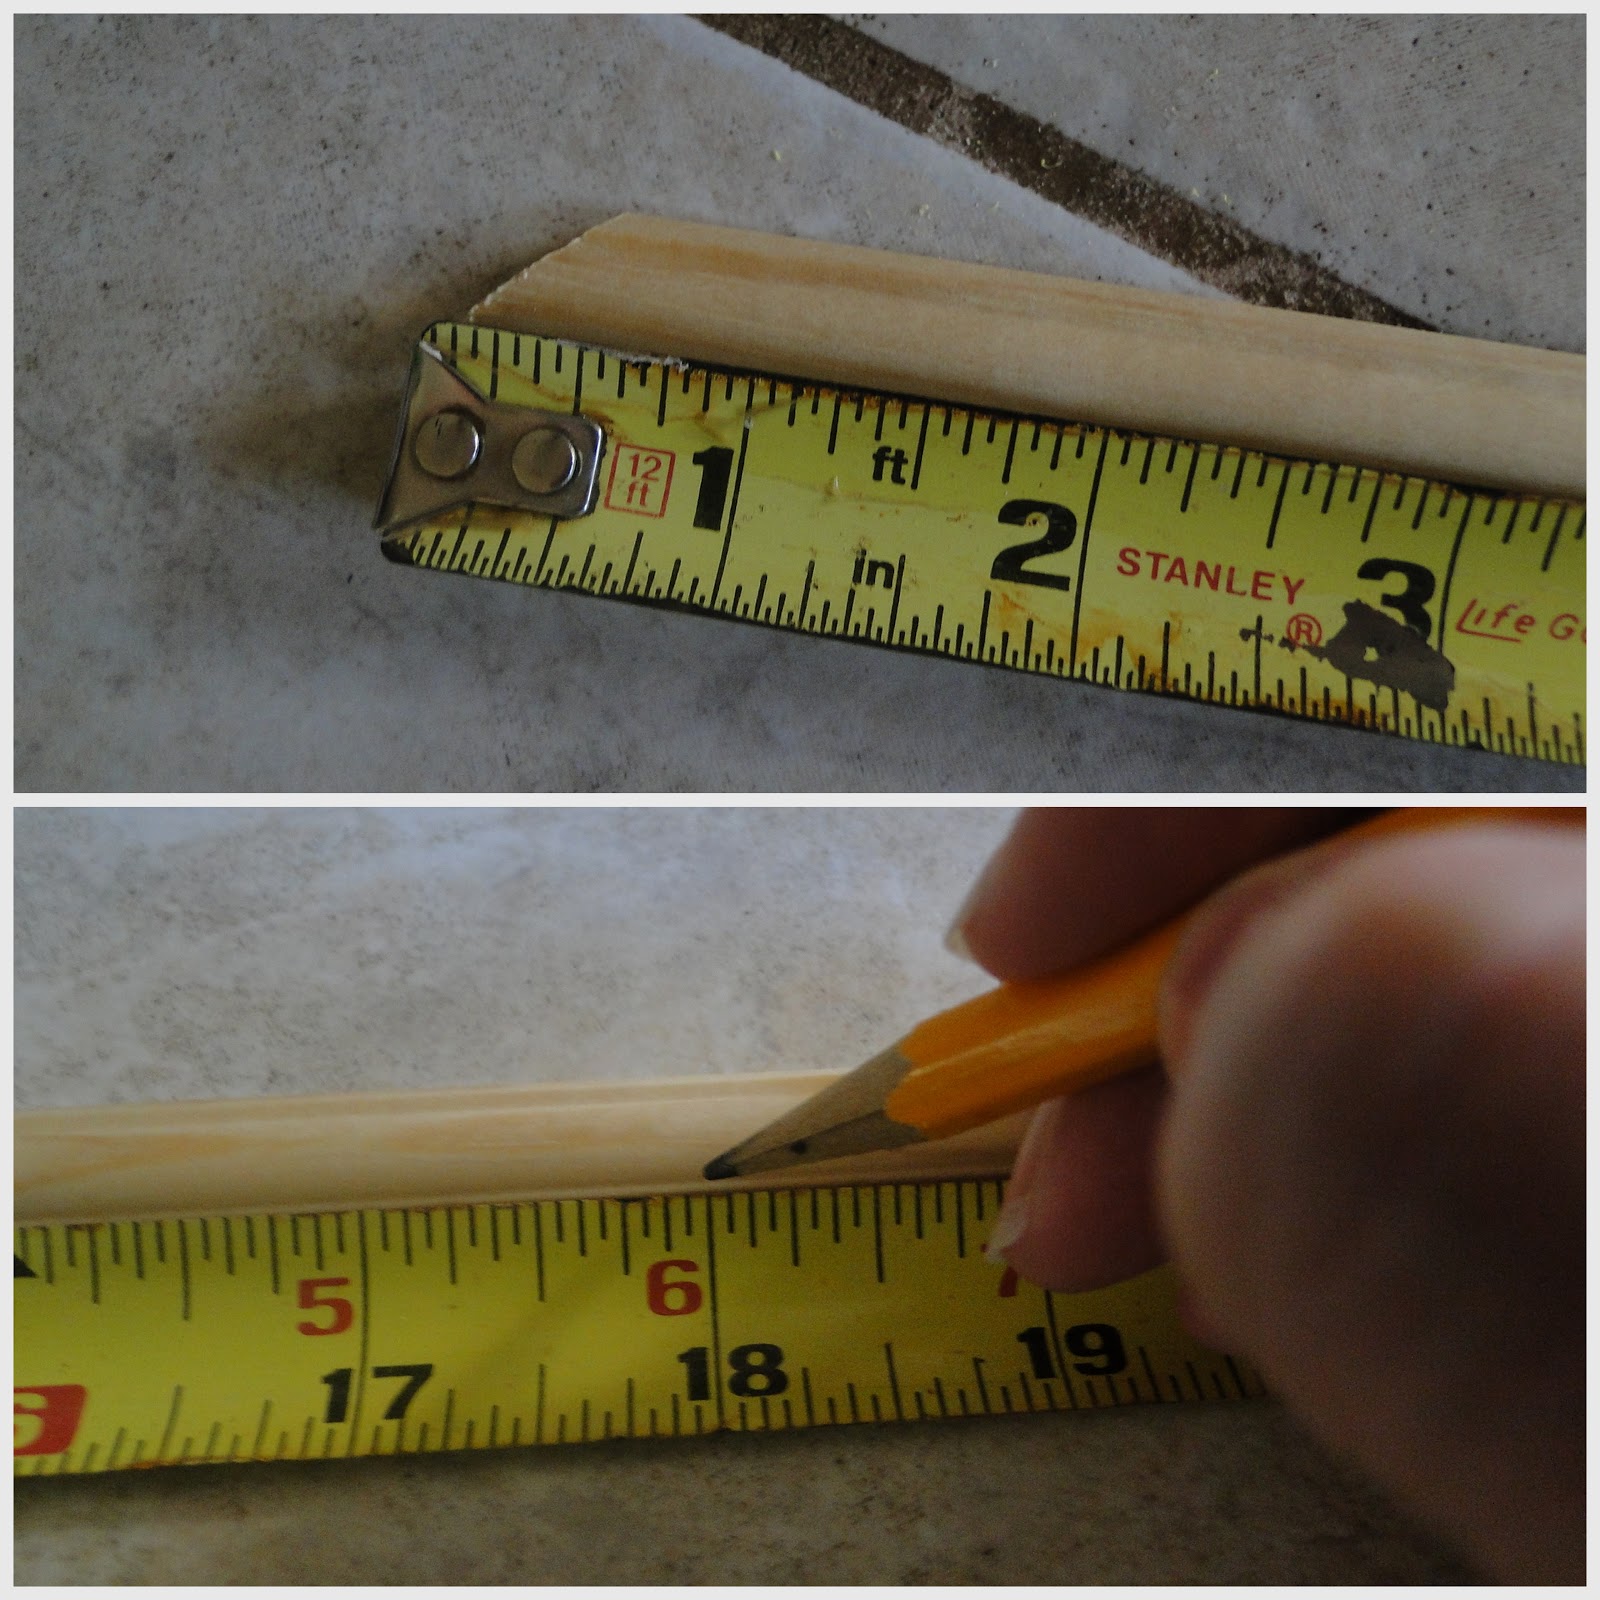
Very important – when you measure – measure from the outside tip of the miter, and mark on the side closest to where you are going to cut. Marking all the way across will just confuse you, trust me.
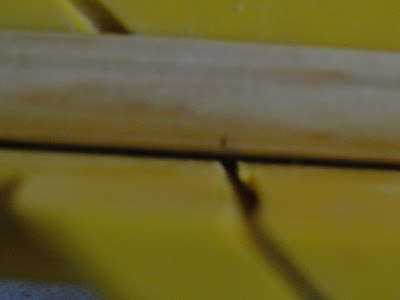
Next place your mark in the middle of the groove on the miter box. You will be using the groove to cut a 45′ angle – the type used in framing.
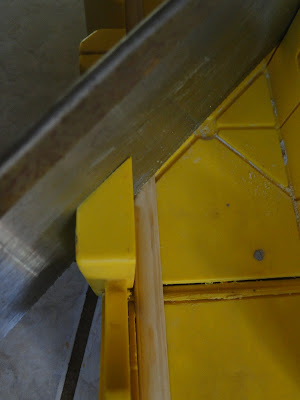
Place the saw in the groove and cut.

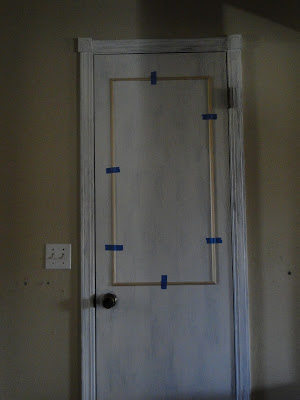
Placing the first piece is the trickiest. I made pencil marks on the door top and bottom and side. I did a complete dry run to make sure I liked it so I simply eyeballed level at this point and tape the piece up with painters tape. Then I cut the next piece. As I said, checking and double checking that I got the angle right. They will all be 45′ but the trick is getting the angle in the right direction.
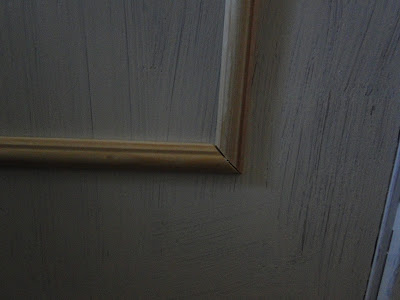
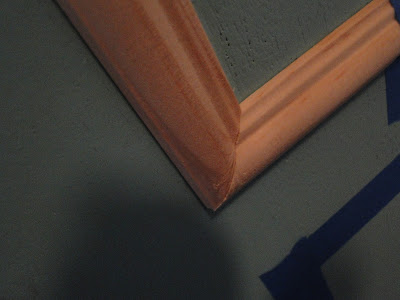
Match up the corners and ta-da!! If you are using the hand miter saw and miter box, your corners will probably not match up perfectly, but they make this wonderful stuff called caulk that covers a magnitude of sins – just make sure you buy the kind you can paint over. (You might notice my little oops in the above picture – if you look closely you can see that I cut one piece, actually several pieces, backward. I didn’t notice of course until I was done, and on this tiny molding it really didn’t matter. Once I painted it you couldn’t tell, but on the bigger molding I used for the front door it did matter. Just something to keep in mind when you are cutting.)
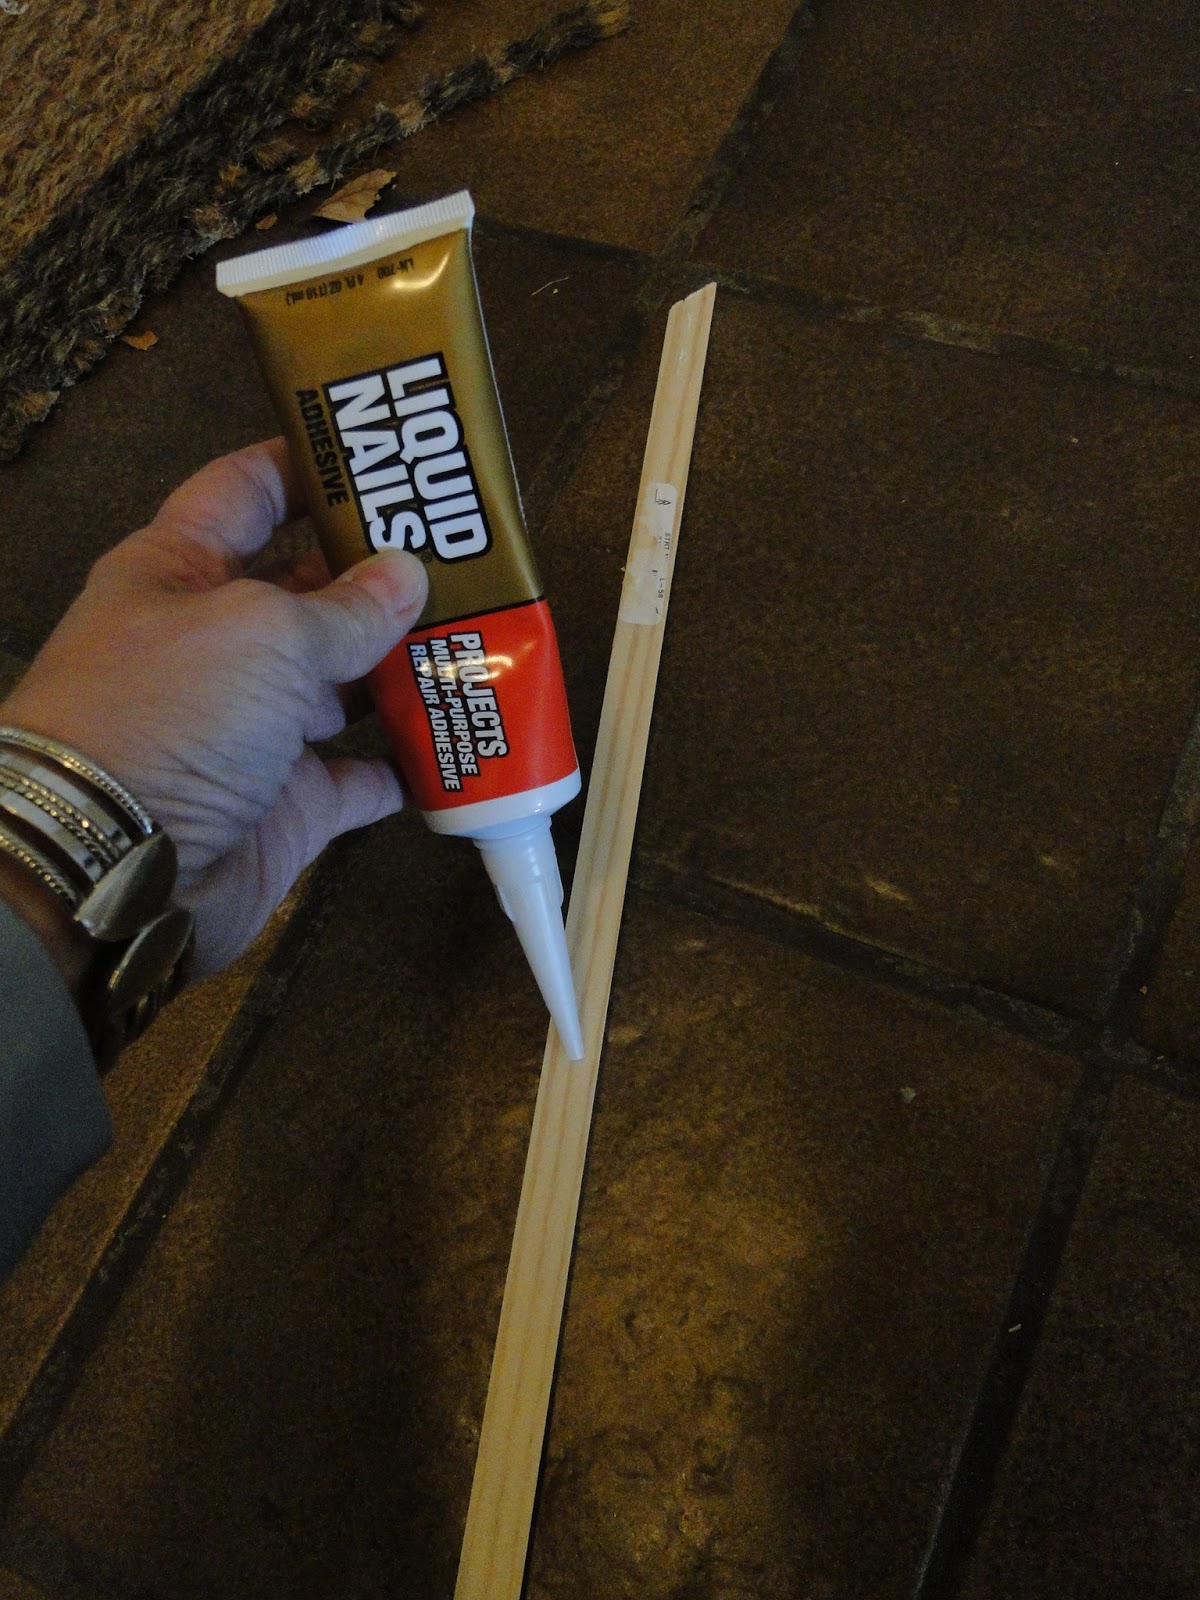
Then, several days later, it was time to glue. I have used liquid nails before on my bead board paneling in our entryway project, so I had some left-over. But, I had no idea how I was going to manage that caulk-gun, and the molding with my two little hands so I found this small tube and it was perfect. (I am not advertising for liquid nails, I just know it works.)
 liquid nails
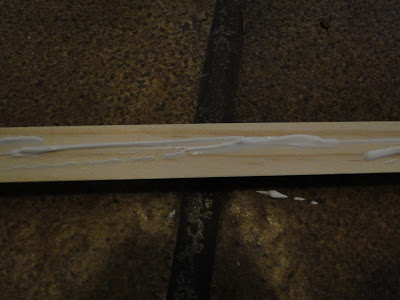
I just ran a bead of glue along the middle of each piece, making sure to get it on the tips.
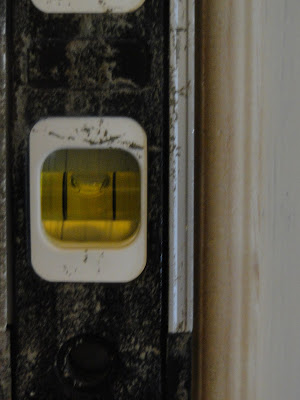
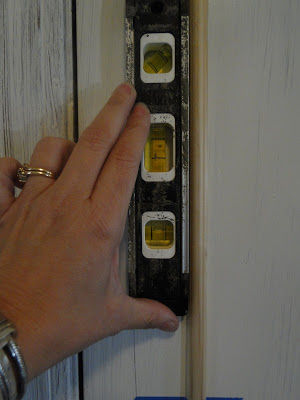
Then, place the piece in position on the door, and use a level to make sure it is straight. Another important tip I didn’t mention earlier, when you buy the molding in the store check each piece to see if it’s straight. Some of those longs pieces get a little wonky from sitting in the store.
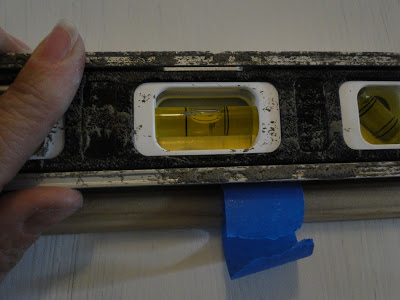 level / painter’s tape
The glue is great because it doesn’t create an instant stick, so you have time to wiggle it around and get it just right.
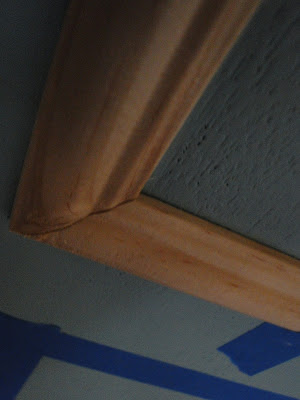
These are pics of the molding I used on the front door. This is twice the size of what is on the other door. I wanted something with more presence. You can see from here what I mean about not making the cuts upside-down. If you don’t get the cut right on this one you would definitely be able to tell.
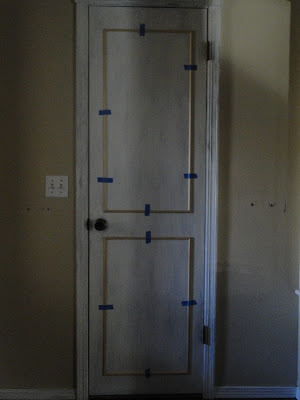
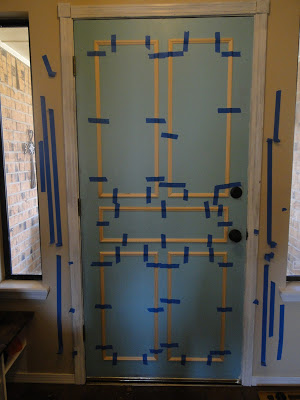
This door was a little trickier in placement since there is a doorknob and a deadbolt to work around and because they are five panels as apposed to two. But, still pretty straight forward. Once I had the design, spacing and measurement figured. The cutting, placing, leveling and gluing seriously only took about an hour.
I will say, after finishing the painting, that next time I will make sure the door is completely painted before adding the molding, and paint the molding before hand as well. This way all I will have to do is touch up. Painting around things or with obstacles is not my favorite thing. I cannot express how much I LOVE the outcome. If you want to see the before and after again you can check that out here.
The total cost for both doors was under $45 for molding, caulk, and glue. I already had the miter saw and box, but you can get one like I showed you for under $10. The front door carrying the brunt of that at $25. Still an amazing transformation for just a little cost, and a little time.
Have those boring flat builder-grade 80’s doors in your house? Don’t buy new doors – try this!! You can do it – and you will be amazed!!


Leave a Reply