Hey friends! I’m back with another inexpensive craft project for you! And, don’t even think about running away because “you’re not creative”, or “you can’t paint”. This is easy and they don’t have to look professional to look cute – trust me, mine are far from perfect!! 😉
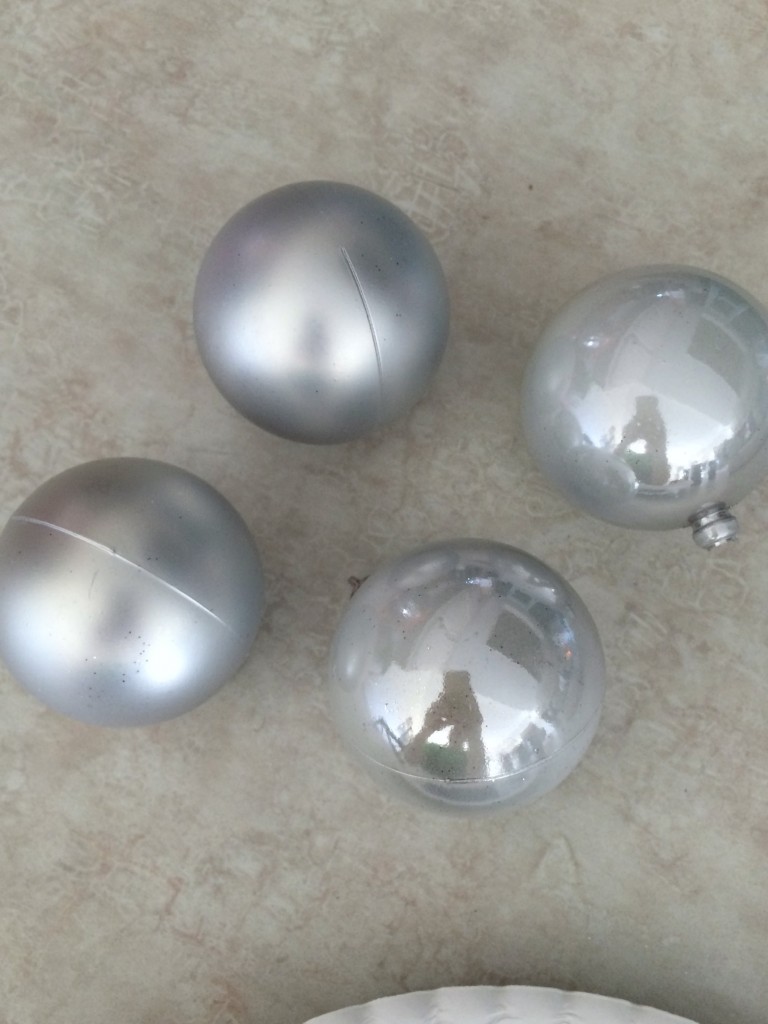
I found a package of silver ornaments at Dollar Tree. Their were matte, shiny, and sparkly ones in the tube. The matte and shiny actually look more gray than silver, which I love!! I used the sparkly ones elsewhere, but decided the others would be fun to jazz up a bit.
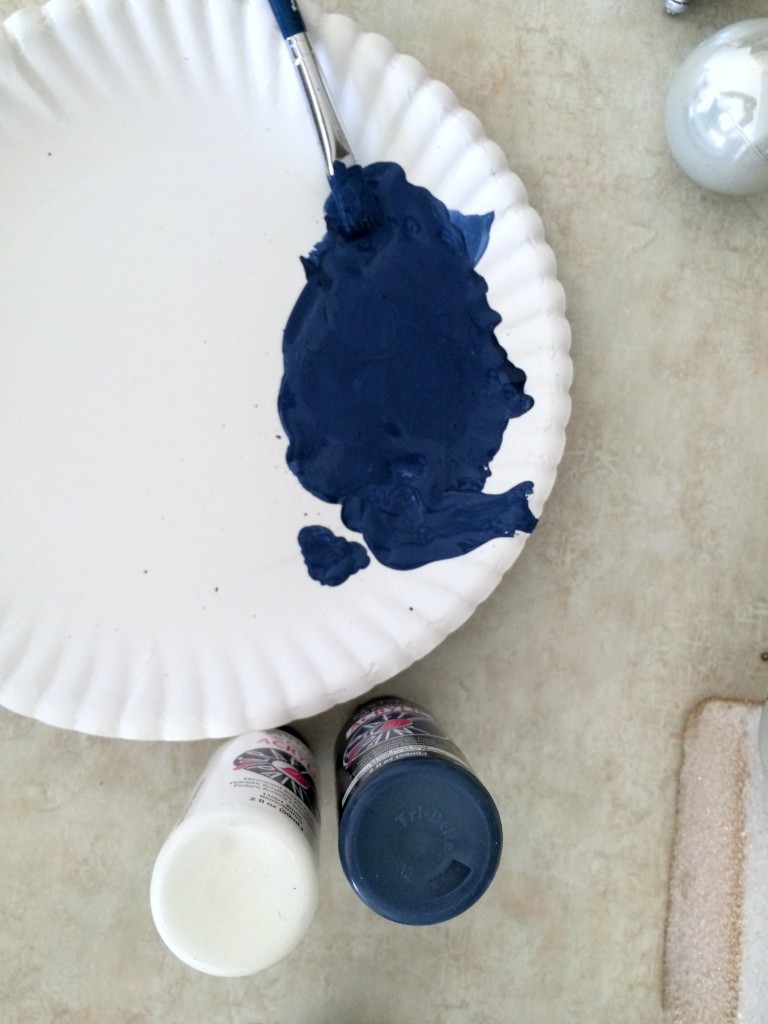
I have never been a fan of blue at Christmas. I’m more of a traditionalist – red and green all day. But, my love for blue (especially navy and turquoise) in our home has grown, and I just can’t leave it out of Christmas anymore. So, I grabbed some navy blue acrylic paint, along with some white and got to work.
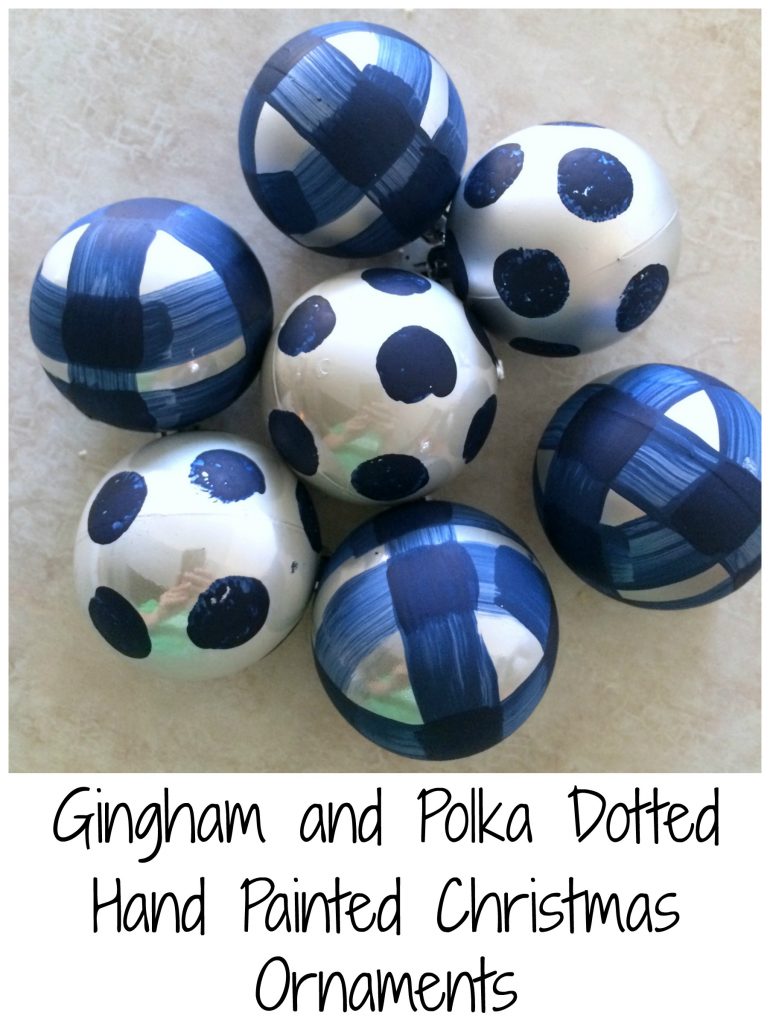
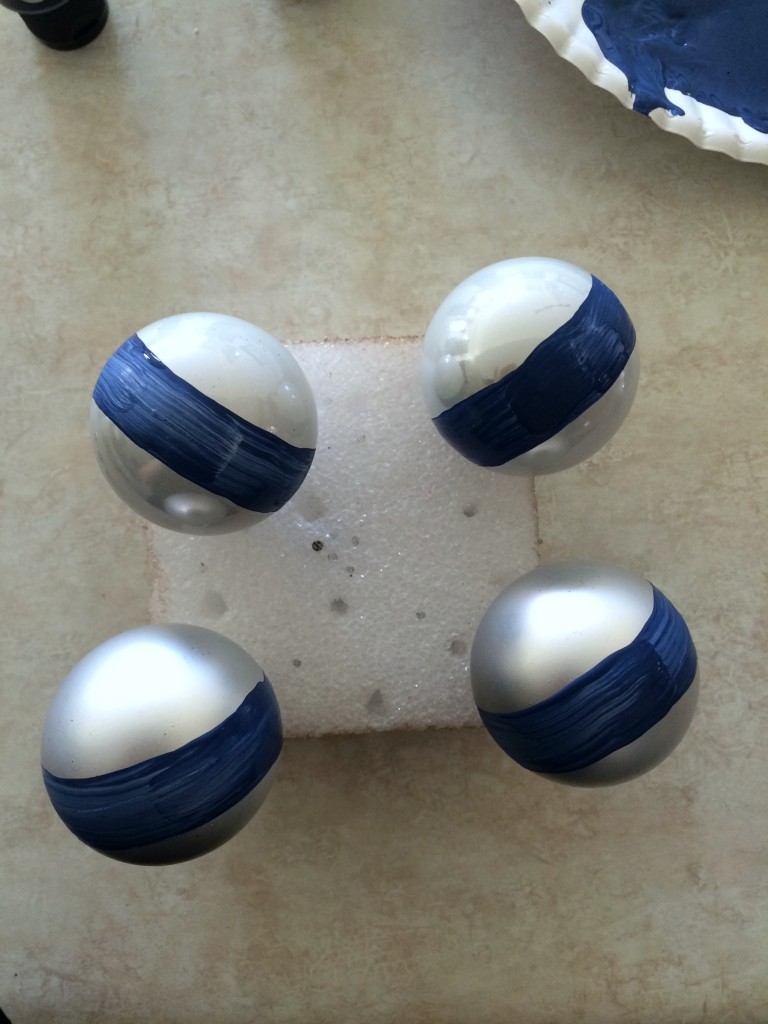
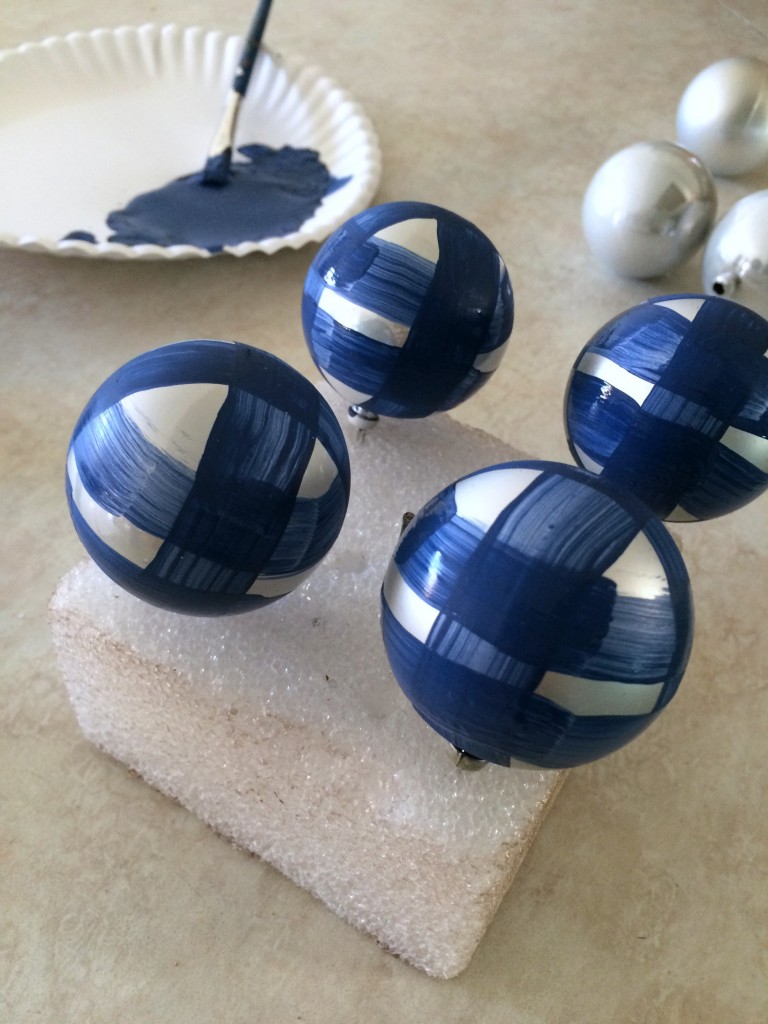
I chose two of my favorite patterns – gingham and polka dots. This tutorial for how to paint a gingham pumpkin was my reference. You start by lightening the dark paint a bit by adding white. I really didn’t add much to mine, and maybe could have gone a little lighter in tone, but I like the end result anyway. Start by painting stripes around the ball in one direction.
I started by following the ‘seam’ on the ornament which helped keep that first stripe somewhat straight. I just painted the stripe the width of my paint brush.
Once you’ve got all the stripes done going in one direction, it’s time to follow up with stripes going across the first stripes. These were a little tricky on this small ball, but doable. (remember perfection is not necessary)
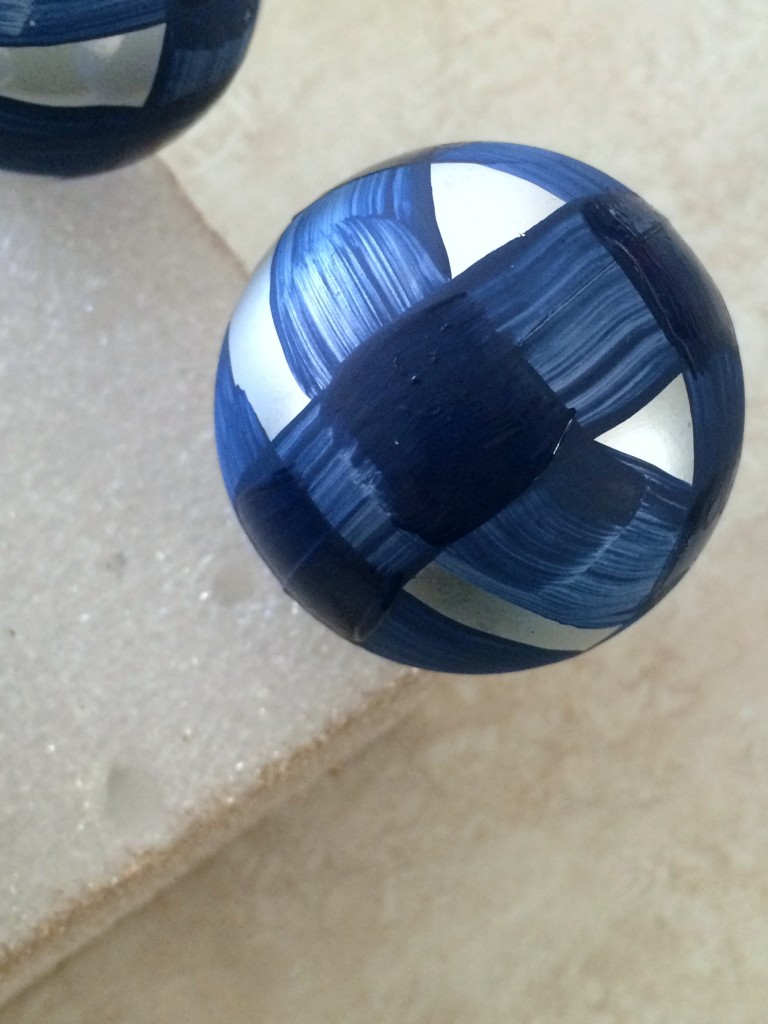
The last step is to darken the ‘squares’ where the two stripes meet. I did this using the navy paint full-strength. And there you have it – gingham ornaments!
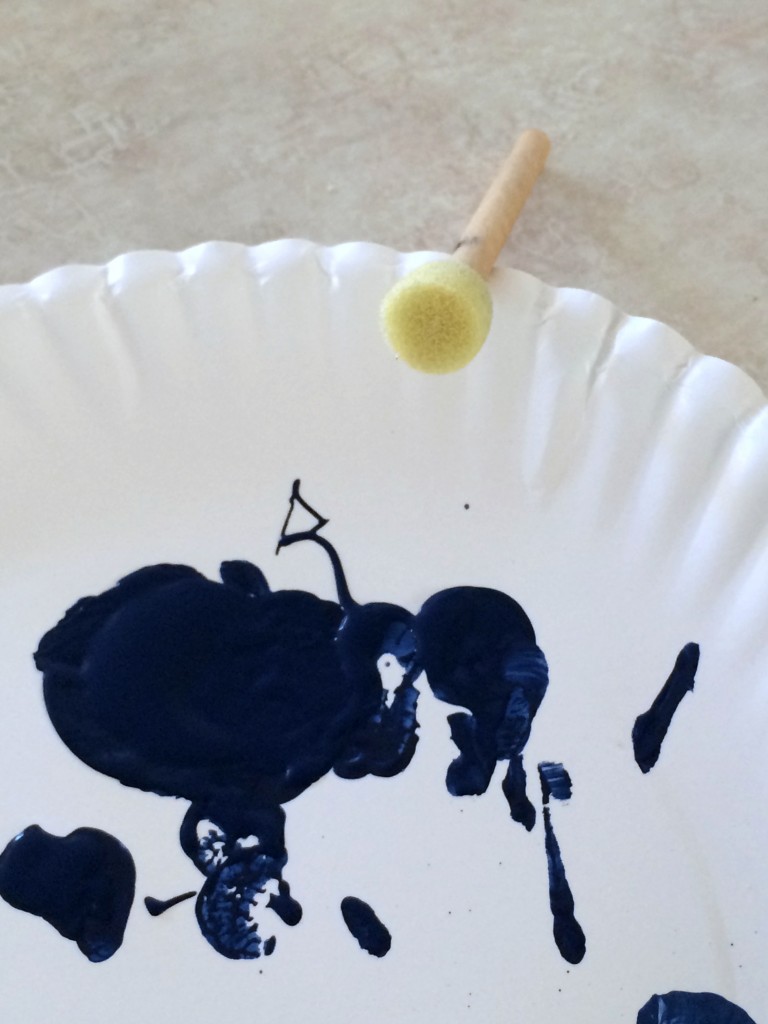
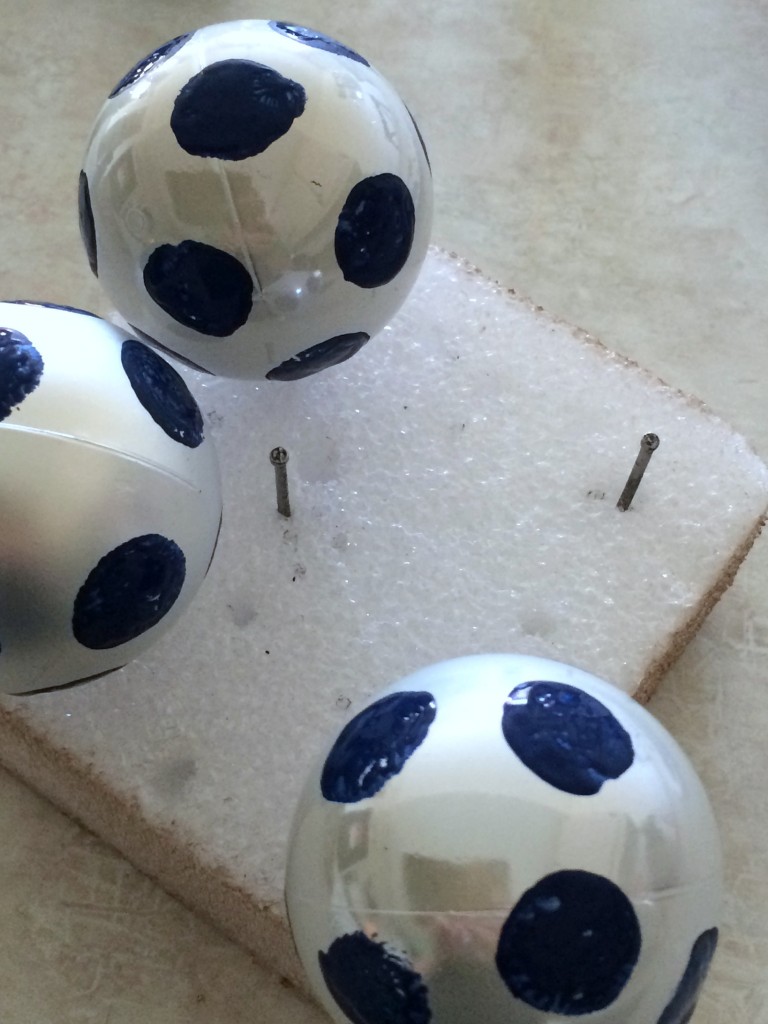
The polka dotted ones are VERY easy. I used this sponge ‘brush’ that’s in the shape of a dot. If you wanted smaller dots, you could use an eraser on a pencil or a q-tip.
Then, go crazy! Make dots all around the ball, spacing and placing them randomly. Done! Polka dotted cuteness!! You can see in this picture how I was drying the balls. I simply stuck some nails down in a piece of Styrofoam. I removed the tops from the ornaments before I started painting so I could just slip them over the top of the nail to dry.
You’ll see these scattered about my home in our Christmas home tour next week!! 😀
Hope you were inspired to get out your paint brushes and have some fun!! Have a great weekend and I’ll see you next week!
Linking up with The Creative Circle / The Inspiration Gallery / Inspire Me Monday / Tutorials & Tips Link Party / Totally Terrific Tuesday / Wow Us Wednesdays / Work It Wednesday


So cute – love these patterns!
Thanks Katherine!!