• ALL ABOUT ME
  • OUR HOME
  • ABOUT FAITH
  • CONTACT ME
  • DISCLOSURES
  • Nav Social Menu

    • Bloglovin
    • Facebook
    • Instagram
    • Pinterest
    • Twitter

  • DIY
  • Family
  • Home Decor
  • Encouragement
  • Organizing
  • Shop My Favorites

March 3, 2014 · 3 Comments

Updated Kitchen Backsplash

DIY

I’m back today to share with you that the back splash is done!!  I’m so happy to be able to cross another big project off the list.  I took LOTS of pictures, but I don’t want this post to be too long so we are just going to stick with the smaller area around my cook top for the how-to.
 
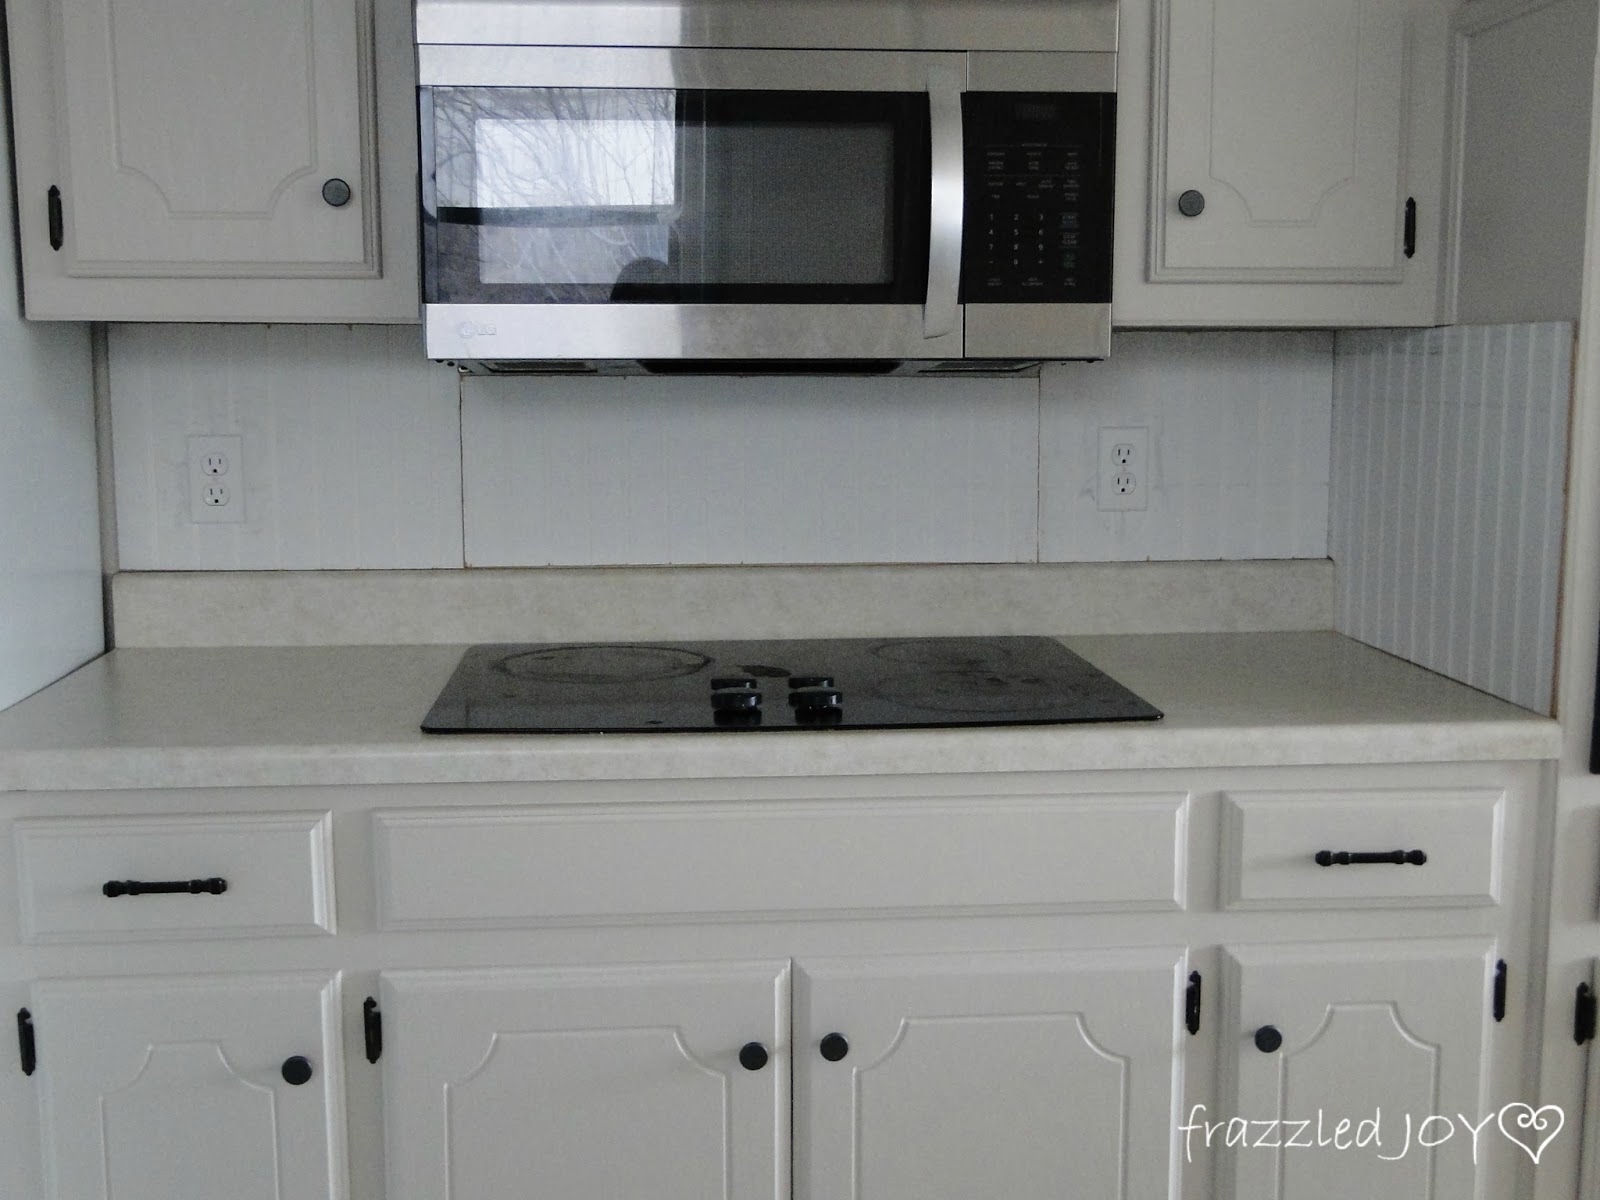
If you remember I shared with you a while back what it looked like after we got the beadboard in place.
beadboard backsplash
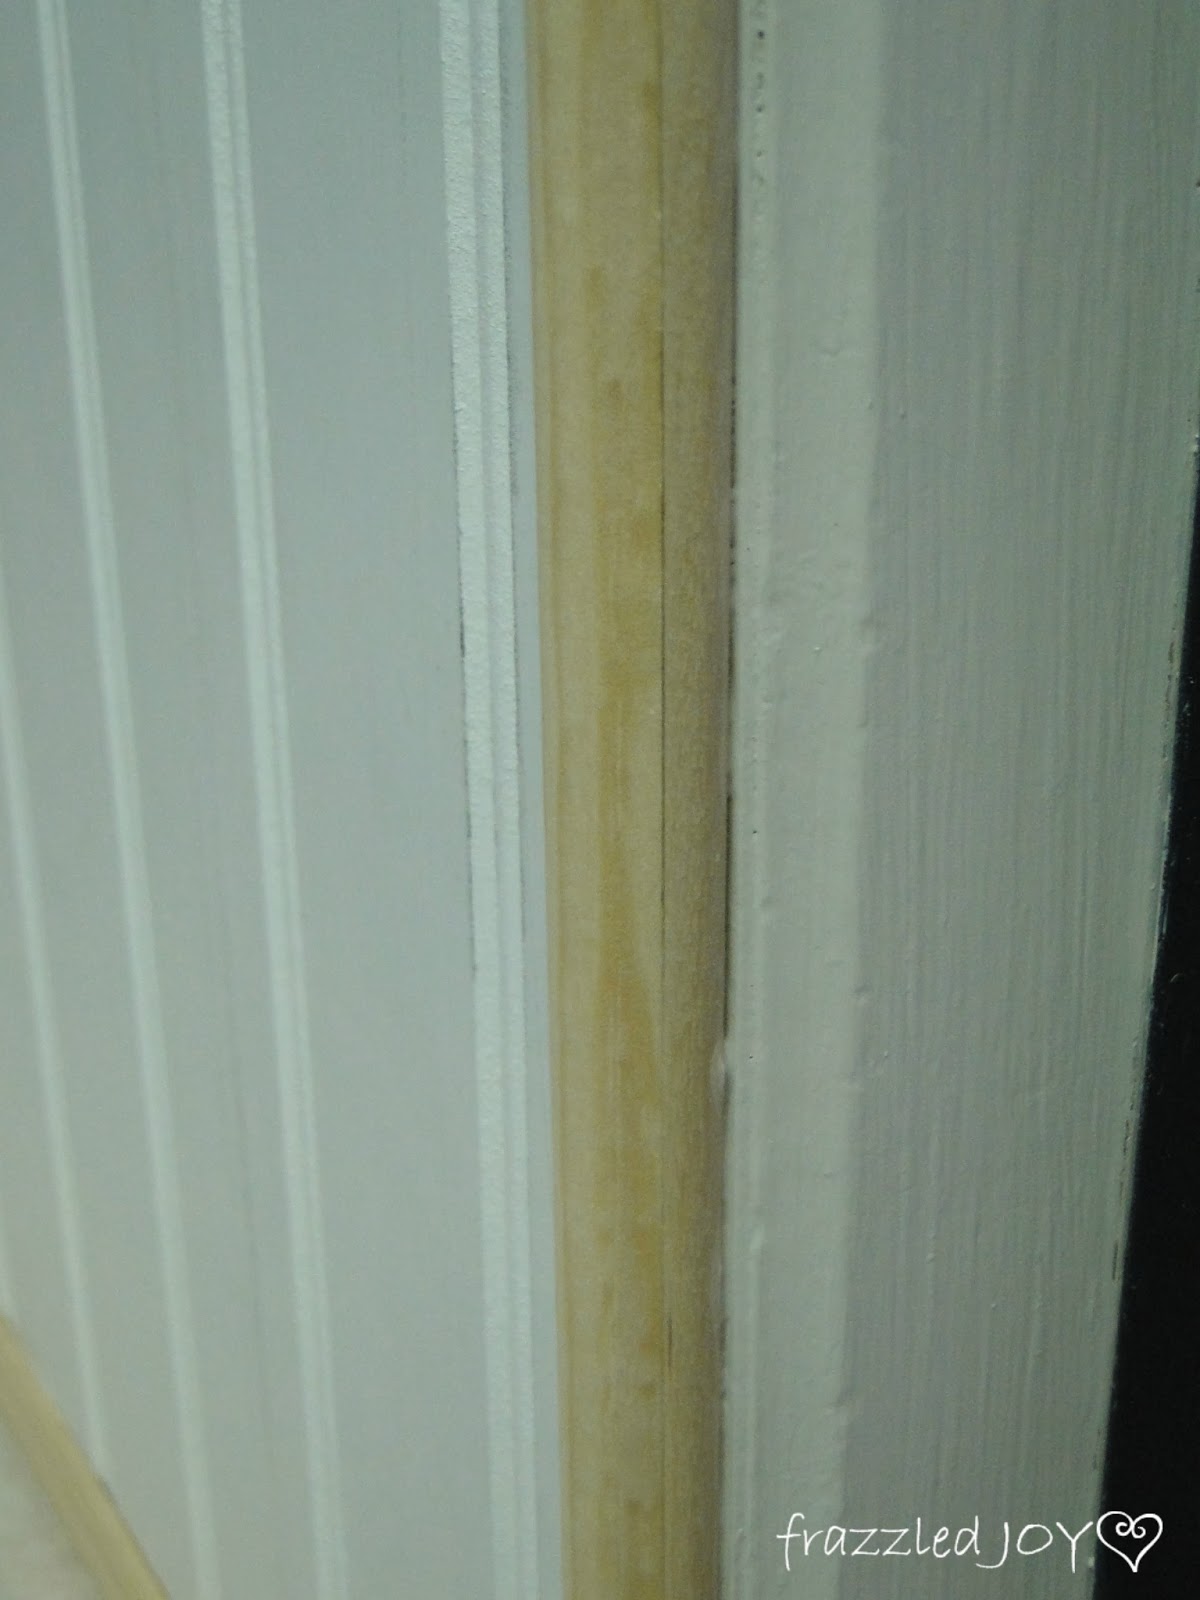
No where near complete at this stage – lots of imperfections to hide.  I did some perusing of the trim isles at Home Depot and picked some very simple trim.  The edges needed something to fill the gap created by adding the beadboard.  So, I took Sarah’s advice and got some dowel rods from Hobby Lobby.  This worked great!!
 
trim for beadboard backsplash
From the side you can hardly see how it’s done.
 
trimming out beadboard
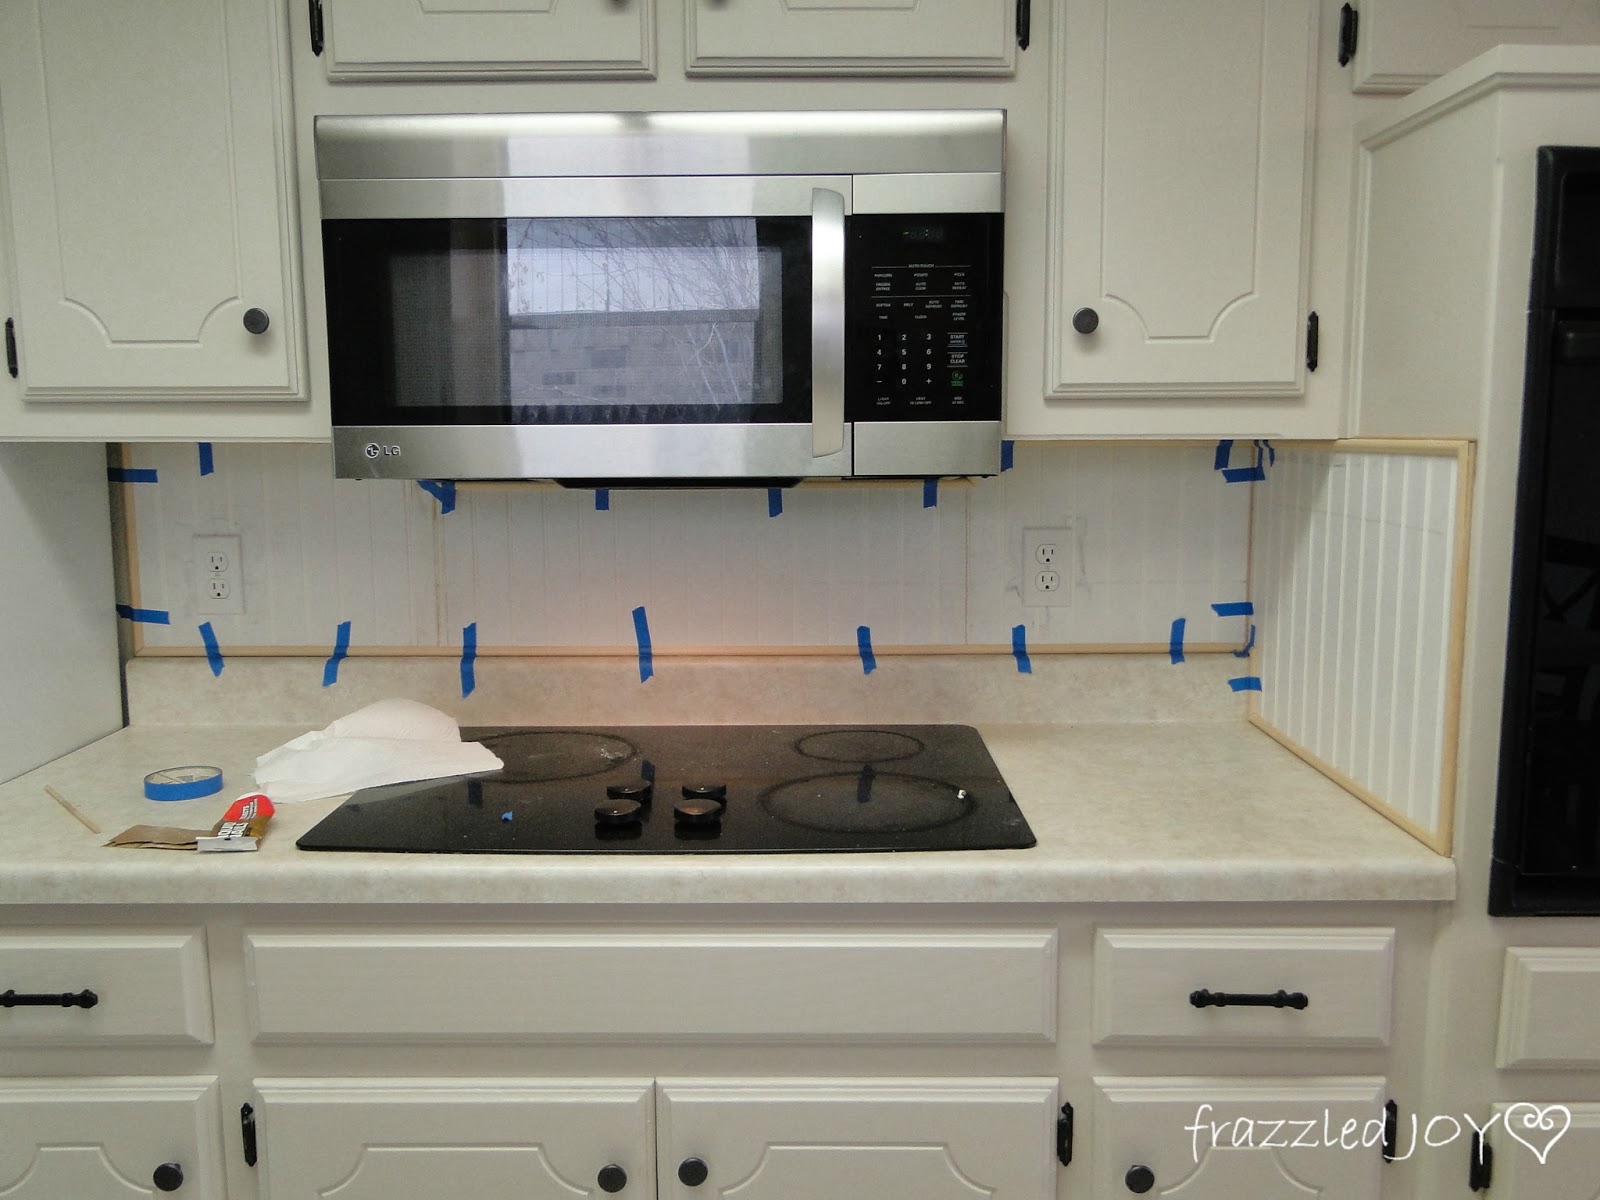
I simply used the same tube of liquid nails glue to attach the pieces that I used in when attaching the trim to my doors.  Painter’s tape comes in handy for these applications to hold the pieces in place while the glue dries.  Even though the trim is very light-weight, sometimes things get bumped out of place, especially in tight quarters like these.  
 
how to trim out beadboard backsplash
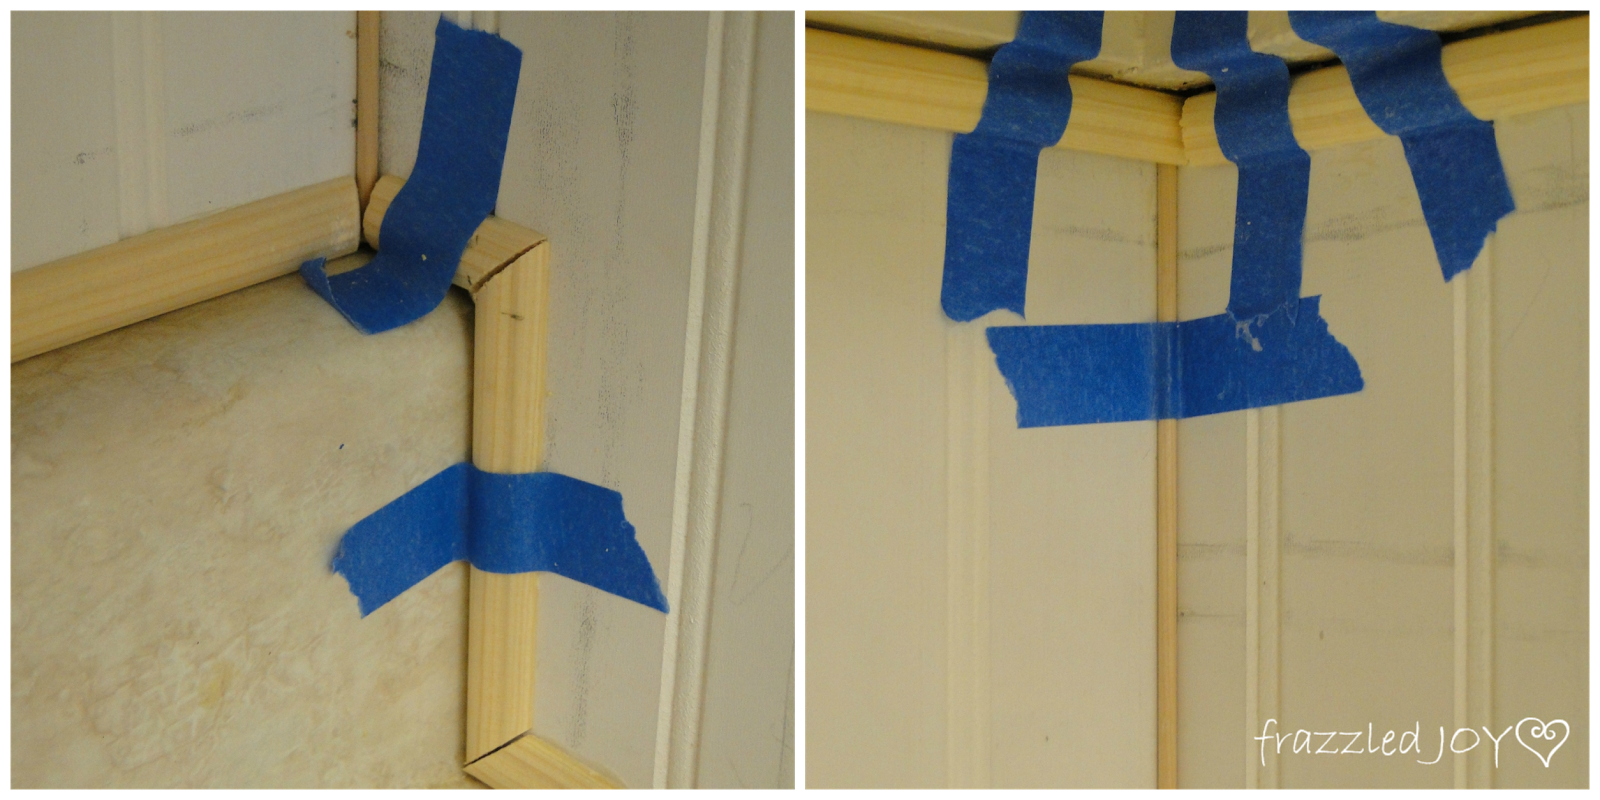
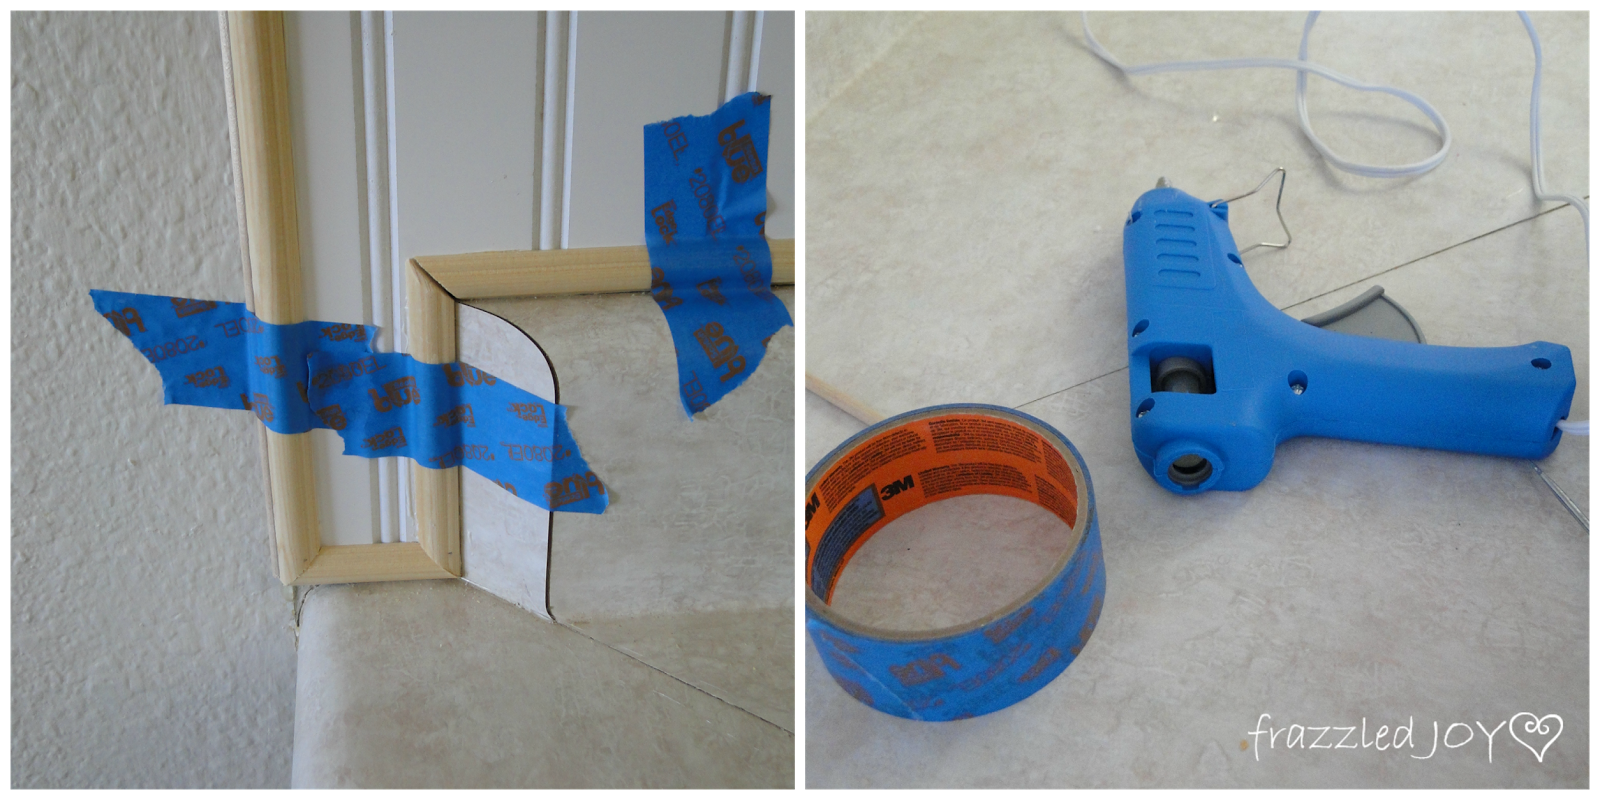
These trim pieces come in 8′ links, and even though I tried my best to get the straightest pieces I could find, some were still mysteriously wonky.  So…I pulled out my hot glue gun to help stick things down in places where the tape wouldn’t hold them down. Whatever works people!
 
tools for adding trim
By the way – that corner right there about did. me. in.  I re-cut more than one piece trying to get the size and angle right!!
 
You can check out my door update project here for more info on how to measure and cut trim like this.
 
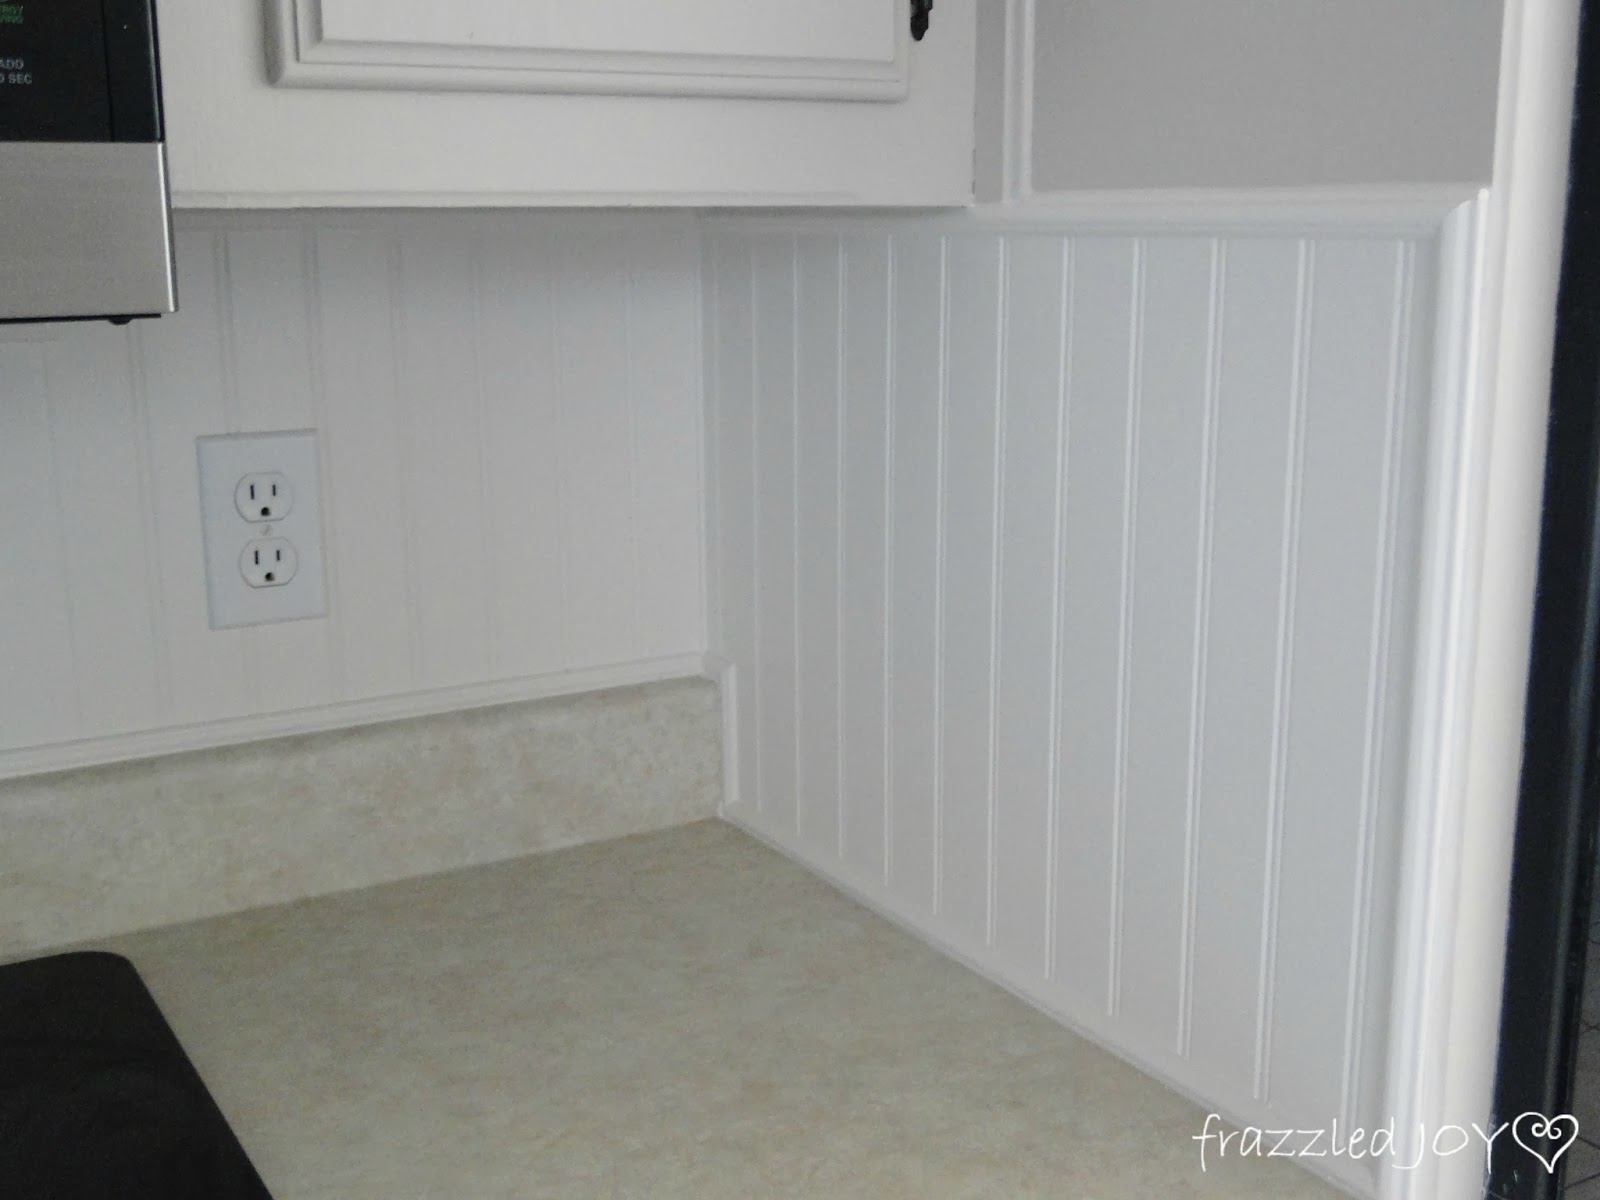
Next, caulk.  Trim is your friend because it covers imperfections.  But, caulk is an even better friend because it makes everything look like one piece.  
 
caulking trim
trim caulked
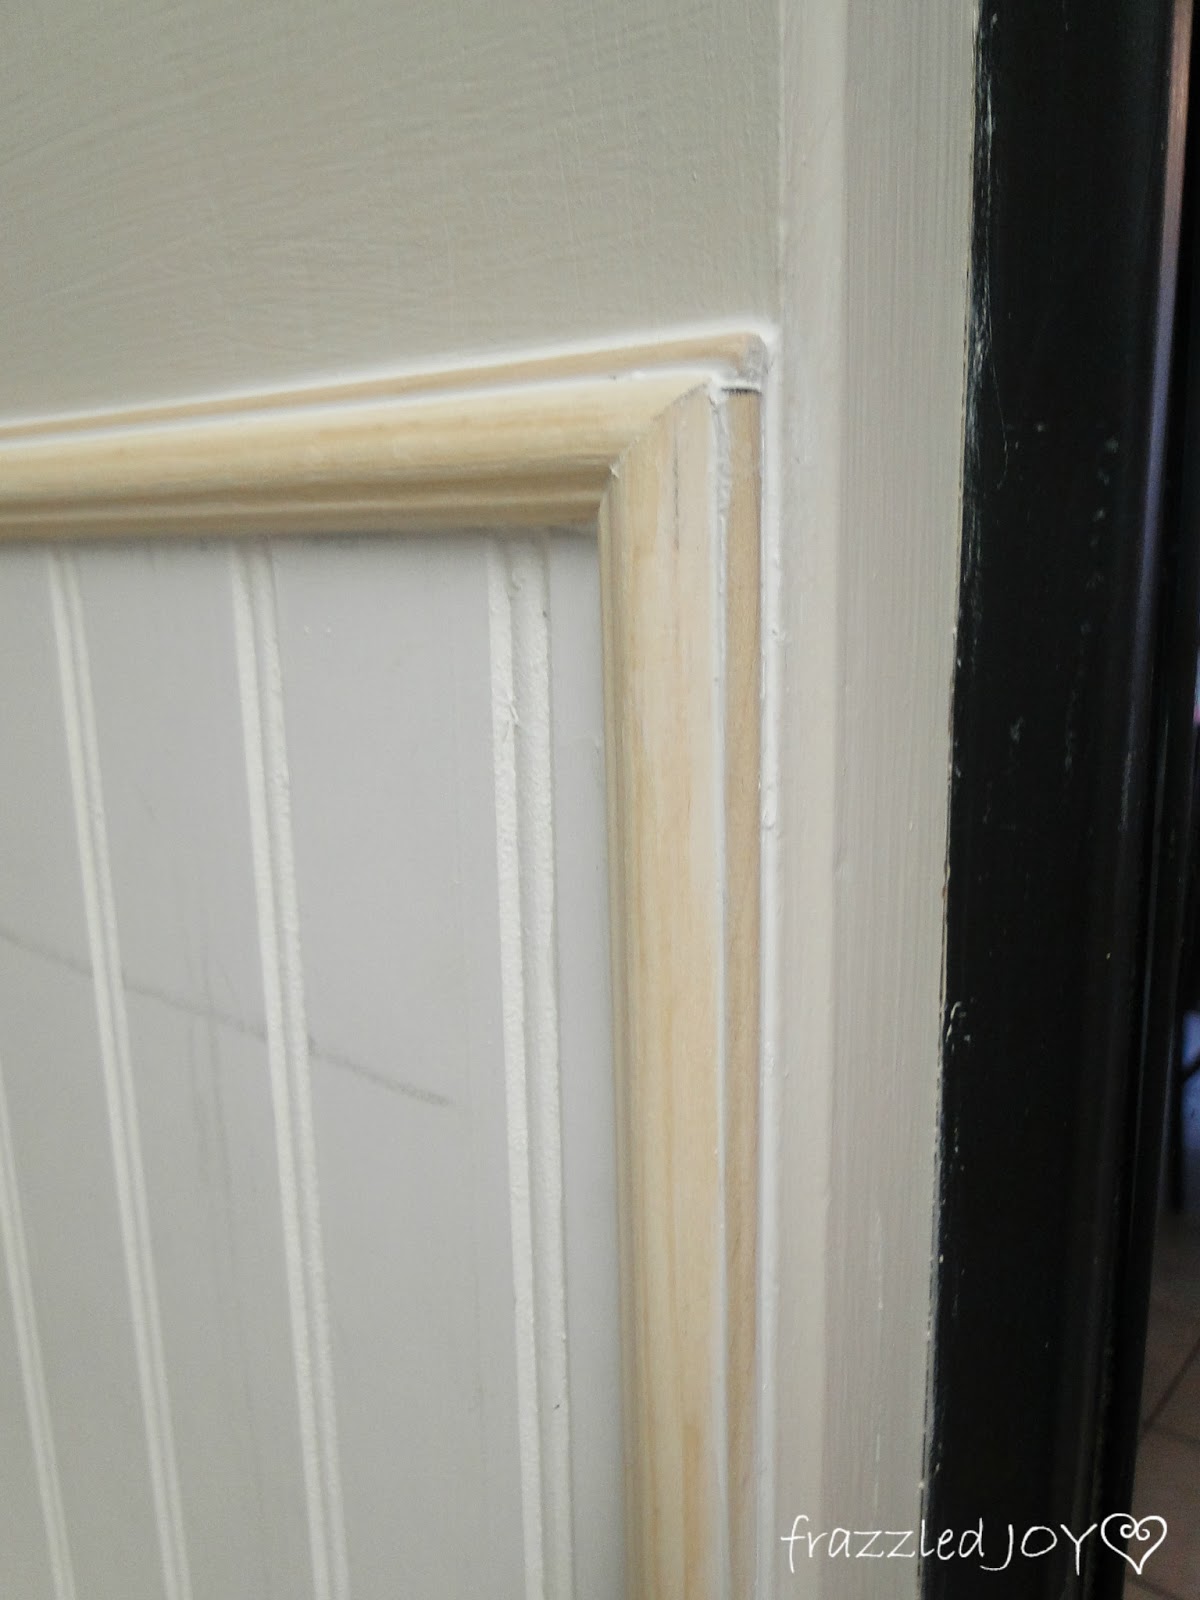
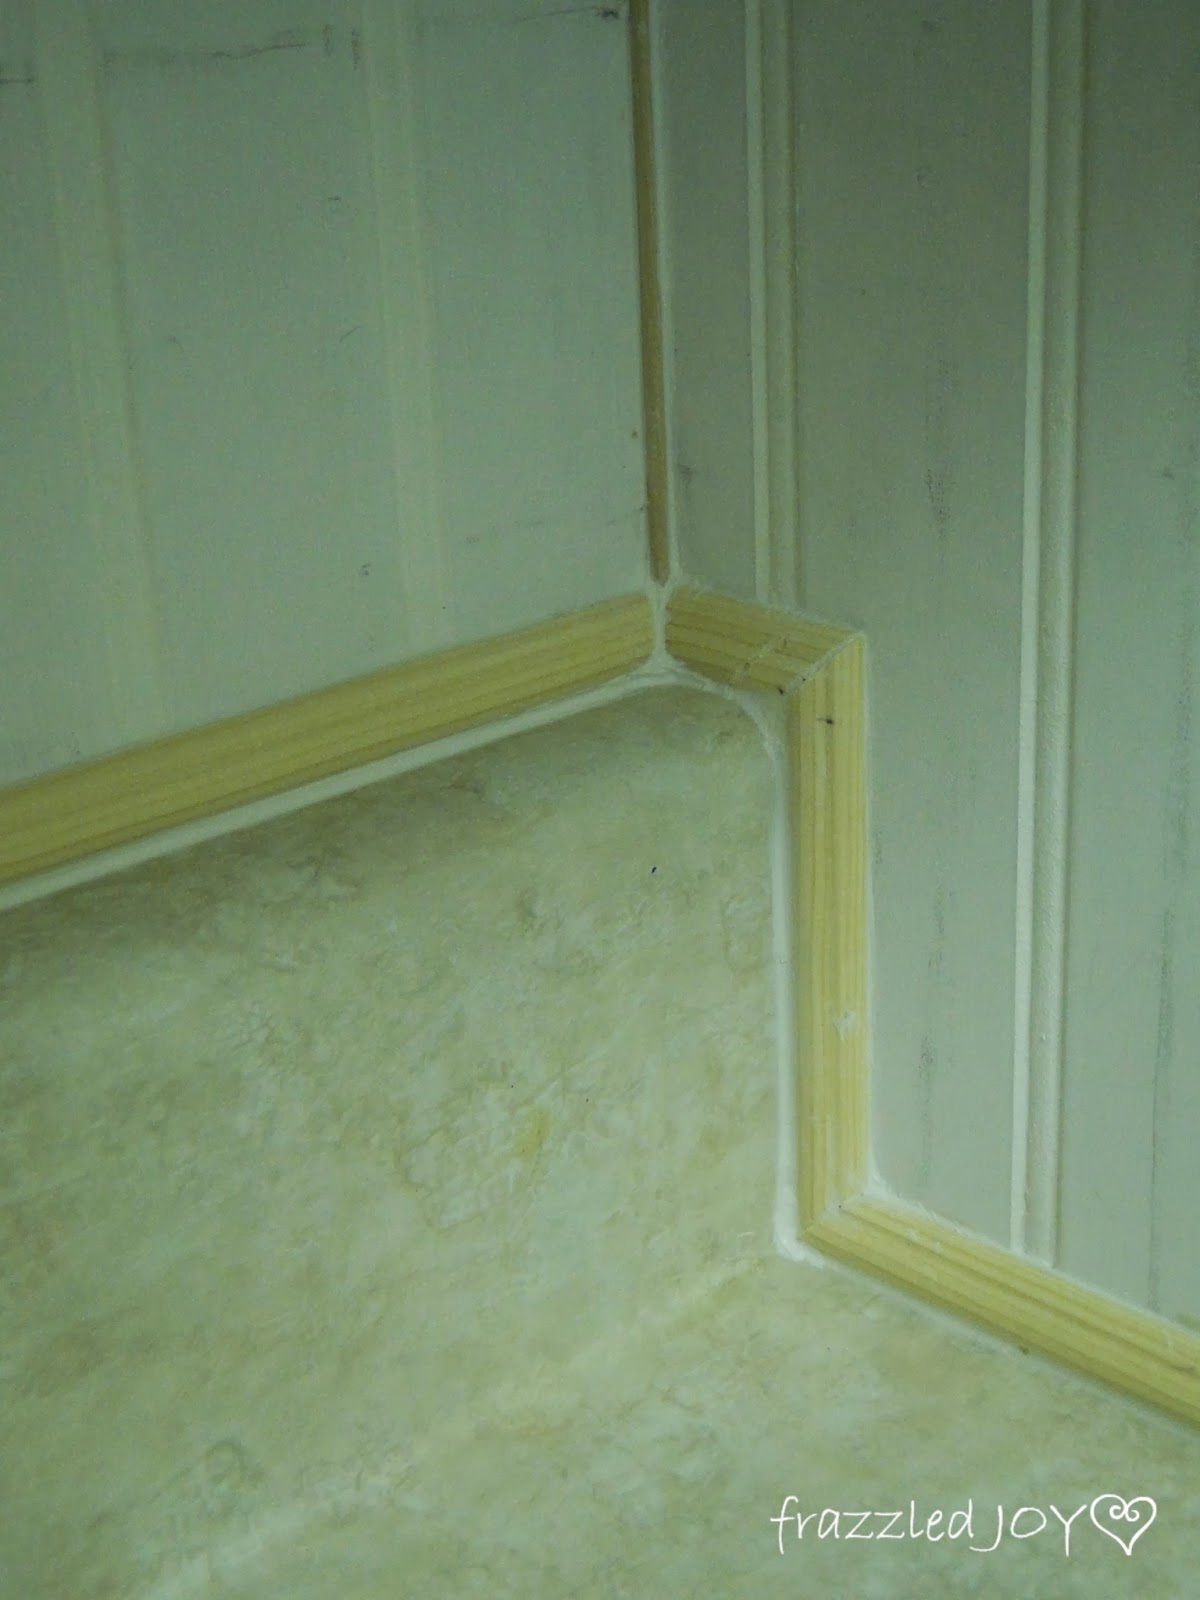
You can see in the photo above, I used a smaller dowel rod in the corners because I really didn’t want a big bulky trim there.  I like the way it turned out.
 
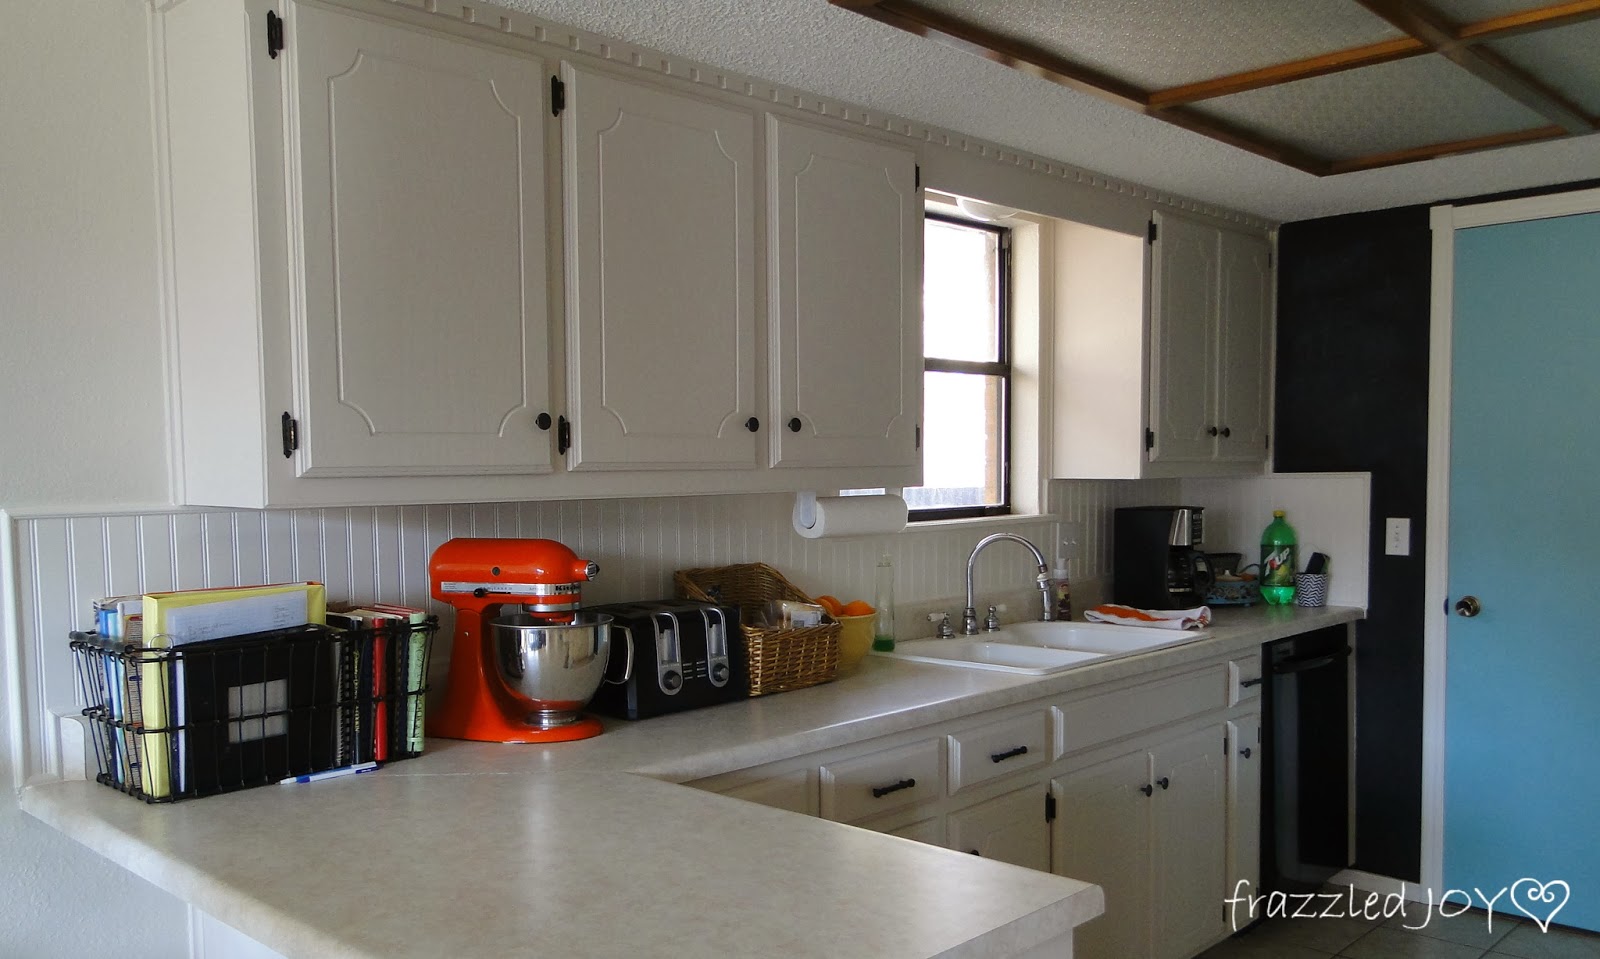
Then everything got a coat of paint.  I used the antique white semi-gloss that I used on the trim in the kitchen.  
 
beadboard backsplash
updated kitchen backsplash
 
Here are some before, during, after pics for reference.
 
painted kitchen cabinets
covering laminate backsplash with beadboard
beadboard backsplash
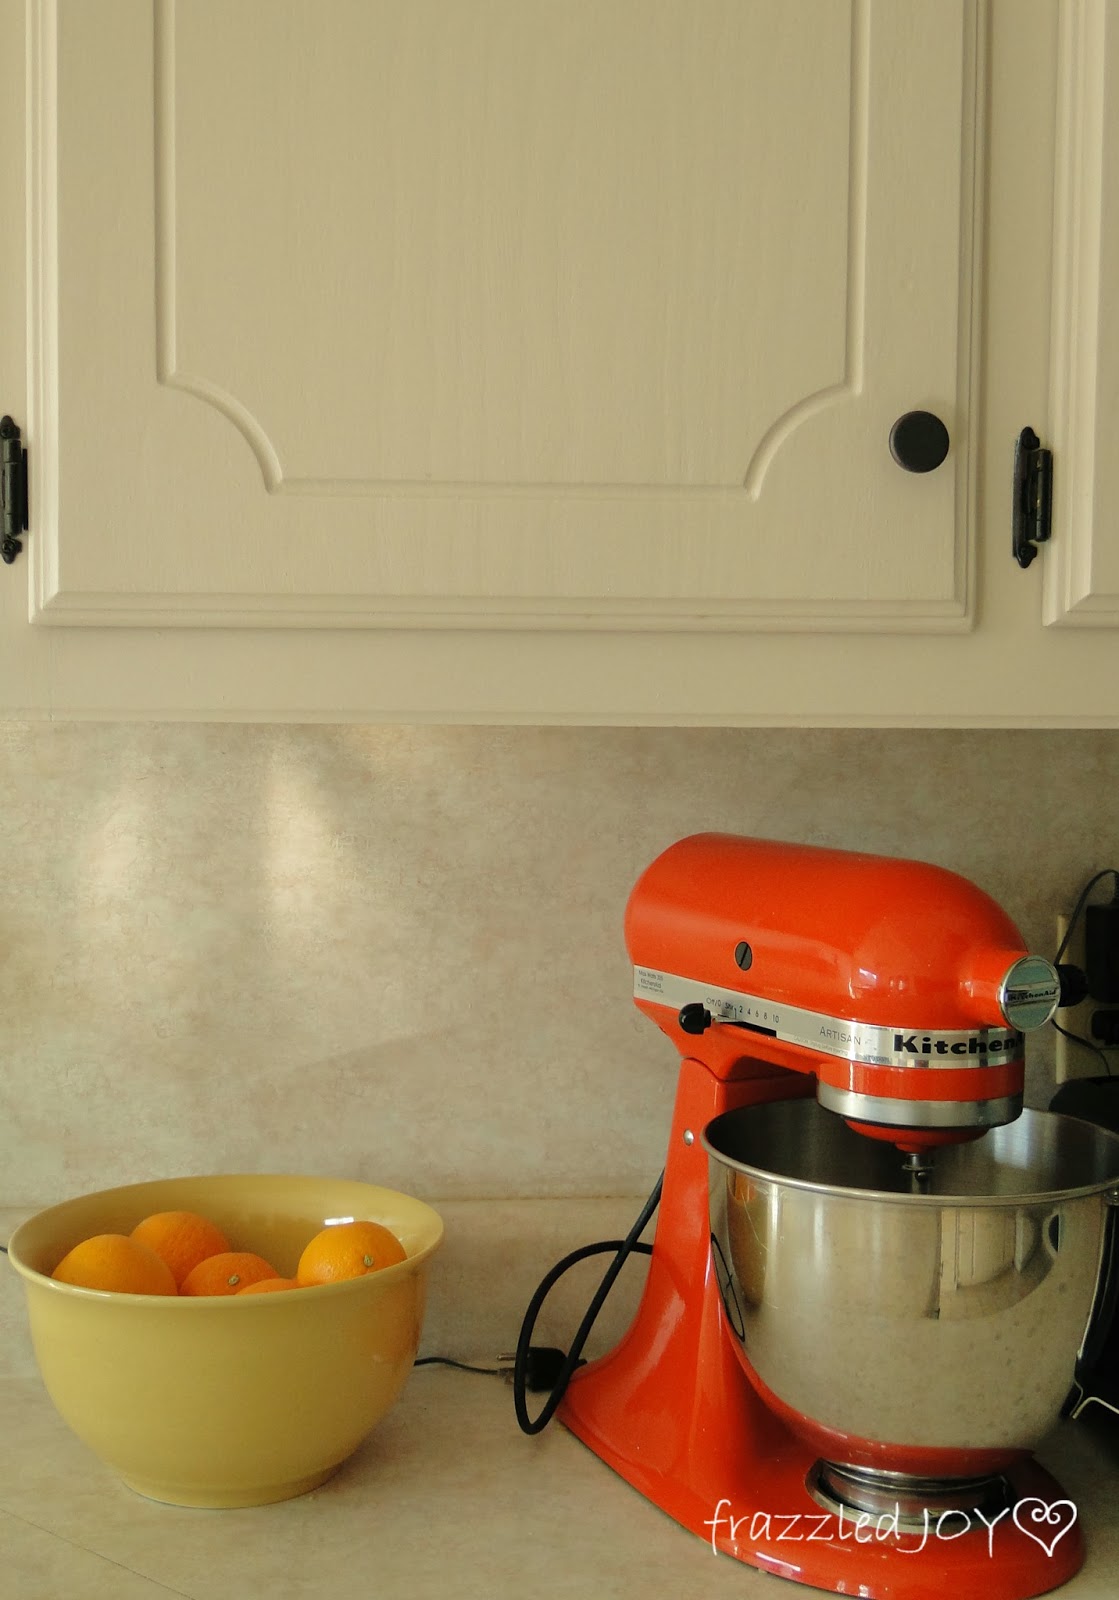
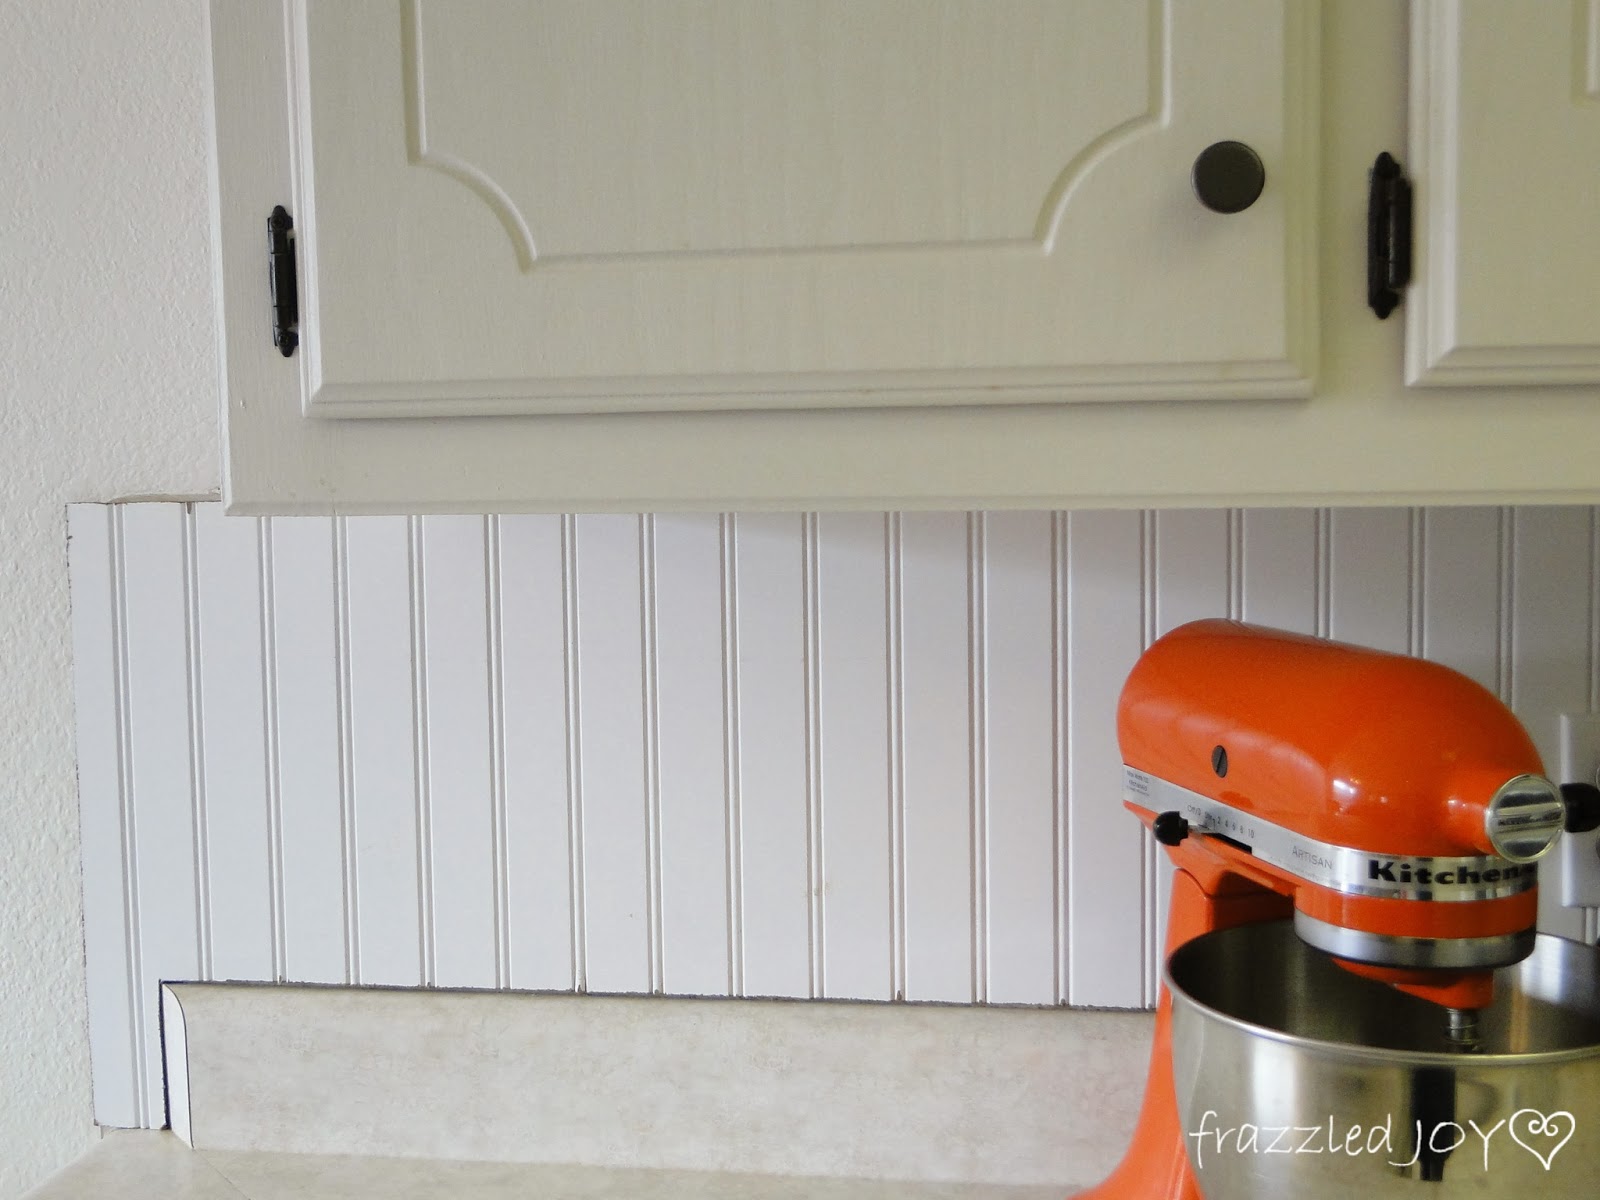
{I love my orange kitchen-aid mixer :)}
 
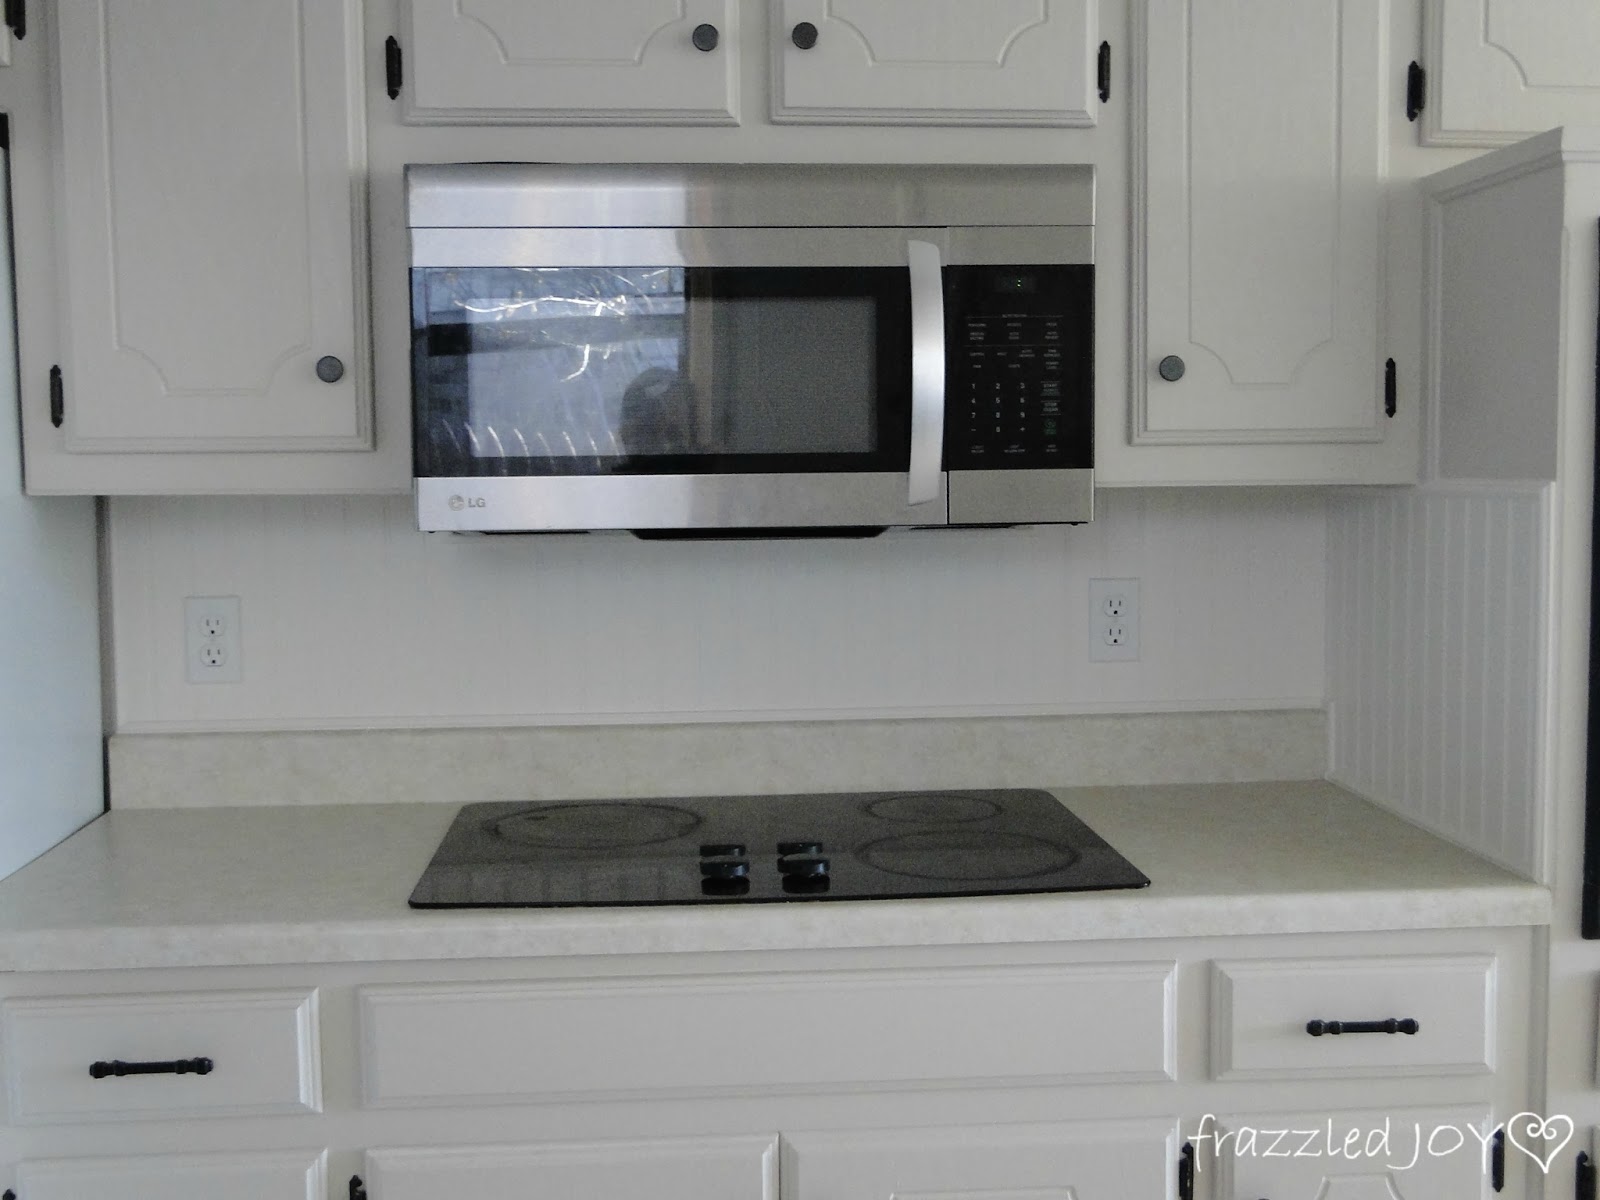
And here are the before, during, and after pics of the cook top area.
 
beadboard over laminate backsplash
how to add trim to beadboard backsplash
updated beadboard backsplash
One more pic.
 
updated kitchen
This project ended up costing me around $75. Since I used paint, glue, and leftover beadboard, I saved some money there, but I do believe it would have still been under $100 if I would have had to buy everything.  Not bad!! It’s just the look I was going for.  Step-by-step, we are getting there!!

 photo Blessingssignature_zps514a1303.png

 photo Namesignature_zpsd15d2f6d.png

Linking up with March Before and After Party / Tuesday’s Treasures / Tutorials & Tips Link Party / Take-A-Look Tuesday / One Project at a Time / Show Me What Ya Got / Hit Me With Your Best Shot / Create It Thursday / All Things Thursday Blog Hop / Work It Wednesday / Thrifty Thursday / Friday’s Unfolded / The Creative Connection Link Party / Frugal Friday / Creativity Unleashed / Link Party Palooza / Share Your Creativity / That DIY Party / Frugal Crafty Home Blog Hop
Previous Post: « Keeping Up With The Schedules {Family Friday}
Next Post: One More Tweak »

Reader Interactions

Comments

  1. Jennifer @ Dimples and Tangles says

    March 3, 2014 at 6:49 pm

    It looks so good, Denise! The before and after difference is amazing. Yes, that hard work on the trim and caulk definitely is worth it in the end!

    Reply
  2. Lisa @ Shine Your Light says

    March 3, 2014 at 11:48 pm

    Thank you so much for posting your how-to, Denise! I am going to install bead board in my mom's bathroom after I get through tile removal, and your tips will be so helpful! Love the dowel idea! The finished product looks so great in your kitchen!!

    Reply
  3. Sarah E @ theteacherswife.com says

    March 7, 2014 at 10:37 pm

    It looks fantastic! We added a beadboard backsplash at our old house, but haven't decided whether to replicate it here in our "new" house. I LOVE the look of beadboard! 🙂

    Reply

Leave a Reply Cancel reply

Your email address will not be published. Required fields are marked *

Recipe Rating


This site uses Akismet to reduce spam. Learn how your comment data is processed.

Primary Sidebar

Welcome

Hey friend!! I'm so glad you stopped by today!! I am married to the love of my life and I have been blessed with four amazing kids. My life is kinda crazy some days and I feel frazzled often. But, Jesus brings me JOY each and everyday in the little things. I love everything home decor, DIY, and crafts!!
Read More…

Categories

Archives

Copyright

I share to inspire!! Please feel free to use and share my ideas!! I simply ask that you give credit back to my site and add a link back to my blog if you reference one of my projects, or photos. Thank you so much!!

Recent Posts

  • Empty Nesting, My Thoughts
  • Kitchen Cabinet Facelift
  • Just Popping In To Say “HI”
  • Knock, Knock….Anyone There?
  • Easter Tablescape 2022
  • CONTACT ME
  • DISCLOSURES

Footer

Hubby and I took a little trip to Colorado Springs Hubby and I took a little trip to Colorado Springs and had the best time! ❤️ We took off as the sun was rising in OKC and landed in the mountains! 🥰 It was so good to get away together! We hit all the high points (pun intended haha) - Royal Gorge, Pikes Peak, Garden of the Gods, and Seven Bridges. We hiked everyday! Can’t wait for our next adventure!! 🥰
.
#emptynestingrocks #travel #marriage #emptynesterlife❤️
31 years with my favorite! So thankful for you! ❤️ 31 years with my favorite! So thankful for you! ❤️❤️ #marriage #anniversary #growingoldtogether
Our baby graduated from college last night!! From Our baby graduated from college last night!! From our alma mater! 🧡🖤 We are feeling beyond blessed and are so loving this stage of parenting! Watching our adult kids live life well is truly remarkable! God has big plans for you Gavin and we can’t wait to watch him work in and through you! Love you!
Happy Resurrection Day!! He is risen!! Happy Resurrection Day!! He is risen!!
Haven’t shared something from my house in months! Haven’t shared something from my house in months! Just refreshed our mantle for spring and I love it! So happy that Oklahoma’s weather has finally chilled out and become more springy! ☀️🌸🌺
.
#homedecor #ourhome #spring #springismyfavorite #springdecor
One month of being Gigi and Pops to this precious One month of being Gigi and Pops to this precious little blessing!! 💕 We love you so much Blair!!
Five more sleeps! ❤️🎄 Nothing better than twinkle Five more sleeps! ❤️🎄 Nothing better than twinkle lights on a Christmas tree ✨☺️ Looking forward to all the family festivities over the next few days. Merry Christmas to you all!! 
.
#christmas #christmastree #christmasdecor #christmaslights #merrychristmas
32 years ago today I made one of the best decision 32 years ago today I made one of the best decisions of my life when I said “yes” to marrying this guy. We celebrated our 30th anniversary back in May! We’ve experienced a lot over the years but there’s no one I would rather be doing life with! @vangreenwood you’re my favorite!! ❤️❤️
.
#marriage #proposalanniversary #youremyfavorite
I really enjoyed decorating my new kitchen shelves I really enjoyed decorating my new kitchen shelves for Christmas! What’s your favorite spot to decorate? I really like to spread out Christmas décor throughout the house! 🎄❤️
.
#homedecor #christmasdecor #christmas #itsbeginningtolookalotlikechristmas #favoritetimeofyear
Follow on Instagram

Copyright © 2026 · Captivating Theme on Genesis Framework · WordPress · Log in