Last week I shared with you how I created my own custom piping for our patio pillows. Easy right?? So, today I’m going to share some tips on how to add it to your pillows.
If you’ve ever added trim to pillows, you know it’s pretty basic. But, there are a few tricky spots that can be a headache – how to begin and end, and how to handle corners. So, I’ll address those issues today.
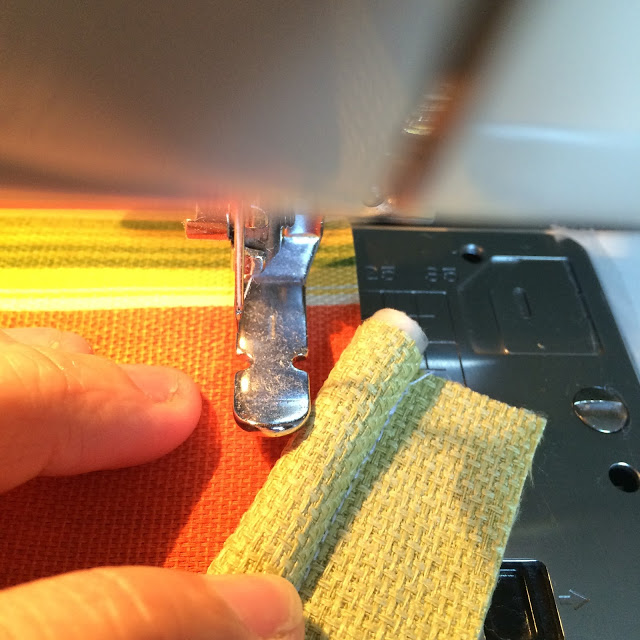
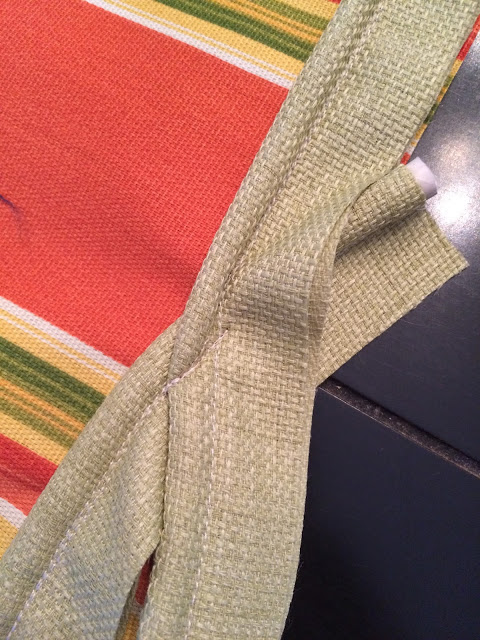
To start, hang the end of the trim off the edge of one pillow panel. Then, you will sew OVER the trim and continue on the sewn edge of the trim. It should look like this.
I usually match up the edge of the trim with the edge of the pillow panel, regardless of the size, I don’t worry about seam allowance too much. 🙂
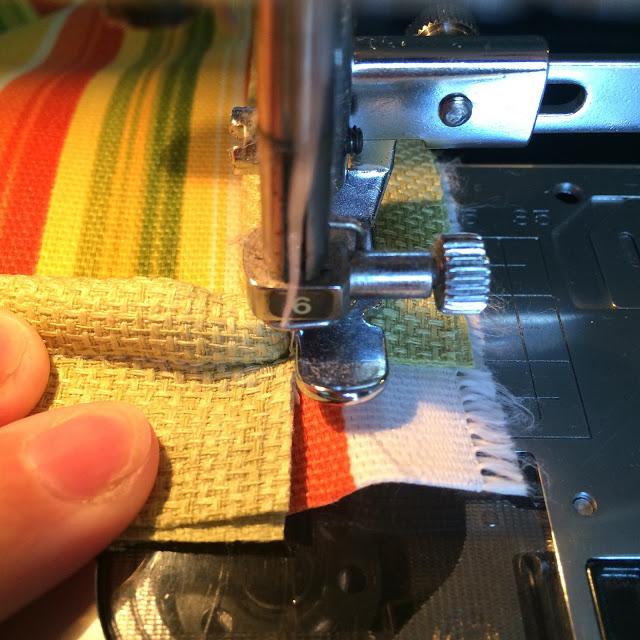
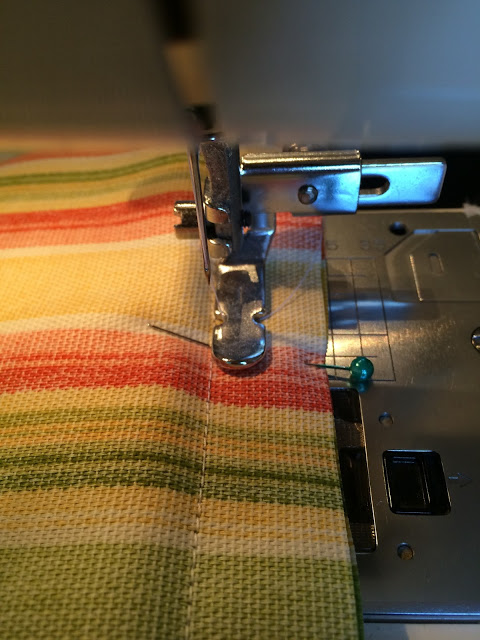
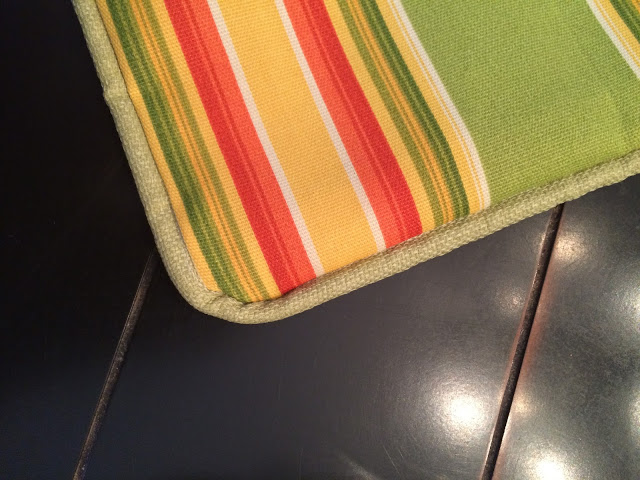
For the corners – stop about a seam allowance (whatever that might be for the trim you are using) away from the corner, cut a slit in the trim – up to, but not through, the sewn edge.
This will allow you to turn the trim on the corner cleanly. Continue sewing!
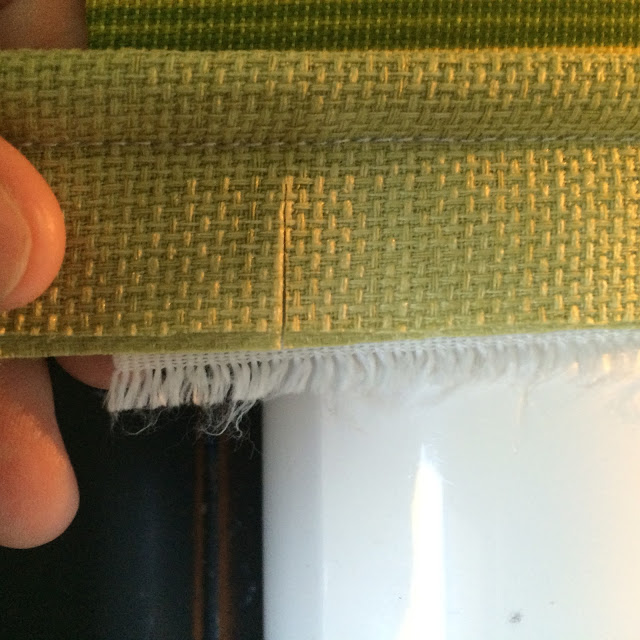
To finish, hang trim over the edge and stitch through. Matching up the beginning and the end. It should look like this.
You’ll want to trim off the excess before sewing the panels together.
After you have the trim attached, pin the pillow panels right sides together and use the seam made by attaching the trim as a guide for sewing the pillows together.
When making our patio pillows, I chose to not make removable pillow covers so I just left an opening for stuffing the pillow in.
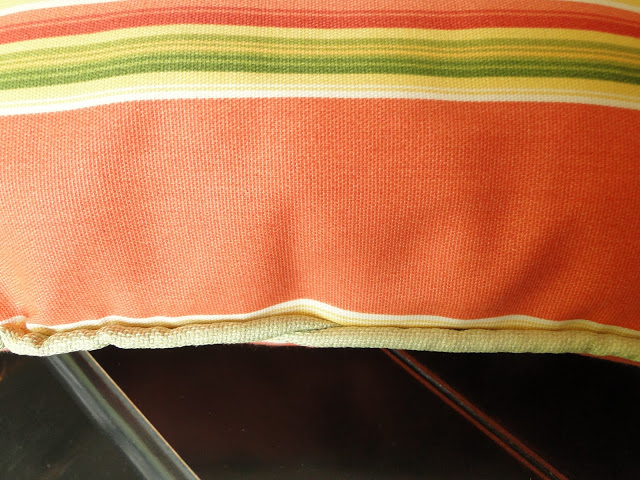
I hand stitched the opening closed, and ta-da! You’re bottom edge should look like this
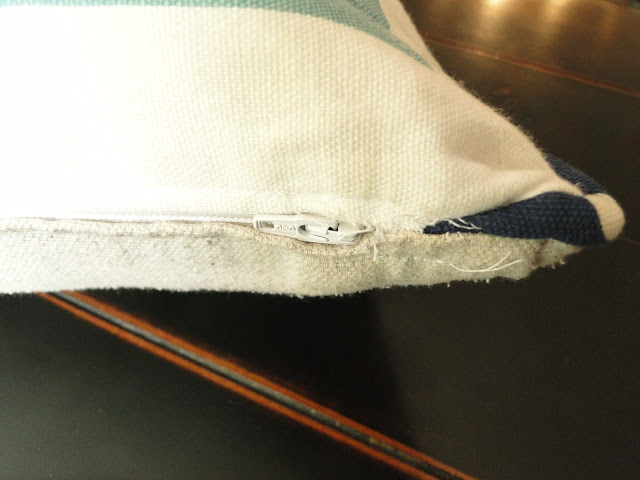
Barely detectable, right?? Obviously this method is for those permanent pillows you might want to make and not pillow covers. You could use this method if you were making a envelope pillow cover. If you are adding a zipper however that’s a bit trickier. Here is what my zippered pillow covers with piping look like.
There are other methods out there for sure, but this works best for me!! Happy sewing friends!!




Leave a Reply