I’m not sure when or where (I’m sure somewhere on the internet), but I saw the idea of taking old t-shirts from over the years and making a quilt out of it. A way to preserve the memories that would be useful. I loved it so much that I started saving my kids t-shirts. Man oh man do they have a lot of t-shirts! Every activity comes with a shirt, school activities, extra-curricular activities, church activities – all with a shirt. I even keep jerseys! Where do you store all those? you might ask – I keep a plastic tub in the corner of each of their closets. As they outgrow shirts, they go in the tub. It’s a good idea for you, the mom, to make the decisions on which ones are tub-worthy or not, or you might end up with wayyy more than you can use. (speaking from experience).
I have now completed two of these – one for each of my now college kids. Many of the techniques I used with the first one I used with the second one, but I also made a few changes that made my life a little bit easier.
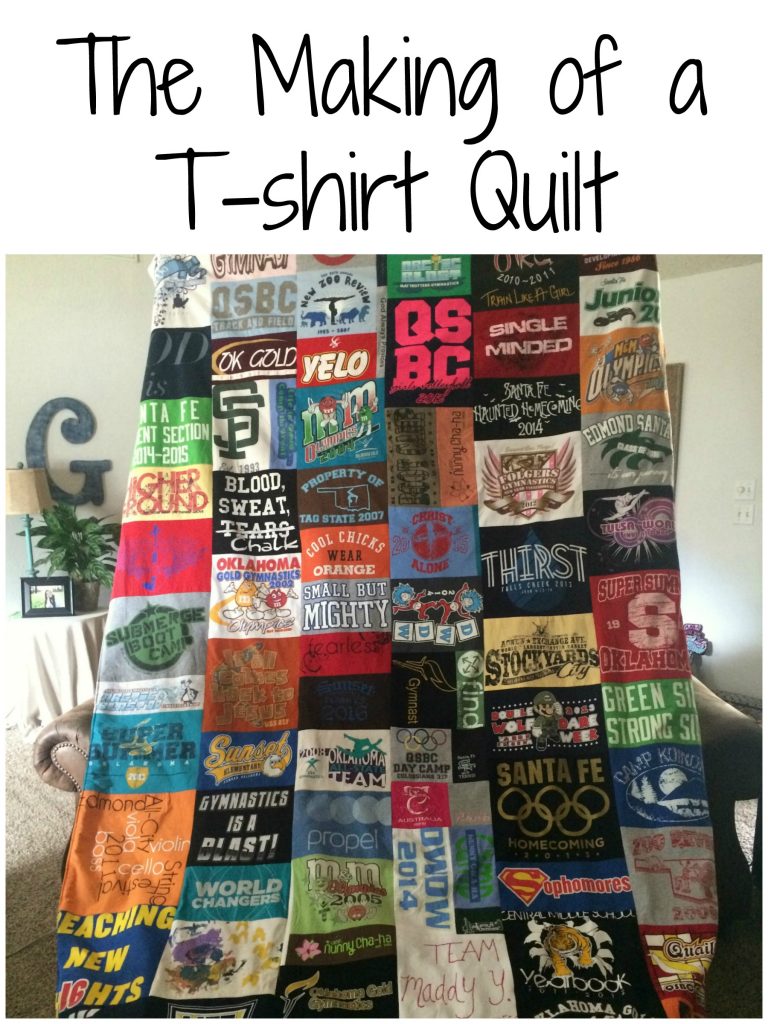
There are soooo many different ways you could approach the piecing together of the quilt, but there are some basics that are going to be the same. I’ll walk you through how I put mine together and give you some alternatives along the way.
First off, start by cutting your t-shirts to your desired size. (Look at this adorable tiny tee that my girl wore when she was 4 – and it swallowed her then 😉 .)
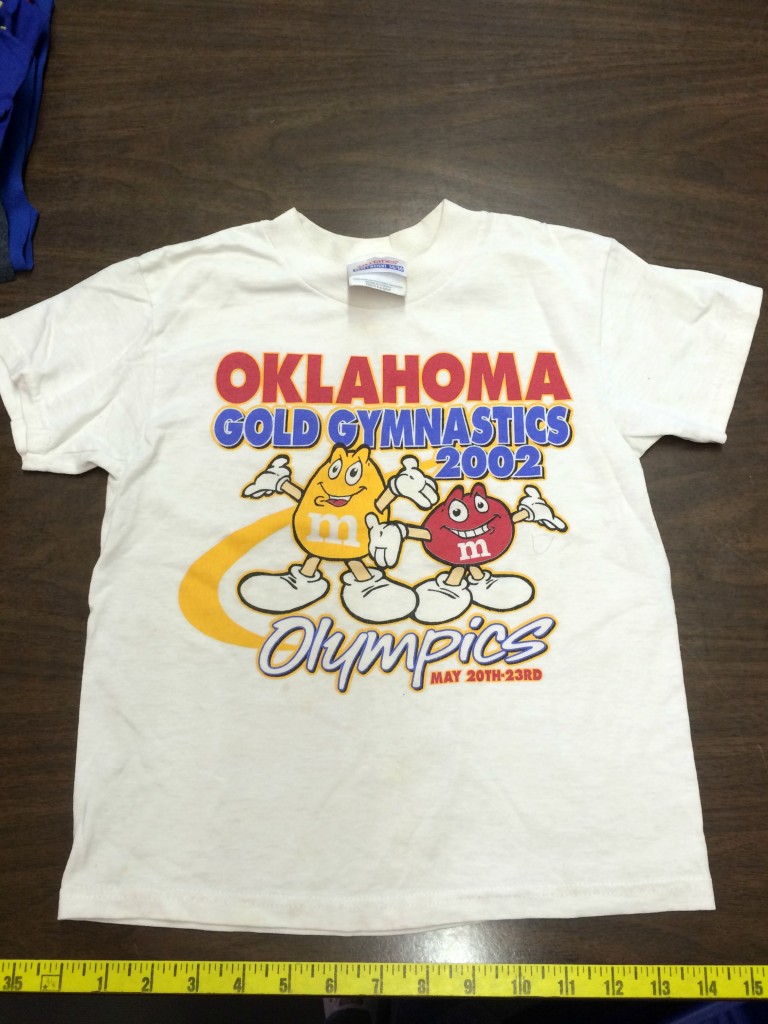
I chose to cut mine with a 1 inch margin or frame around each design. This allows for a seam allowance, and for you to use a lot more t-shirts. If you don’t have that many shirts or you prefer a more uniform design, then cut all your shirts the same size.
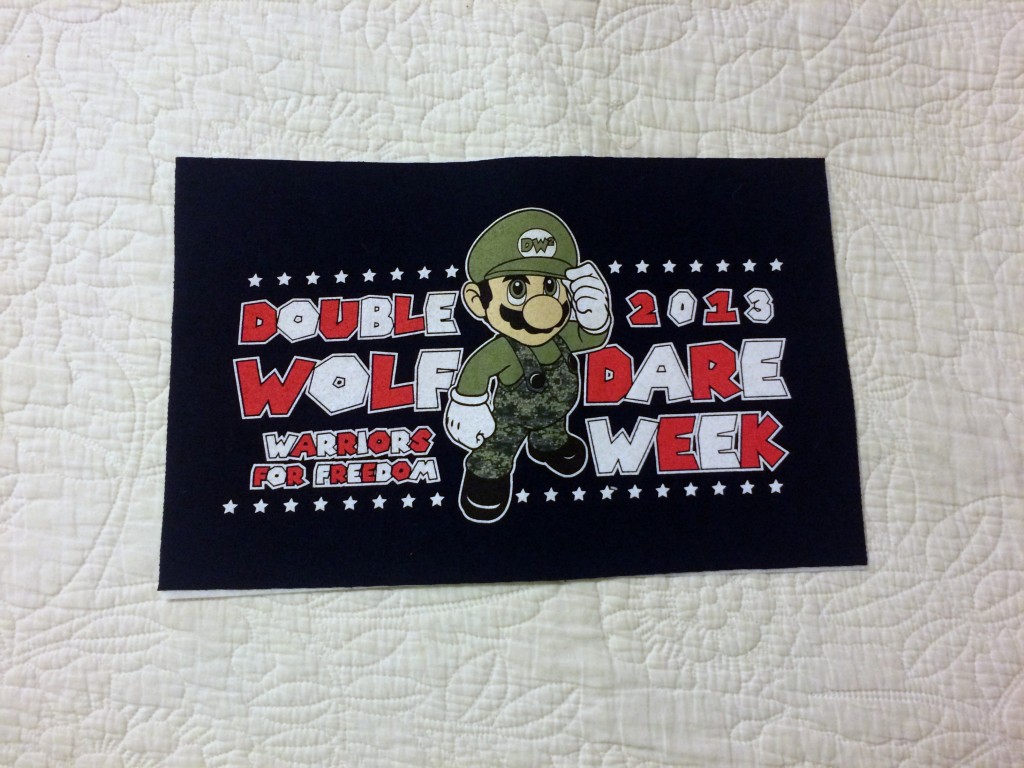
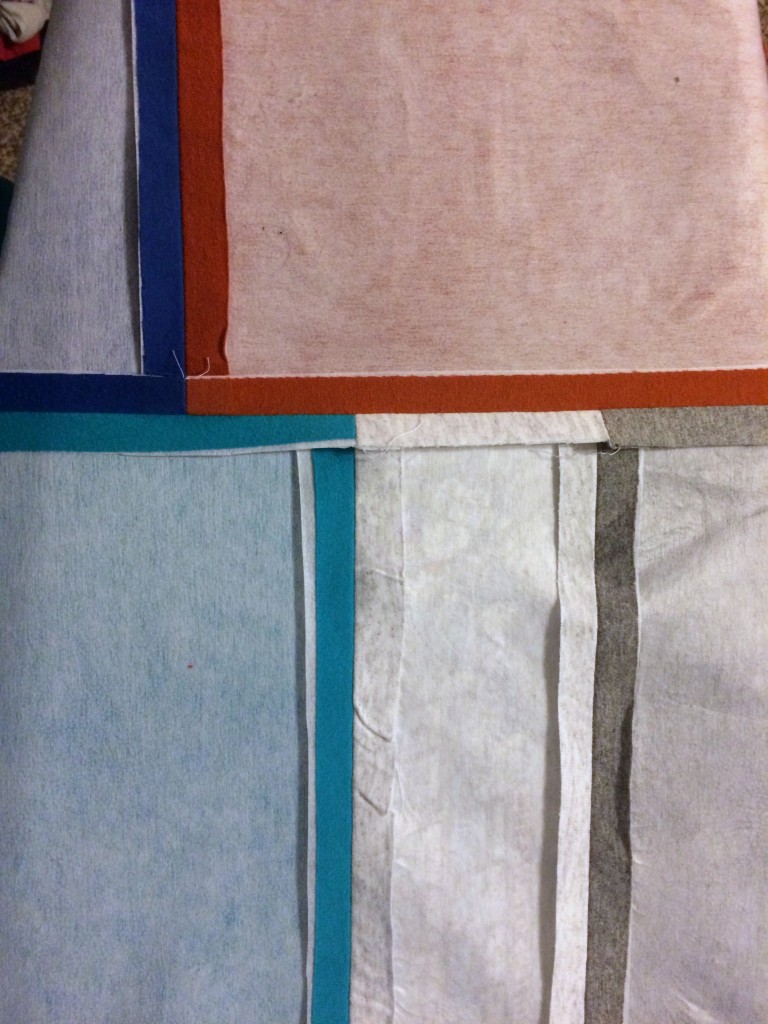
The next step is to make the t-shirts more sturdy and less likely to stretch in the sewing process. You do this by applying fusible interfacing to the back of each t-shirt piece.
*Some affiliate links used for your convenience. I make a small commission at no extra cost to you for any purchases made through these links. For more information see my disclosures here. Thanks for helping support Frazzled JOY!
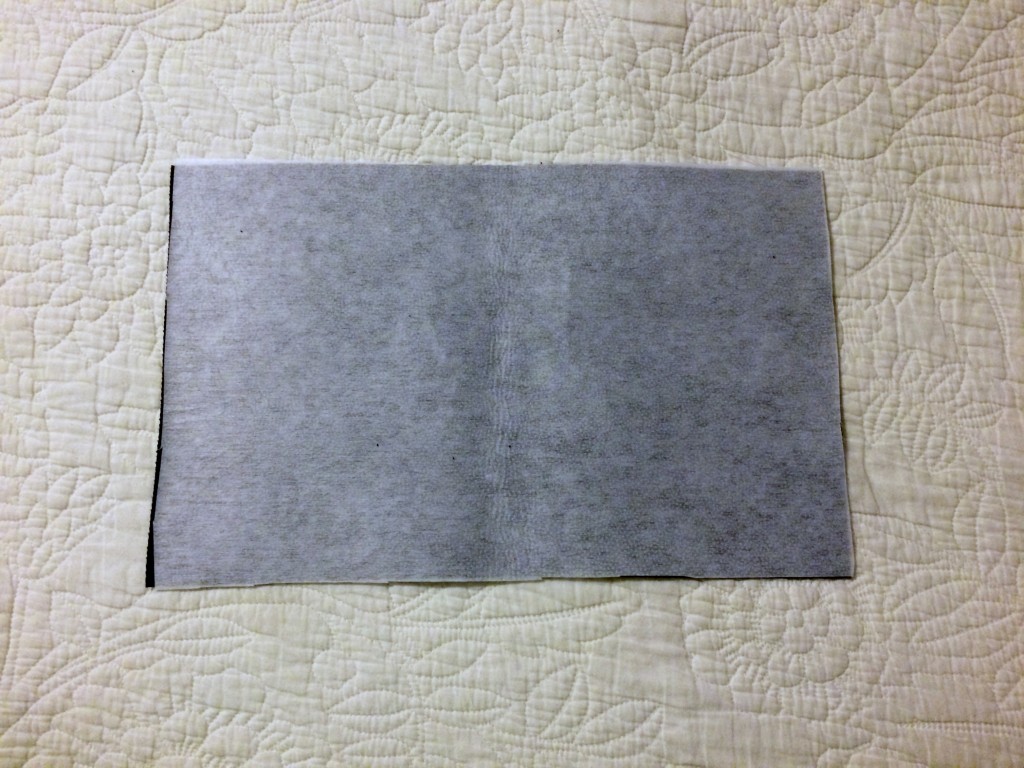
I used featherweight to medium weight interfacing (similar to this one) and it worked great. You don’t want it to be too thick and heavy, but you don’t want it to be too thin either.
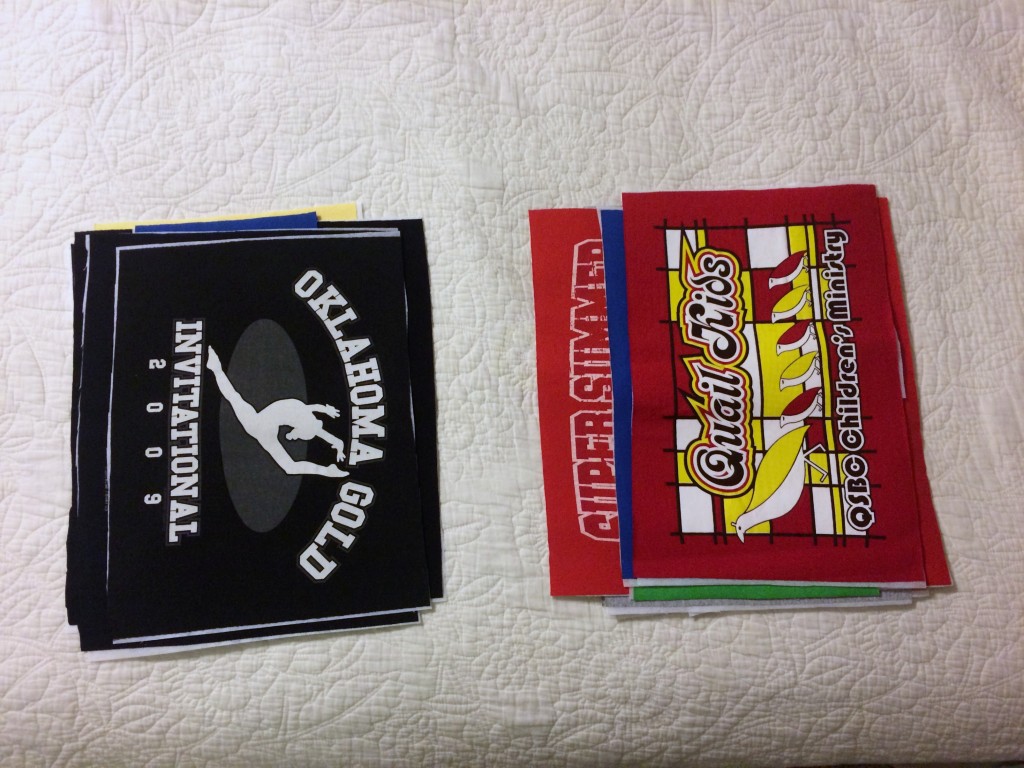
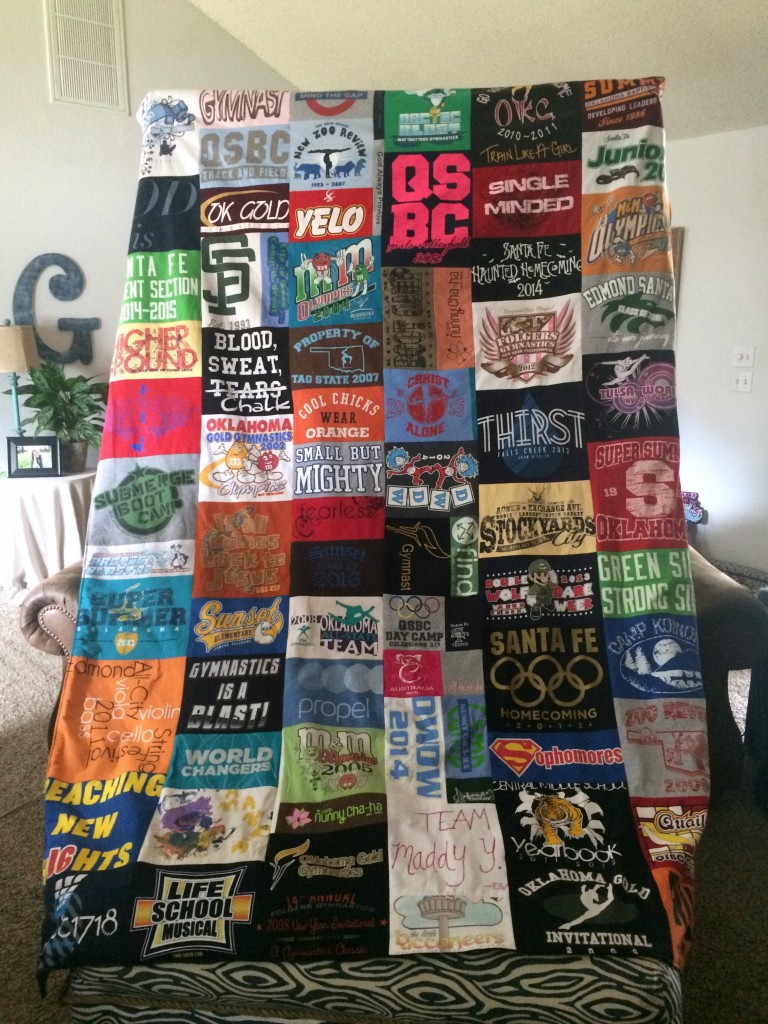
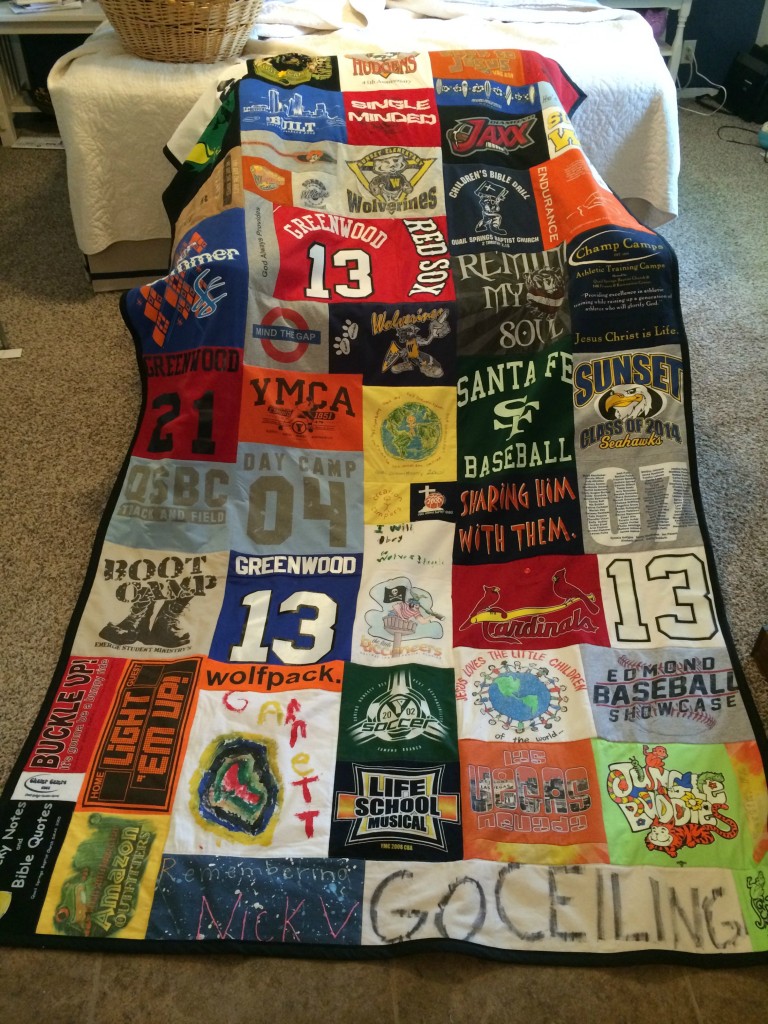
Next is the layout. Honestly for me, this part take the longest. Probably 2-3 hours. You want to consider color and size as you are laying things out. I try to avoid one big block of color all together. For my daughters quilt I tried to keep the sizes of the columns fairly consistent. My sons (which I’ll show you at the end of the post) was far more random, and it worked fine, but she prefers things a little neater.
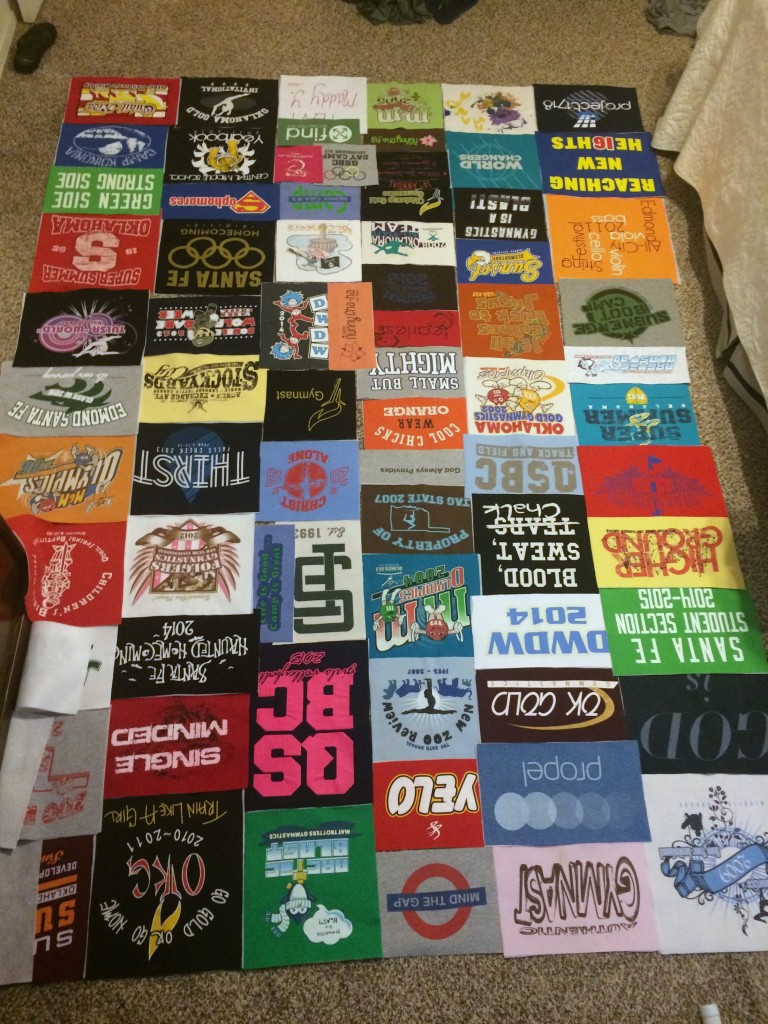
Once I get things the way I like it I take a picture and print it out. Just in case something gets messed up between this time and the sewing time. I will interject right here and say that this design is not set in stone. I change things up as needed when I start sewing. 😎
The next task is to start sewing the pieces together. This time I worked in columns first.
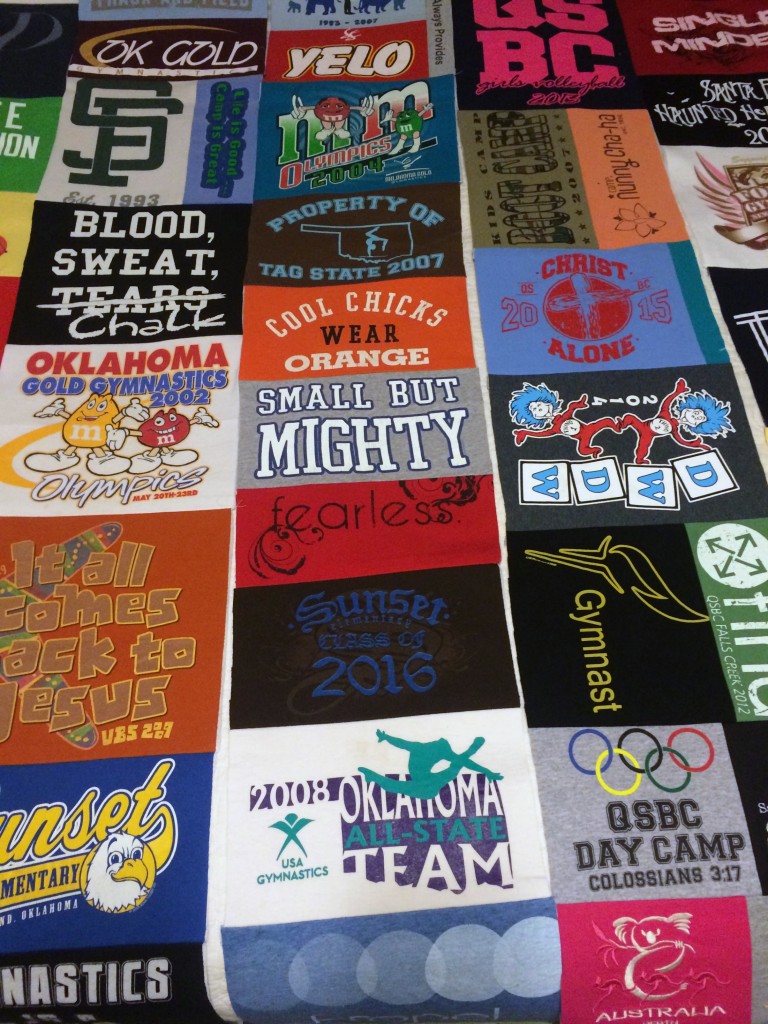
And then sewed the columns together to complete the quilt top.
When you finish the back will look something like this – make sure you press you seams flat to keep from having too much bulk.
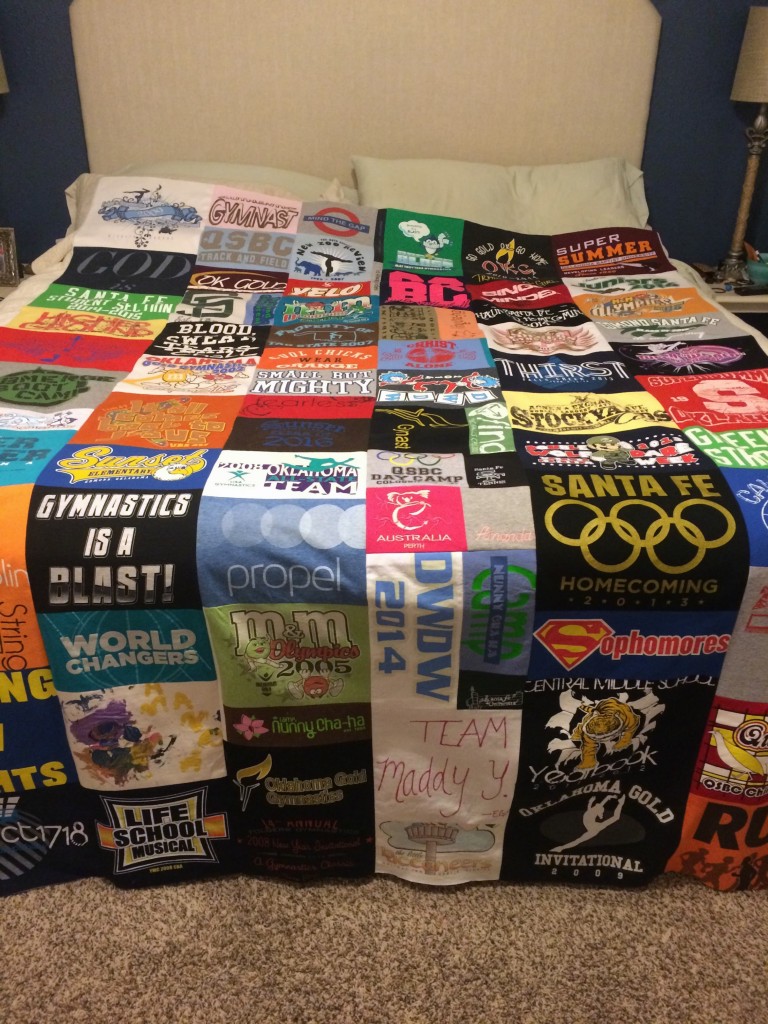
The one thing I didn’t take a picture of was how I backed the quilt. Bad blogger sorry. For my sons quilt I used this batting (also found here) and then a flat sheet for the quilt ‘sandwich’ and I finished it off with some basic cotton quilt binding. It’s a reeaally warm quilt – which is great for where he is. But my girl isn’t going to need something that warm, so I simply used polar fleece for the back of hers (no batting). I simply sewed the quilt top and the fleece together around the edges, leaving about a foot long opening to turn it inside out, and then I top-stitched all the way around the quilt to secure everything together.
With my sons quilt (below) I did ‘stitch in the ditch’ (in between the seams) across the quilt to secure the ‘sandwich’ but I did not with the fleece.
So, there you have it!! If you have some basic sewing skills you can so do this!! My kids love them!! Feel free to ask any questions you might have and I will do my best to answer them!!


Linking up with The Creative Circle

Denise those quilts are BEYOND AMAZING!!! Wow!!!! I love them and what a sweet thing to do for your kids especially as they are headed off to college. I wish I had started saving t-shirts years ago (and learned to sew somewhere along the way!) You are super-mom!! What a treasure these will always be.
Thanks so much Lisa! You are too sweet! 🙂