Sorry for the absence. We have been deep in senior mode at our house, not to mention everything other end-of-the-year activity that the other three kids have!! I know you know what I mean, right! It’s all good though. 🙂
Creating a master bedroom design that is enjoyed by both husband and wife can sometimes be difficult. I have found over the years that adding tailored pieces to the mix makes it blend pretty seamlessly.
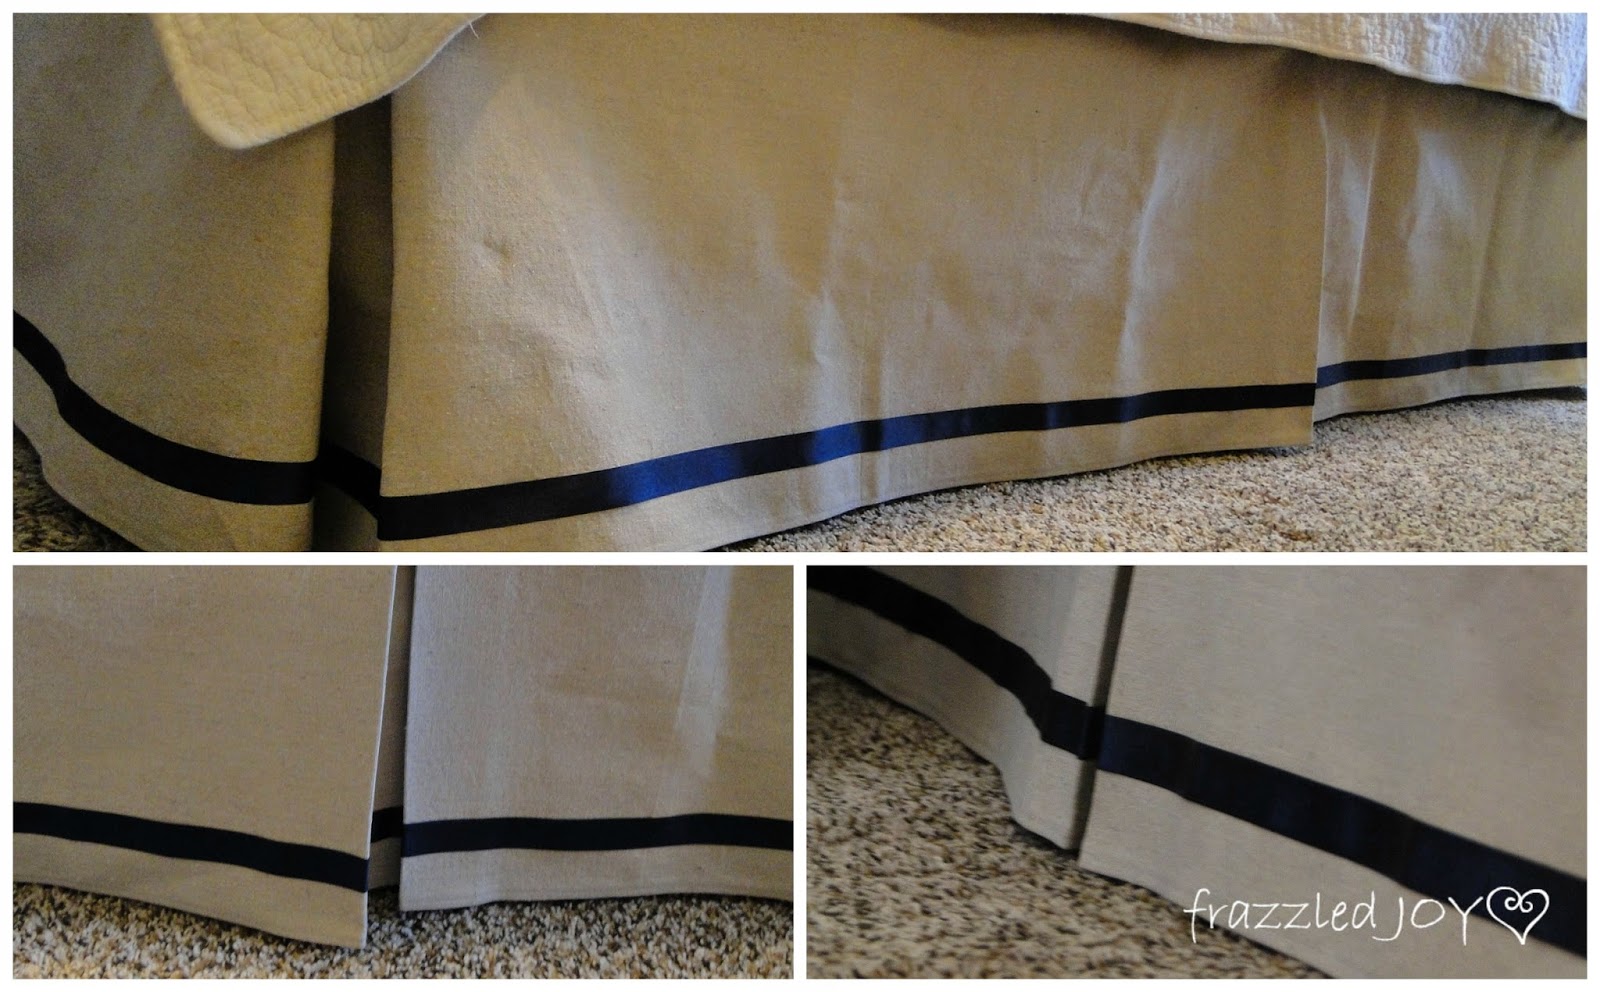
Last week I showed you my new bed skirt for our master bedroom redo.
I also shared that I used a standard drop cloth for this project.
The weight was perfect and it pressed nicely for the pleats and I am certain those pleats will hold. I didn’t take pictures of the basic construction, but it was not hard. I simply measured from the top of the box spring to the floor and added about 6 or 7″ to that measurement and cut three strips that width from the drop cloth. It took nearly the whole thing so if you have a deeper box spring or a super high bed you might need a larger drop cloth. (I used a 6×9 that you can get most places for around $10.)
The other plus in using the drop cloth is all the outside edges are already hemmed. So, I left those as-is and simply added a rolled hem to the raw edges.
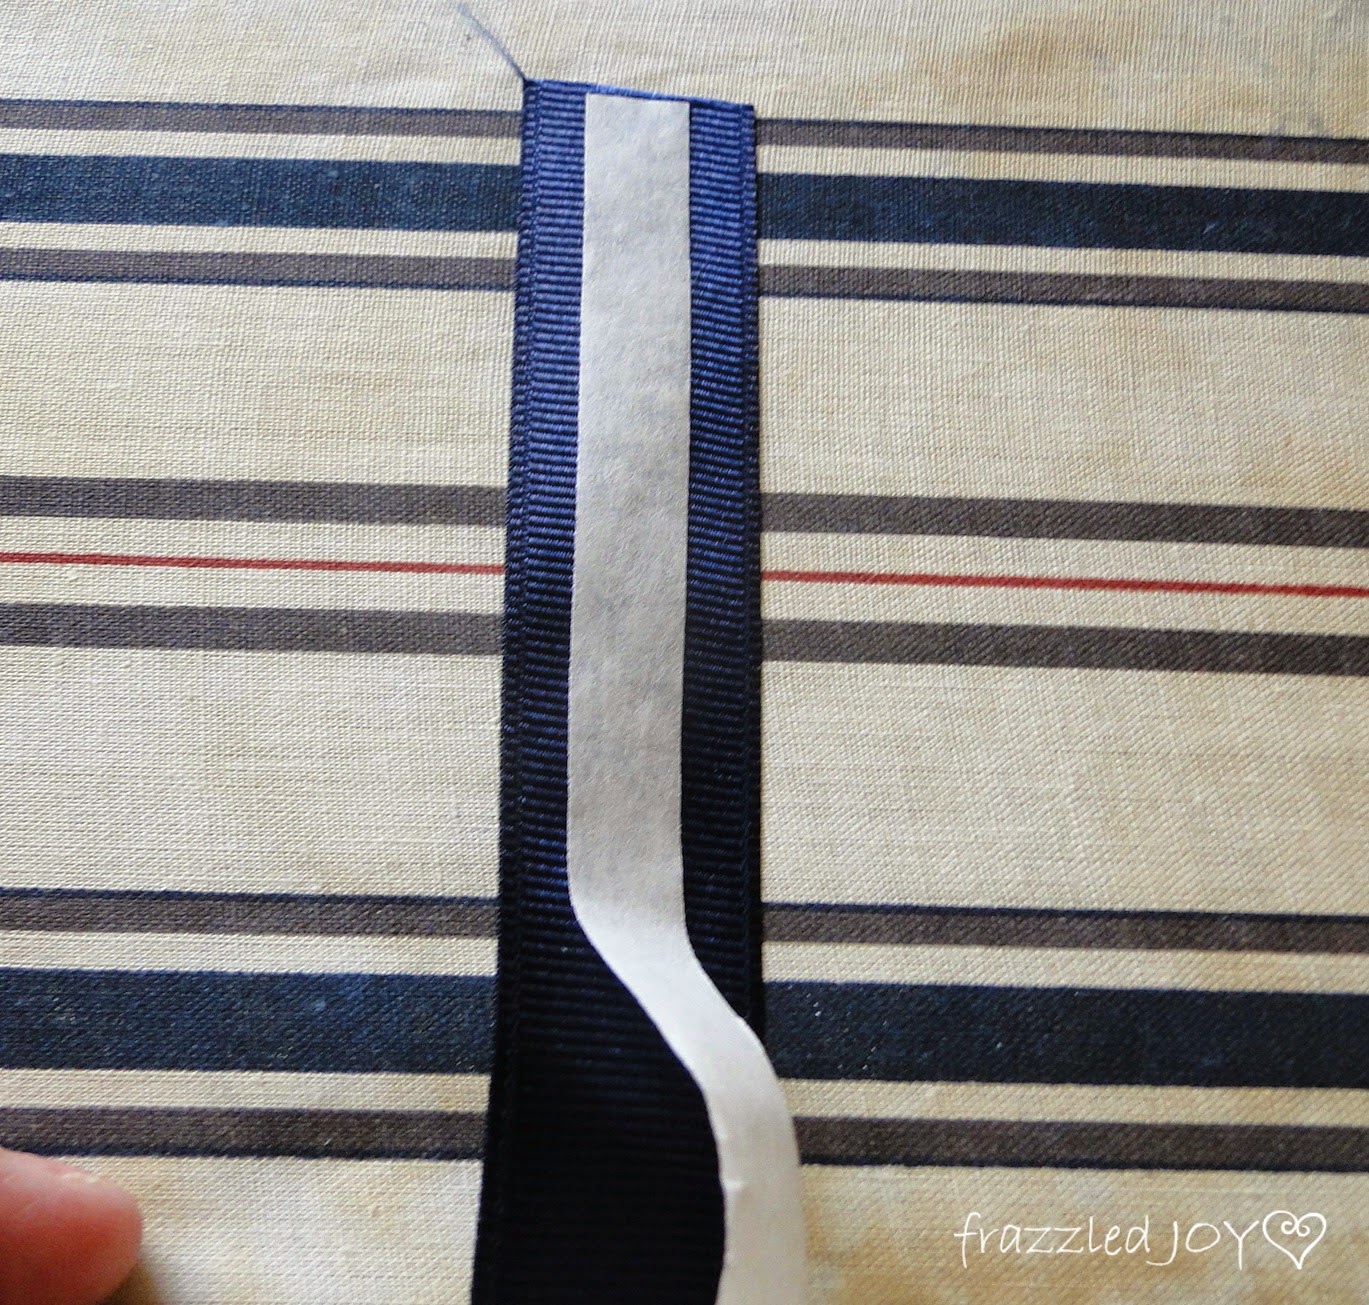
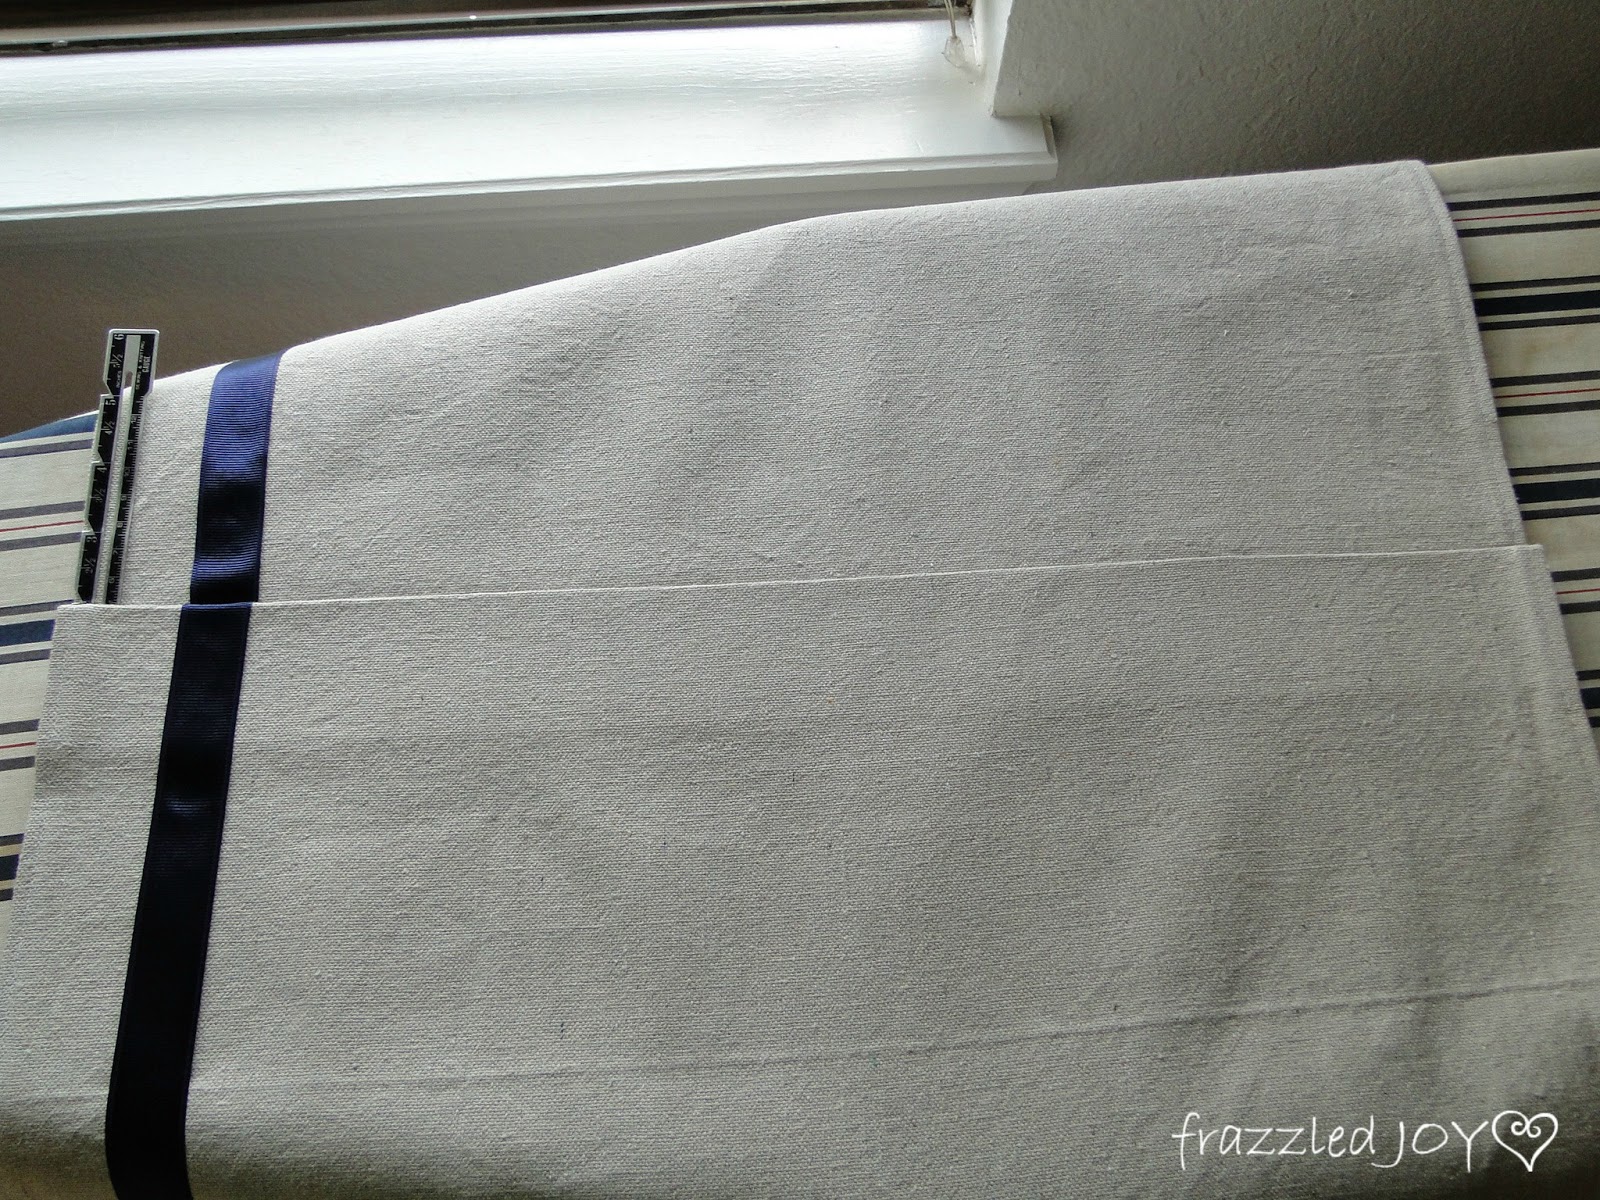
Next for the details. First, I knew I wanted to dress it up a bit, so I decided to do that with some navy grosgrain ribbon. Who doesn’t love grosgrain ribbon?? Rather than sew it on (I was going for simple here), I used iron-on hem tape to attach it.
I recommend for this type of project that you used the kind with the paper backing. This allows you to iron the tape onto the ribbon, then remove the paper backing and iron it onto the fabric.
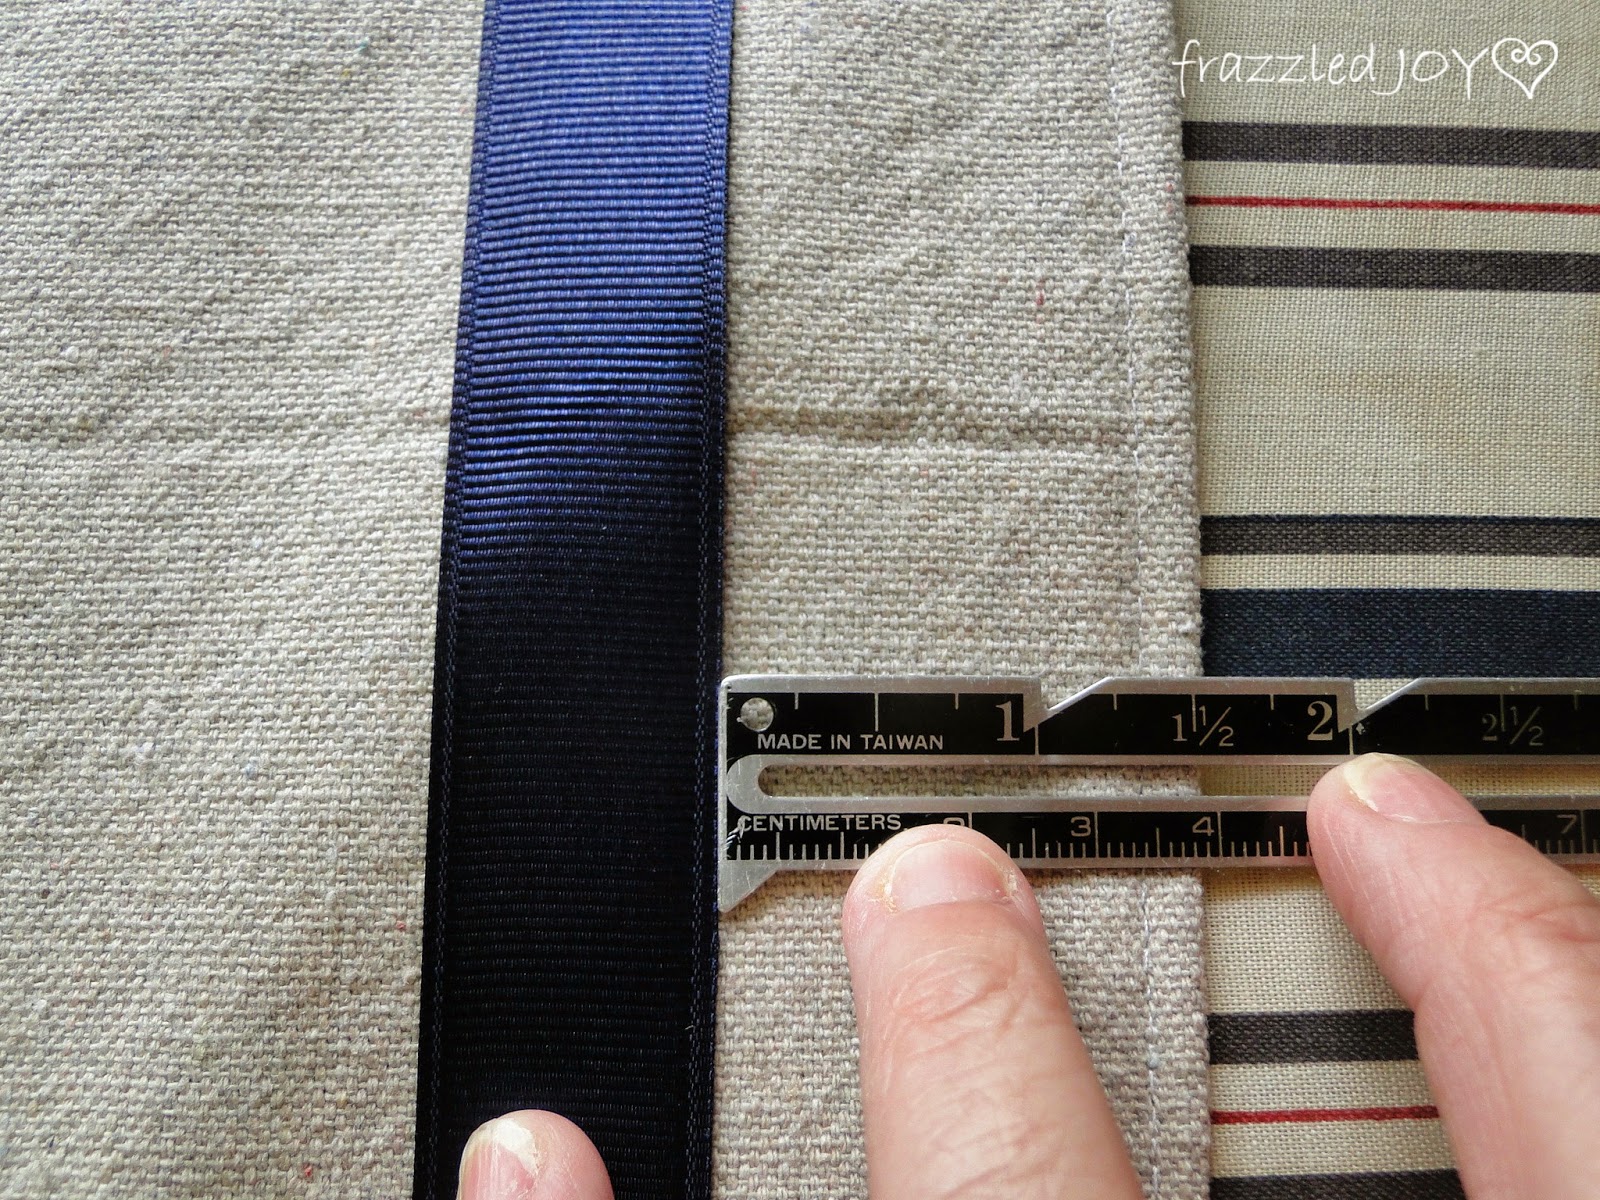
I determined how far I wanted the ribbon from the bottom and started ironing. Easy peasy!! For the ends, I just wrapped them around the edge of the fabric about 1/2″.
Then the pleats. Pleats are not as hard as you might think – it’s just making sure you have enough fabric to do what you want. I knew from measuring that I really only had enough fabric to do one pleat on each side in order to have enough fabric to deal with the corners.
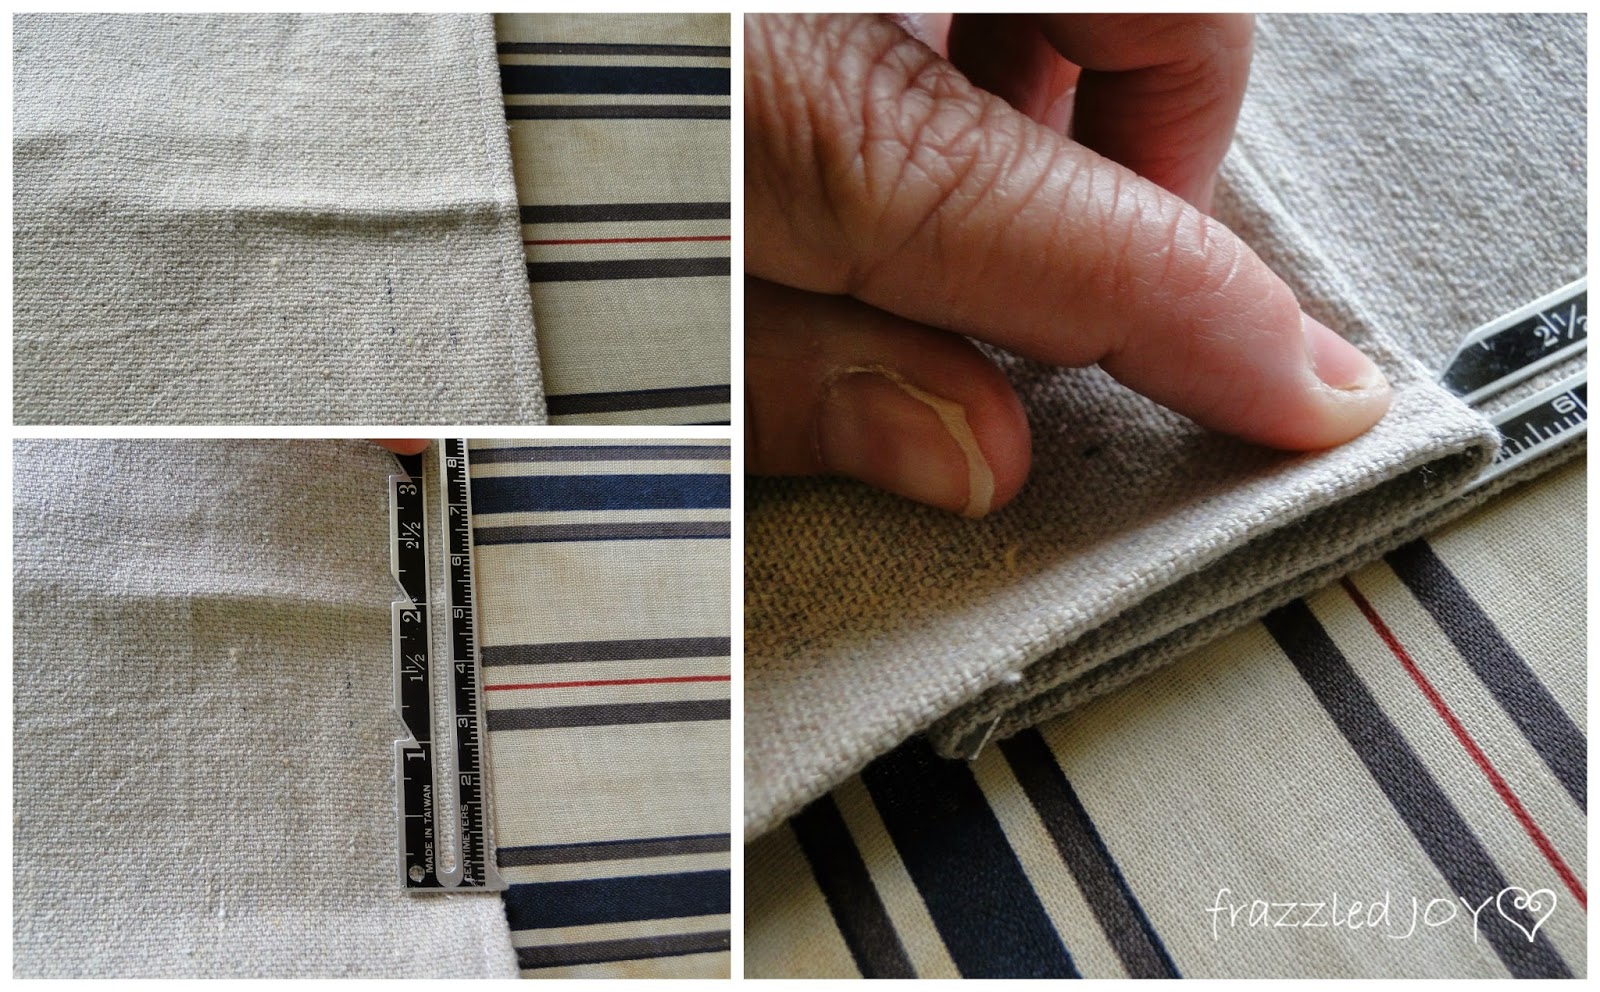
So, I first found the middle of each strip, simply by folding the strip in half and pressing the fold.
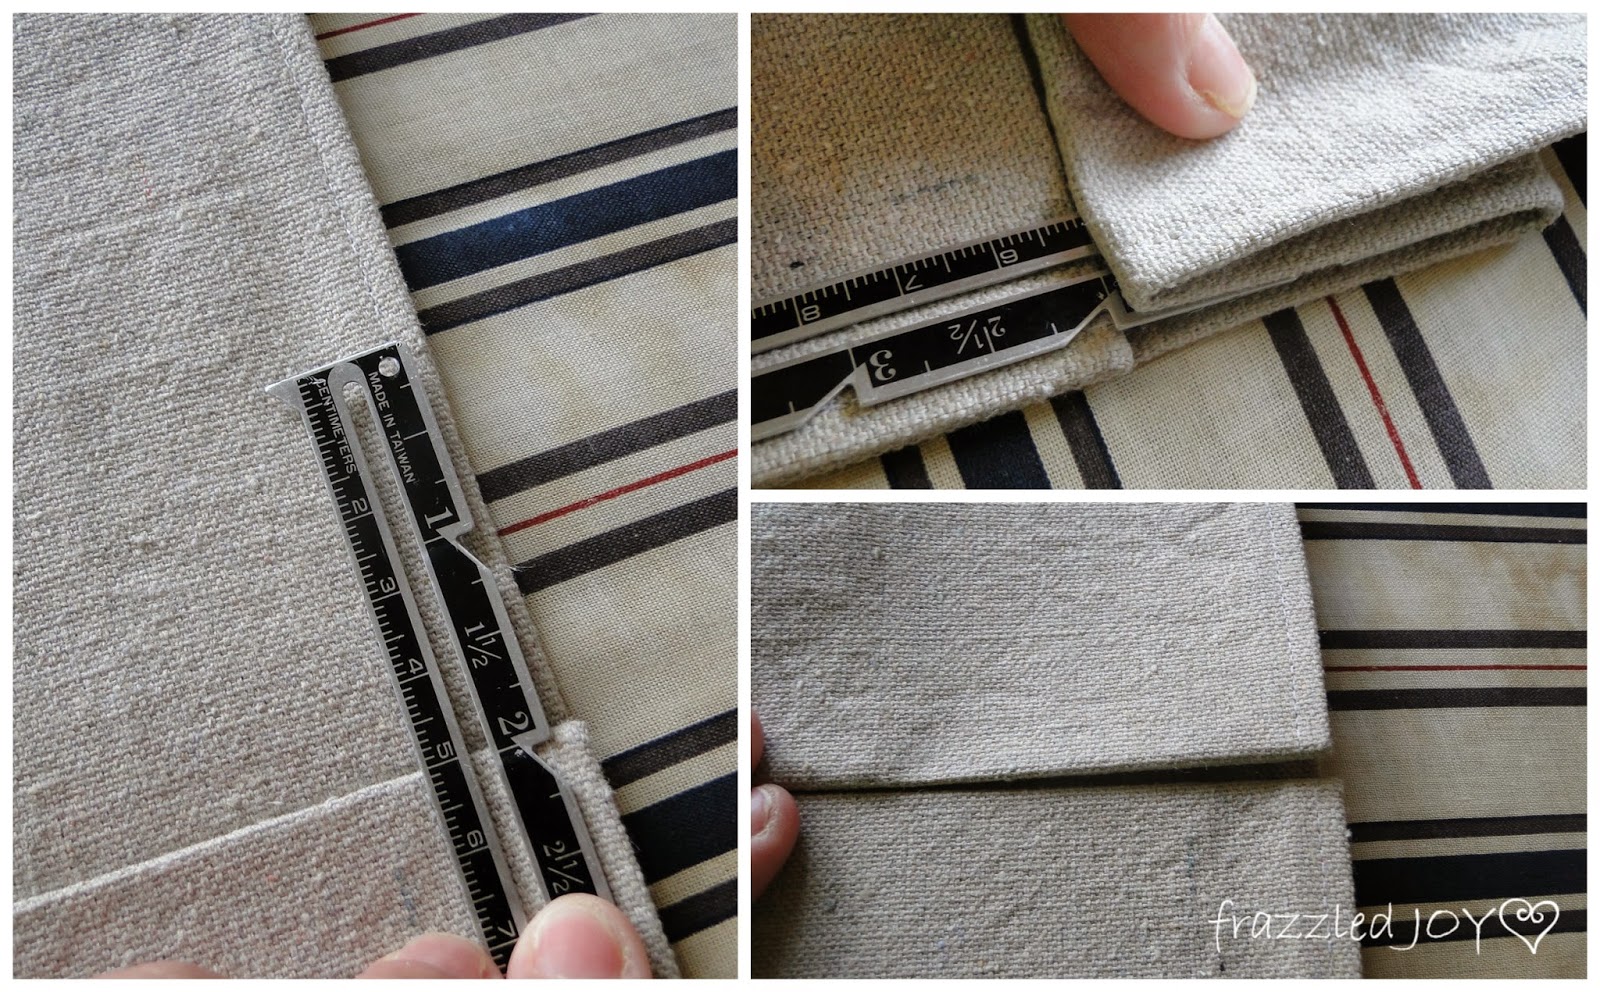
Then, I determined the size of my pleat. Placed the ruler on the fold. Then, folded the fabric in towards the middle using the ruler as a guide.
Then, repeat this at the bottom and press along the entire edge.
Next we do the other side of the pleat in like manner.
And, then repeat at the bottom.
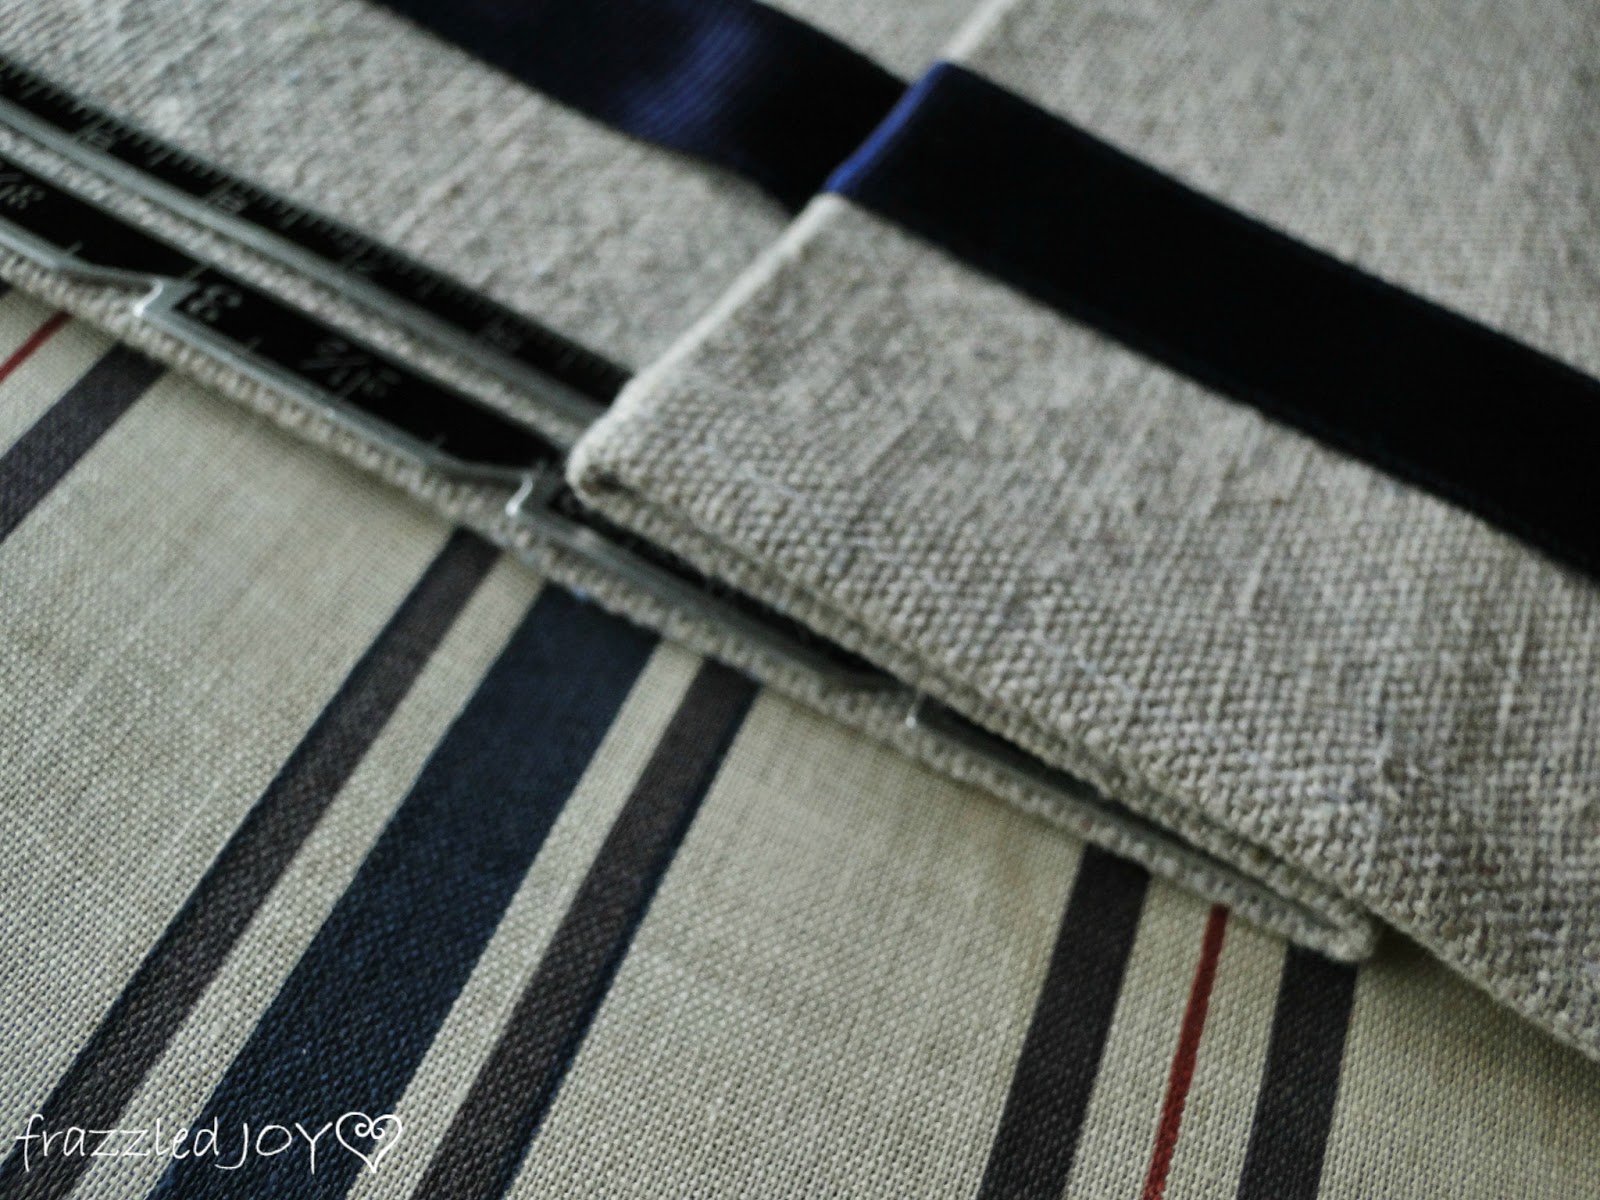
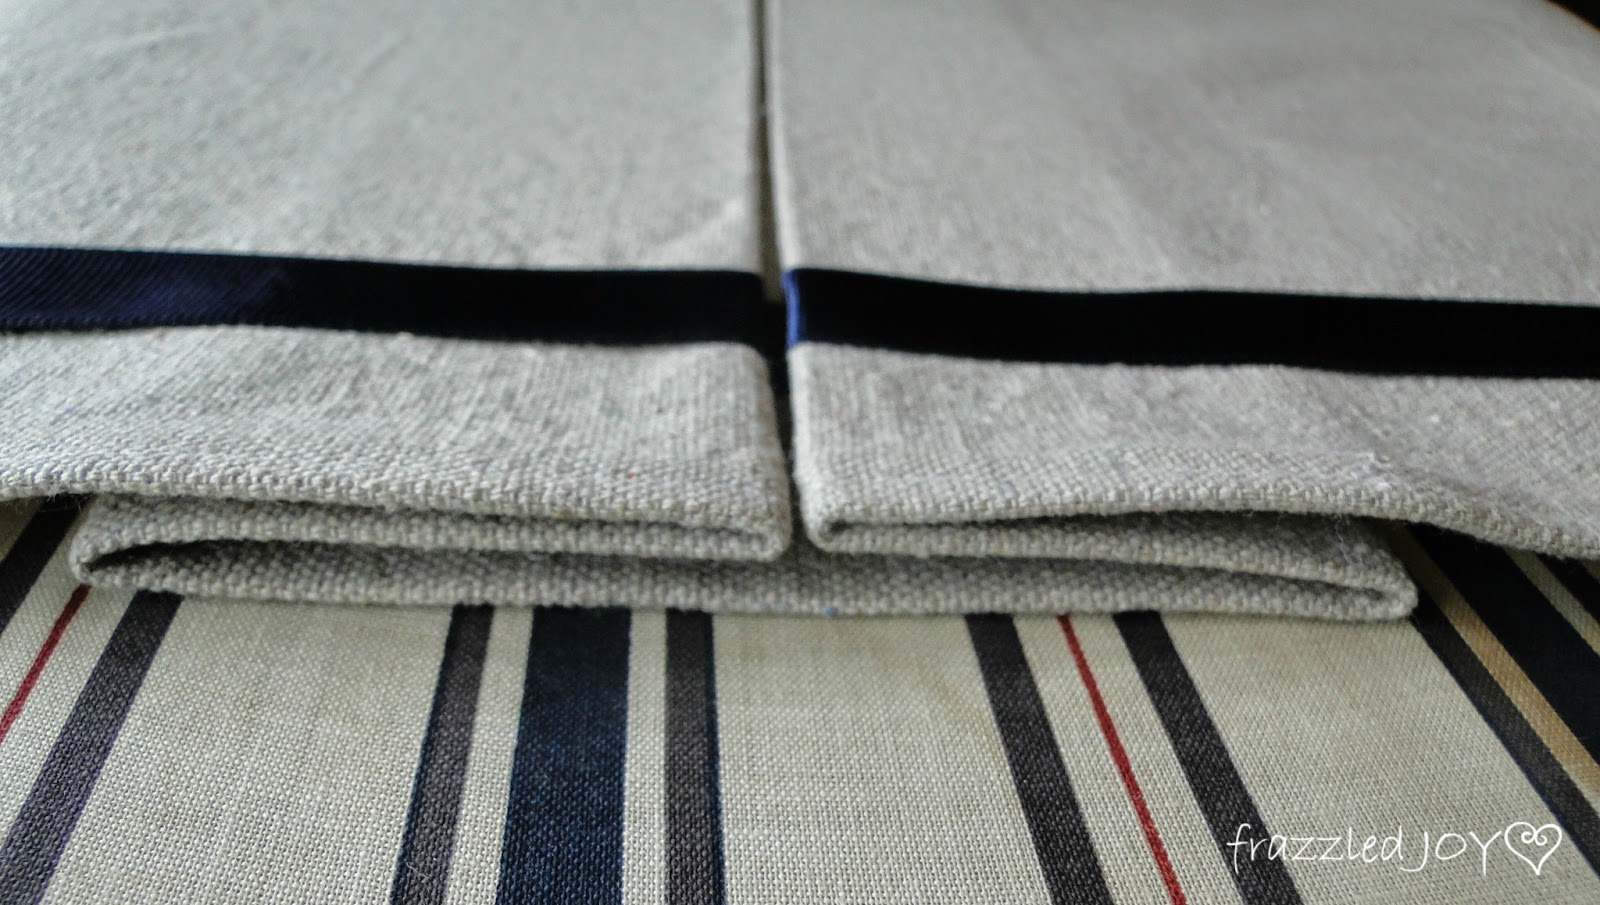
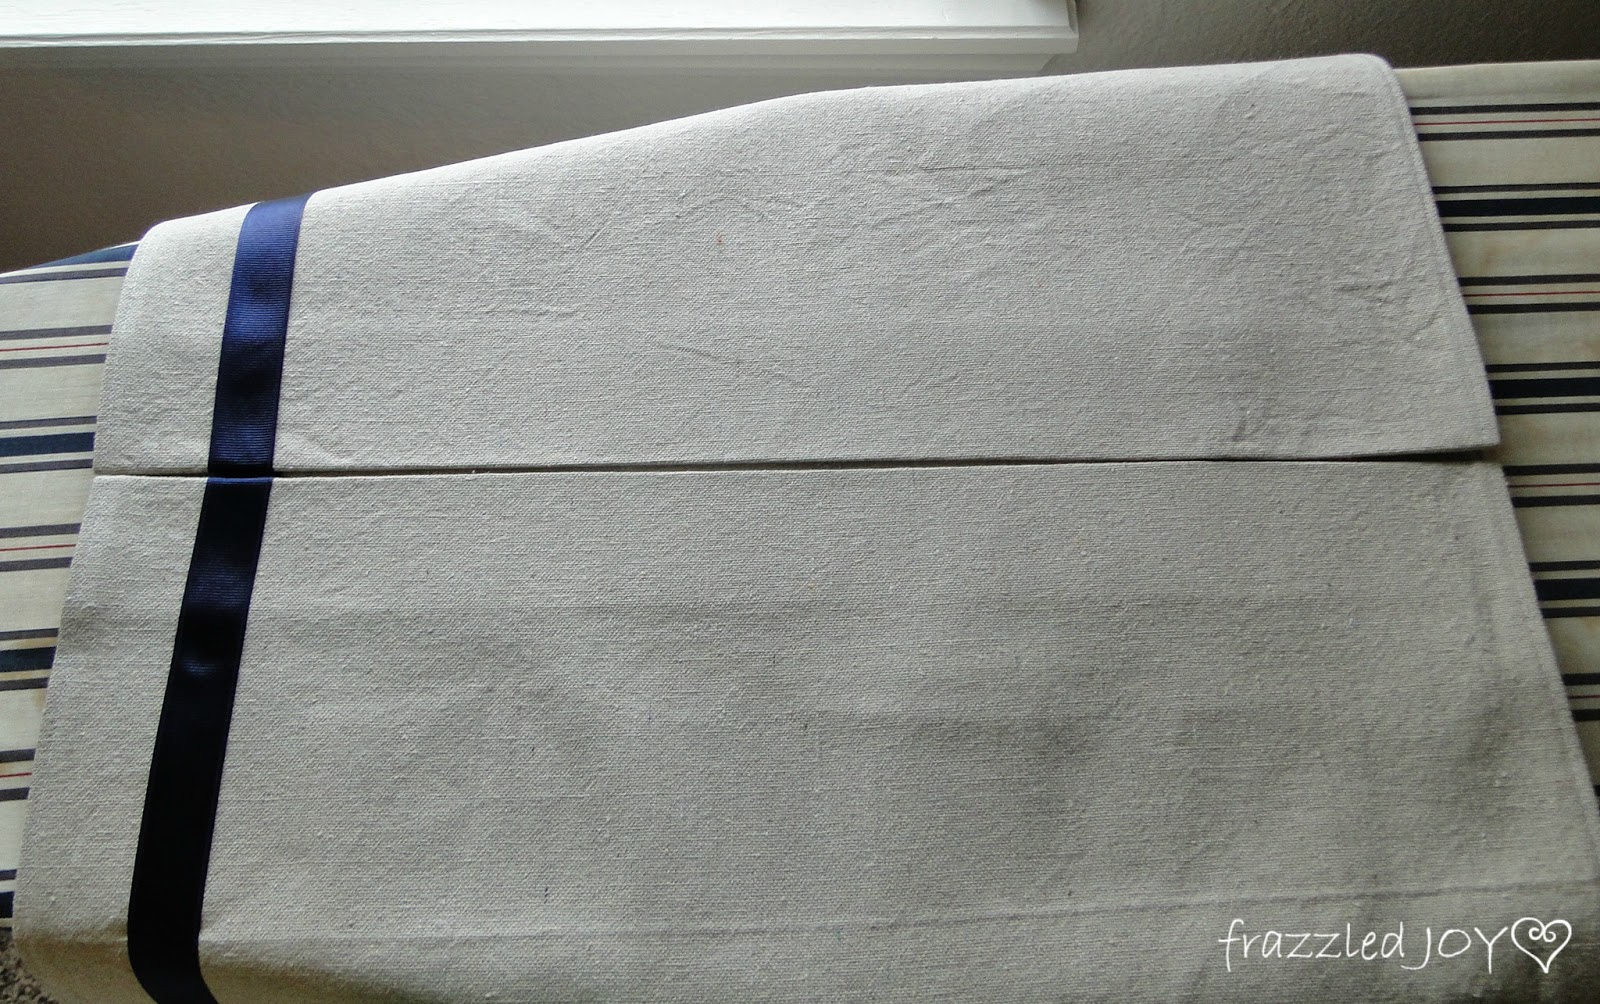
And press all along the fold. When you are finished you should have something that looks like this.
Isn’t she lovely???
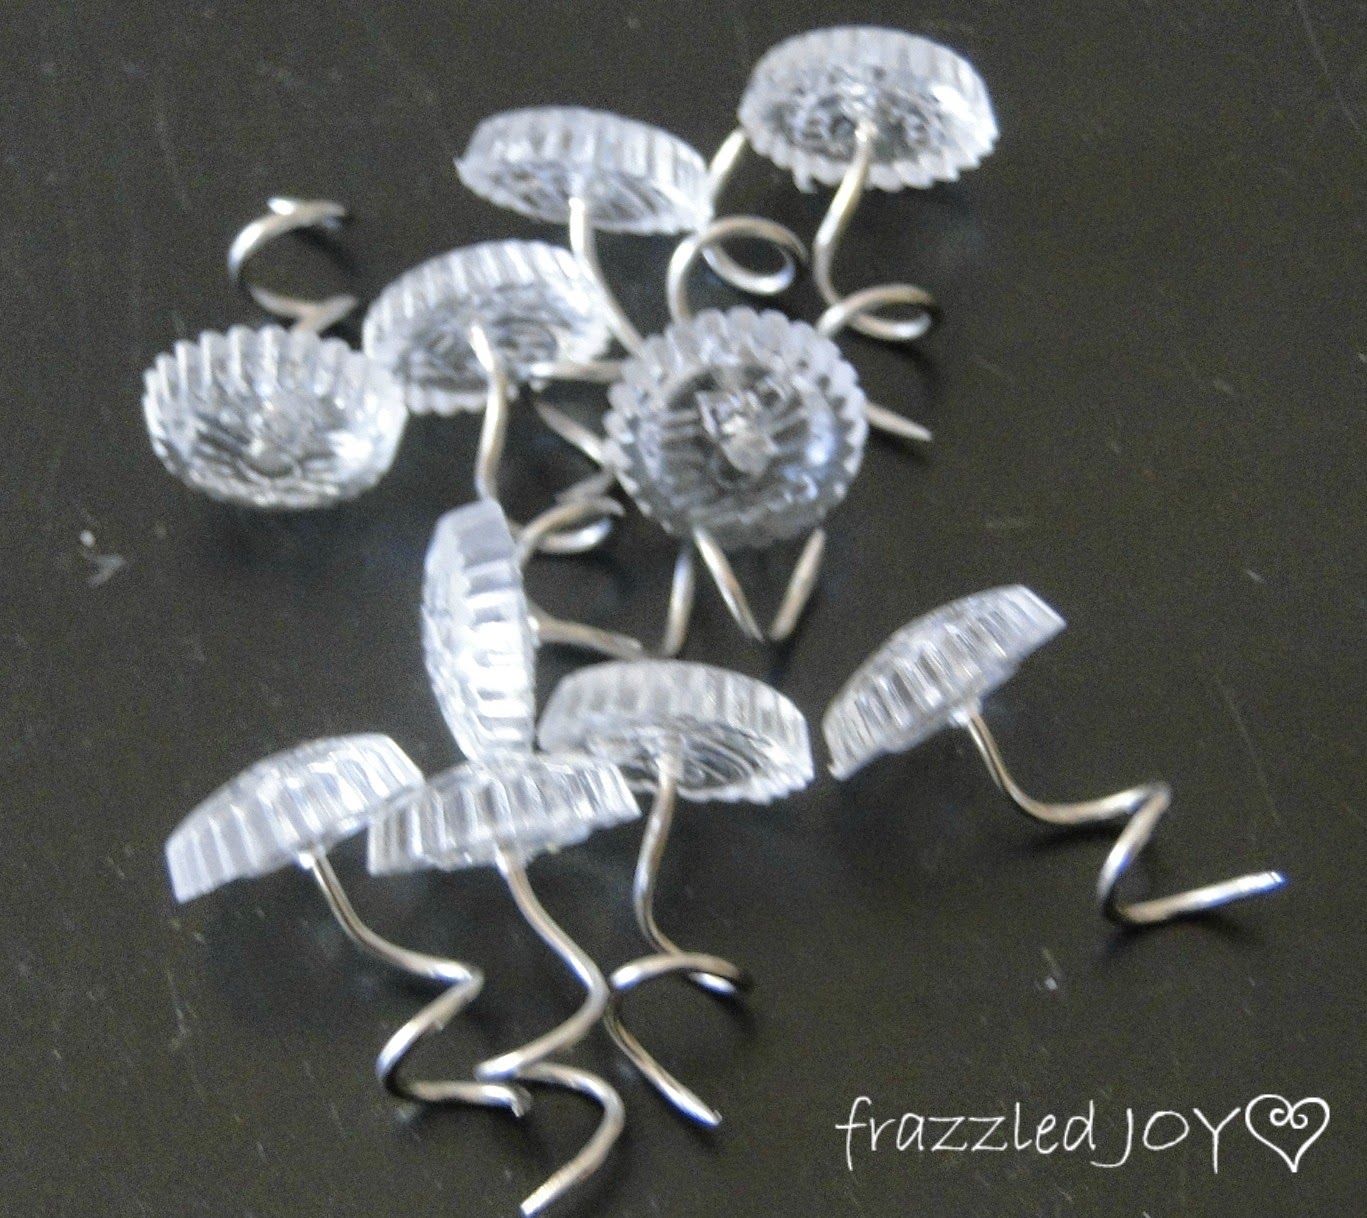
The best thing about this bed skirt is that I did not try to attach it to a top piece – you know that piece that never holds the bed skirt where it’s supposed to!! Ya, no. Instead I used these little jobbies (actually called upholstery twist pins – I found mine in the fabric department at Hobby Lobby) to attach it directly to the box springs.
I have seen it several times around the blog world over the past year or so, and it just made so much sense to me. If you have ever sewed a traditional bed skirt before you will understand how freeing this is!! You can check out some simple tutorials on how to attach the skirt that my sweet friends Lisa and Jennifer shared on their blogs. (Jennifer also has a tutorial for pleats on the same page if mine is not making sense – they really are easy!!
Back to work I go – only a little over a week to go before the big reveal!! EEEK!!

Linking up at Works For Me Wednesday / Thrifty Thursday / Fridays Unfolded / Frugal Friday / Link Party Palooza / Share Your Creativity / That DIY Party / Frugal Crafty Home Blog Hop / Take-A-Look Tuesday / Tutorials & Tips Link Party / Inspire Me Monday / One Project At A Time / Show Me What Ya Got / Hit Me With Your Best Shot / Create It Thursday



Beautiful job! Can you make me one? Can't wait for the reveal and thanks for sharing at Fridays Unfolded!
Alison
Nancherrow
Your tailored bed skirt turned out great!!! I have so many things to get to in my master — you've inspired me to make it more of a priority!!!
XO, Aimee – ItsOverflowing.com