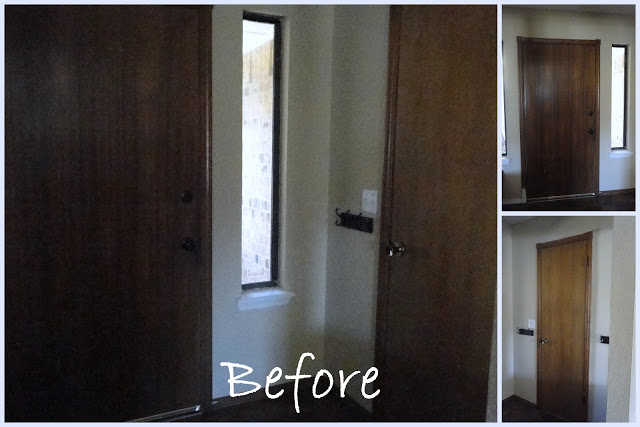
Okay I know we are all in the Christmas zone but I could not wait to share with you an amazing before and after that I finally (almost) completed today!!! So…here is the before
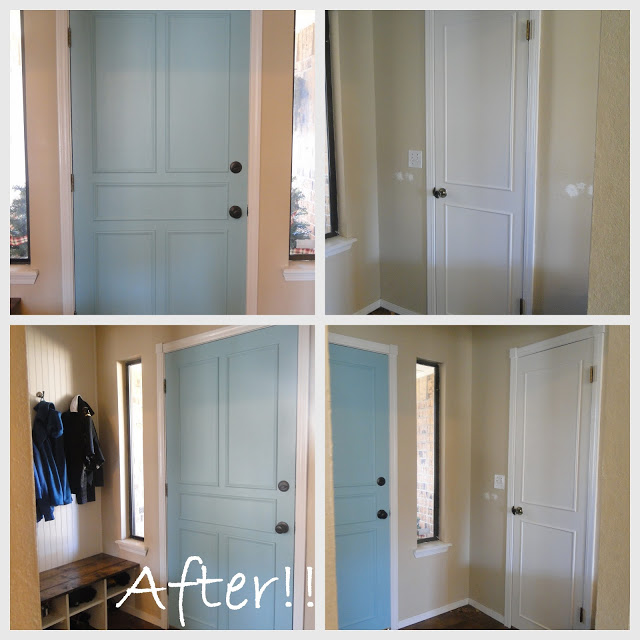
And here is the glorious after…
These pictures were both taken during the day with the same camera settings – look out the side window same daylight. I can’t even believe the difference!!! (The almost done part is referring to the holes I patched when I took out the hooks I no longer needed – apparently I no longer have that wall paint so I have to go get more – grrrr.)
The front door is now the same color inside and out. When I painted the first coat on both doors I was certain I had made a mistake – wow that door was really blue…

But, I always like to live with things for couple of days before I bail. I lived with it for longer than that because life happened.
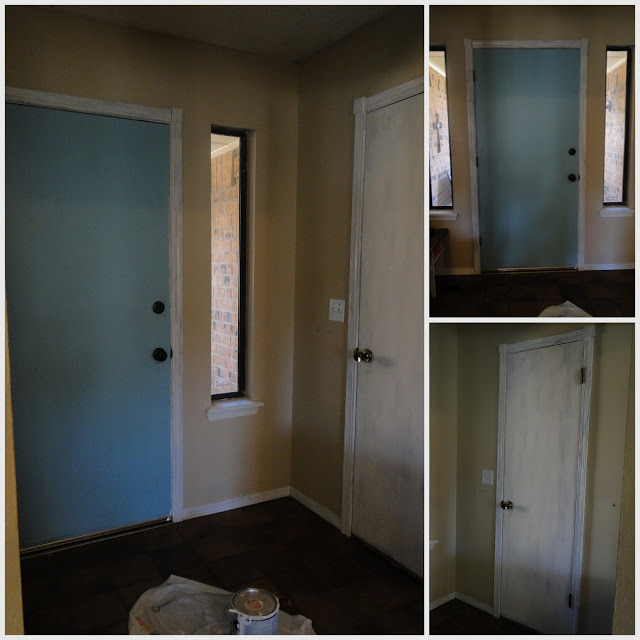
I knew I wanted to add some molding to spice up the plain flat doors, so on a free Saturday I dove in. (Or at least I got started.) I wanted something simple on the closet door, but I knew the front door needed a little more. So I went to Home Depot and looked at doors, I found a style that I like that I thought would be simple enough to go with the rest of the entryway but enough to give it the weight it needed. Still unsure I decided to pull out the painters tape 🙂 I went ahead and cut the molding pieces for the closet door, but I did not glue them on yet, just hung them with the tape.

Again, I was still VERY unsure about the front door, so I took out my design, my tape measure, and my painters tape, and ended up with this…

Which I lived with for several more days. This project took WAY longer than I anticipated and not because it was overly hard, I just had a hard time fitting in time to do it. 🙂
I will be back in a couple of days to share the how to – don’t want to write a novel in one post 🙂 You will be surprised at how simple this transformation actually was!! Lots of helpful pictures of the process – so check back for {Part 2}. If you don’t want to miss it – then pick a way to follow my blog there on the right. Thanks!!
I’m a starter, not always a finisher. The one great thing about writing this blog, and reading so many other fabulous blogs, is that I am inspired to finish. I hope that I can do that for you – inspire you to start and to finish. Because, if I can do it, anyone can!!
Linking up with Carmel at Our Fifth House today. If you are visiting from that linky party check out some of my other painting projects here, here, and here.
Also linking up here at Emily A. Clark


Oh my goodness! Denise, that is a fantastic transformation! Your entry looks like it belongs in a brand new house now! I LOVE moulding…can't beat it to update a tired door! Super job, can't wait to see your how-to!
LOVE that blue color!! So pretty! 🙂
I found your blog thru Jennifer at Dimples and Tangles! I love love your door transformation. What a genius idea to check out doors you liked at the store first! Looking forward to reading your future posts!
Thanks for the visit! 🙂
What color is the blue paint? Very pretty!
It was a mistint that I picked up for the bargain price of $7.00 for the gallon. Sorry no name or numbers on the can 🙁
What a difference it makes!!
http://www.mommymandymusings.com
Love the blue door! I'm getting ready to paint mine and trying to decide what shade of blue to go with. Love the softness & lightness of this blue! Looks great 🙂
– Lora
That turned out great. I love that you added the details. Came over from the Paint It! Party. xo Kristin
I love that you went with blue – it turned out perfectly! And I love the trim you added to both doors.