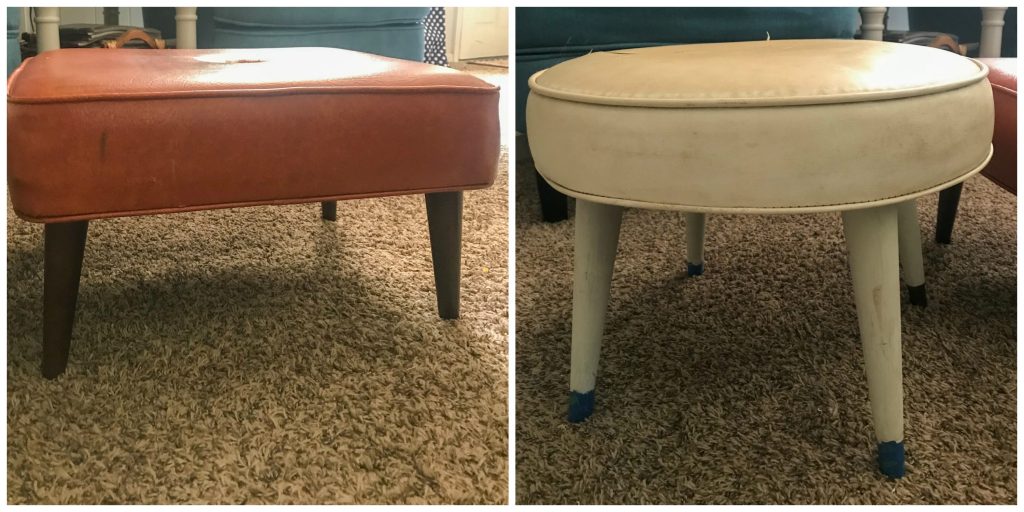
Hey there friend!! Today, I am bringing you a much anticipated DIY! Well, maybe much anticipated by me and maybe even my family, but I’m sure you will enjoy it as well! A while back a friend gifted me with these lovely ottomans. I knew from the start that I would recover them, but at the time I didn’t have a place to put them.
Some affiliate links used for your convenience. See disclosures for more details.
Then, I purchased these chairs, and for months hubby complained about not having anywhere to put his feet. We are a foot rest kind of family. Feet on the coffee table is just a thing. Maybe because we had a large ottoman there for a long time. Who knows?? Anyway, back to the complaining. (ha) One day I remembered these ottomans that had been collecting dust in my garage and I decided to dust them off and bring them inside just to see how they worked.
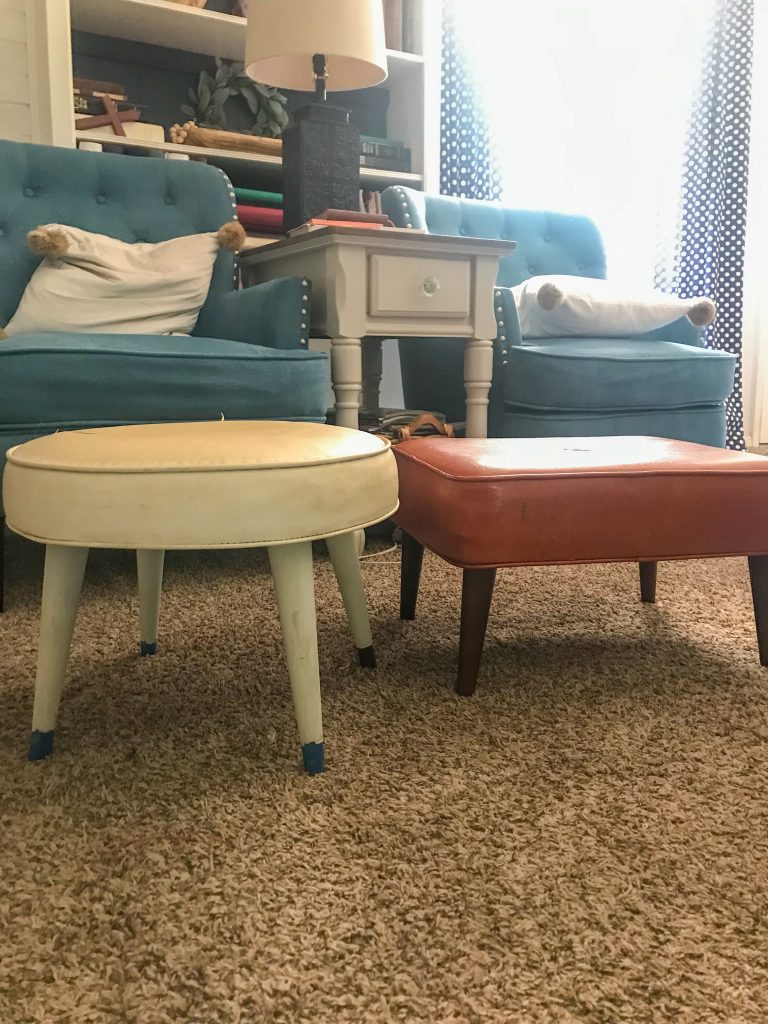
They were great! Ugly, but great. 🙂 I have to be honest and tell you that they sat in my family room, being used, as is for SEVERAL months. One night I finally got the itch to start work on them!
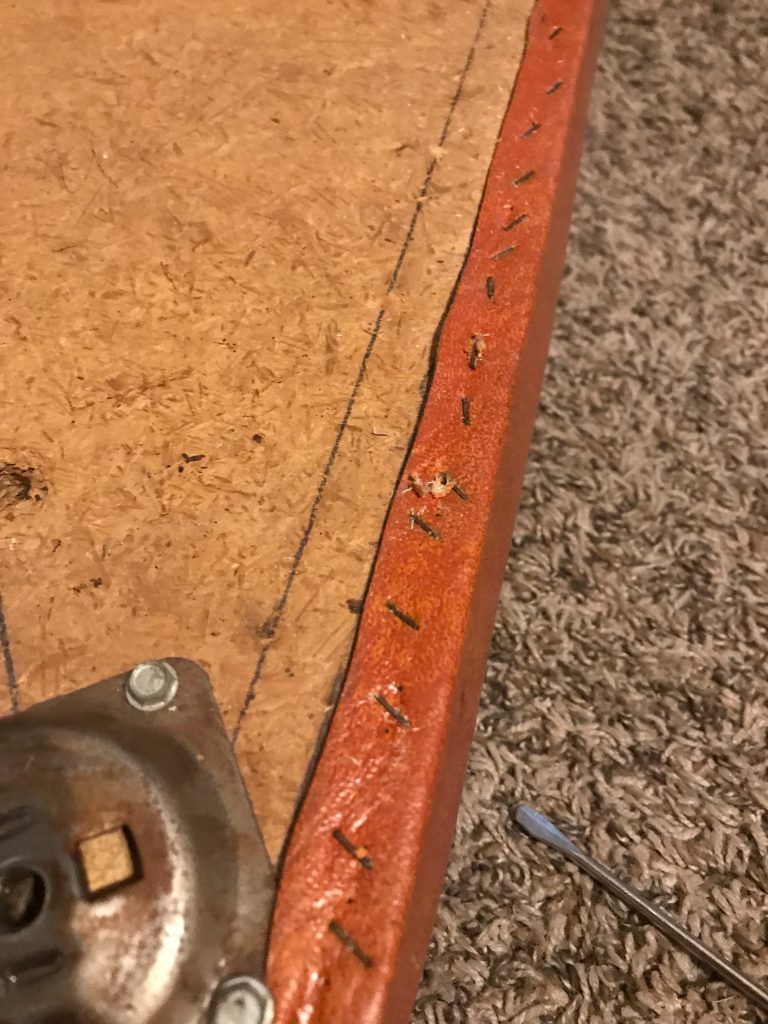
I started by removing the vinyl covers. Which meant pulling all those staples. Yuck. Not a fun job and really no easy way to do it that I’m aware of. Although while I was looking for the stapler link I found this tool which would probably make the job a LOT easier. Who knew!
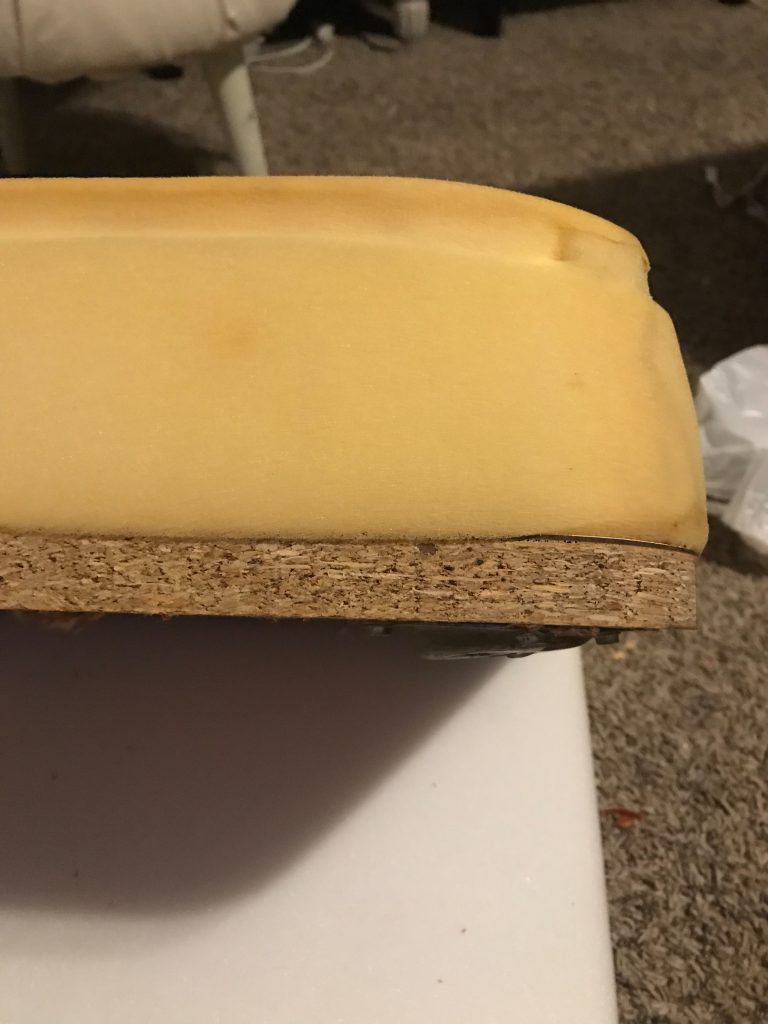
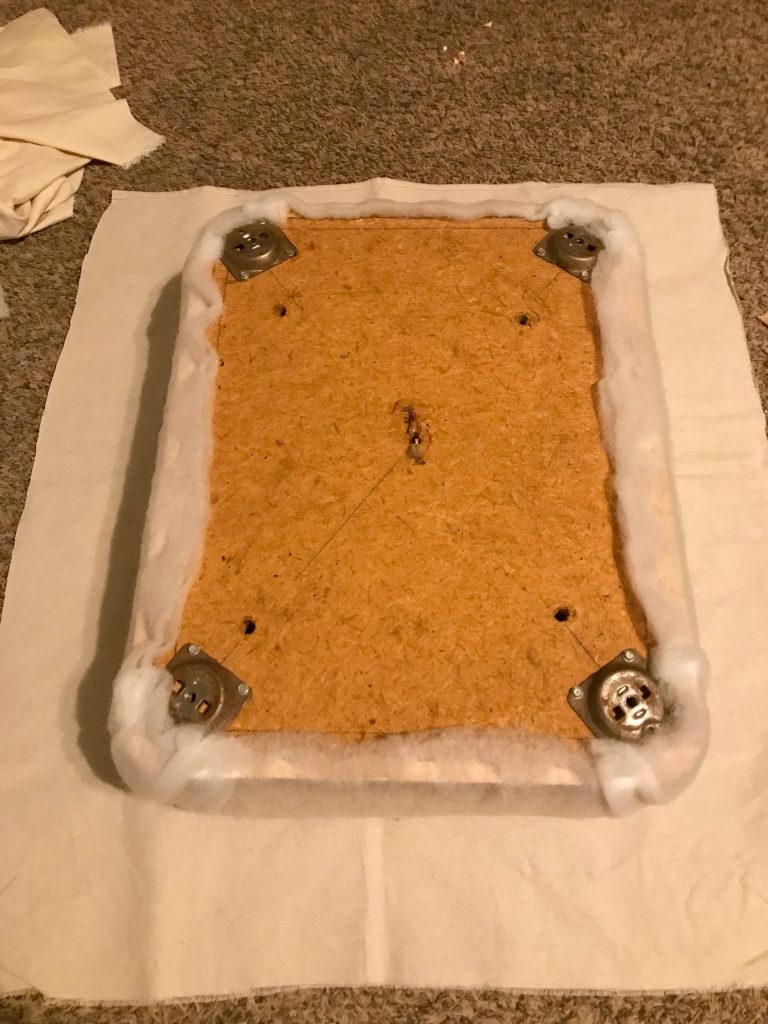
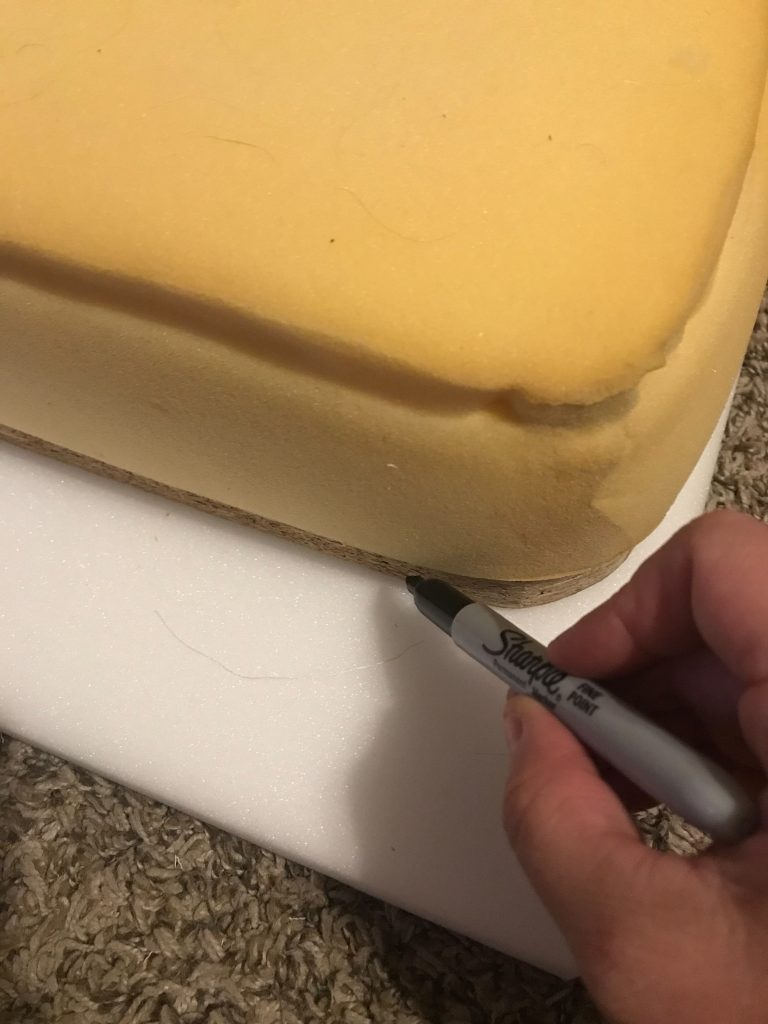
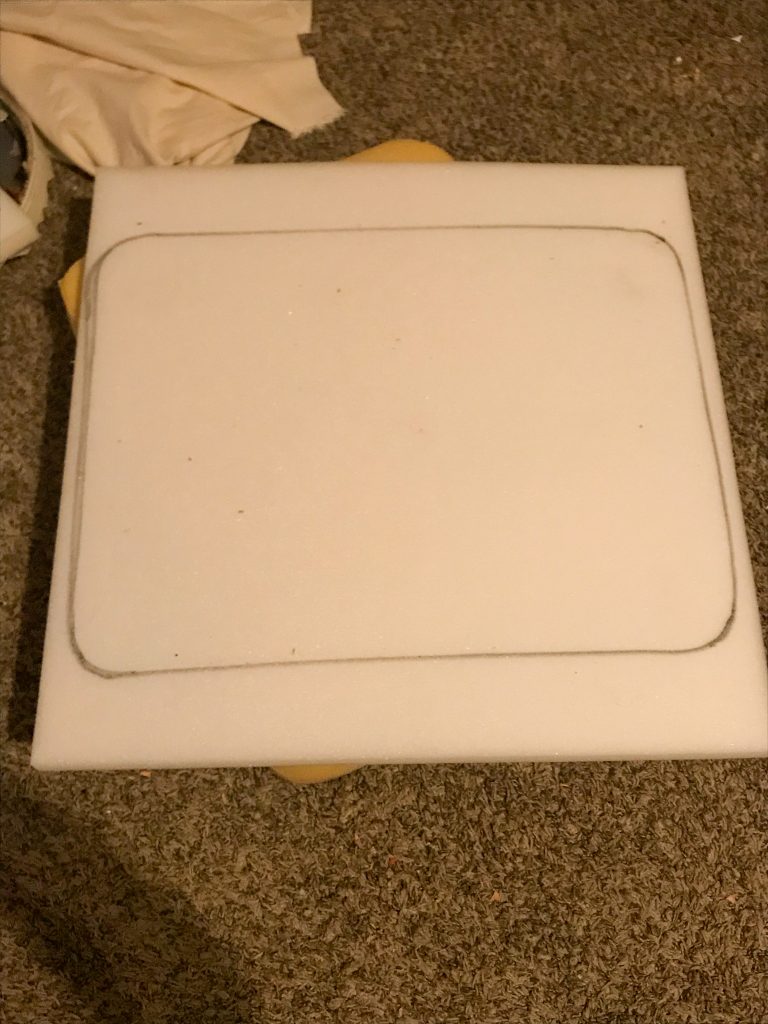
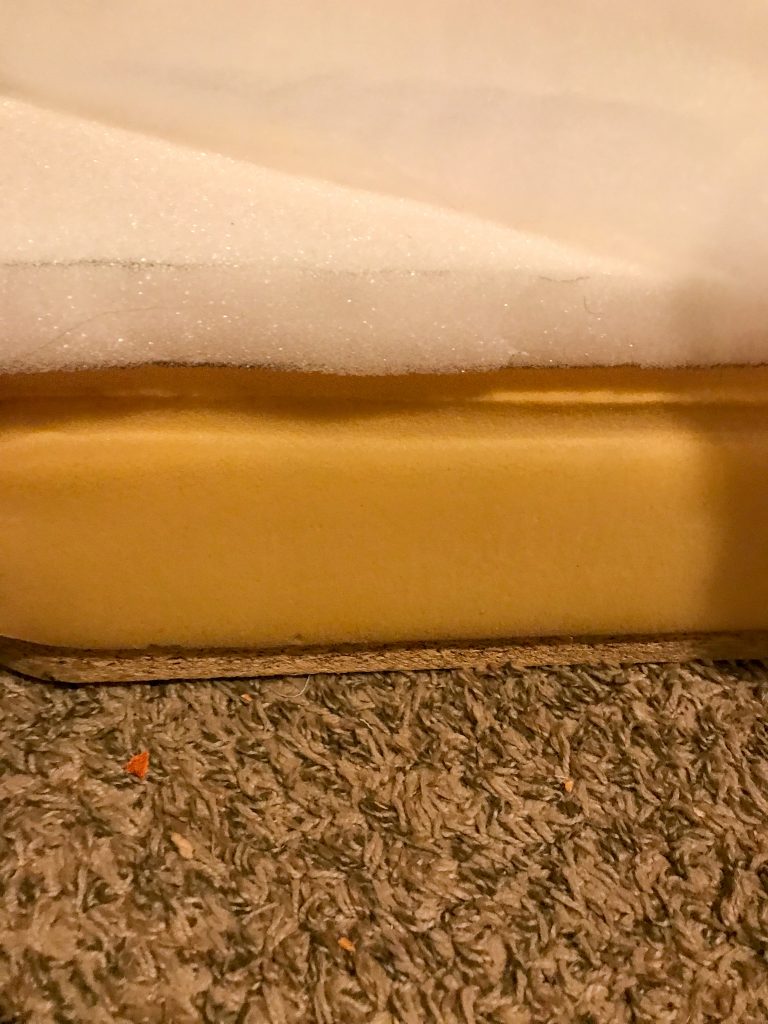
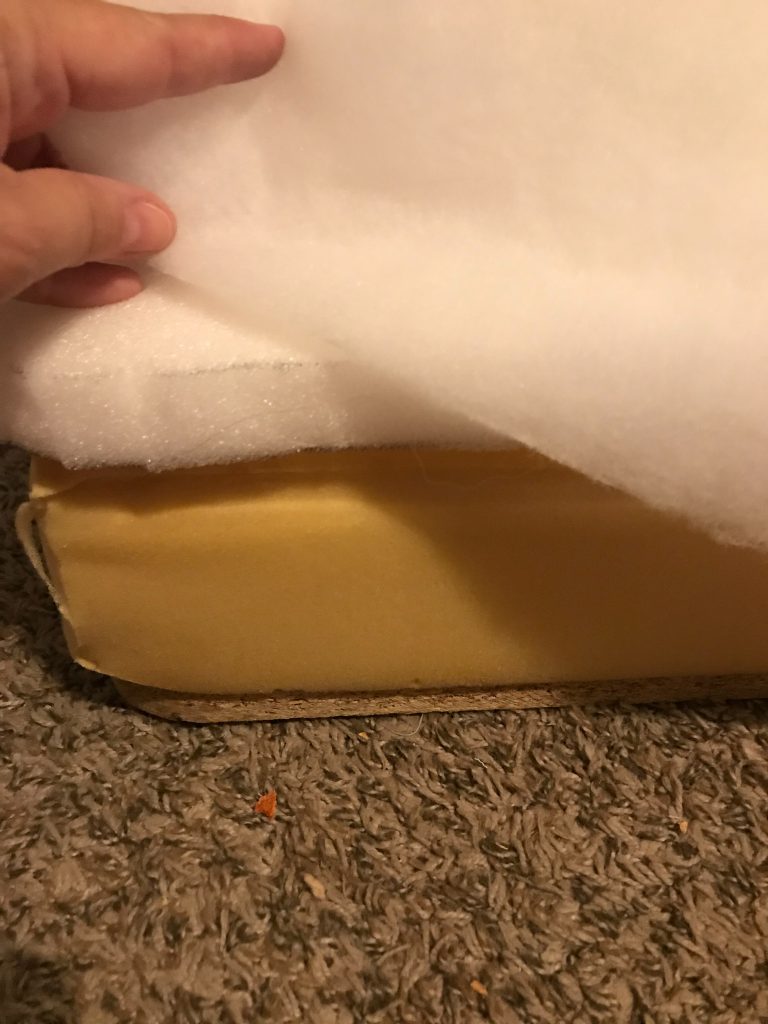
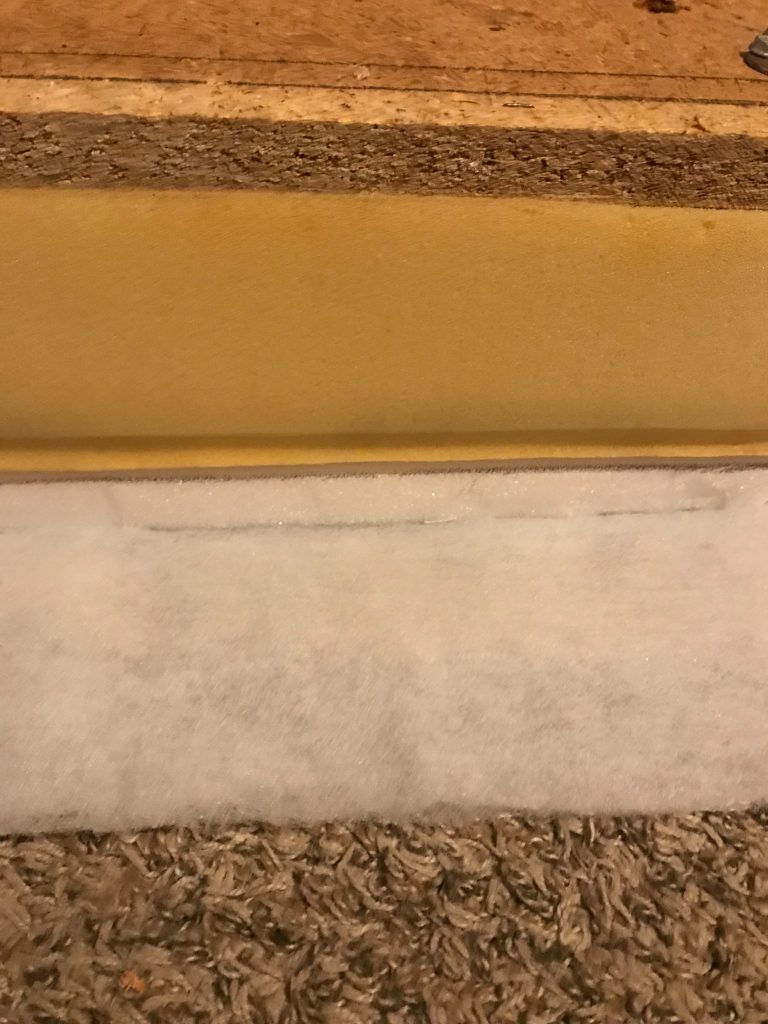
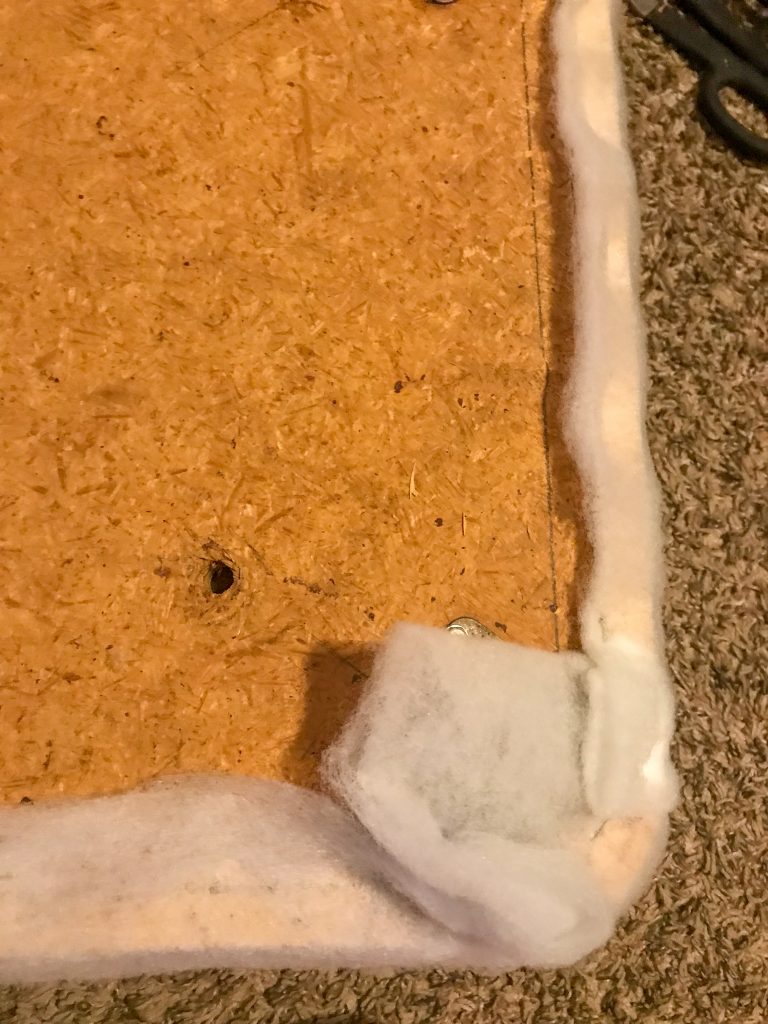
The base and foam underneath were still in pretty good shape. But, I decided to all a thin layer of new foam (1″ foam cut to size), and a layer of batting just to soften and fill in anywhere that was needed. I secured all of that by stapling the batting to the bottom board. Here are pictures that basically show the process. First I traced the shape of the ottoman – using the wood bottom – onto the foam.
When you are ready to secure all you layers, you will want to turn everything upside down where the wood bottom is facing up.
I decided to create a slipcover for these instead of just straight covering them. I’m not the best at reupholstering, so this would allow for some imperfections. So, for this first part I just used some dropcloth canvas that I had on hand to cover the foam and such. Stapling all that to the bottom board as well. This is the staple gun I have.
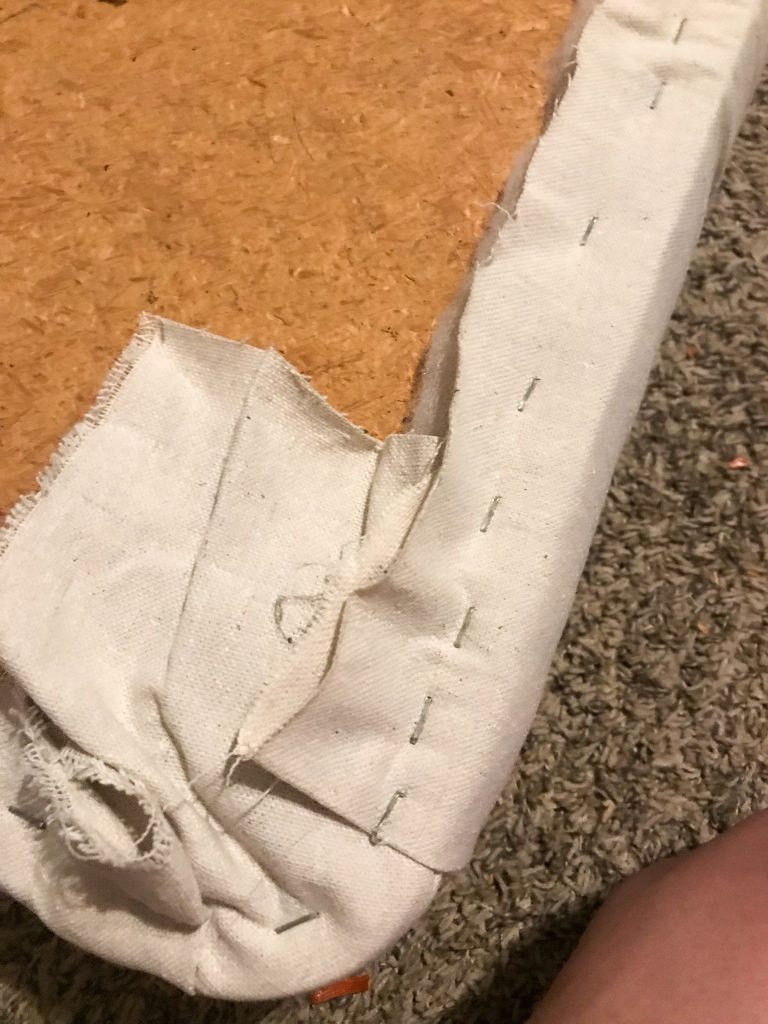
When I finished that step, this is what they looked like.
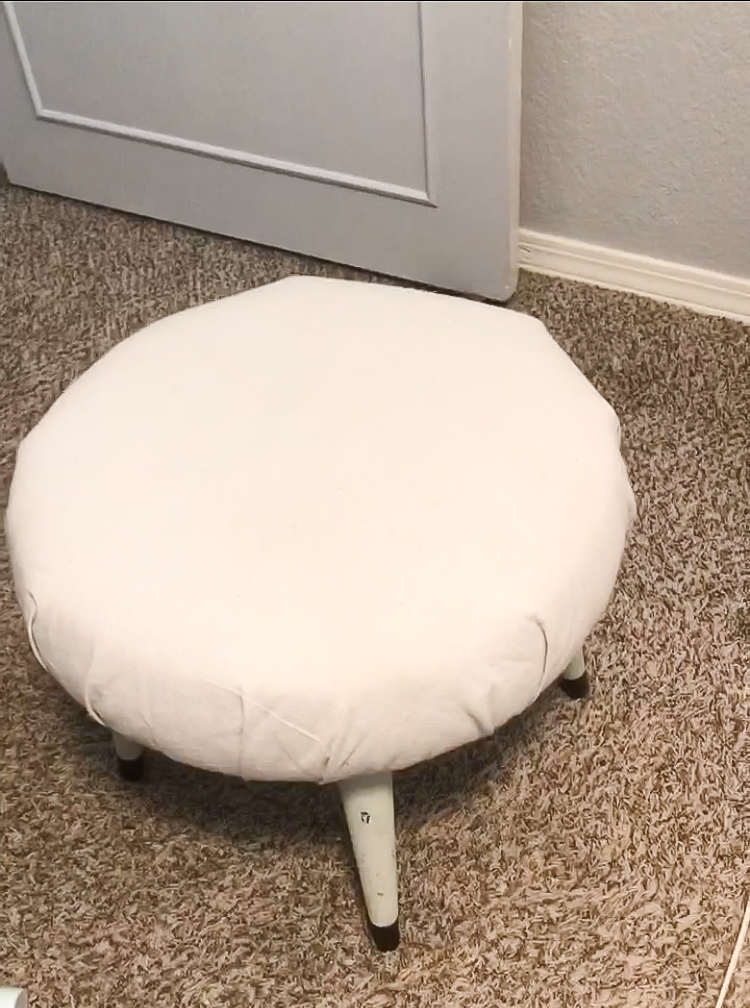
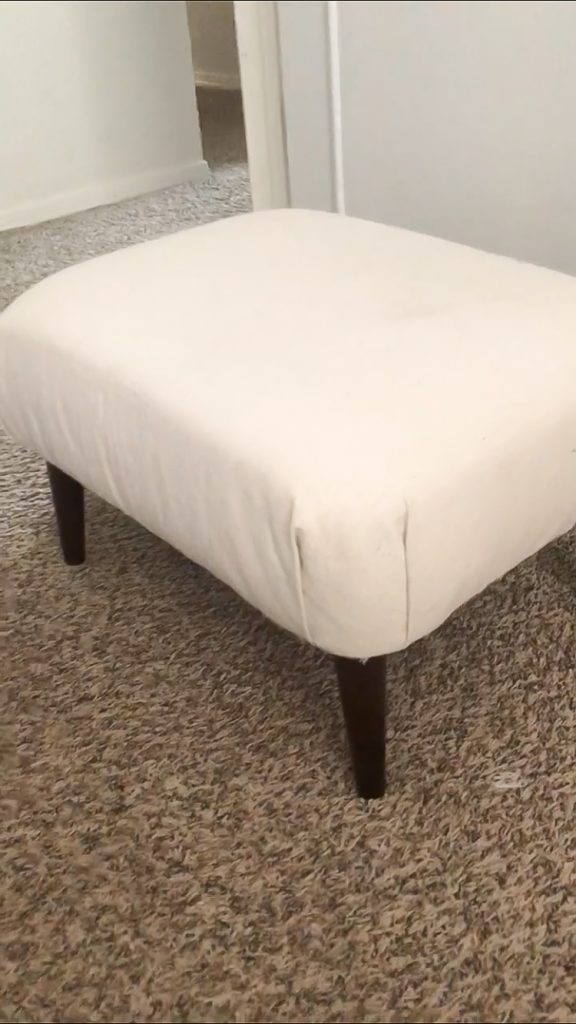
I have to be honest again and say that they sat in the living room, being used, just like this for about another month. I finally decided to make the slipcover (I even shared some of the process on Insta stories – saved in my highlights under “Ottomans”). And, I LOVE how they came out. Exactly as I envisioned or maybe a little better even!! You may have noticed that I also redid the legs on the round ottoman. My friend had chalk-painted them so I just sanded that off and stained them to match the legs on the other ottoman!
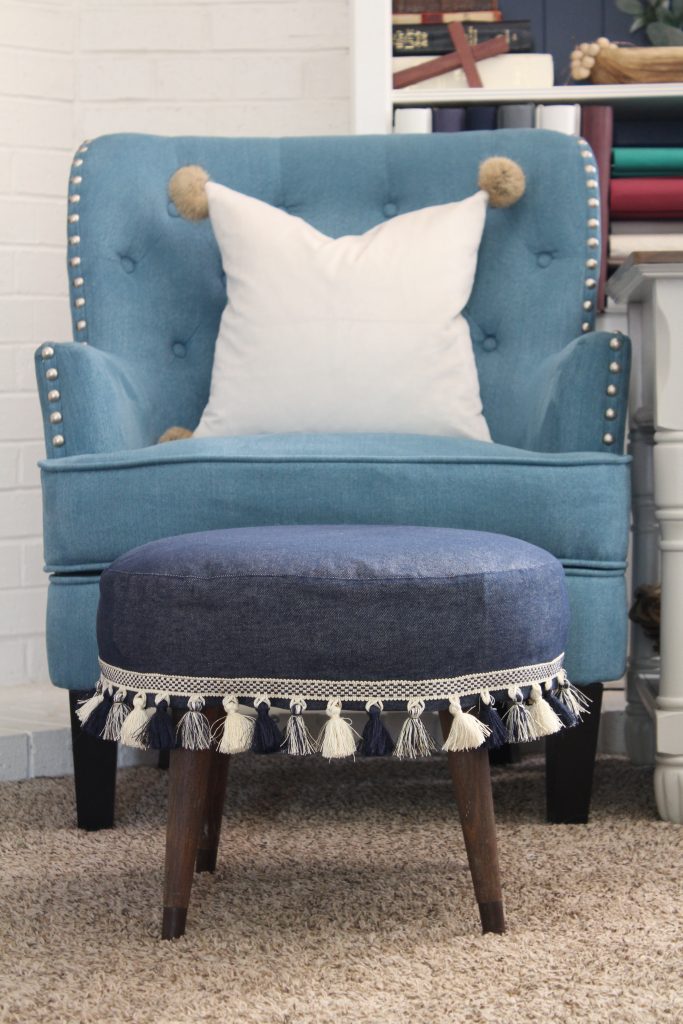
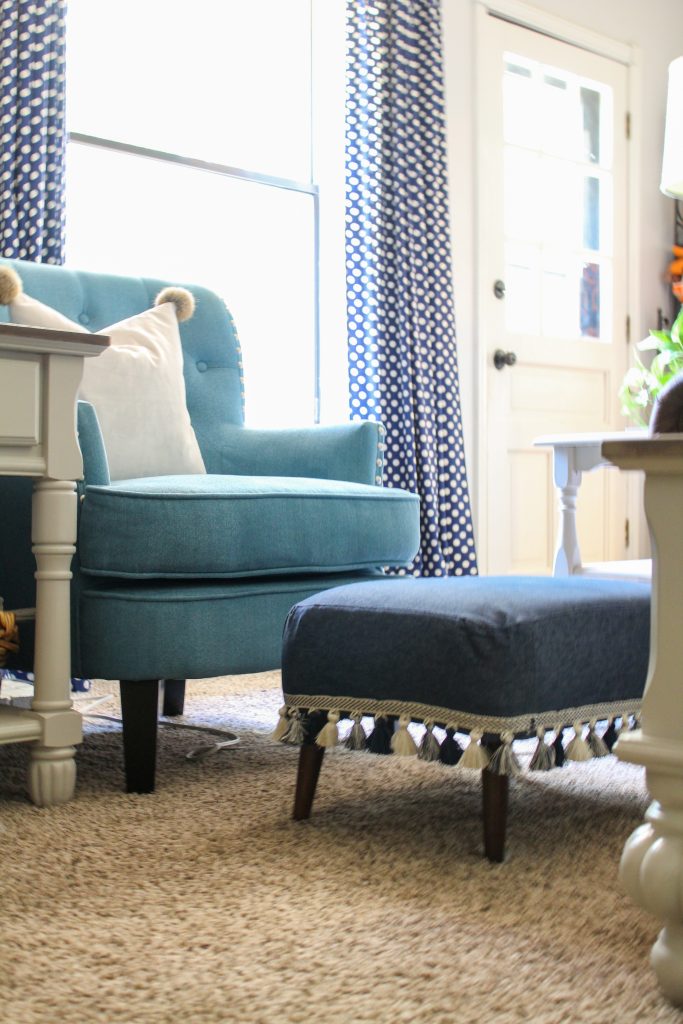
I love that it’s a slipcover because they’ll be easy to clean, and easy to change out if I get tired of these.
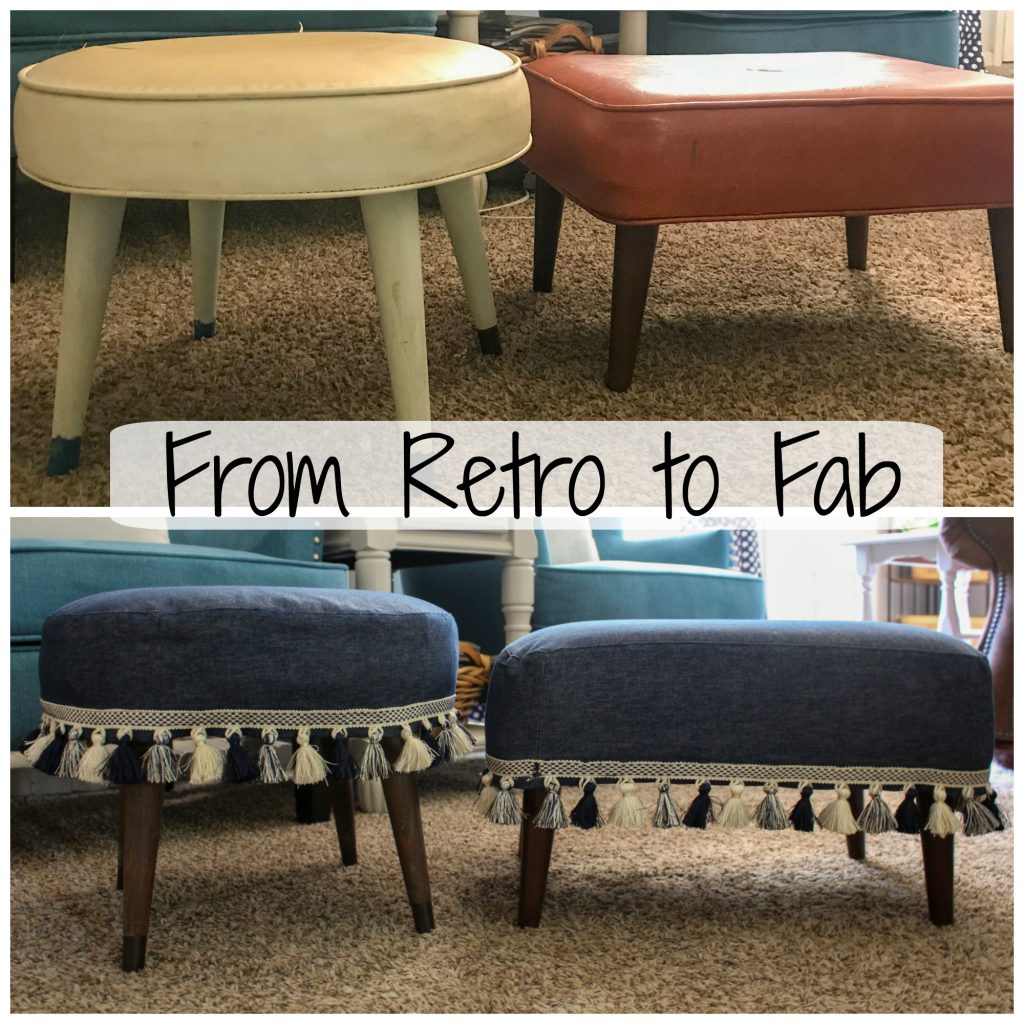
The trim came from Hobby Lobby, and I think it’s just enough to dress them up and make them fun!
Hope this photo-loaded post was helpful!! Have a great day!!



Leave a Reply