Hey friends! Like many of you we have had somewhat of a stutter start back to school this winter. One day of school, and then snow. Four days of school and then…sorta ice. My girlie went back to college, but the big boy still has a couple of weeks at home. Honestly I don’t know what day it is most days. This mama is ready for a little bit of a regular routine for a good while. I’m ready to get back to DIY and crafting and projects. I have so many things swimming around in my DIY mind! Ha! Maybe you saw my insta-stories last on Monday, where I shared a lot of those things!! I finally got out of the house and made a trip to Home Depot for supplies for a simple project that I finished in a day! And, today I’m sharing with you!
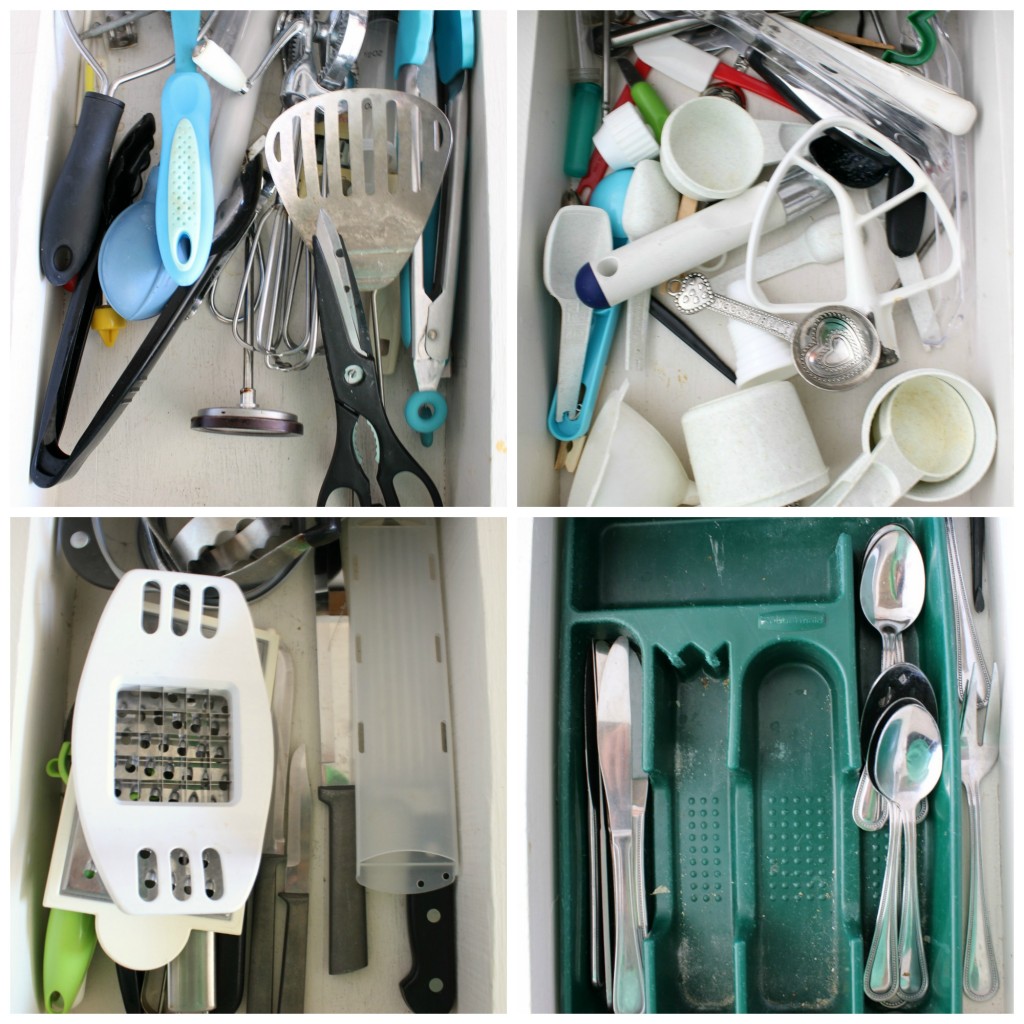
Ever since we painted our kitchen cabinets I have been wanting to tackle this project. I knew it was totally doable, I just never got around to it. You know, something else always got in the way. Not this time! First, how about some befores. (don’t mind the crumbs and the hunter green silverware tray that I’ve had since we got married)
Not terrible, but for this organizing junky – not good. So, I started with just a few supplies.
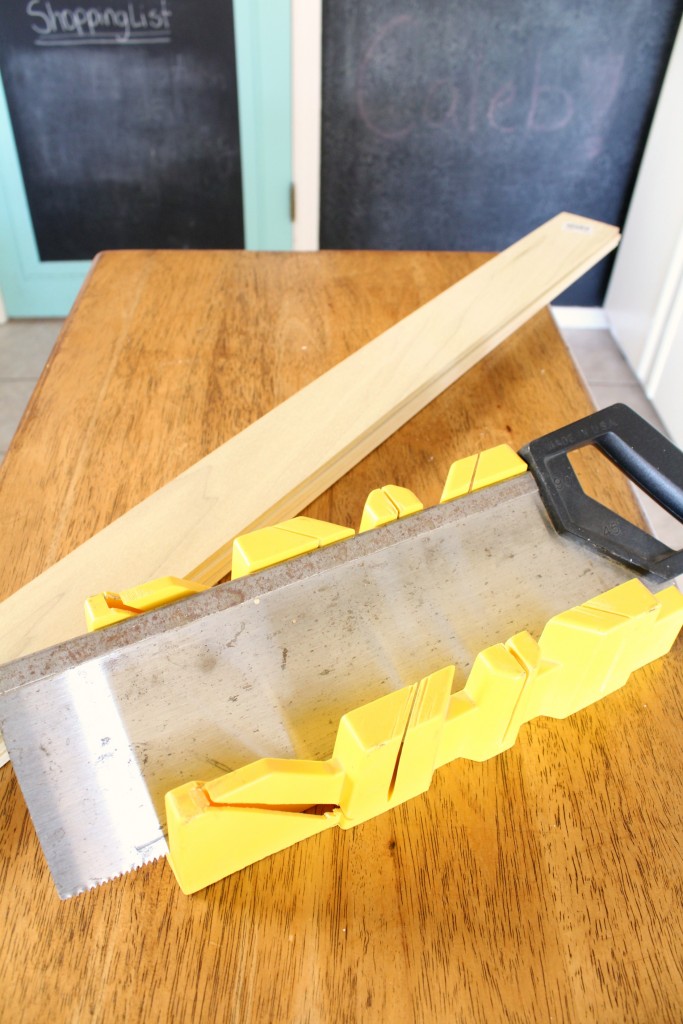
Hobby wood – poplar I believe – (found in the lumber section in little cubbies below the pine boards and such), wood glue, and a miter box and hand saw.
You could totally use a miter saw for this and it might be a little quicker, but I don’t have one, and the miter box and hand saw worked just fine. (it was my workout for the day 😉 )
Basically I sorted through the items in each drawer, took out the things I no longer wanted or planned to store in a new location, put things together with like items and similar sized items. Then, I simply measured and cut the boards to create dividers for each section. Click play on the video below to see the progression.
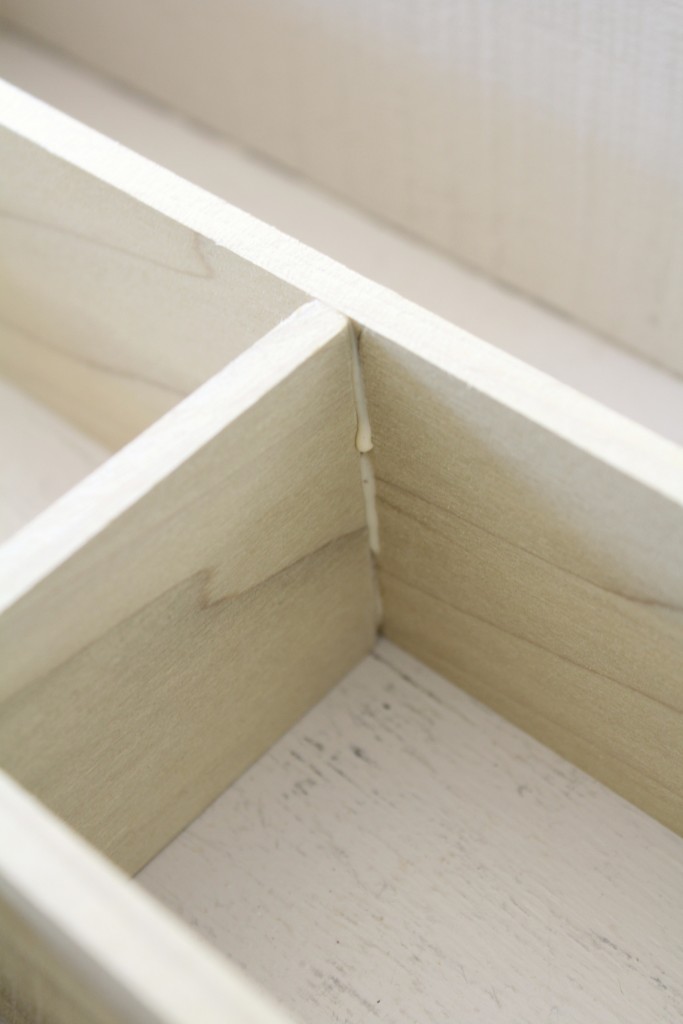
I used wood glue to attach the boards at the ‘joints’. I did not attach the dividers to the drawer because I liked the idea of being able to remove the whole thing to clean the drawer out. We will see if that lasts. Most of them are pretty tight in the drawer, but some of them are a little wiggly. If that bothers me then I’ll attach them to the drawer later.
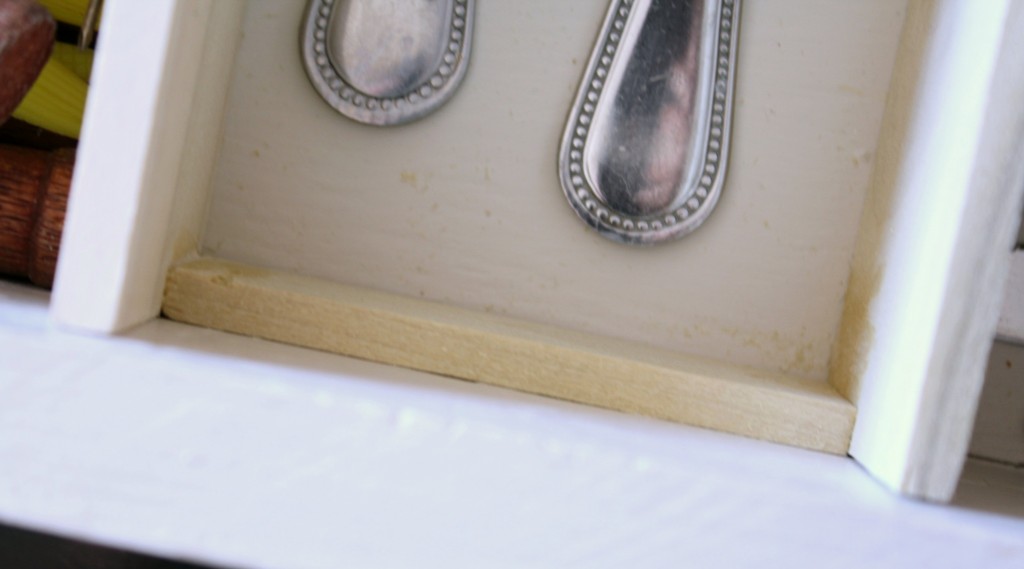
A couple of places were super wiggly, or weren’t attached to anything, so I added a small support piece to help hold things in place.
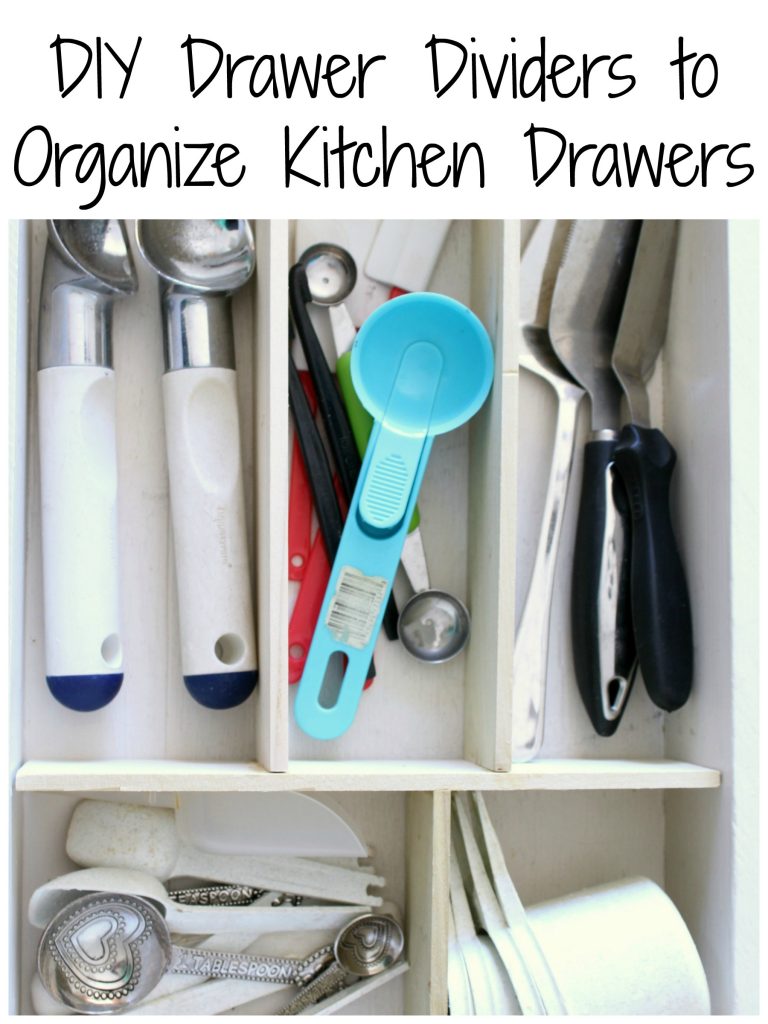
Here are the rest of the before and afters of each drawer.
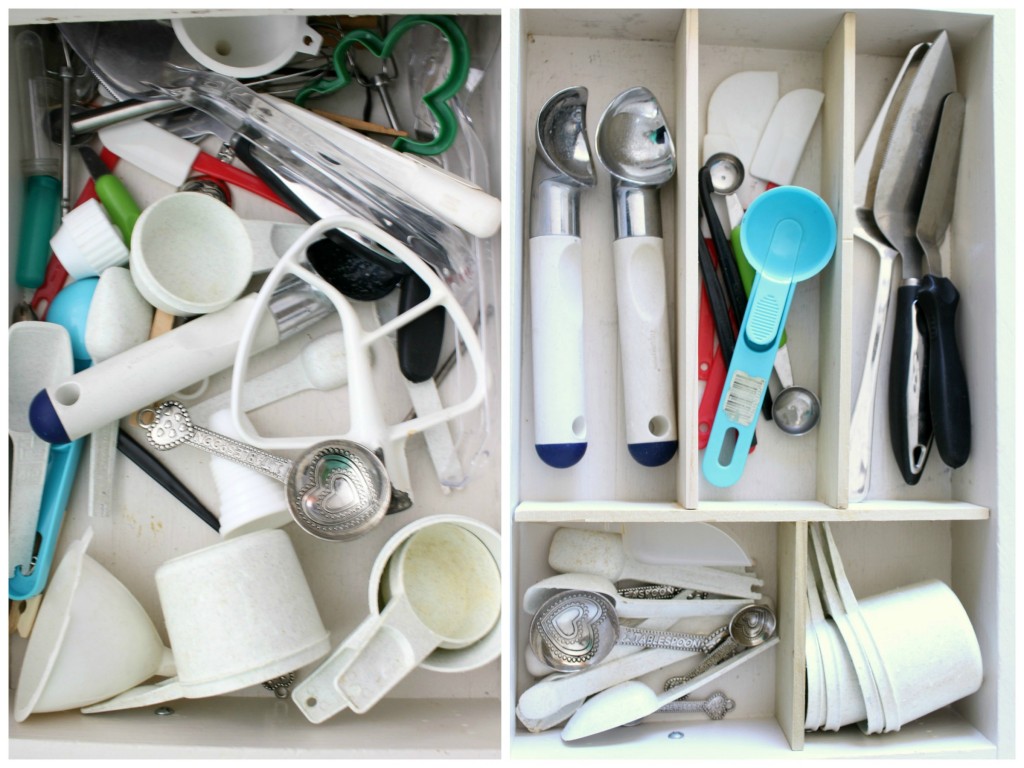
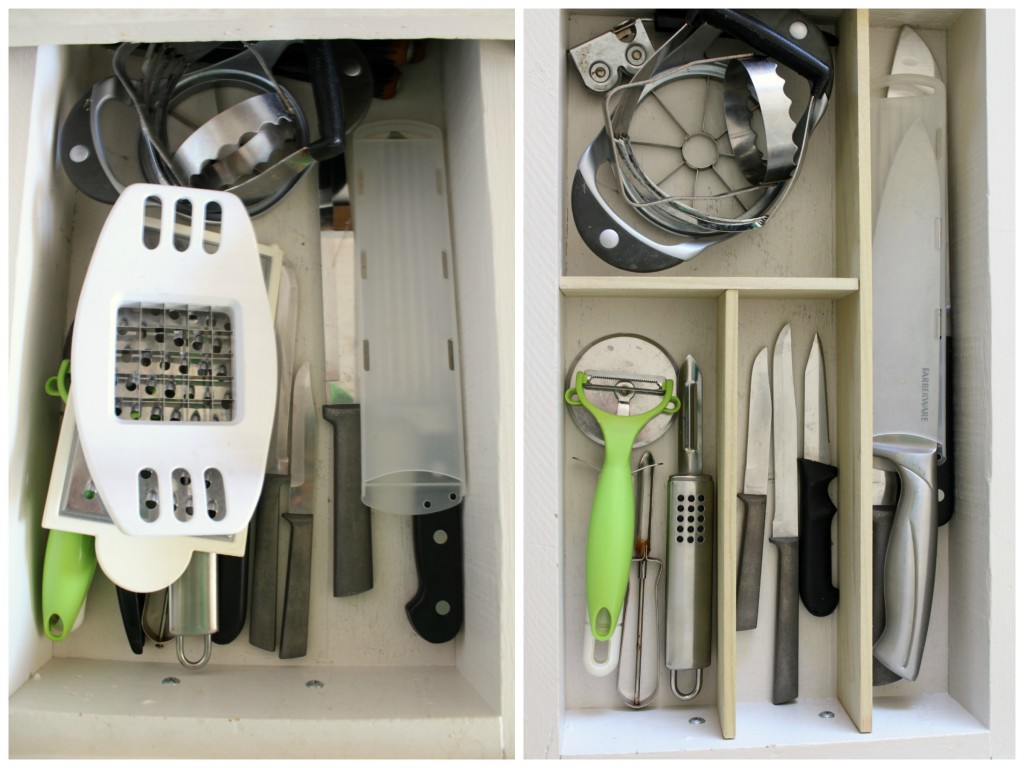
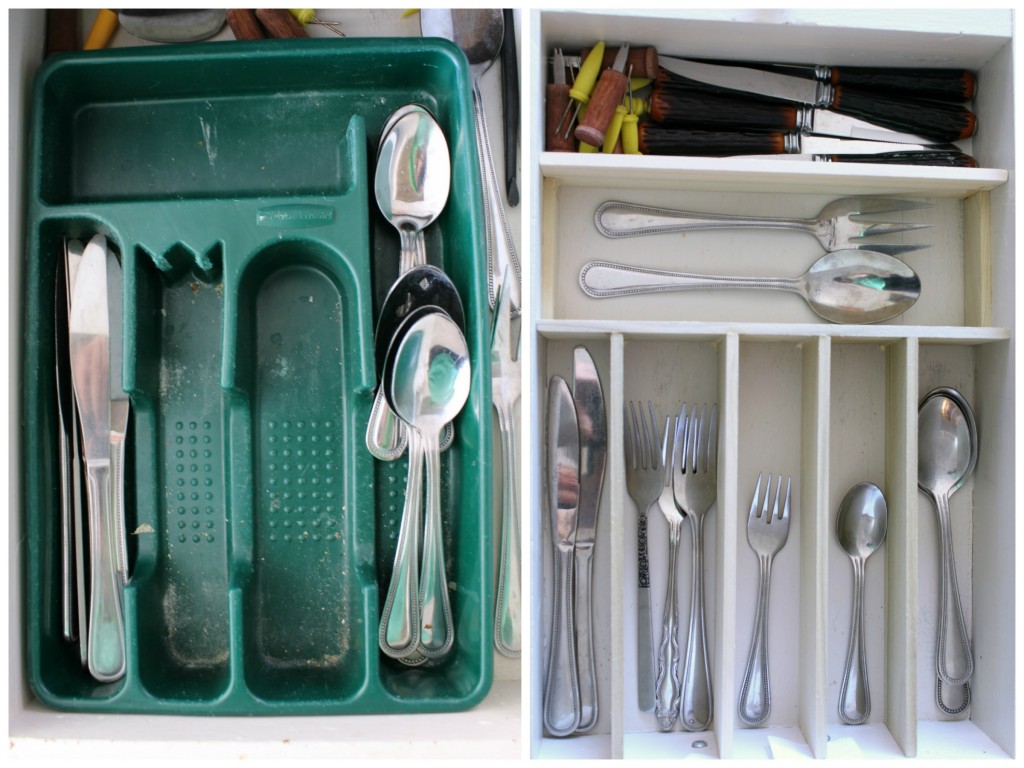
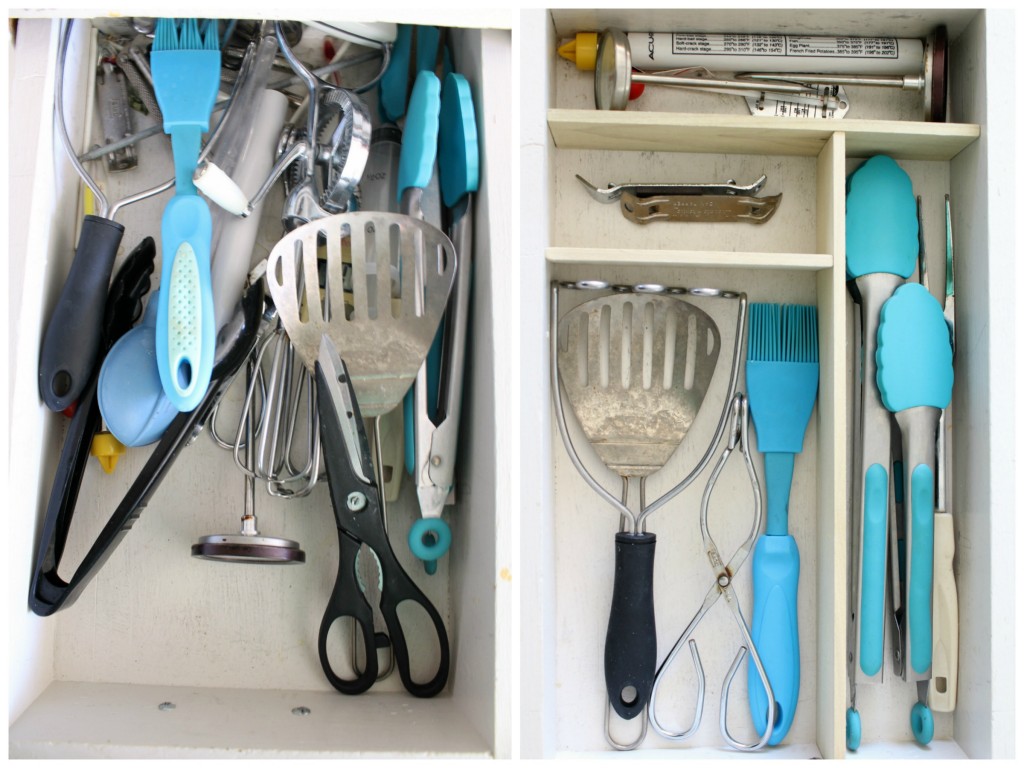
So much better now right??
Seriously, any amateur DIYer could do this! I used 4 full boards and part of a fifth. I had the glue, so my only cost was the wood which totaled up to $20 for 5 drawers. Not bad really. I have looked for years for drawer dividers or organizers and I have run into two problems – the inexpensive ones don’t fit right, and the custom ones are too expensive. So this was a great alternative!!
Linking up with Wow Us Wednesdays / The Creative Circle / That DIY Party / The Creative Gallery / Inspire Me Monday / Inspire Me Tuesday / Tutorials & Tips Link Party / Totally Terrific Tuesday / The Inspiration Gallery


Ahhhh so much better Denise!! I love it!
Right??? Thanks Lisa! I can’t believe I waited so long to get this done!