I’m sharing my first Fall post with y’all today! The weather is definitely starting to cool around here and I’m getting the itch to pull out my pumpkins and sweaters!! “No Spend September” has me DIYing this fall project.
Some affiliate links used for your convenience. See disclosures for more details.
I found this flag at Kirkland’s and loved it. And, even though the price wasn’t bad at all, it came with the metal flag stand. Which I already have. So I thought it was a little ridiculous to pay for something I already have. So, I decided to make my own flag. I had made one before and it had held up pretty well so I knew it was totally doable. And, I knew I had everything I needed at home! Score! No spending needed!
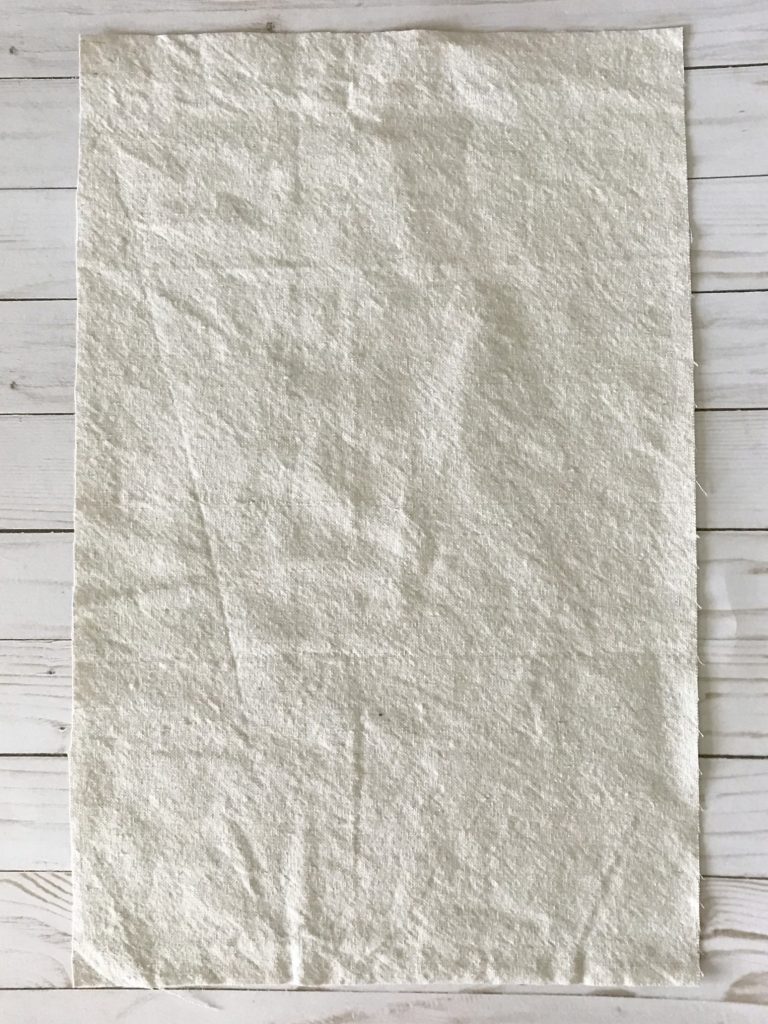
I started with some dropcloth fabric and cut it to my desired size (the same size as the inspiration flag), adding an extra 2 inches in width and 3 inches in length (for hemming and casing).
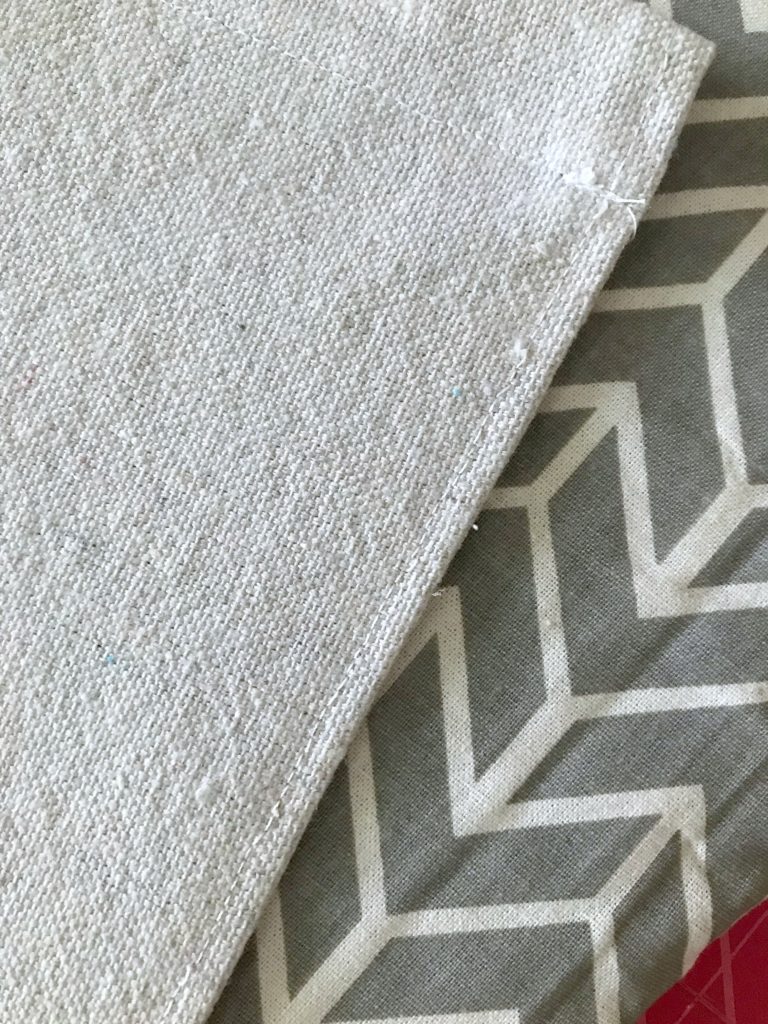
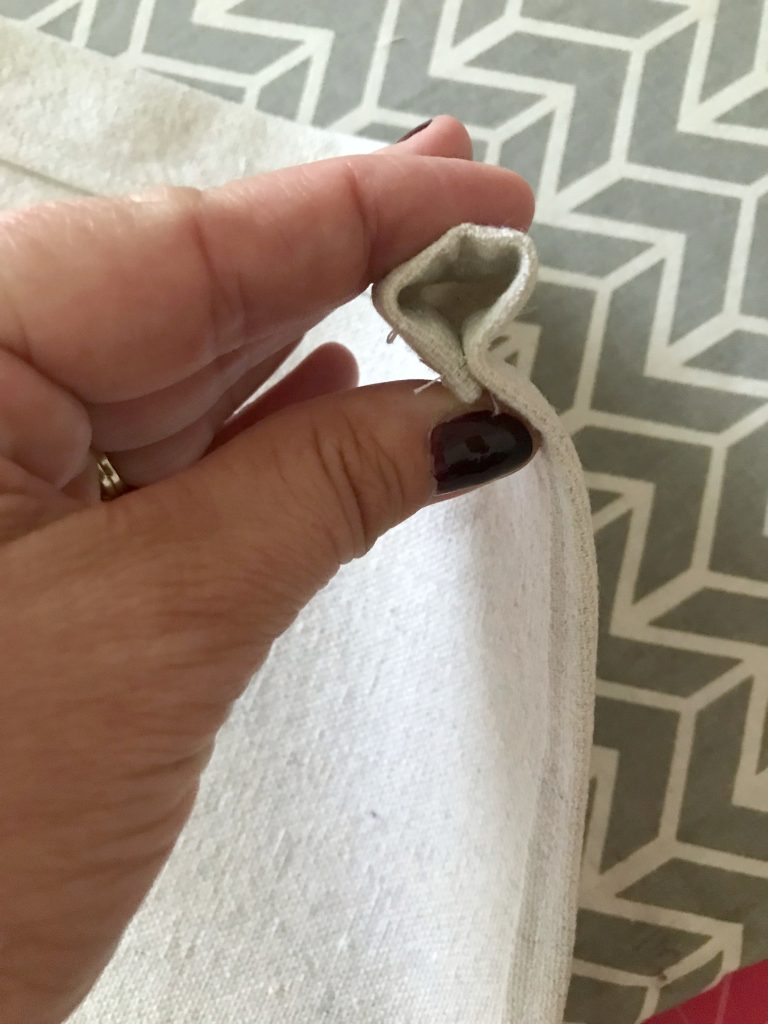
Next up was hemming the flag. I just used a simple rolled hem.
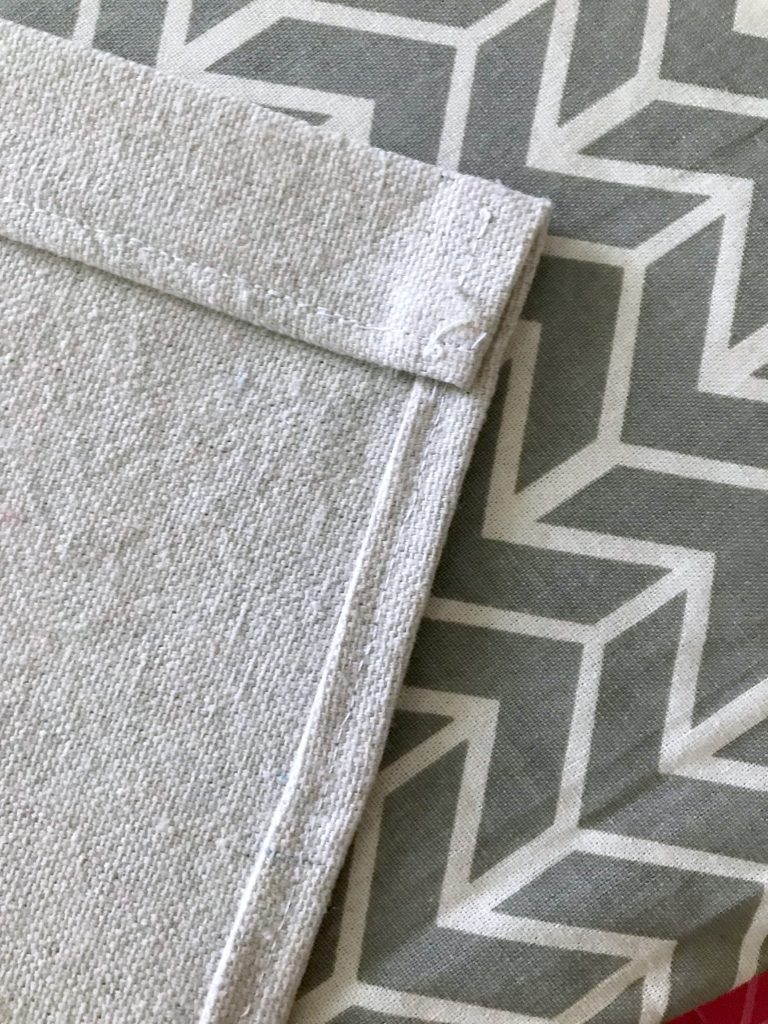
Then, adding the casing for the flag ‘pole’ to go through. I made the casing about 1 inch.
After the base of the flag was ready to go, it was time to make it cute! My family gifted me with a Cricut for Christmas this last year. I’ve used it a few times, but I have to admit, I’m still getting the hang of it.
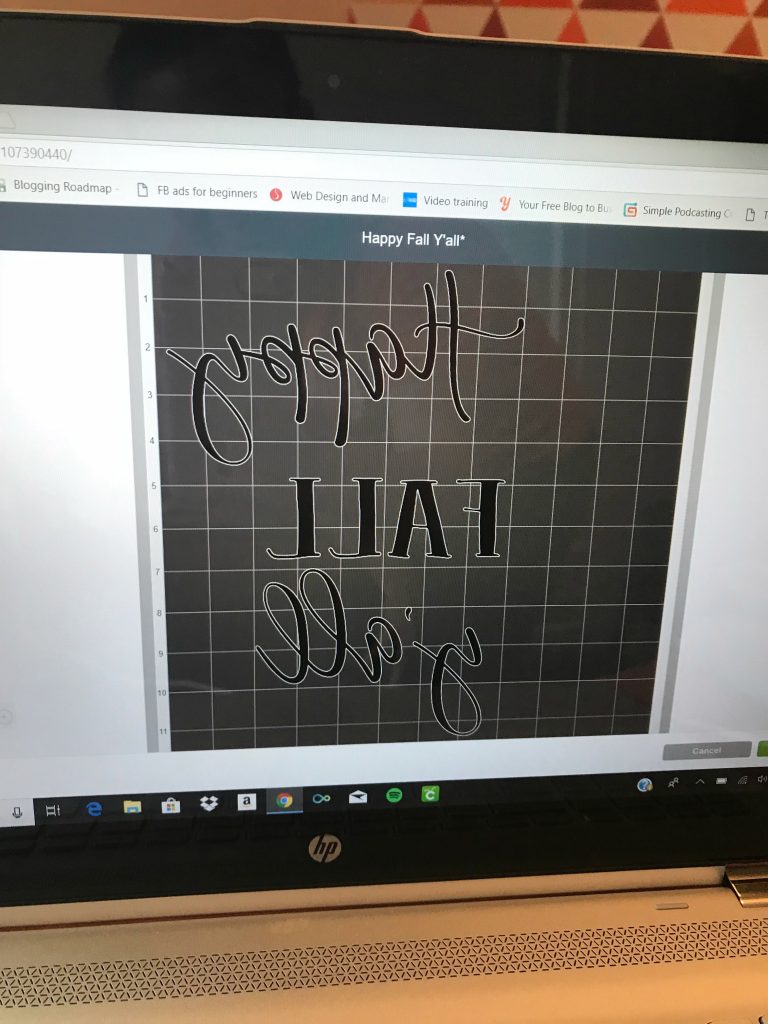
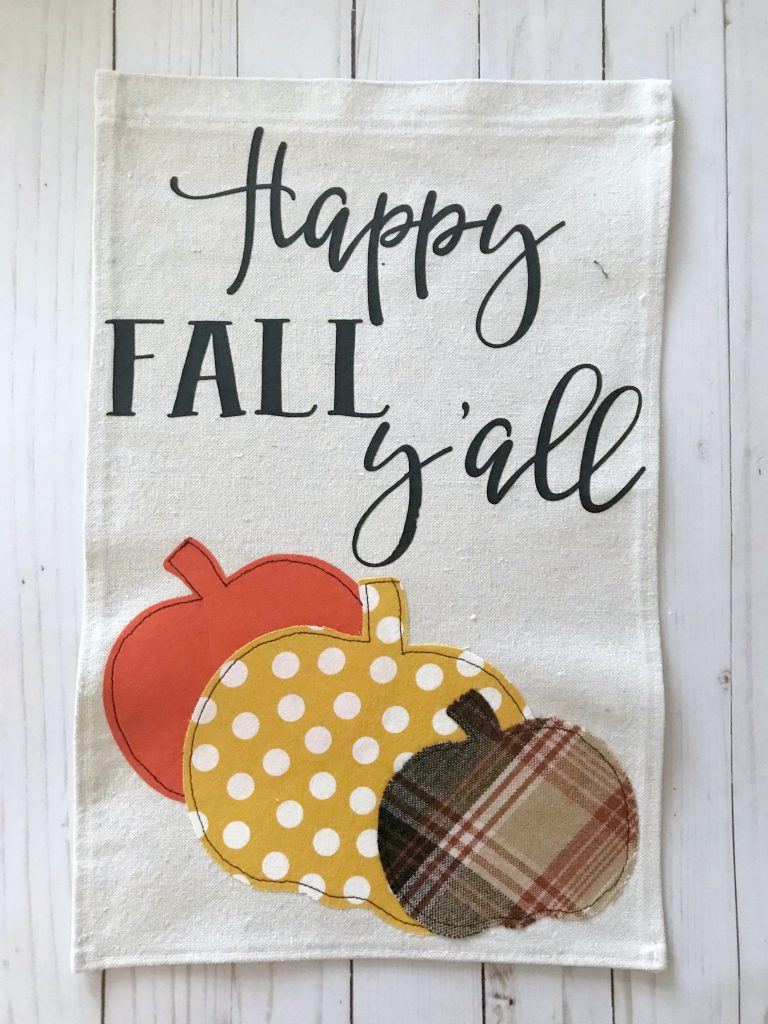
I found a free downloadable SVG file that said “Happy Fall Y’all” and I downloaded to the Cricut design space. You can find these designs for free all over the internet, just search Pinterest! I actually had spent a good hour trying to figure out how to design it myself. This is not my gift, so finding one someone else had done was way better!! I was able to tweak the design to fit my needs which was another plus. I’m not gonna give you a tutorial for this since I’m a newbie myself. If you’re still trying to learn how to use your Cricut like me – check YouTube. 🙂
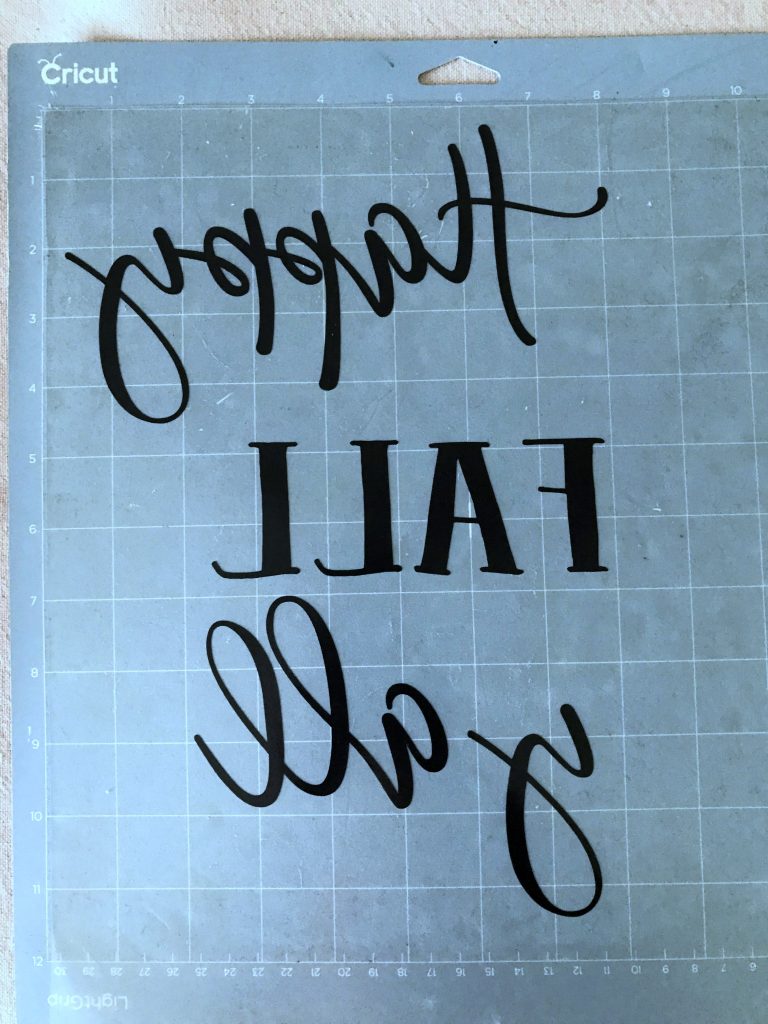
I cut my words out of some iron-on vinyl I had left over from another project.
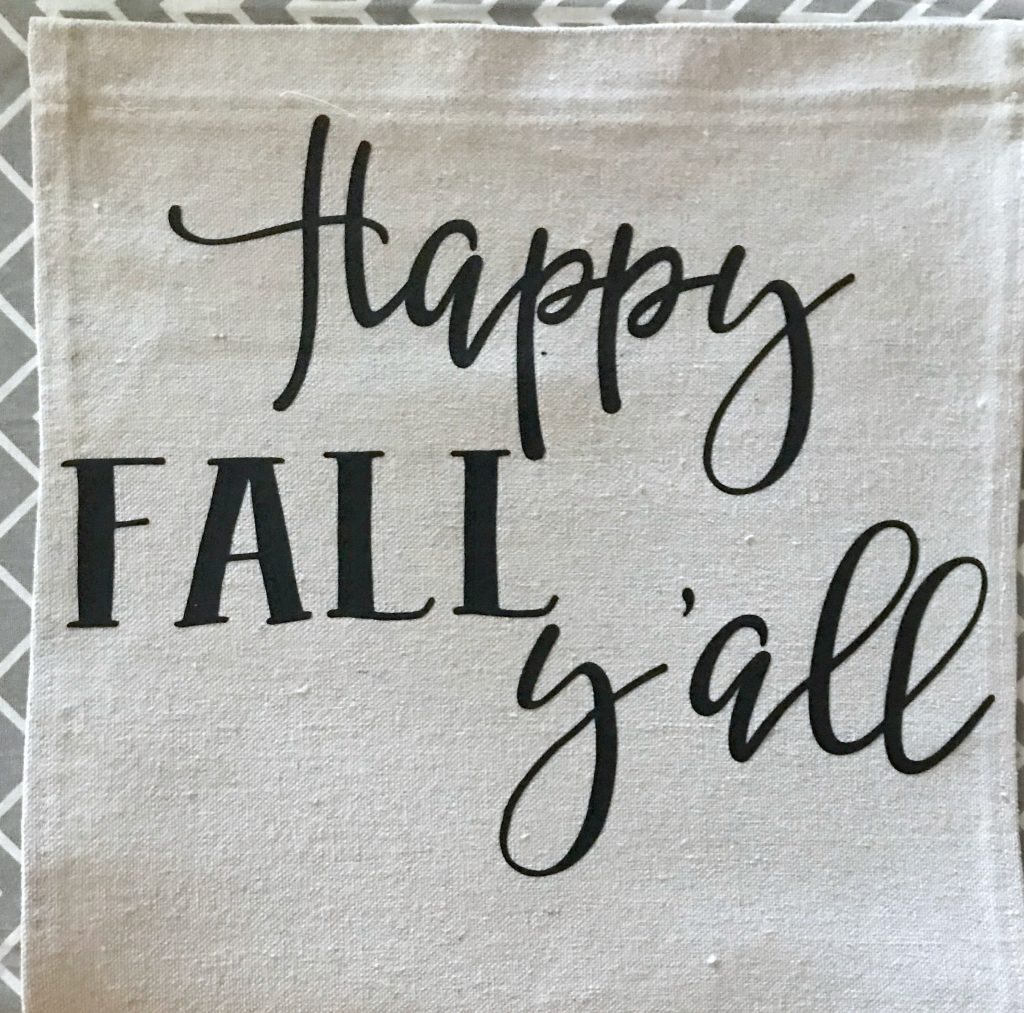
And, then I placed them on the flag like I wanted them and ironed them on.
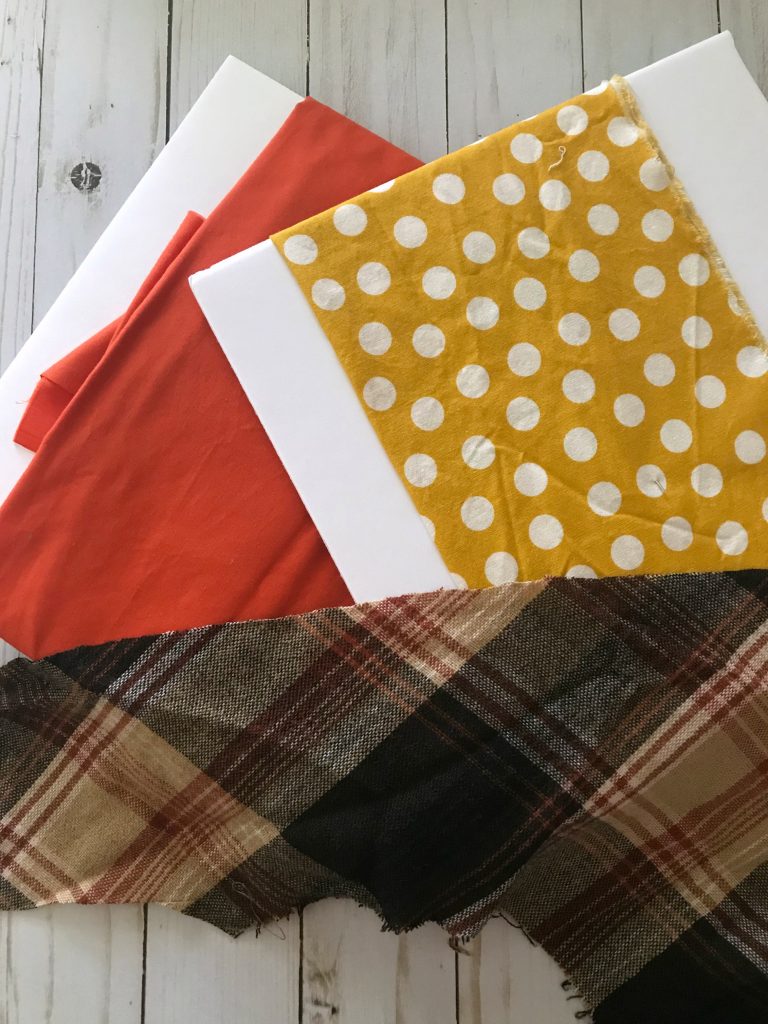
Next up – pumpkins!! I chose some fabric from my stash and got to work!
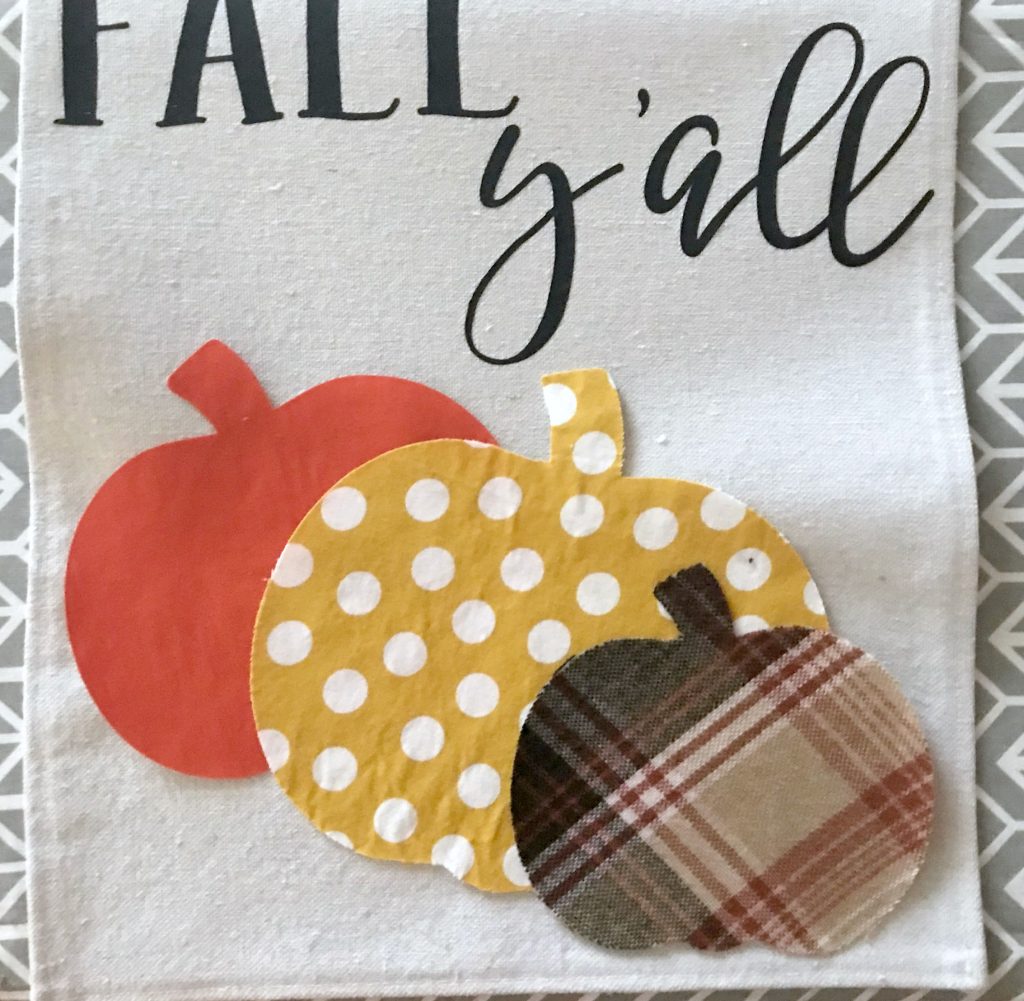
This one was easy. I found a pumpkin shape on Cricut design space and resized it to make the right size pumpkins for each piece of fabric. I don’t have the newest Cricut, so cutting fabric can be tricky but this is one thing I really wanted to know how to do. So, again, I went to YouTube. I bought the right blade, added the heat’n’bond to the fabric and it worked like a charm!
After I ironed on the pumpkins, I decided to add a little detailing with some black stitching around each pumpkin.
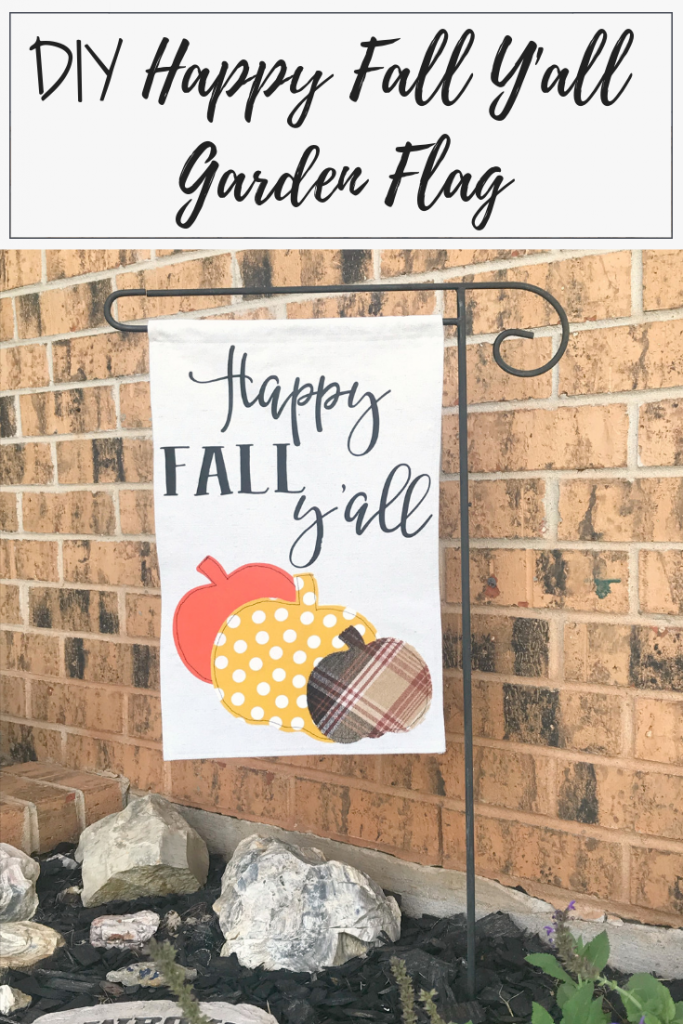
And voila!! I love it even more than the one from the store, don’t you??
This project is totally doable if you don’t have a Cricut! You could stencil the words on with paint, free-hand them with paint, or you can buy already cut out vinyl iron-on letters at most craft stores. And, you certainly don’t need the Cricut to cut out the fabric pumpkins. Scissors work just fine for that!
Fall is coming to the Greenwood house very soon, and I can’t wait!! I’ll be sharing soon! 🙂



Leave a Reply