I have a fun and simple project to share with you today!! Making those first pillow covers was so easy and so much fun, that I couldn’t wait to make more. I really wanted some specifically for Christmas so over the weekend this is what I did.
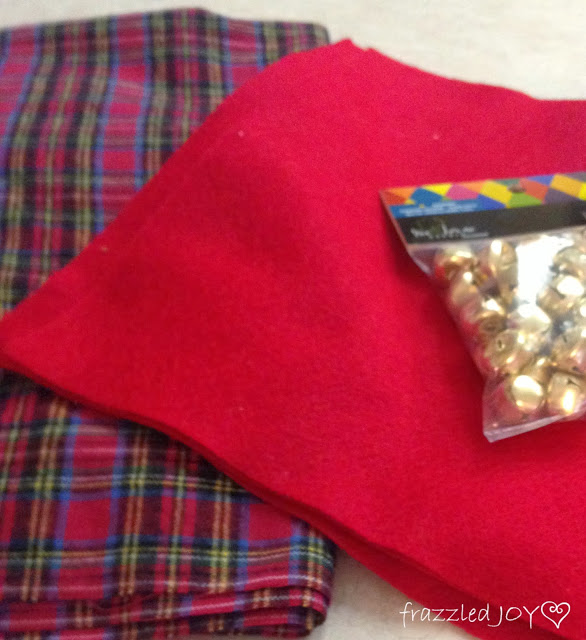
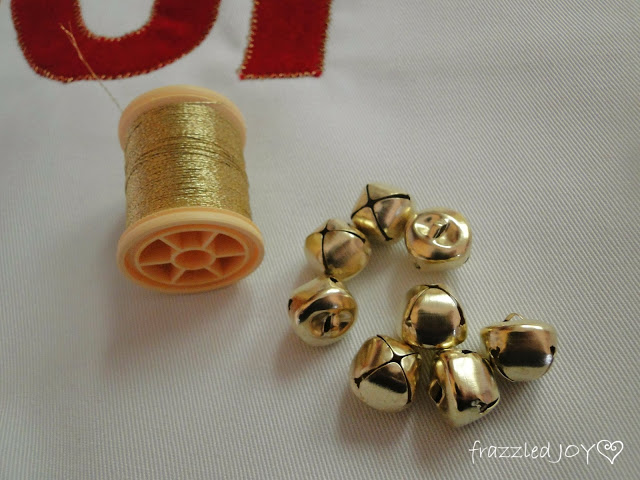
I started with this, and added some white twill fabric from my stash and some gold embroidery thread. 🙂
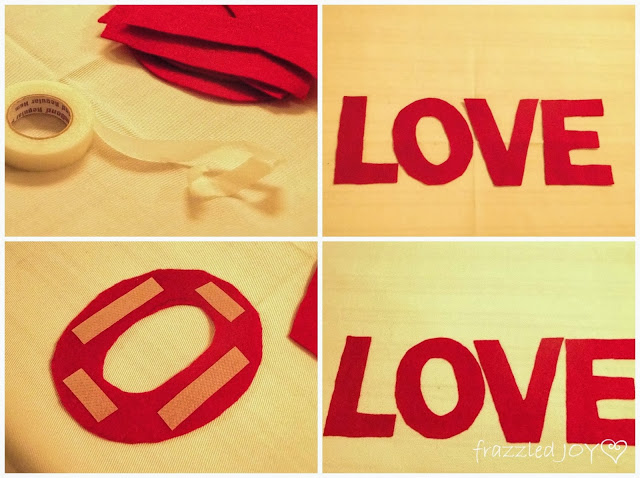
First things first, the lettering. I simply used my computer, found a font I liked, and typed out the words I wanted. (I didn’t really need to waste my ink by printing the letters all filled in so I just used the outline.)
Then, I traced the letters onto a piece of felt. I traced them on backwards so that my pen marks wouldn’t show afterwards. Cut them out and moved on to the next step. I knew I was going to stitch them down, but I needed something to hold them in place while I stitched.
I had some iron on hem tape from a previous project and decided this would be a perfect solution. I simply cut pieces to fit each letter and then, after positioning the letters where I wanted them, ironed them on. (forgive the yellow pictures, there was absolutely no light this weekend due to gloomy gray sleety skies)
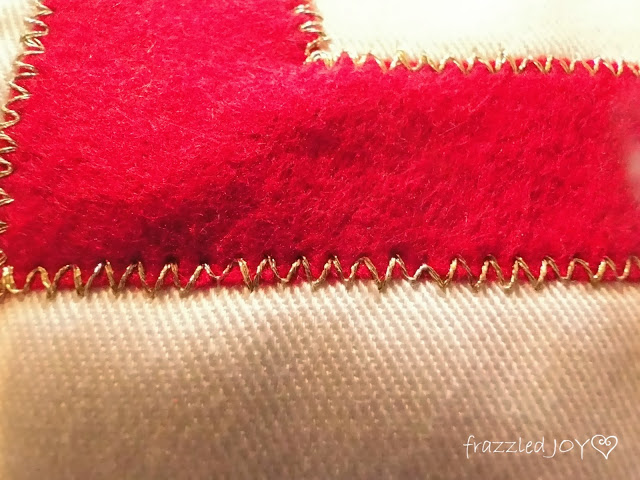
Next came the fun part. The stitching. I tried out several different decorative stitches on a scrap piece of fabric, but finally settled on a zig-zag stitch. I simply stitched around the edges of all the letters. I didn’t really want the stitching to be the center of attention, just an accent. And what an accent!!
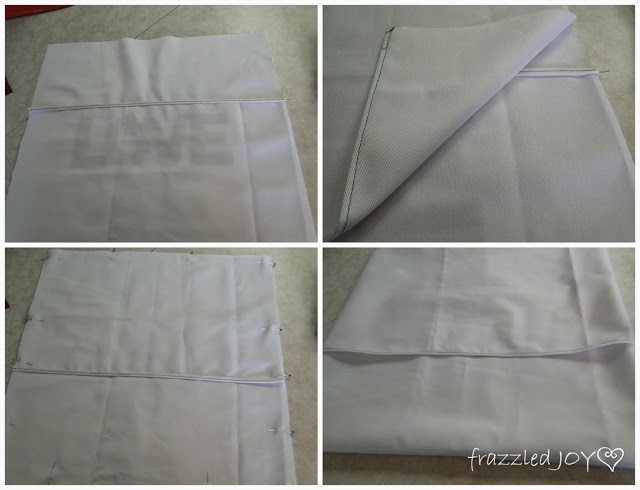
I decided this time to not put zippers in but just make an envelope style pillow cover. Simply cut two back pieces that overlap, hem the edges, pin together, and attach to the front.
(Yes, I used green thread – I ran out of white – and I didn’t want to go to the store – remember icky weather.) I did the exact same with the tartan flannel to make those pillow covers. No embellishments on those just a fabulous pattern and a fabulously soft feel.
Last, but not least, the jingle bells!!
I was inspired by this from Pottery Barn.
 |
| via |
But, my family likes to lay on all of our pillows, so jingle bells on the front are not practical. So, they went in the corners. And, since I am loving me some gold this season, I decided to go with traditional gold bells. Simply poke your needle in the corner, thread the bell through your needle and then poke the needle back through the corner.
I did this a couple of times to ensure the bell was stuck before tying off the thread. Happy days and happy pillows!!
Our weather this weekend has finally made it seem like Christmas should be near. Ready to get my decorating on, but my daughter won’t let me do anything until AFTER Thanksgiving. I have taught her well!! 🙂
Linking up with Aimee at It’s Overflowing / Kim at Sand and Sisal / Cassie at Hi Sugarplum / Kristin at My Uncommon Slice of Suburbia / Beth at Home Stories A to Z / Mandy at Sugar Bee Crafts / Toni at A Bowl Full of Lemons / Stacy at Not Just a Housewife / Leslie at Lambert’s Lately / Kristina at A Mother’s Niche / Jen at Tatertots and Jello





LOVE these, they scream cozy Christmas! And, I must have some plaid pillows too!
These are adorable! Love that you added the bells, too! Thanks so much for sharing!
~Abby =)