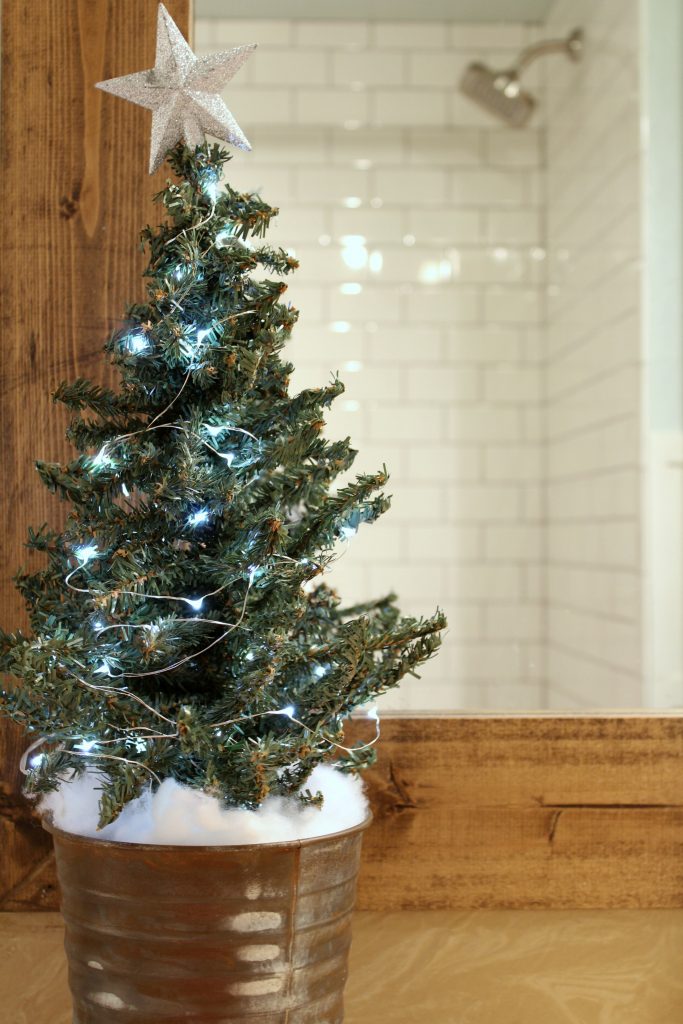
I’m super pumped to share this with y’all. I was going to wait until after Christmas, but I just couldn’t. We actually finished the project right before Thanksgiving, but by then all things Christmas had already landed here. So, I waited. But, I just couldn’t wait any longer!! What am I talking about?? Well, we finally got around to updating the tile in our kids/guest shower!! Did y’all catch the sneak peek in my Christmas home tour??
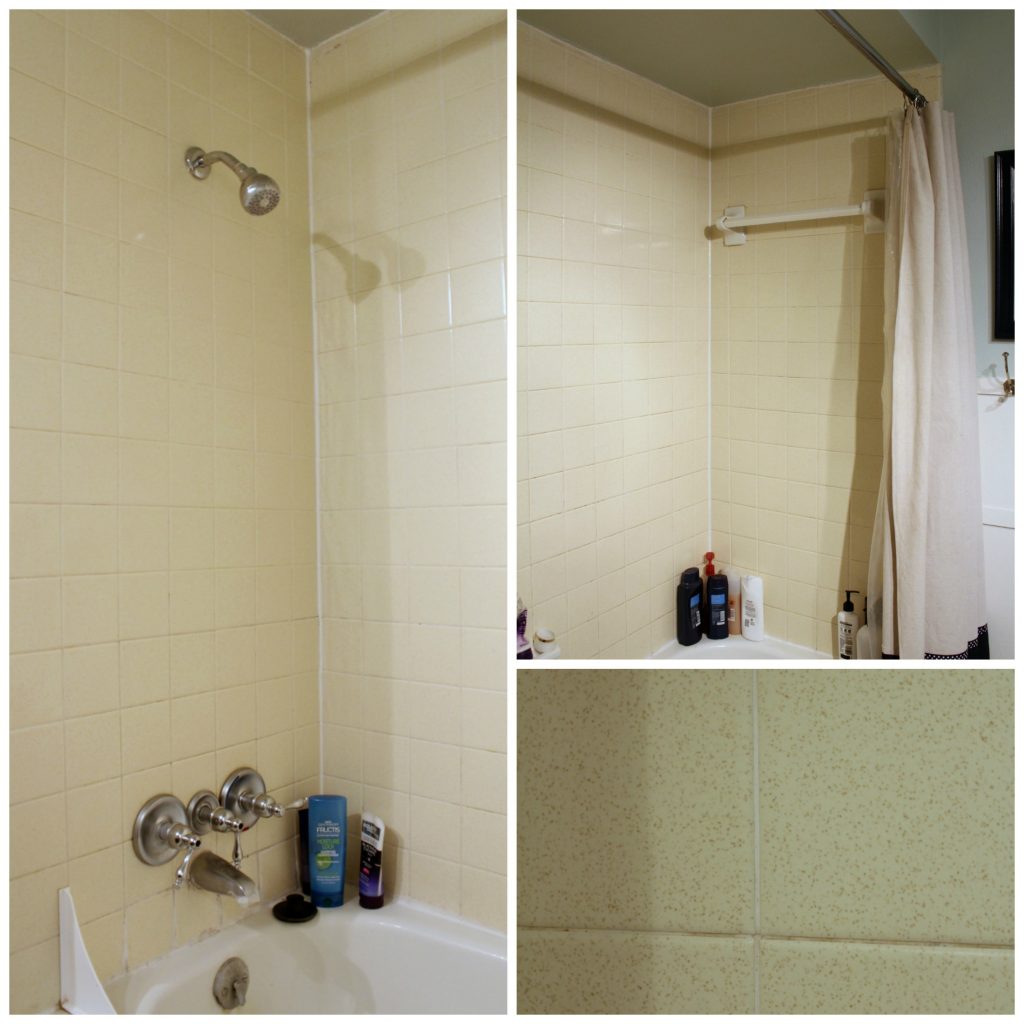
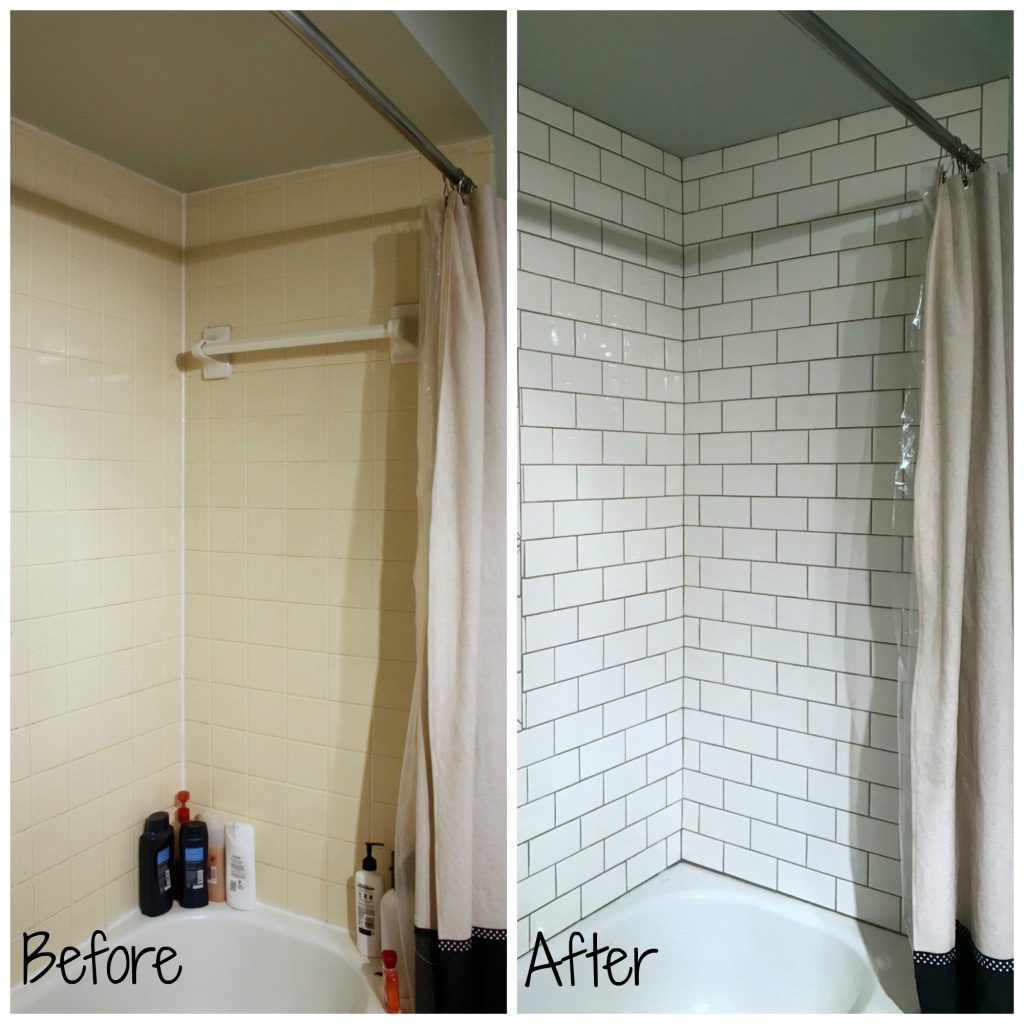
I’m about to show you something you’ve never seen here on the blog. The shower tile before. It’s so ugly folks. So dated. And not 50s dated, where it’s almost cute again. But 80s dated – as in, it wasn’t cute to start with and it’s never gonna be cute. Without further delay, here it is.
Ugh to the Ugly, am I right? And, on top of it being ugly, there were several other issues going on. We knew from renovating our master bathroom shower that there was most likely plain ol drywall behind that tile. Which equals probable mold. We had a leaky faucet that we had been bandages for months, and cracking grout. So, one day we just decided to dive in. Because that’s how we roll around here. We think about, scheme about, dream about doing a project forever and then finally one day we just start!!
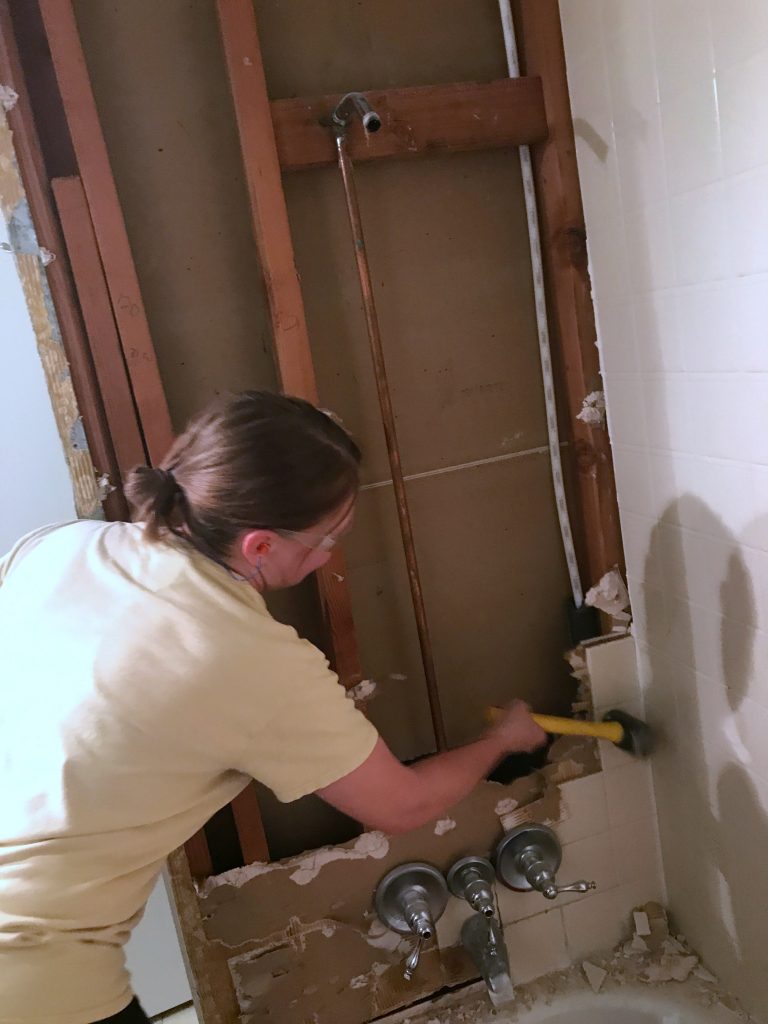
Demo was pretty simple since we didn’t need to keep anything but the bathtub.
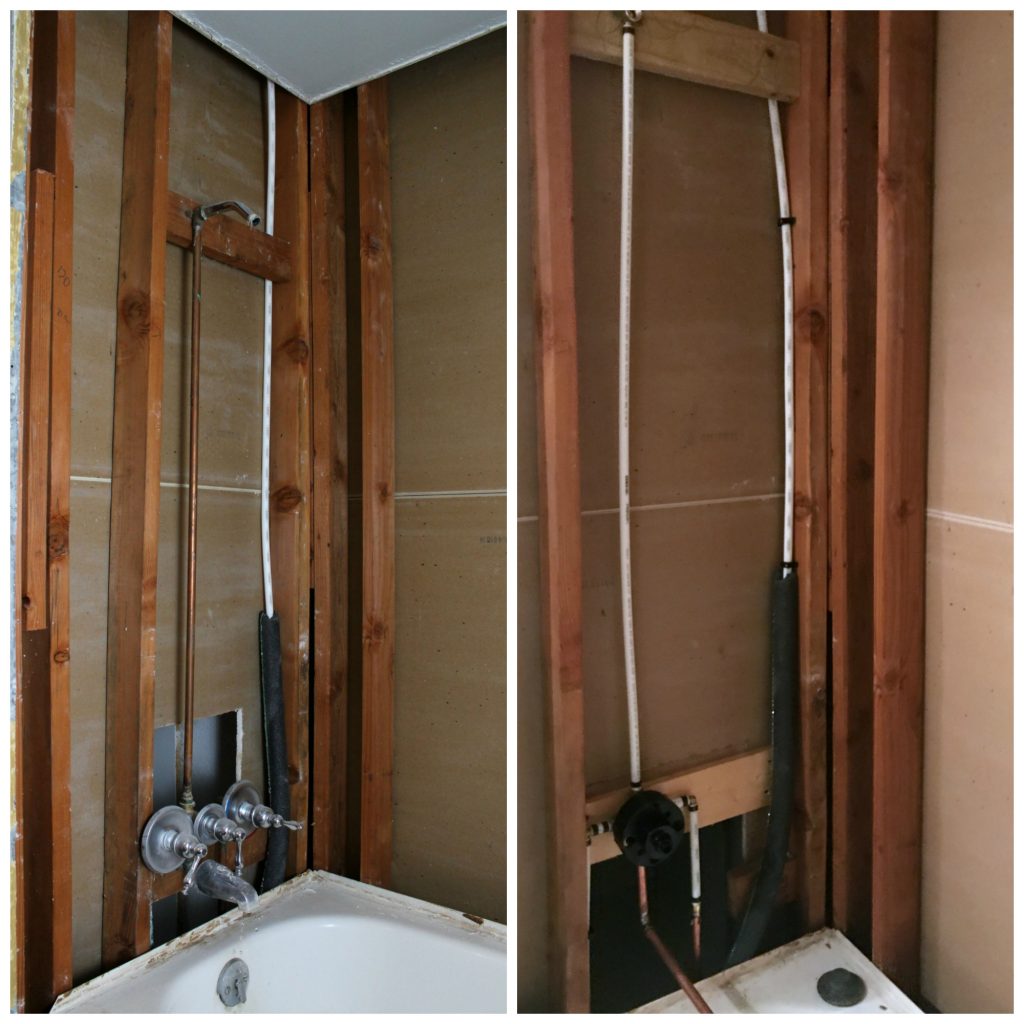
After demo we had our handyman come and redo the plumbing for the shower. It might be hard to tell but he changed the pipes to fit a single knob and he made the shower as tall as possible in the space. I’m not sure how my 5’10” boys were showering in here without bending over.
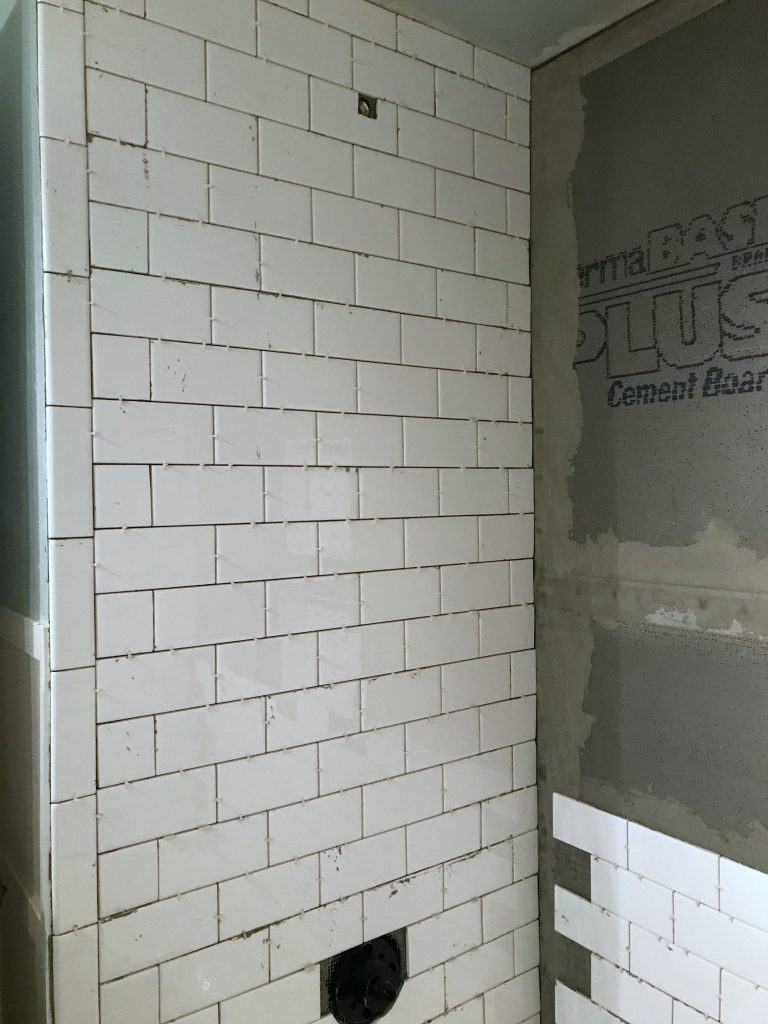
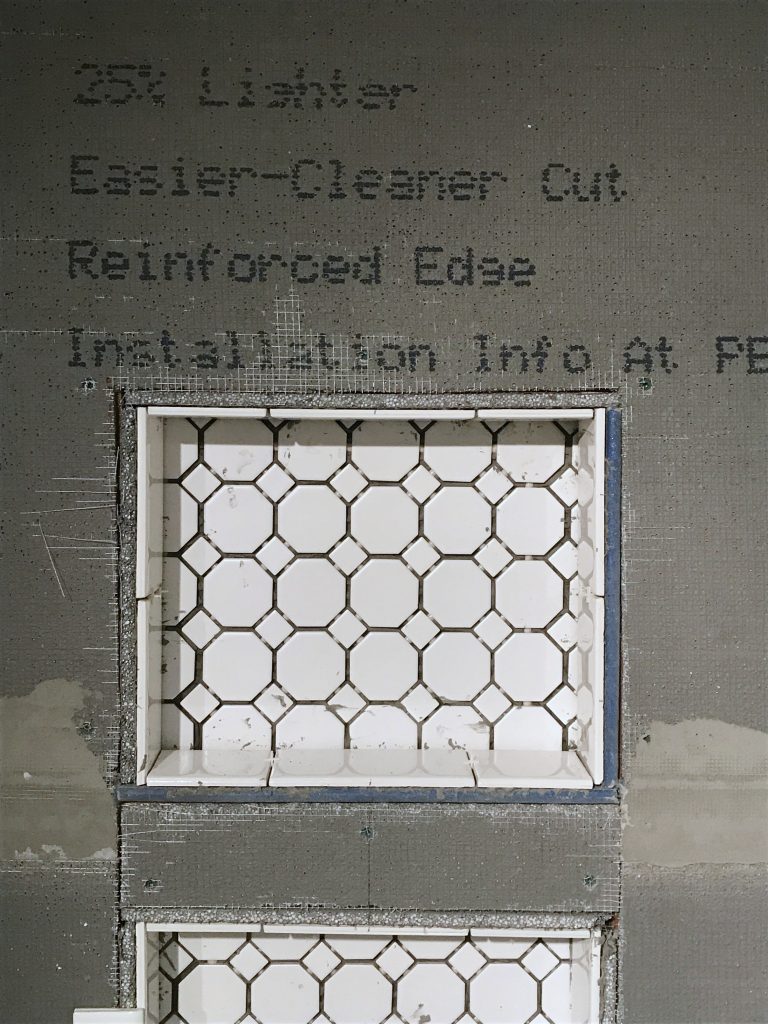
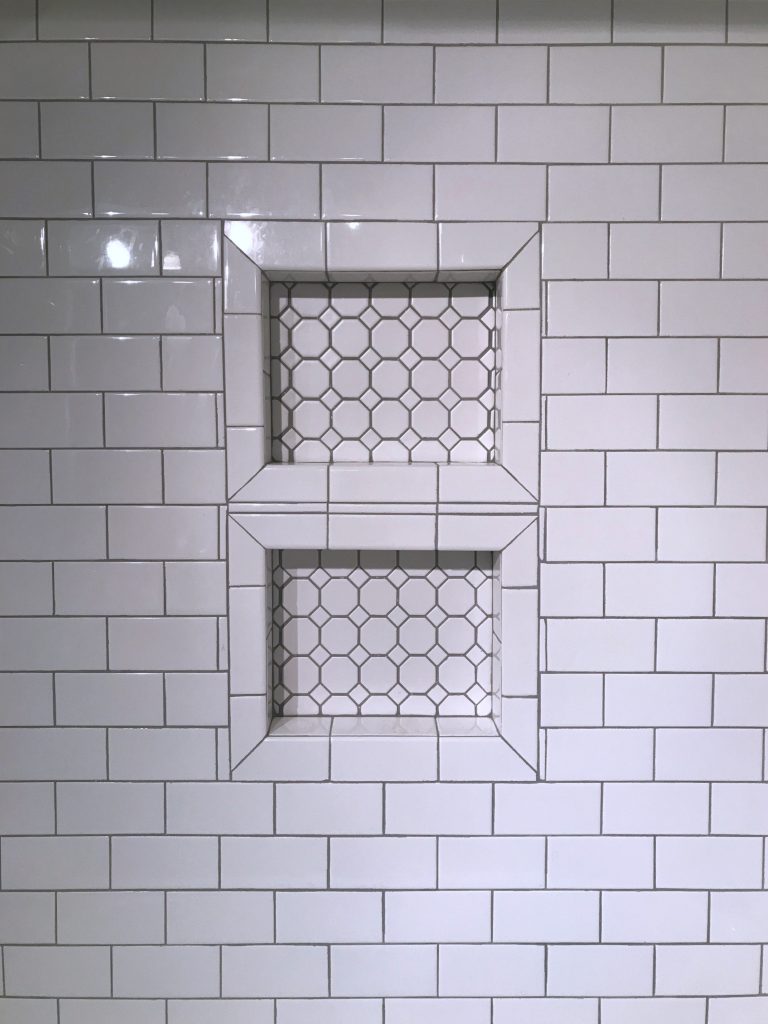
We built a couple of niches on the middle wall (which I neglected to take pictures of) and installed the cement board. Next was tile.
I chose standard subway tile in a basic offset pattern.
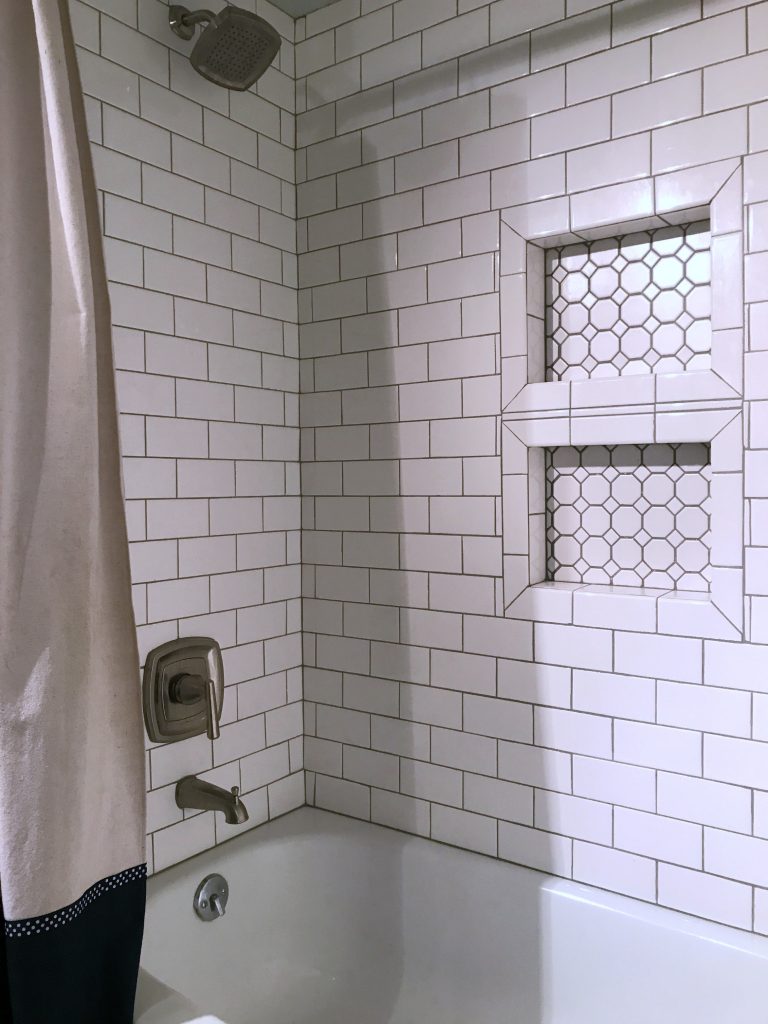
For the niches I used a decorative hexagon tile on the back, and subway tile around.
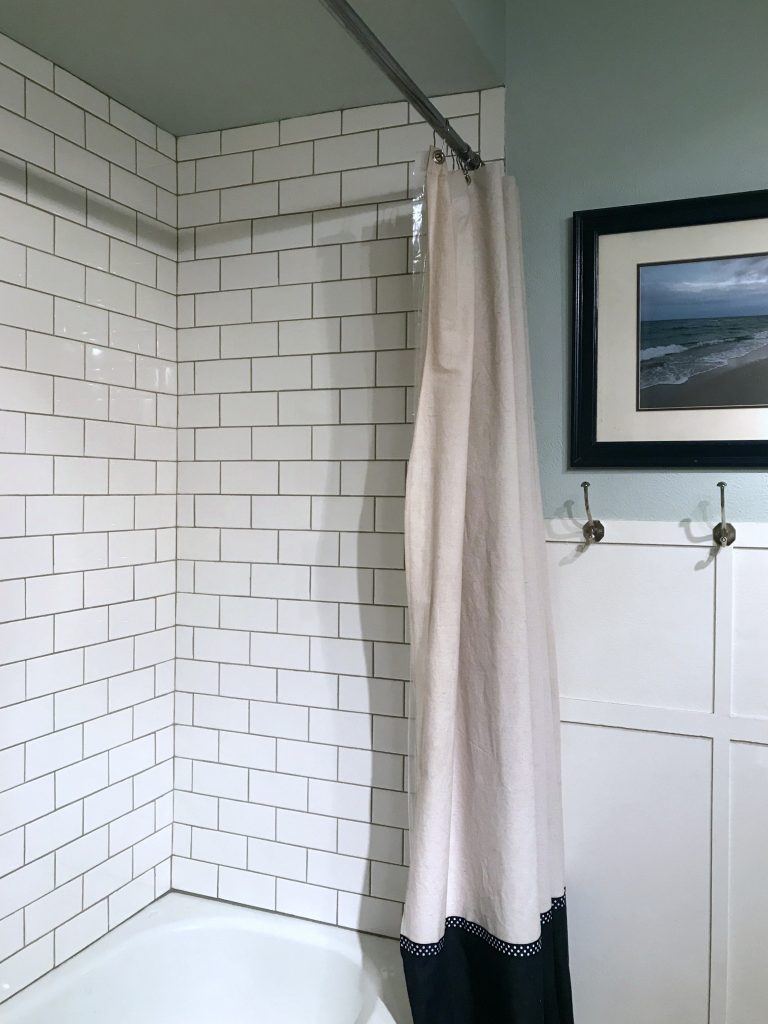
The tiling took about a week since I was doing most of the work on my own. Hubby made all my cuts for me one day and I was able to finish up. A couple of days later I decided to grout. This took way longer than I remember. But, then again, smaller tile = more grout lines to fill. But in the end….
This room is small with no natural light, so it’s super hard to take good pictures, but I did the best I could.
I cannot even tell you how much I LOVE it!!
And just for fun – a side by side before and after!
It brightens up the room so much don’t you think?? No more yellow cast on everything!
Next up – the floor (which is the same tile that was in the shower before), vanity, and countertop. It’s a process people. Rome wasn’t built in a day. Ha!!


Denise I’ve been dying to pop over here and see this project – it came out so great!! I love the classic white subway tile and those niches!! I’m so impressed you and Mr. Frazzled Joy knocked this out, you’re amazing!!
Wishing you and your family a beautiful Christmas my sweet friend. Thanks for making the blogosphere a brighter place!! xo
Thanks So much Lisa! The end result is always so much more rewarding when you do it yourself right?? I hope your Christmas was amazing! Thanks for always being such an encouraging friend!! 🙂