I gave you a little teaser weeks ago that I was working on a sewing project or two, and I have to say that today I finally finished the second one. I have been sewing since I was 9 years old. I don’t do it as often as I would like, but I love the fact that I can pull out my sewing machine and whip up just about anything that I might want. Fabric isn’t as cheap as it used to be, so I don’t sew clothes that often anymore, but it still can be done. I find this is my best option when I want something that fits perfectly.
Anywho….as I made my list of projects to fill my time during my no-spend month, I listed a couple of items in my home that needed a little face-lift. Things I had purchased which I love the look of, just missing a couple of points when it came to function.
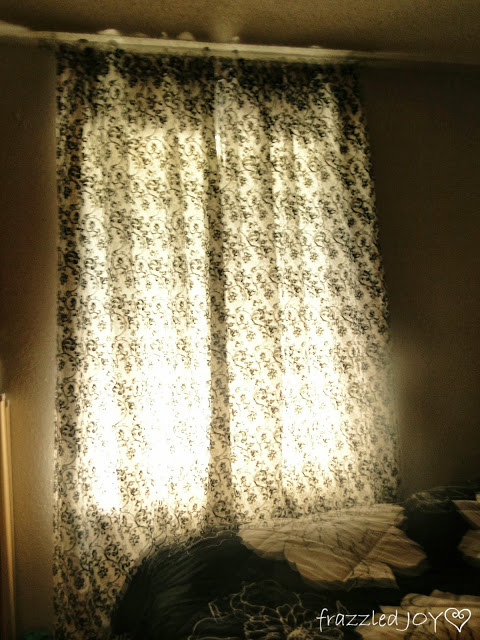
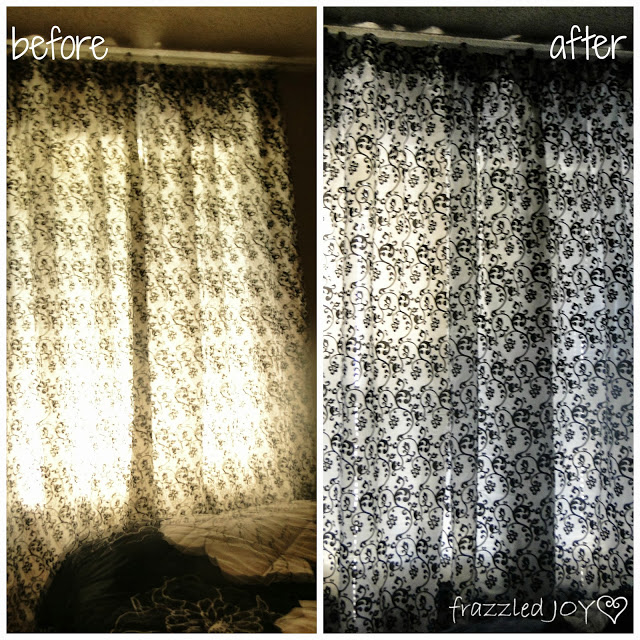
One being the curtains in my daughters bedroom. We purchased them at Hobby Lobby when they were half off, and they were the perfect look for her room. The problem is, her window is east facing, and the curtains are not lined at all. This usually doesn’t bother me, but the morning light was bothering her.
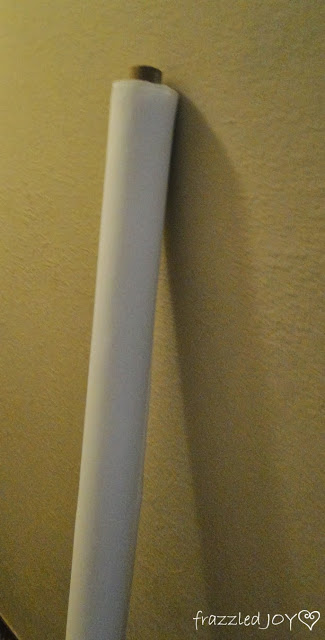
Solution – several years back my mom gifted me with a large roll of drapery lining – great gift huh? I pulled it out and got to work.
I didn’t really want to take the curtains apart, I just wanted to attach the lining.
Let me just stop here for a moment and ask you to join me in my creative process. Most of the time when I start a project, I have NO idea what the process is going to be, only what I want the end product to look like. Okay, now that you understand how I work we can move forward.
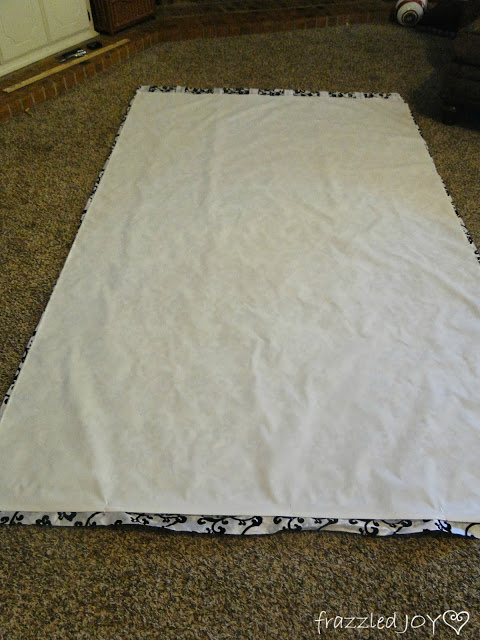
I laid the curtain panel out on the floor and laid the lining fabric on top – perfect fit – no room for trimming or hemming – hmmm. No worries, the edges were finished. I pressed down the fabric on both ends – about half an inch, started by pinning it to the top and sewing the two pieces together.
When I finished that I realized that the sides didn’t match up exactly, so I decided not to attach the sides, and then I decided not to attach the bottom…ya I know. But, I figured that the window faces our back yard and when I hung them, no one would ever know. (well, now all of you know – but you won’t tell right?).
Here is the before and after.
I think my daughter would have preferred that I use a black-out lining, but hey, she does need to get up in the morning eventually – she can’t just sleep her life away.
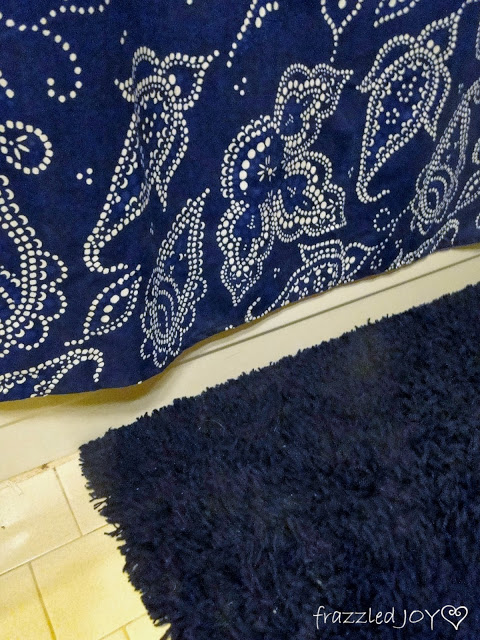
Now, on to project two. This was my other pet peeve. I bought this shower curtain on clearance at Target, and I love it, but for where I like to hang my shower curtain, it was too short – I don’t know, it’s just me I’m sure.
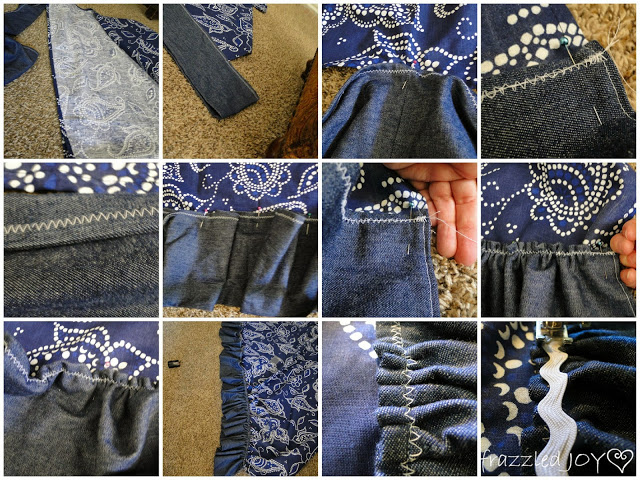
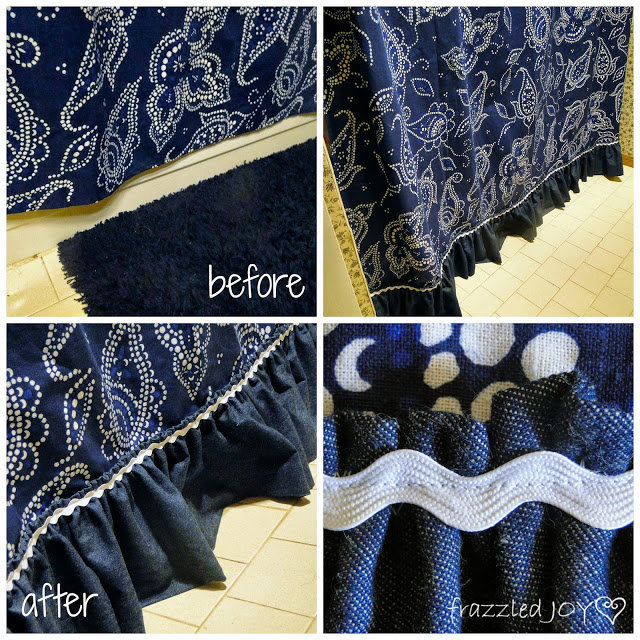
I love ruffles, and I thought that would be a great addition. Again, not wanting to take anything apart, I decided to add a ruffle to the bottom, but attaching it on top of the curtain instead of underneath.
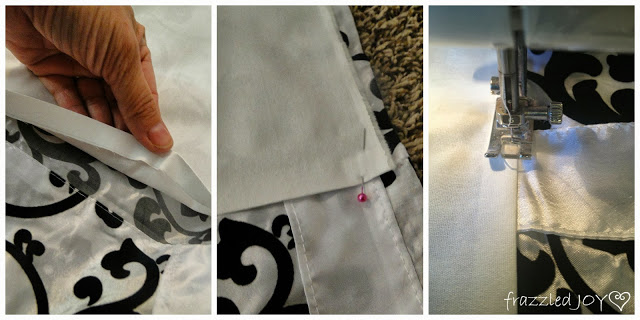
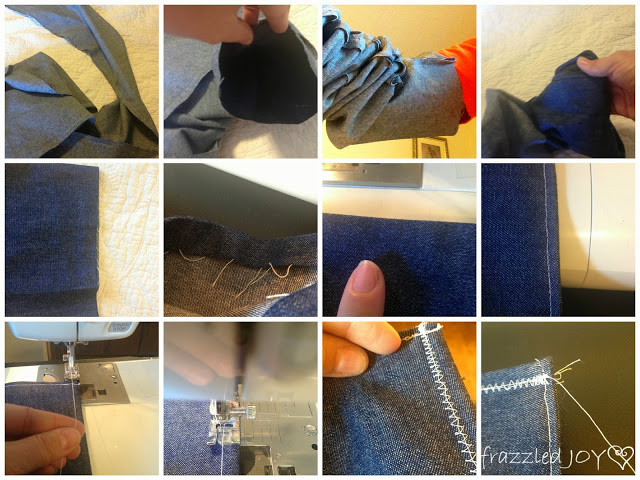
I was going to attempt to do a tutorial on how to ruffle fabric and attach it, but between you and me – good grief – it’s not easy, so if you’re not an experienced sewer you probably shouldn’t be trying to do this :). And…I’m sure there is a great you-tube video out there somewhere showing you how. But here are a few pictures of the process.
After I added the ruffle I was left with stitching showing, so I went to my ribbon stash and found just enough white rick-rack (I love rick-rack), and attached it on top covering the previous stitching.
Here is the before and after. Not only does it add the length I needed, it also adds a little personality. I’m in love!! 🙂

I absolutely adore the simple things you have added to these and yet how much of a huge difference they made. I love how the curtain looks now and the shower curtain with the ruffle, too cute! Thanks for sharing and for linking up to Thrifty Thursday.