As promised I am back with a how-to on the headboard that I made last week for our master bedroom. I mentioned in my ORC update that it was fairly straight-forward and simple.
Here is a list of what you will need:
*plywood cut to desired size (we used 1/2 inch plywood – sturdy but not too thick or too heavy)
*1″ thick foam – I got mine from Hobby Lobby it was 25.99 for a piece that was 39″x 76″ and I used my 40% off coupon which made it around $16 after tax
*batting – I doubled mine just to make sure it was smooth
*fabric to cover – you will want extra of course to wrap around
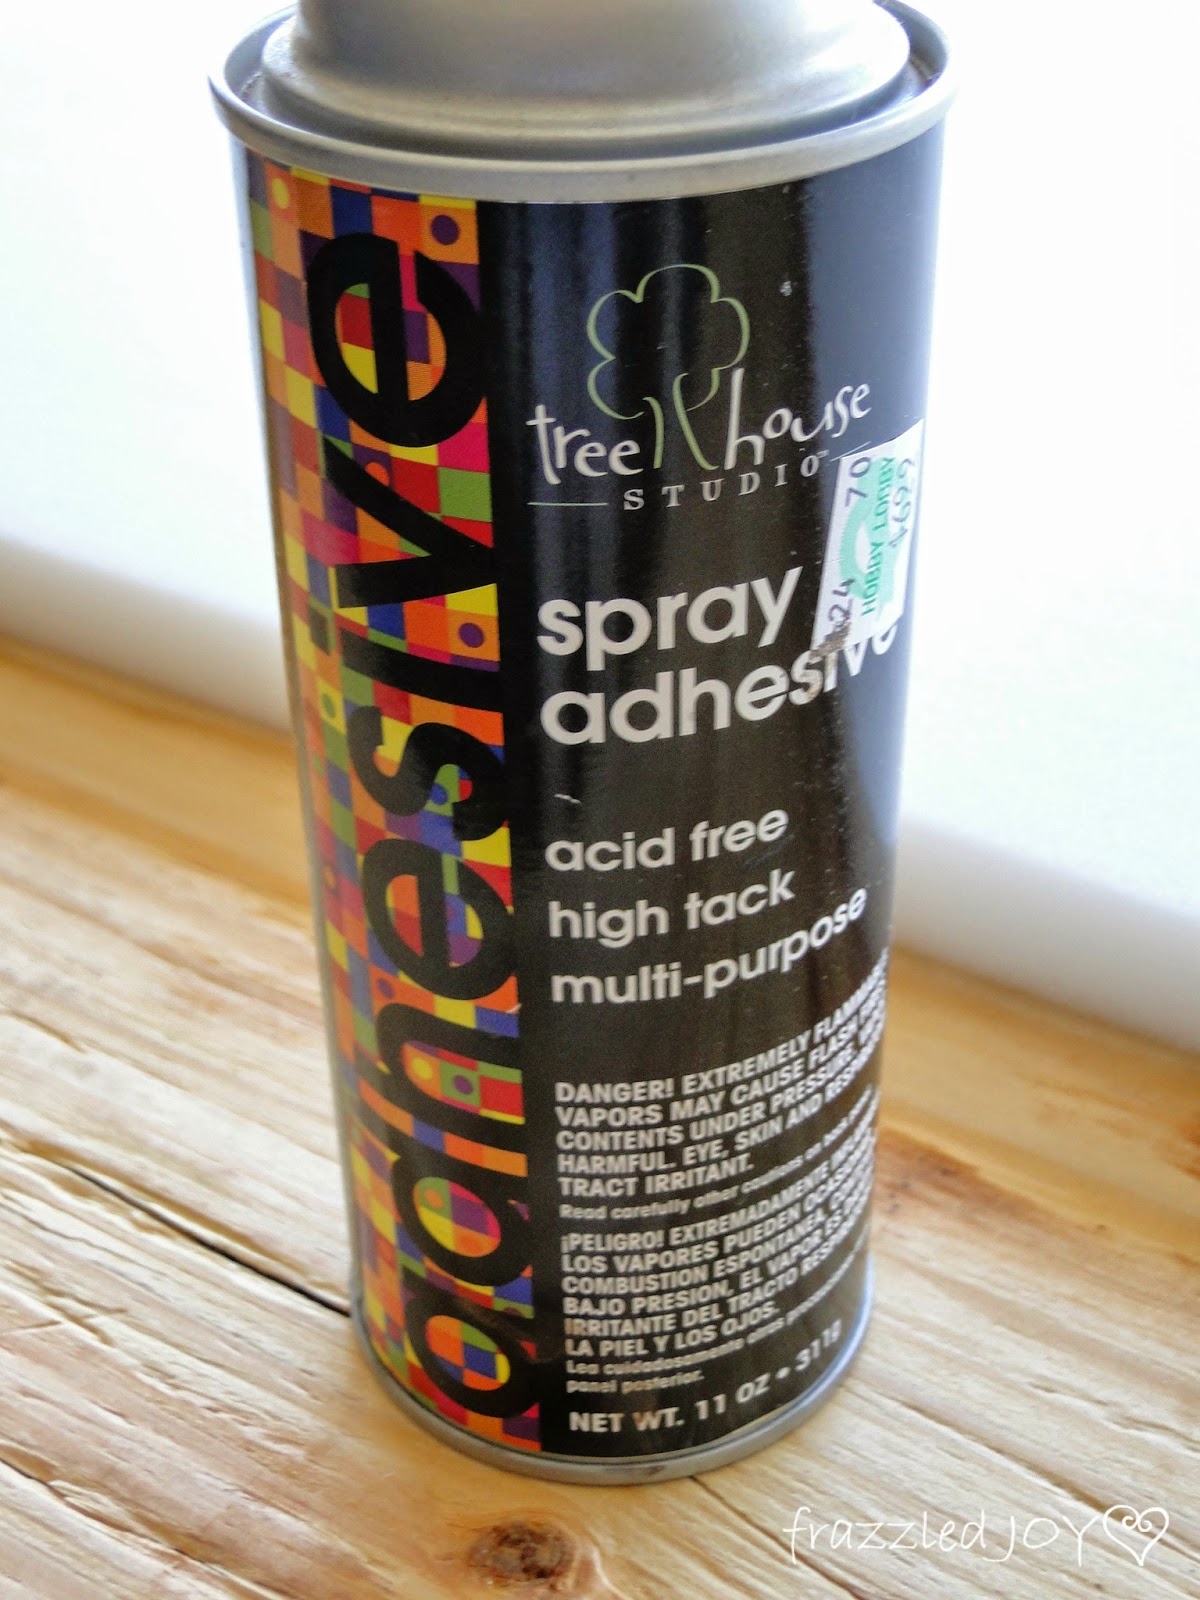
*spray adhesive
*staple gun and staples
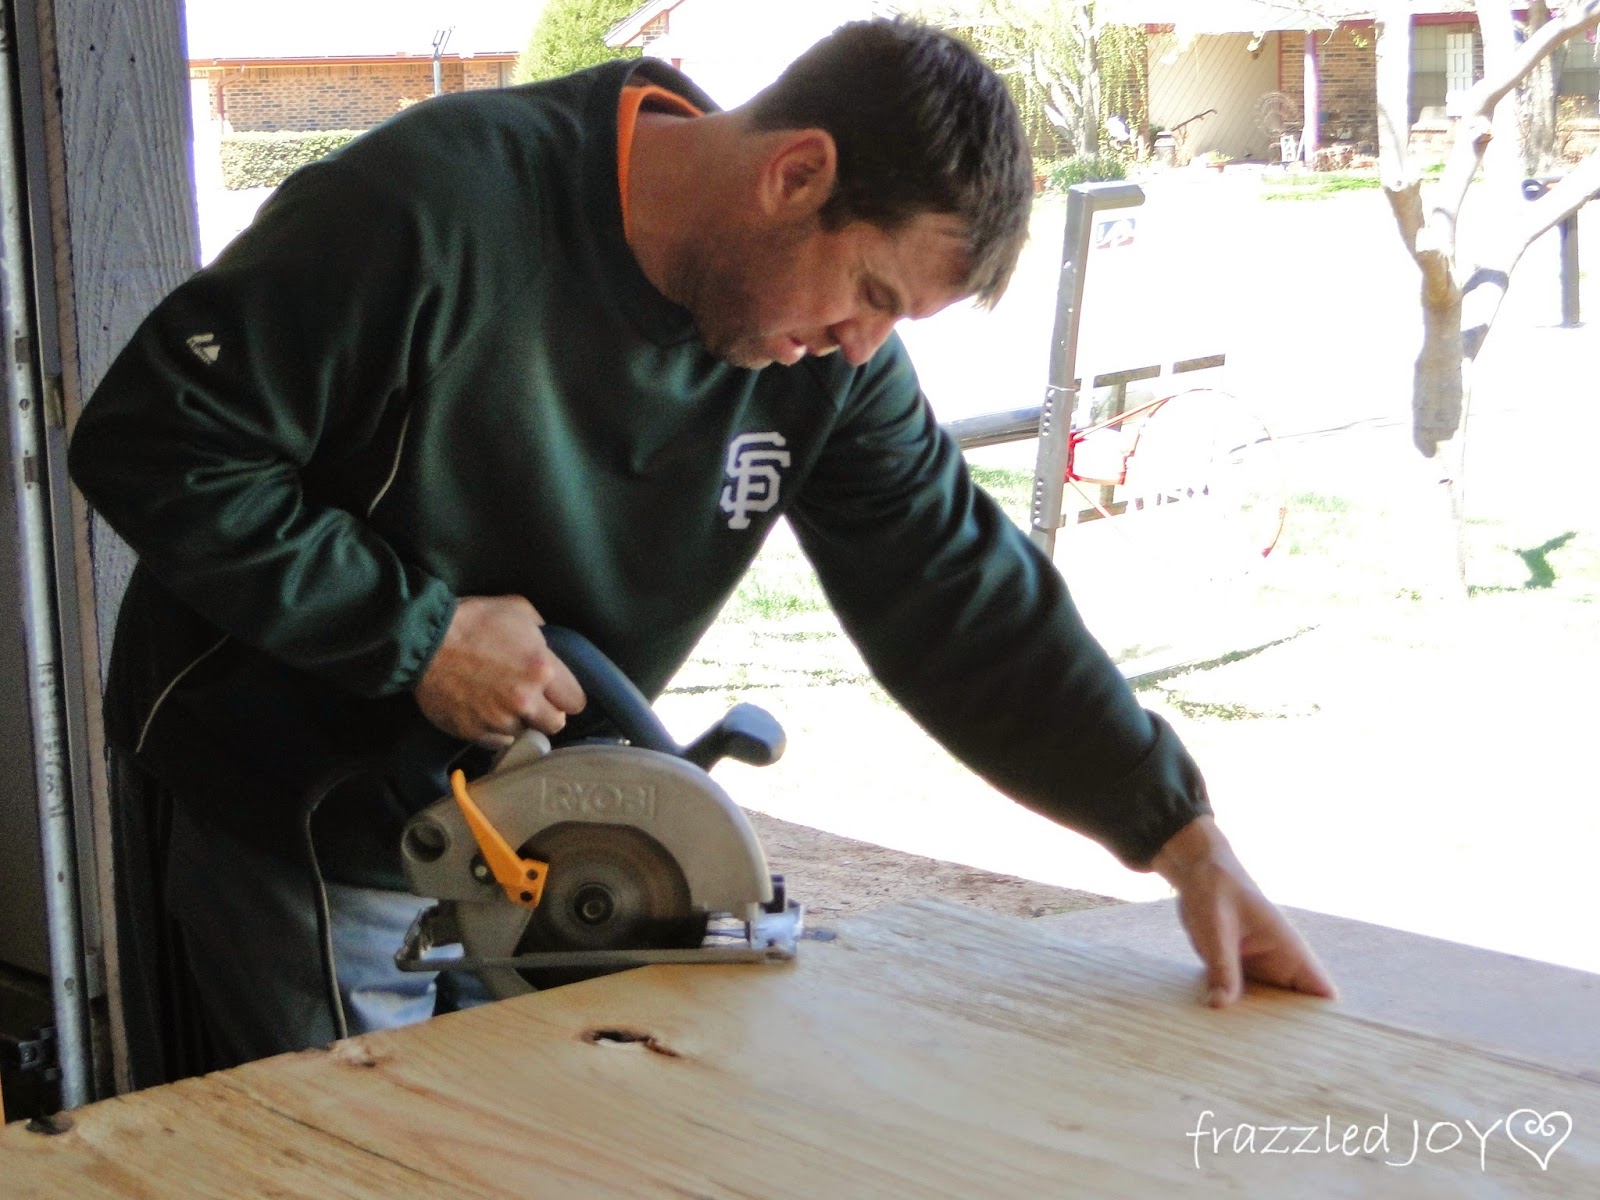
We had the guy at Home Depot cut the 4×8 sheet of plywood down to 4×6 because I was certain that was the size of the foam…sadly it was not. Had I known the correct size of the foam I would have had them cut it to fit the foam – way easier for them to do it.
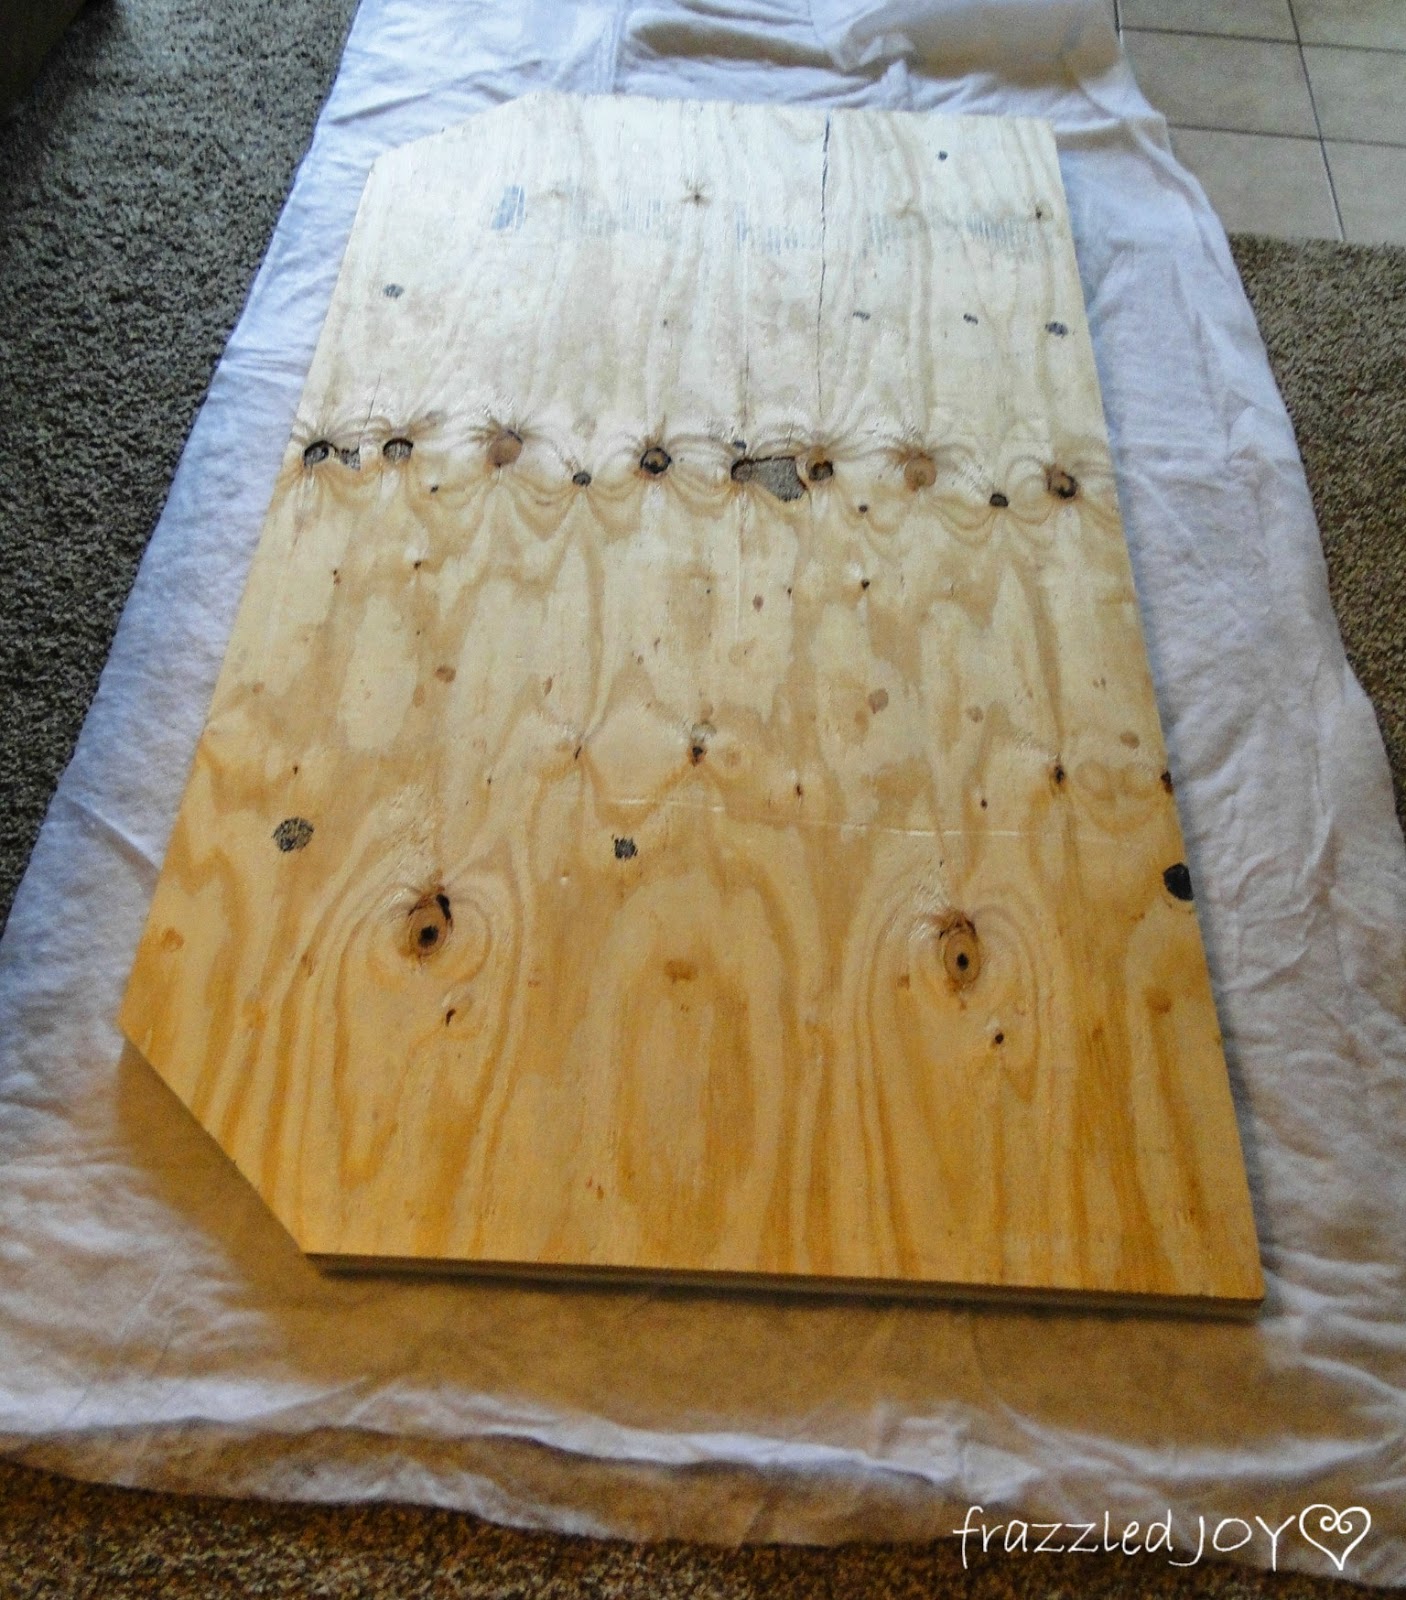
Then I decided on a very easy shape. I just simply cut off the corners. (I actually measured and used a straight-edge for a change. :)) Well, I did the measuring and marking and hubby did the cutting.
Next step is to attach the foam.
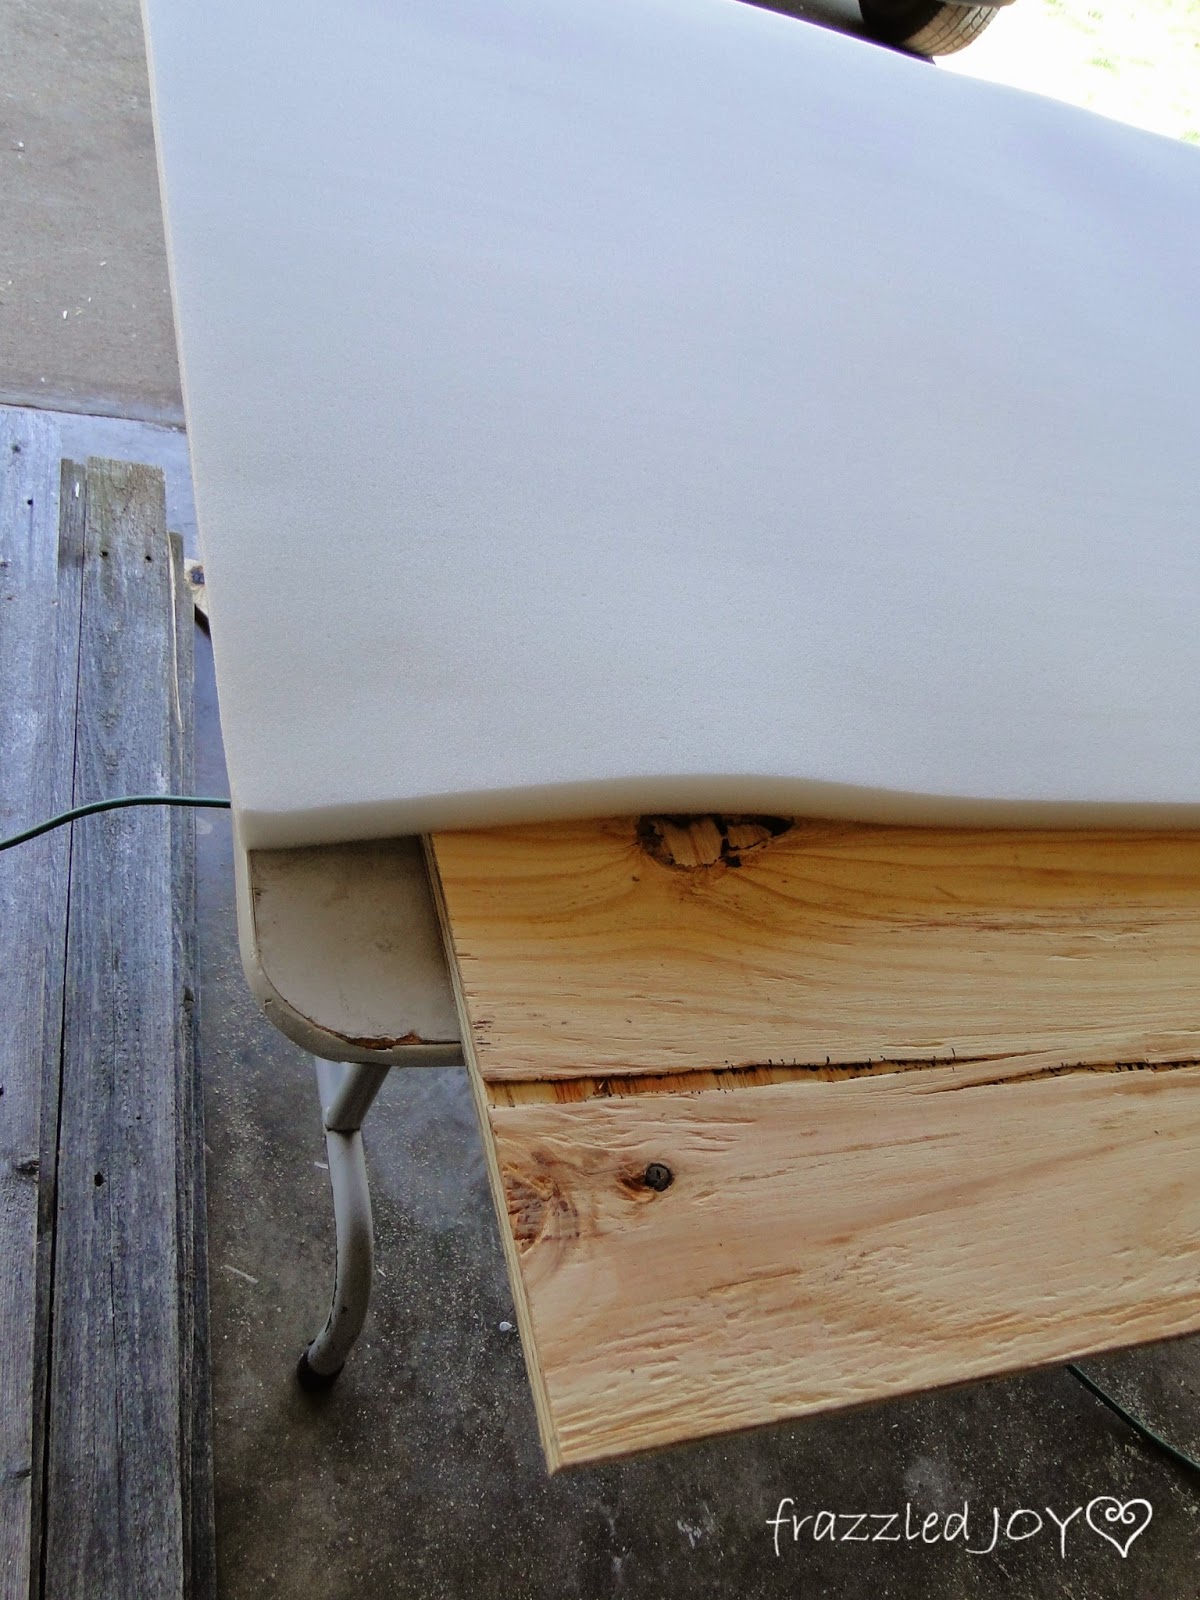
Of course since I got ahead of myself and didn’t have the right measurements – we had the extra step of cutting off the extra wood. I just laid down the foam and used that as my straight-edge to draw a line for hubby to cut on.
You simply use spray adhesive to attach the foam.
I noticed as I was spraying and pressing the foam down that I wasn’t really getting an immediate stick, so I followed the directions on the can and sprayed both the wood and the foam around all the edges to make sure that the foam wouldn’t shift while I was attaching the batting and fabric.
After the adhesive dried. I then had to cut off the extra foam on the corners. I could have done this before but I am really glad I didn’t because this way I didn’t have to worry about getting the cut right and I had the straight-edge of the wood to cut along.

If you have one of these electric knifes lying around it is the best tool for cutting foam. It literally took about a minute to cut off the corners and the little bit of extra on the one edge.
Next step is to lay out your batting – make sure it is nice and flat – no bumps. Then gently lay the board – foam side down – on top of the batting.
Then it’s time to start stapling. You want to pull tight, but not too tight. The batting helps smooth out the edges of the foam and the side edges of the wood.
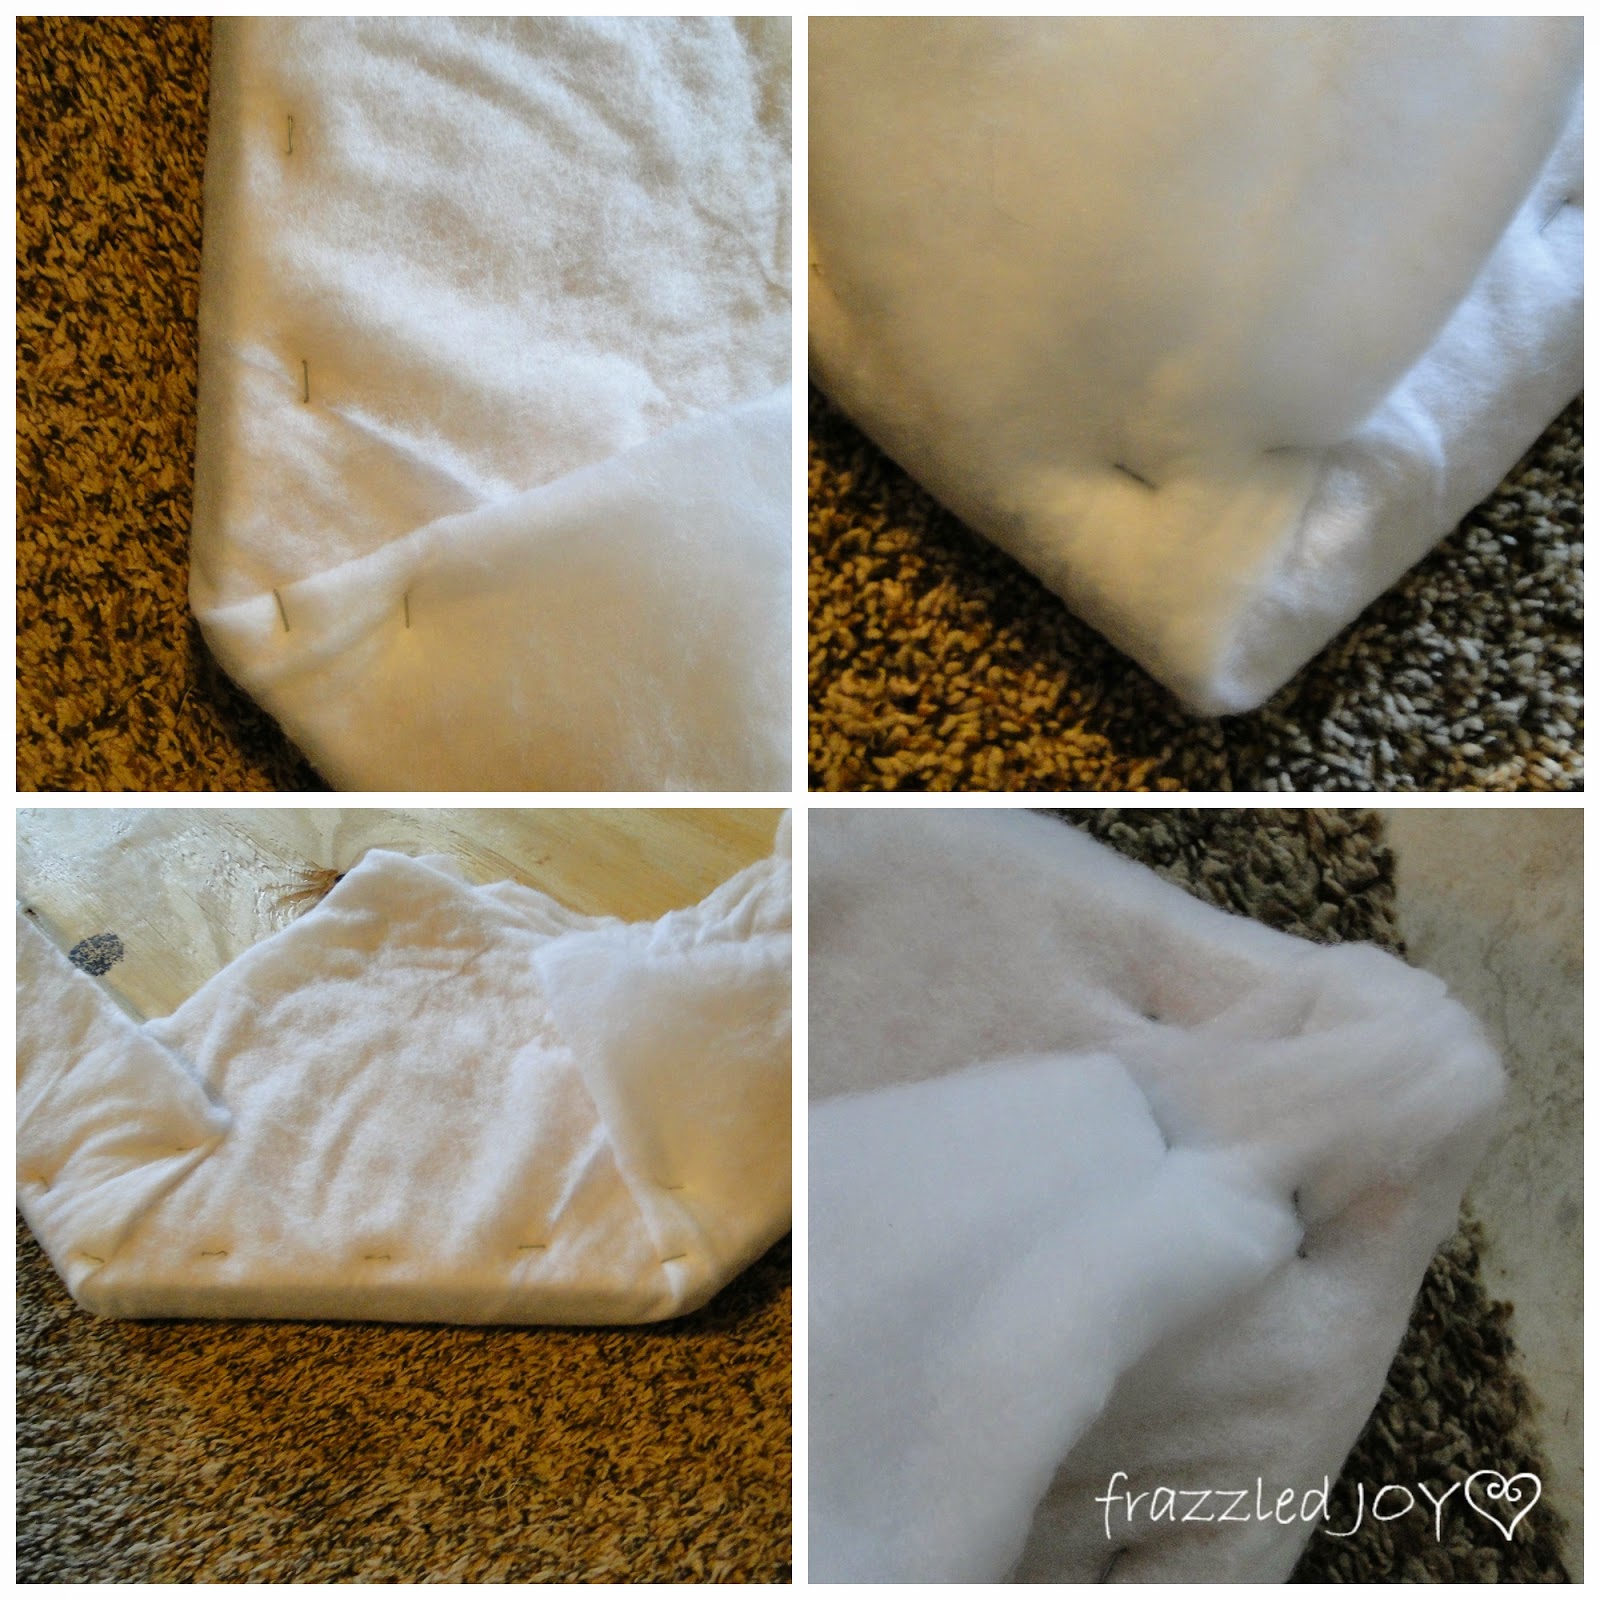
I used a manual staple gun that I also found at Hobby Lobby. They were out of the heavy duty version, so I took a chance on the light duty, and it worked just fine. The only trouble I had were in the corners where things got pretty bulky, but with a little extra pressure it worked.
When you getting to the corners you want to fold the batting in whatever way best helps everything stay smooth on the sides that are visible. Don’t worry too much about what it looks like on the back. The only concern is that you don’t want any huge lumps that might make it lay funny on the wall.
Next repeat with the fabric.
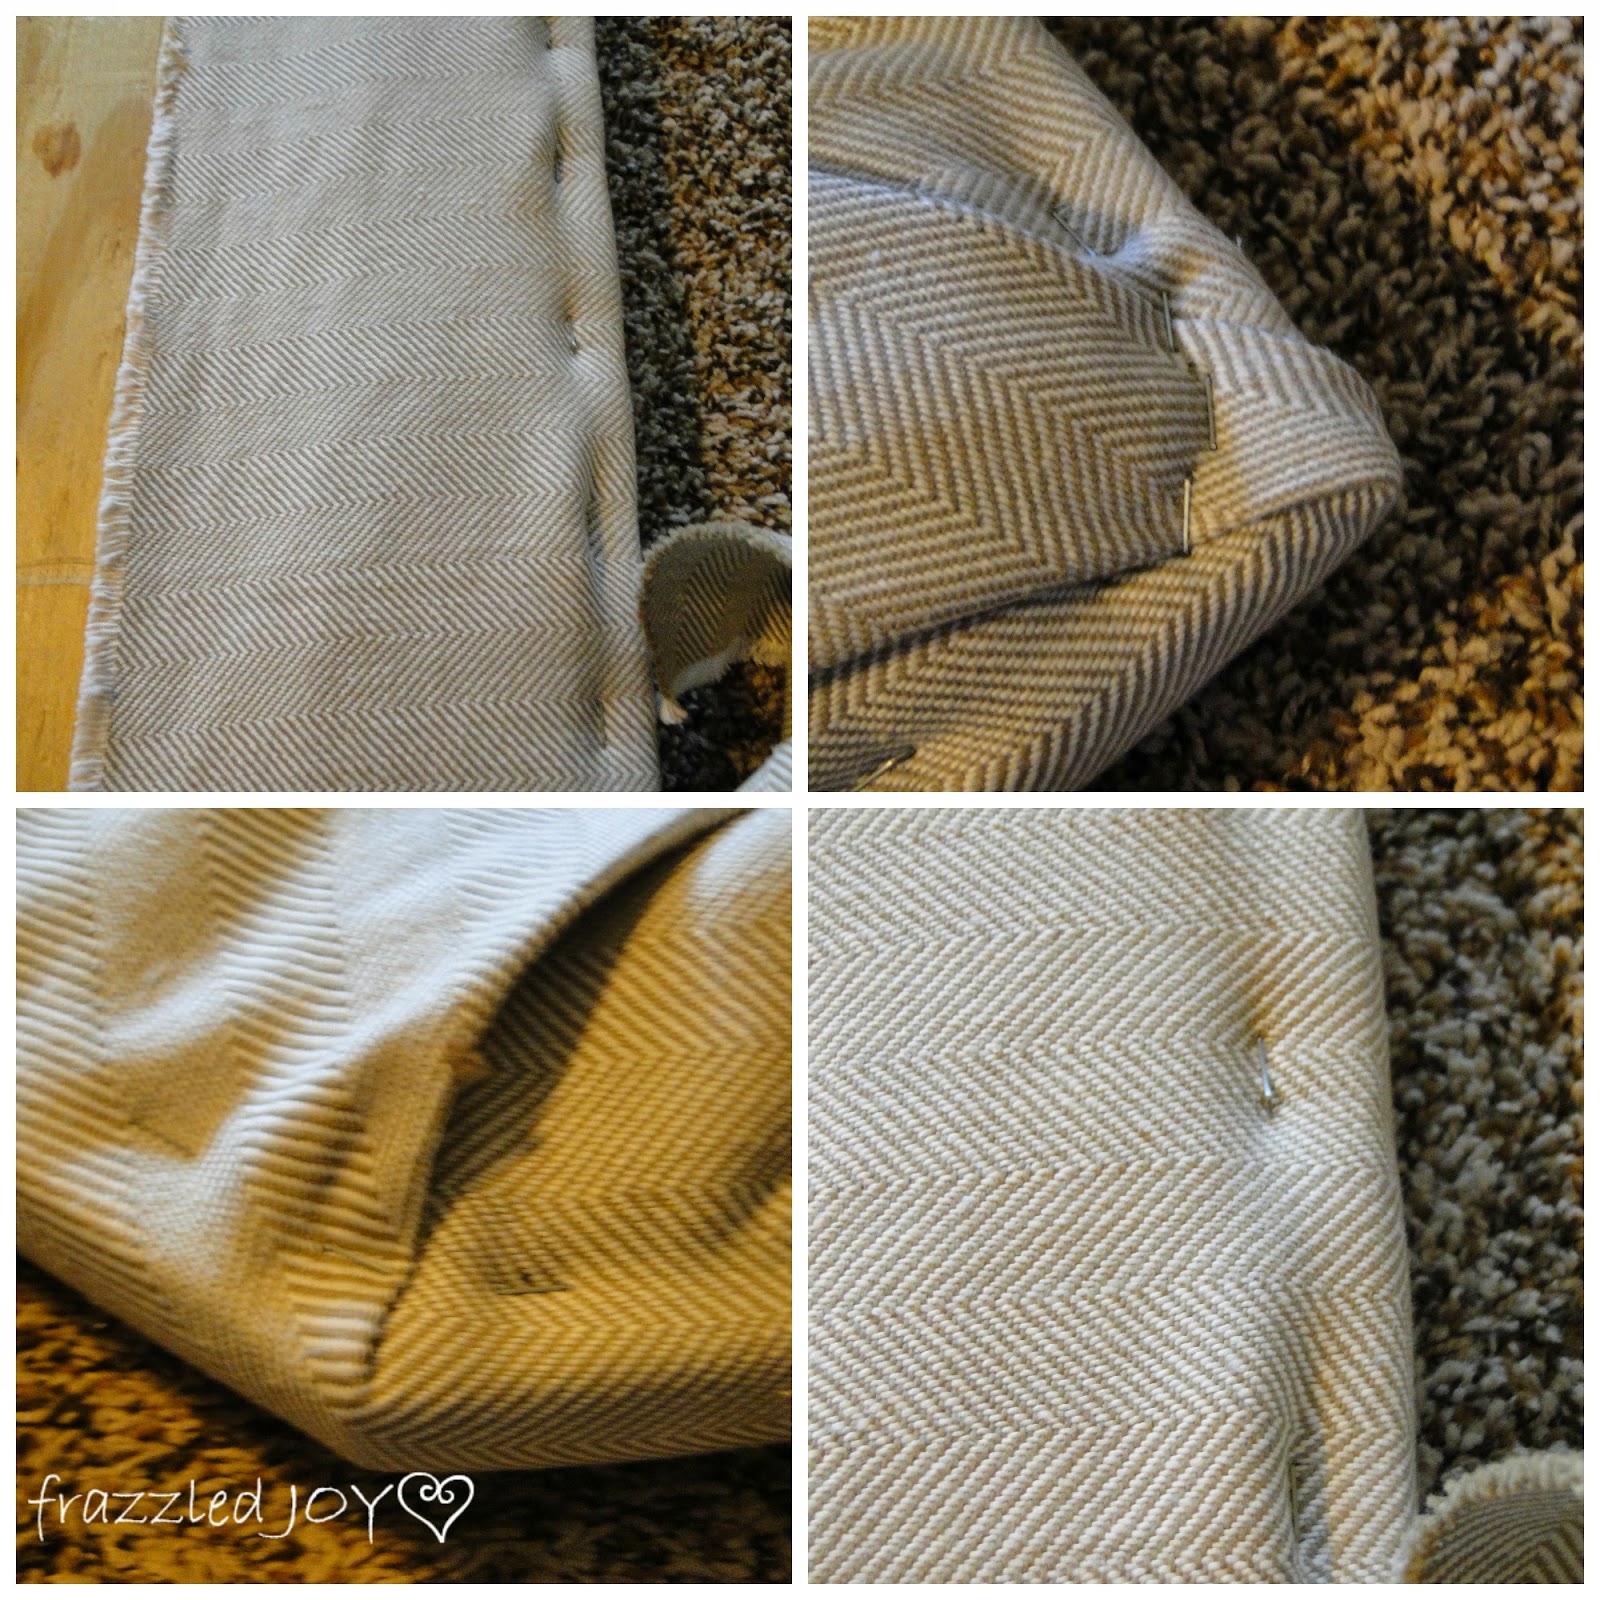
There are a few things you will want to think of when you are attaching the fabric that you don’t have to worry about with the batting. If you have a stripe or any kind of pattern like that – you will want to make sure to keep it straight. To do that you need to alternate your staple placement from one side to the other until you feel everything is secure. One staple in the top and then one in the bottom, then one one each side, and so on.
Also, with the fabric I put twice as many staples around because I noticed that the fabric was creating dips around the edges. Just a few extra staples around took care of that.

When you are finished attaching the fabric with the staples, you will want to trim off most of the excess fabric. Again, no need to worry too much about how it looks on the back, the front is what matters. 🙂
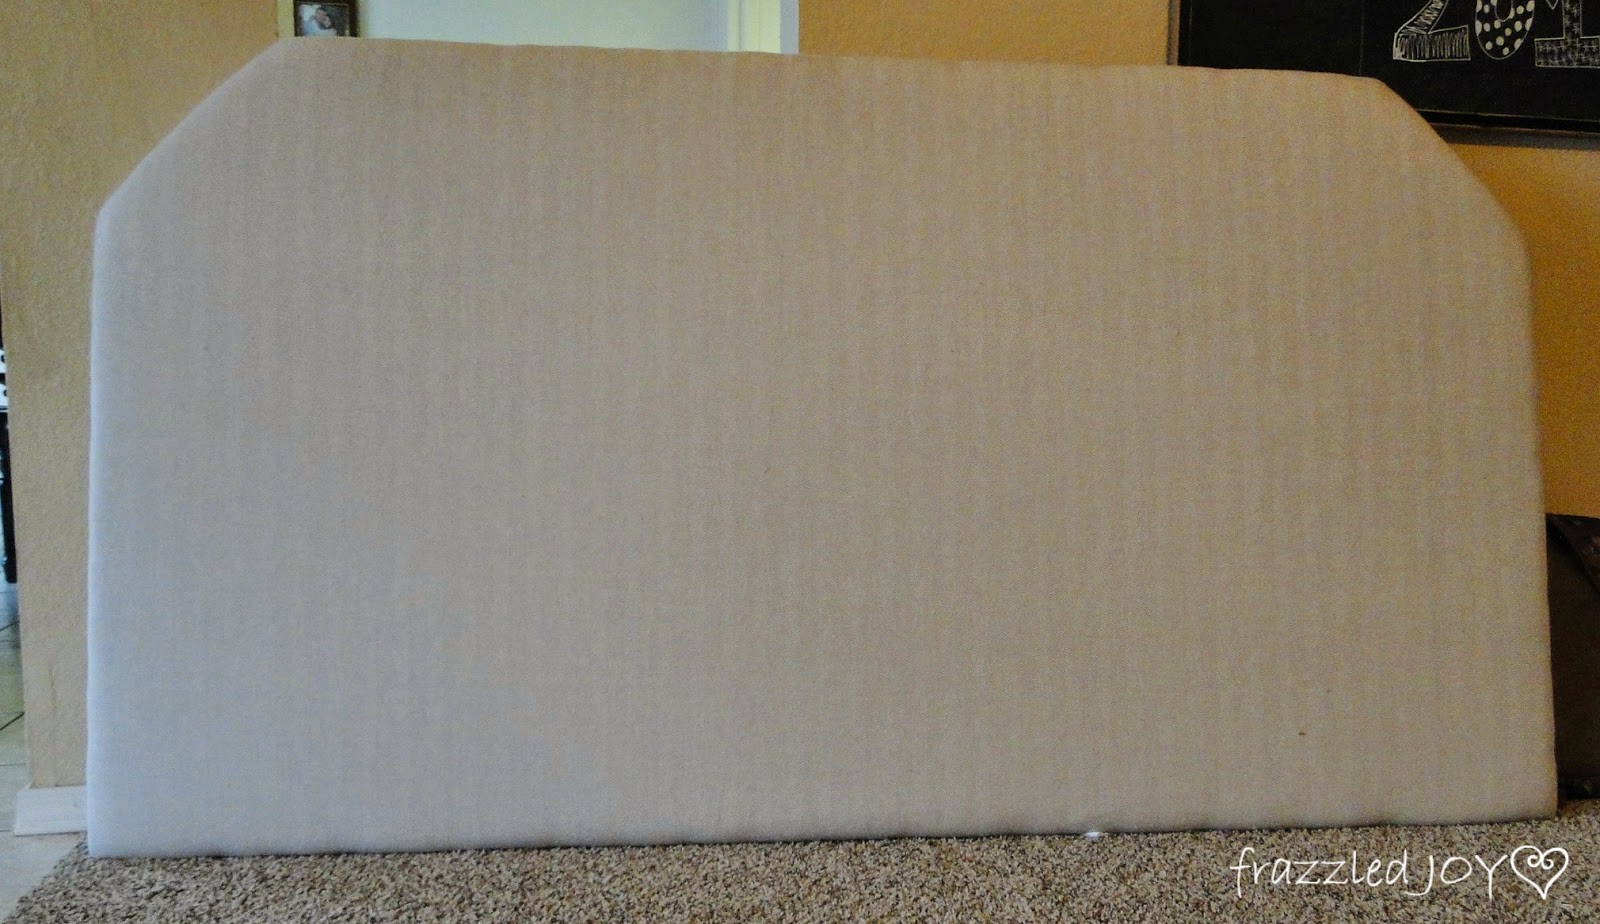
And, after all that you have something that looks like this!!
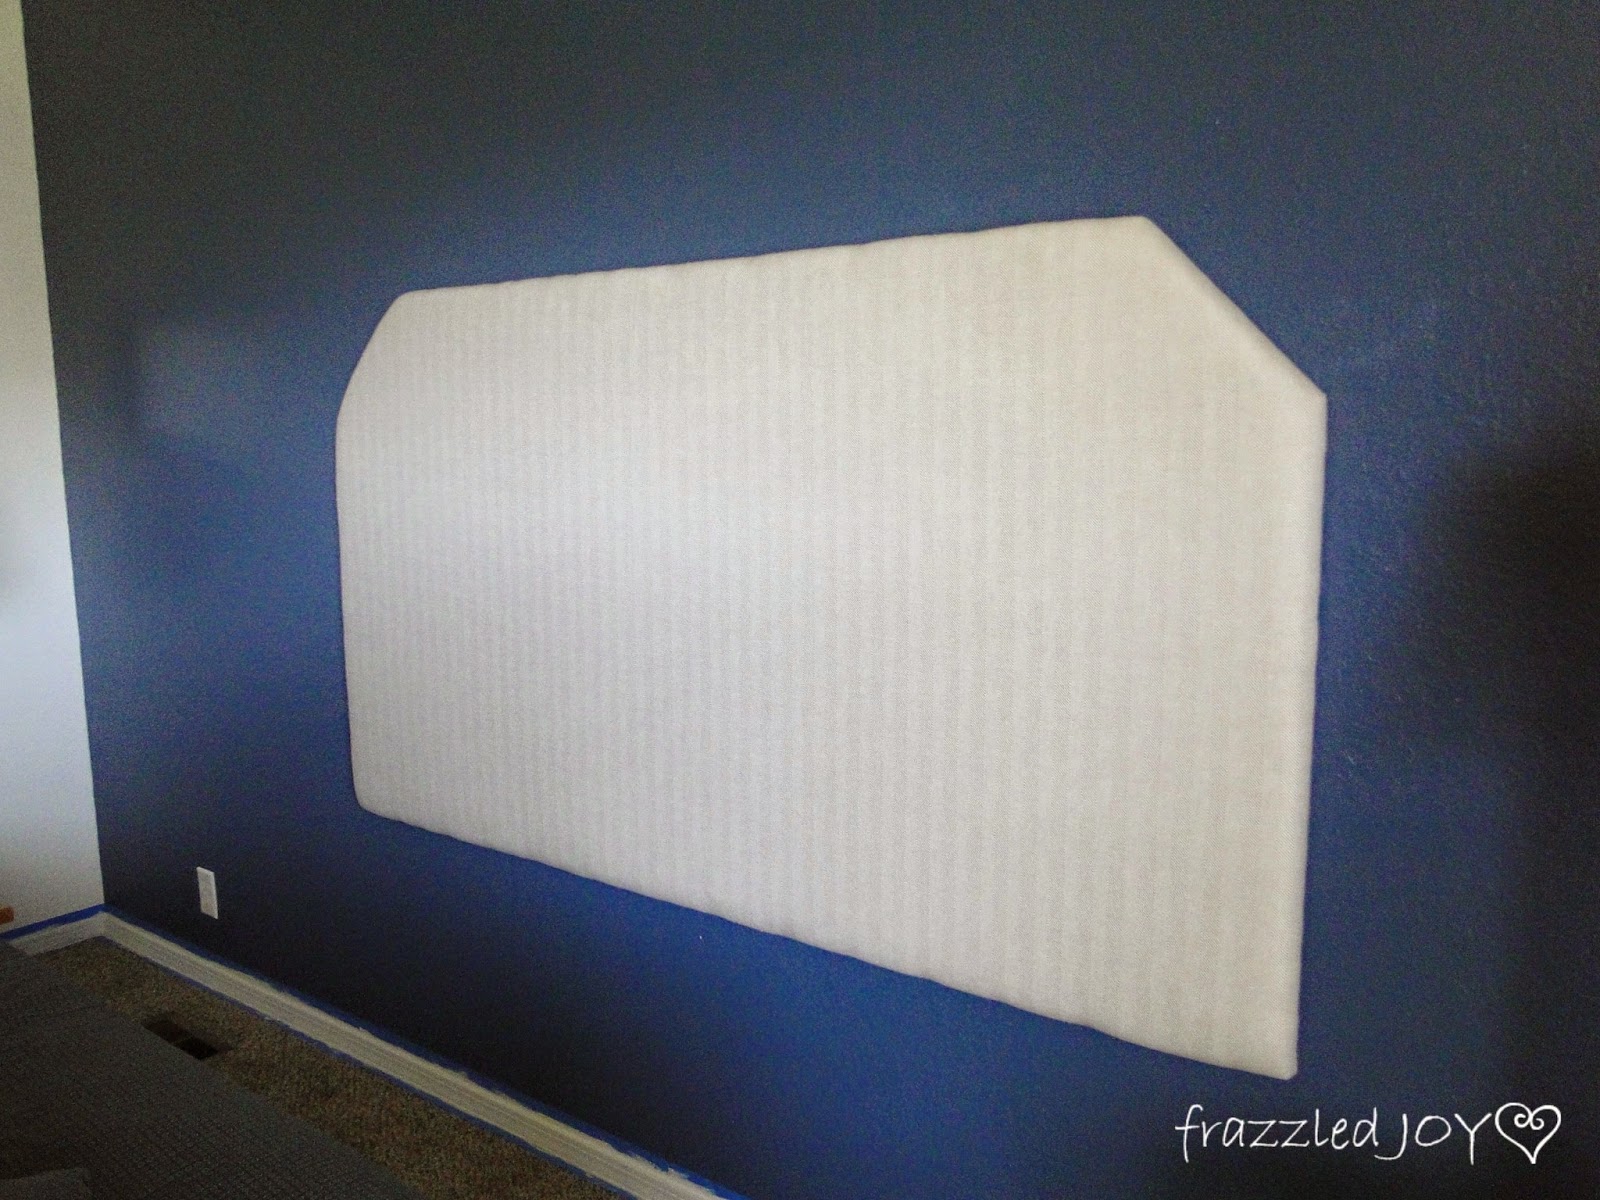
After searching around on the internet at several options for attaching the headboard either to the wall or the bed, we finally settled on this.

Again, I bought this at Hobby Lobby with my 40% off coupon. At 14.99 regularly it came out to be a little over $9 after tax. They came in both 12″ and 18″ sizes – the 12″ is supposed to hold 100 lbs. and the 18″ 200 lbs. Our headboard does not weigh over 100 lbs but it is long – king sized – so I opted for the 18″ one. I don’t know if that was necessary, it just made me feel better. One piece attaches to the wall and one piece attaches to the back of the headboard. We made sure to get at least one screw into a stud, and so far, it’s still on the wall!! HA!!
So, there you have it!! Fairly simple, right?? Totally doable for just about any DIYer :). It took us an hour or two from start to finish. And, fairly inexpensive for the look. For a king sized headboard it cost me around $90. Obviously if you were doing a smaller one you could probably do it for less. Not too shabby I say!!


Linking up at Remodelaholic / Tutorials & Tips Link Party / Take-A-Look Tuesday / One Project at a Time / Show Me What Ya Got / Inspire Me Tuesday / Hit Me With Your Best Shot / Works For Me Wednesday / Create It Thursday / Thrifty Thursday / Frugal Friday / Creativity Unleashed / That DIY Party / Link Party Palooza / Share Your Creativity / Show-licious Craft and Recipe Party / DIY Sunday Showcase / Frugal Crafty Blog Hop / Inspire Me Monday


Love it, great tutorial and I really like your fabric choice. Thanks tons for linking to Inspire Me. Hugs, Marty
I like your tutorial and your fabric choice is so pretty! It's amazing what can be done with a little basic materials:):)
xxleslie
Great tutorial ~ your headboard looks fabulous!
That is a great idea and looks great! I would LOVE for you to share this with us at our craft party!
Have a great weekend!
Marti
Thank you for sharing this with us! Pinned to the party board. 🙂
I love how your headboard turned out! Thanks for the tutorial!