Today I want to share with you the finishing touches to our master bedroom update. The last little bit of things that helped bring the room to completion. Oddly, all of them include paint! 🙂
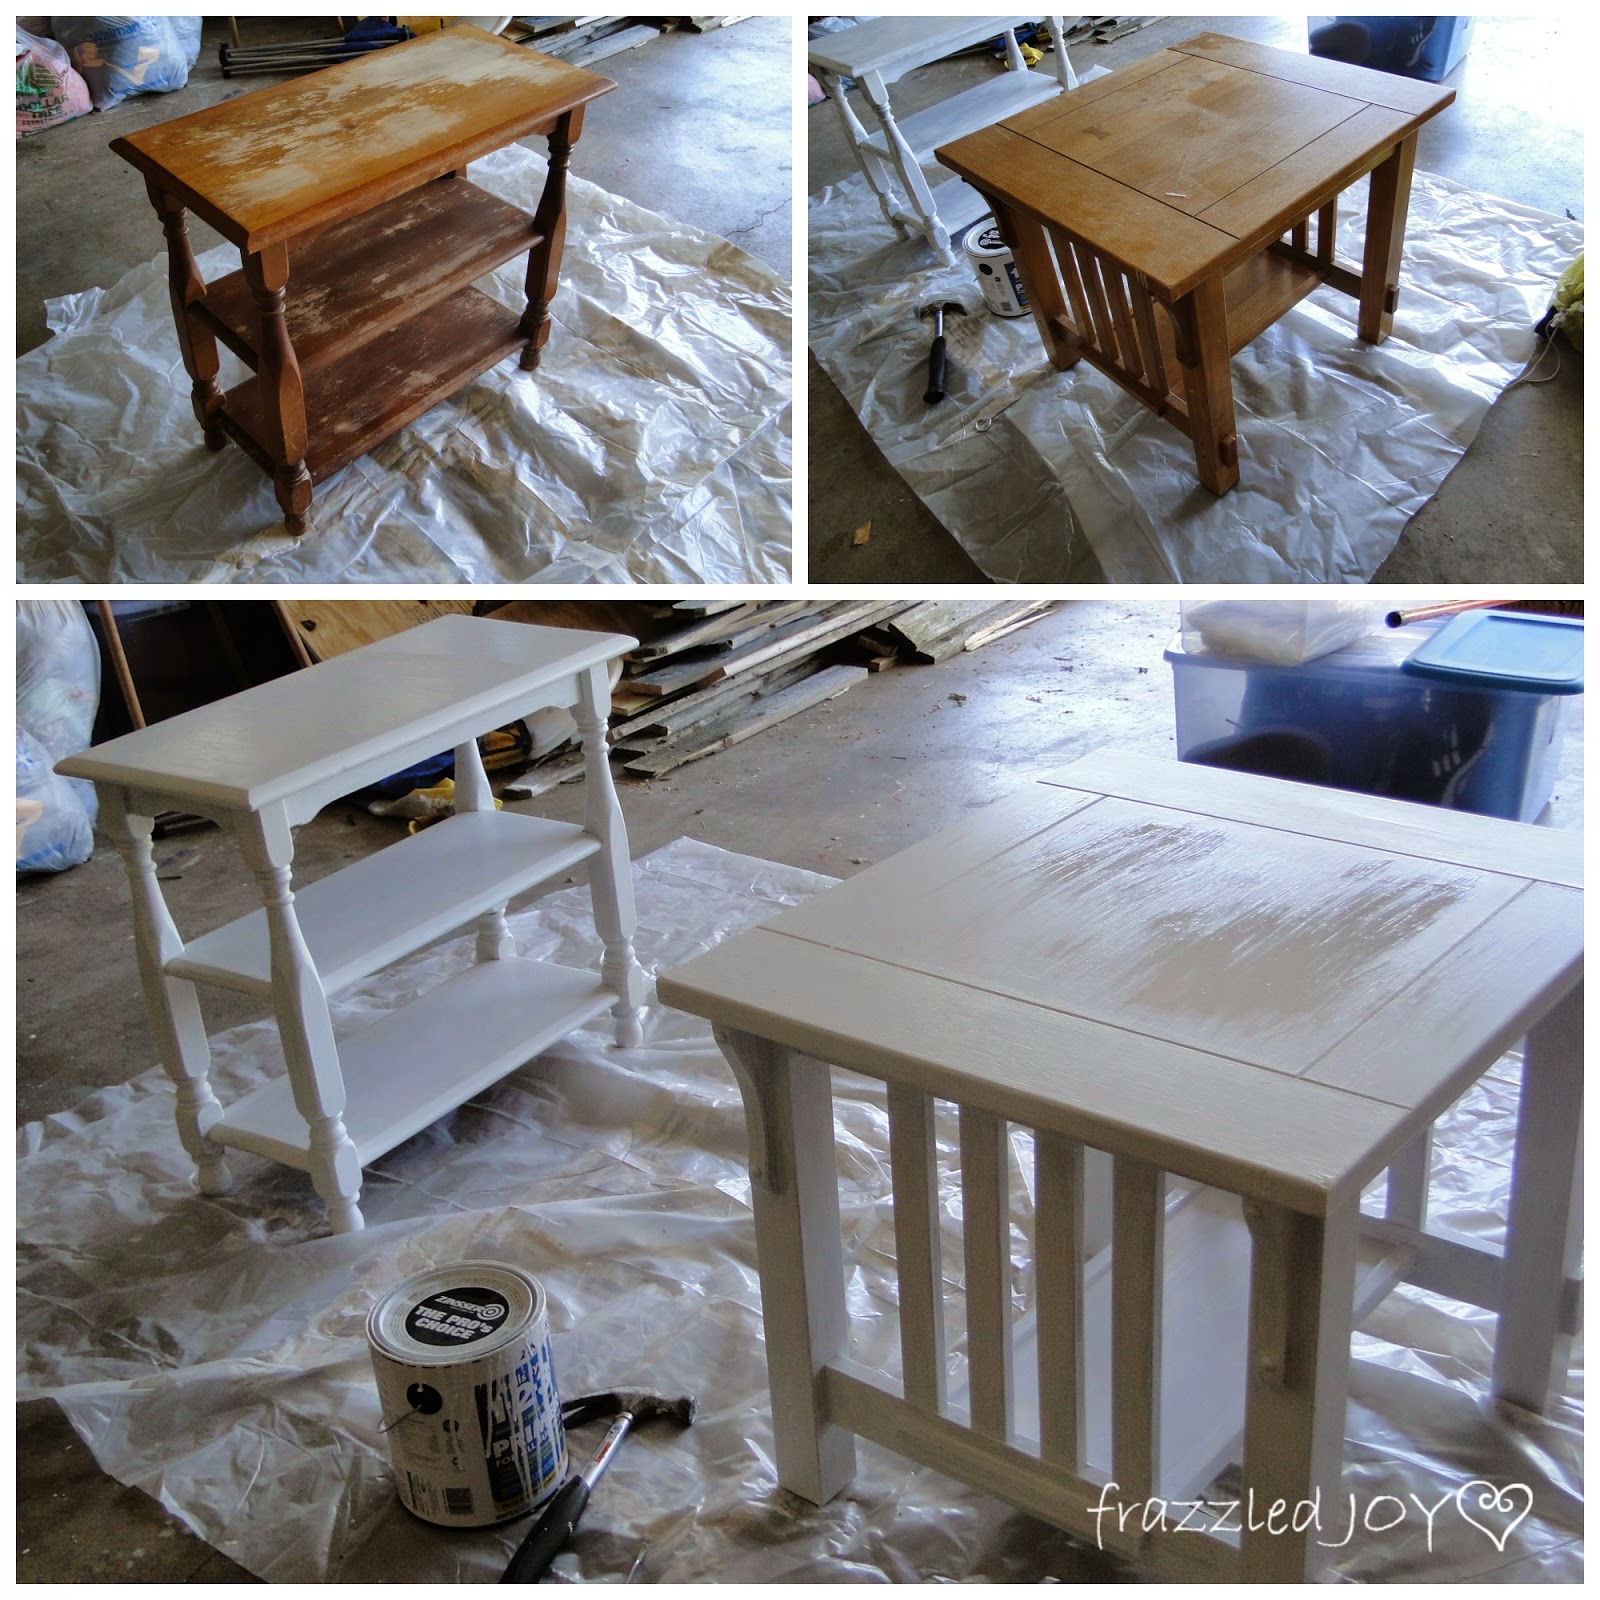
First up are the night-stands. Our bedroom is a hodge-podge of free items, given to us by friends and family, and a few few purchased pieces. Of course, aside from the king size bed – none of those pieces were actually purchased for this room :). The night-stands are no exception. I had considered replacing them, but the budget did not allow it at this time. So I decided to do the next best thing – paint.
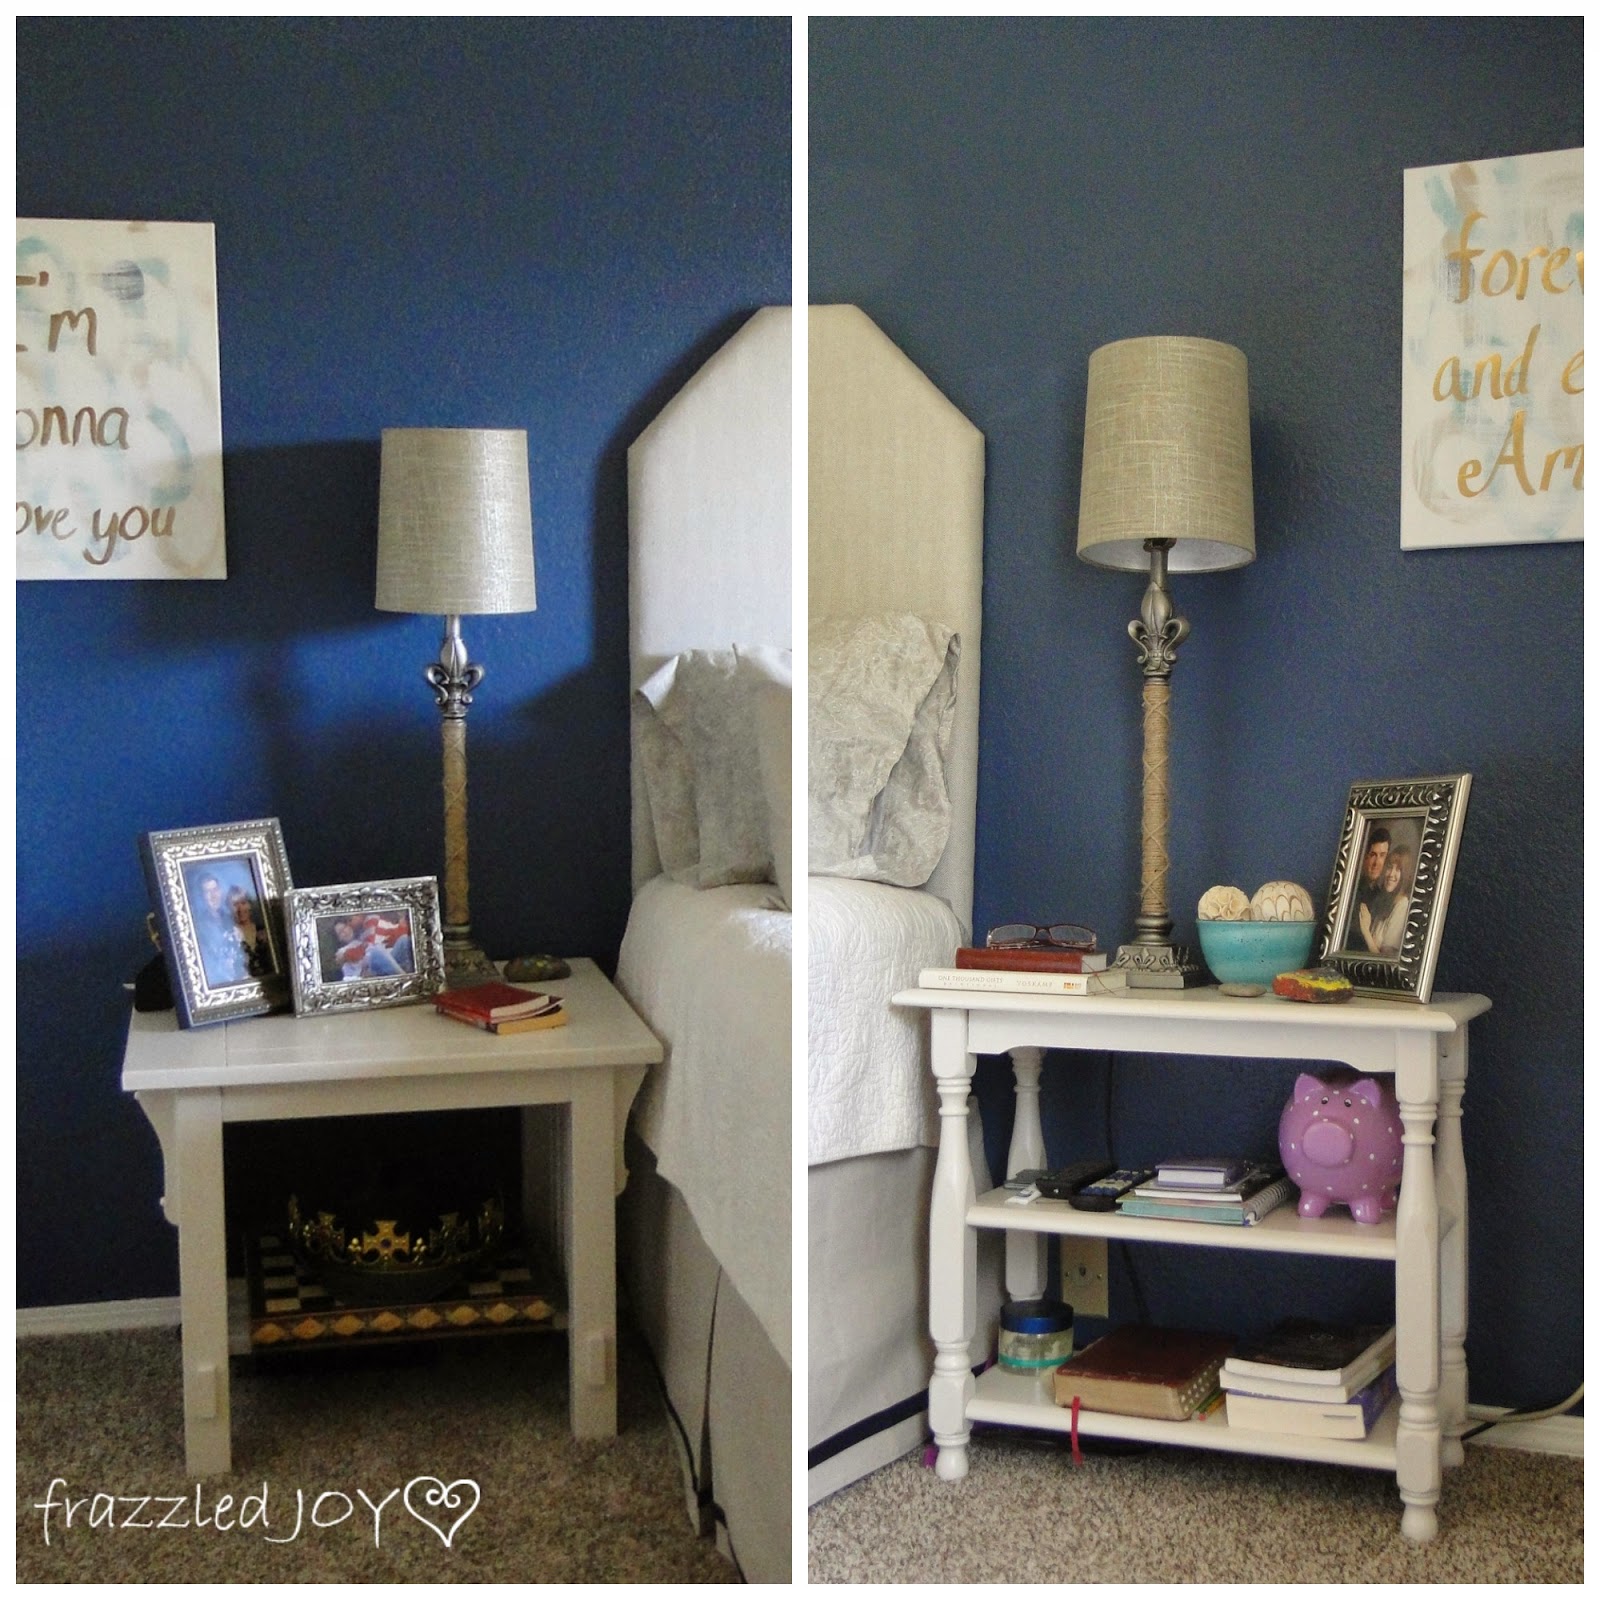
The piece on the top left had seen better days, and much of the finish was coming off on top, so it got a good sanding. The other piece just got a good cleaning, and then both pieces got a couple of coats of primer. Then I used paint leftover from our kitchen cabinets. I just love the color – and it was free.
What a difference huh?? If you are paralyzed to pull out the brush and paint something, please go read Ashley’s wise words about going for it!!
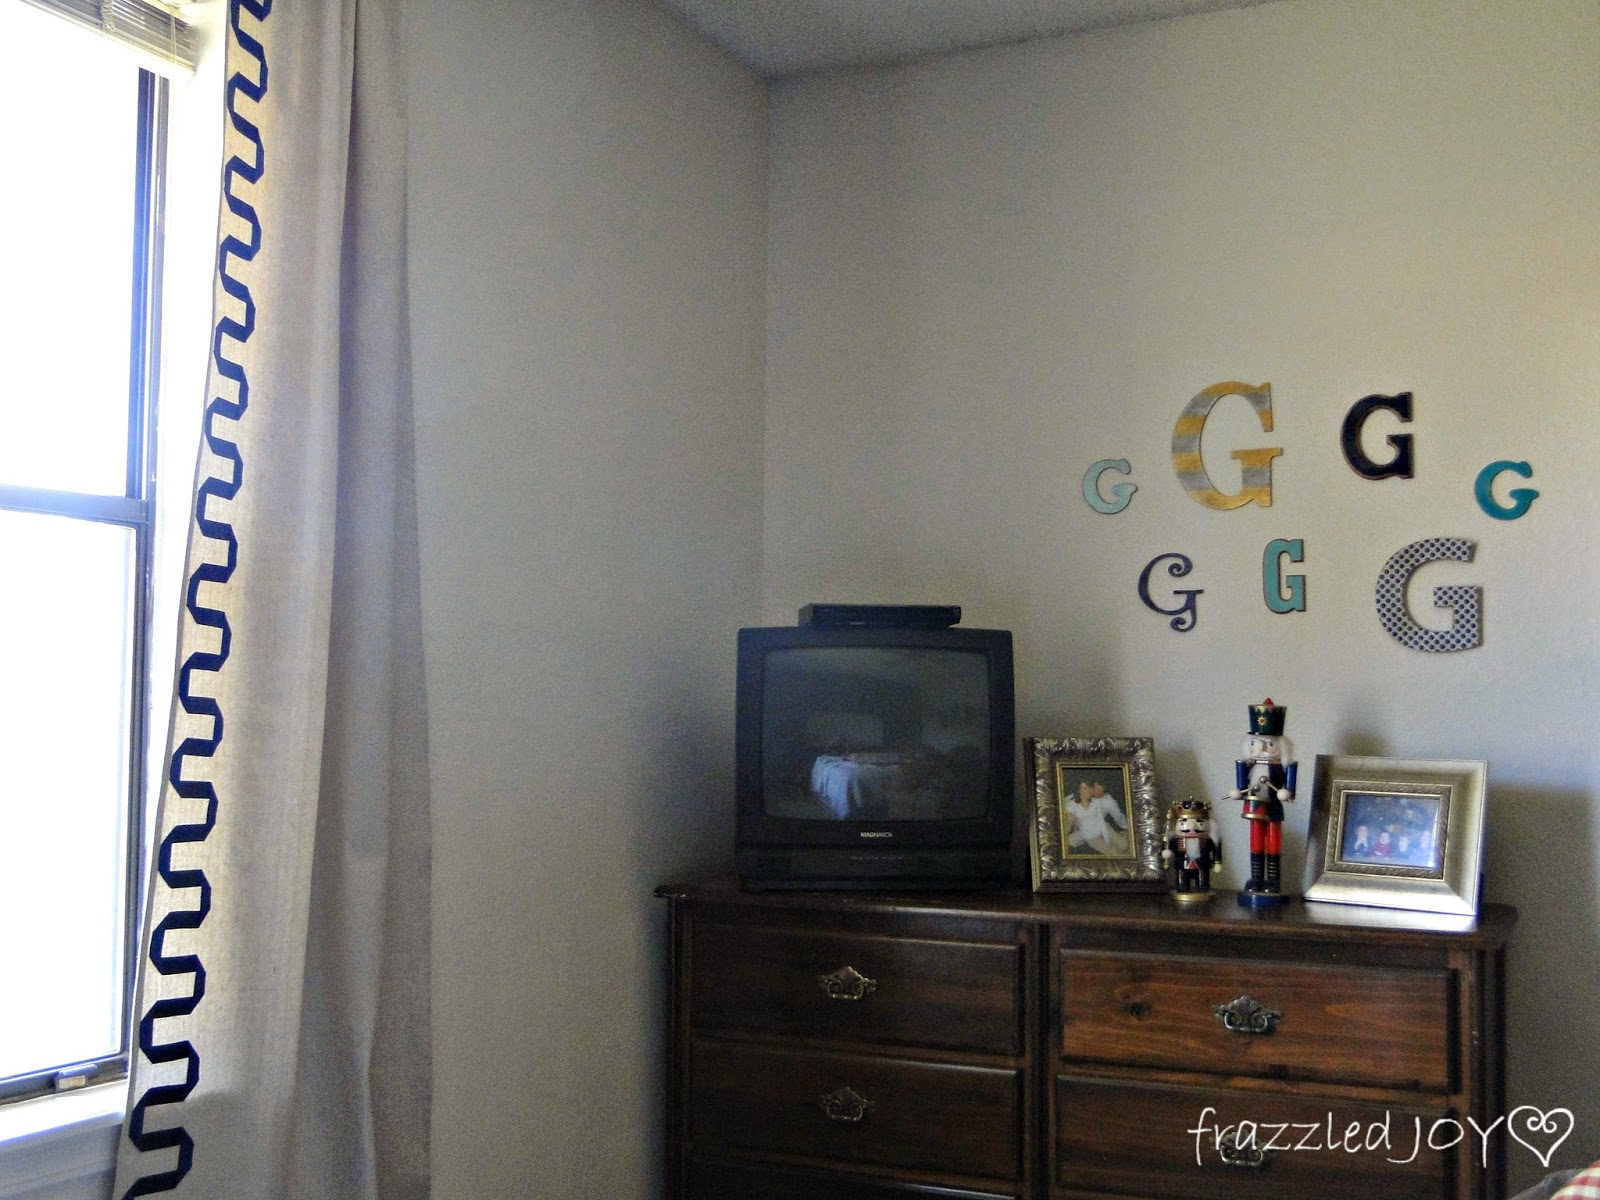
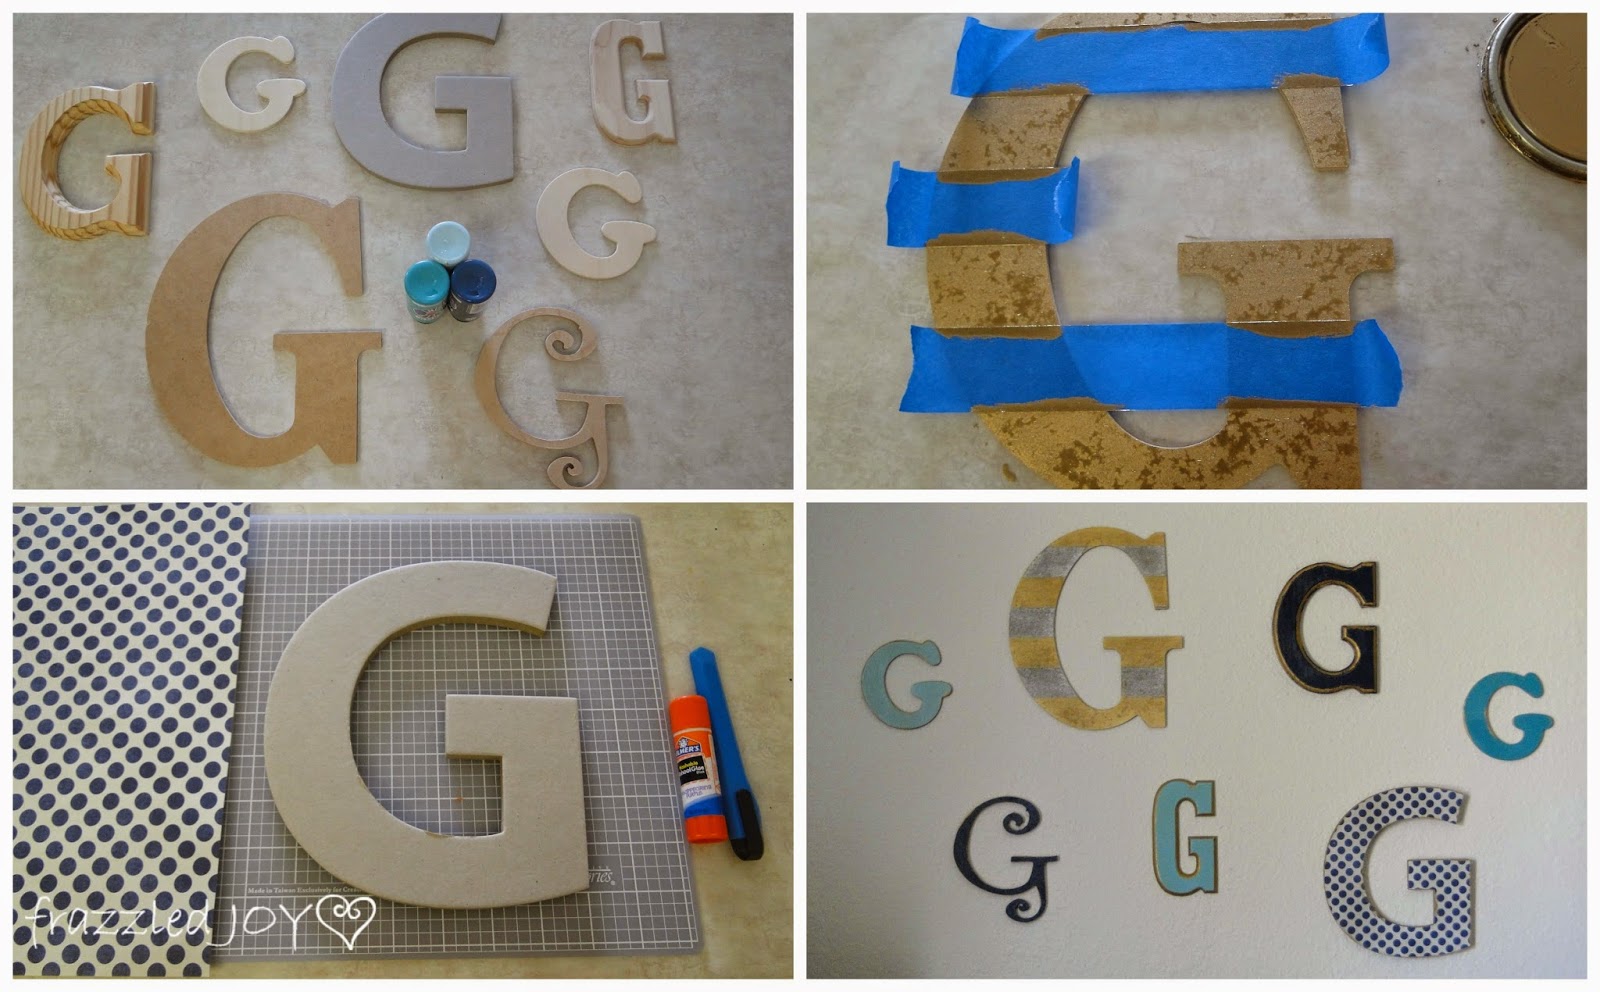
Next up was the “G” collage. I started with several wood and some chipboard letters that I purchased at Hobby Lobby. A little paint, and another sheet of polka-dot scrapbook paper.
Most of them just got a solid coat of paint. The large “G” got treated with silver and gold stripes, and the other large “G” got the polka-dot treatment. All the letters got a little rub-n-buff love around the edges of the letter.
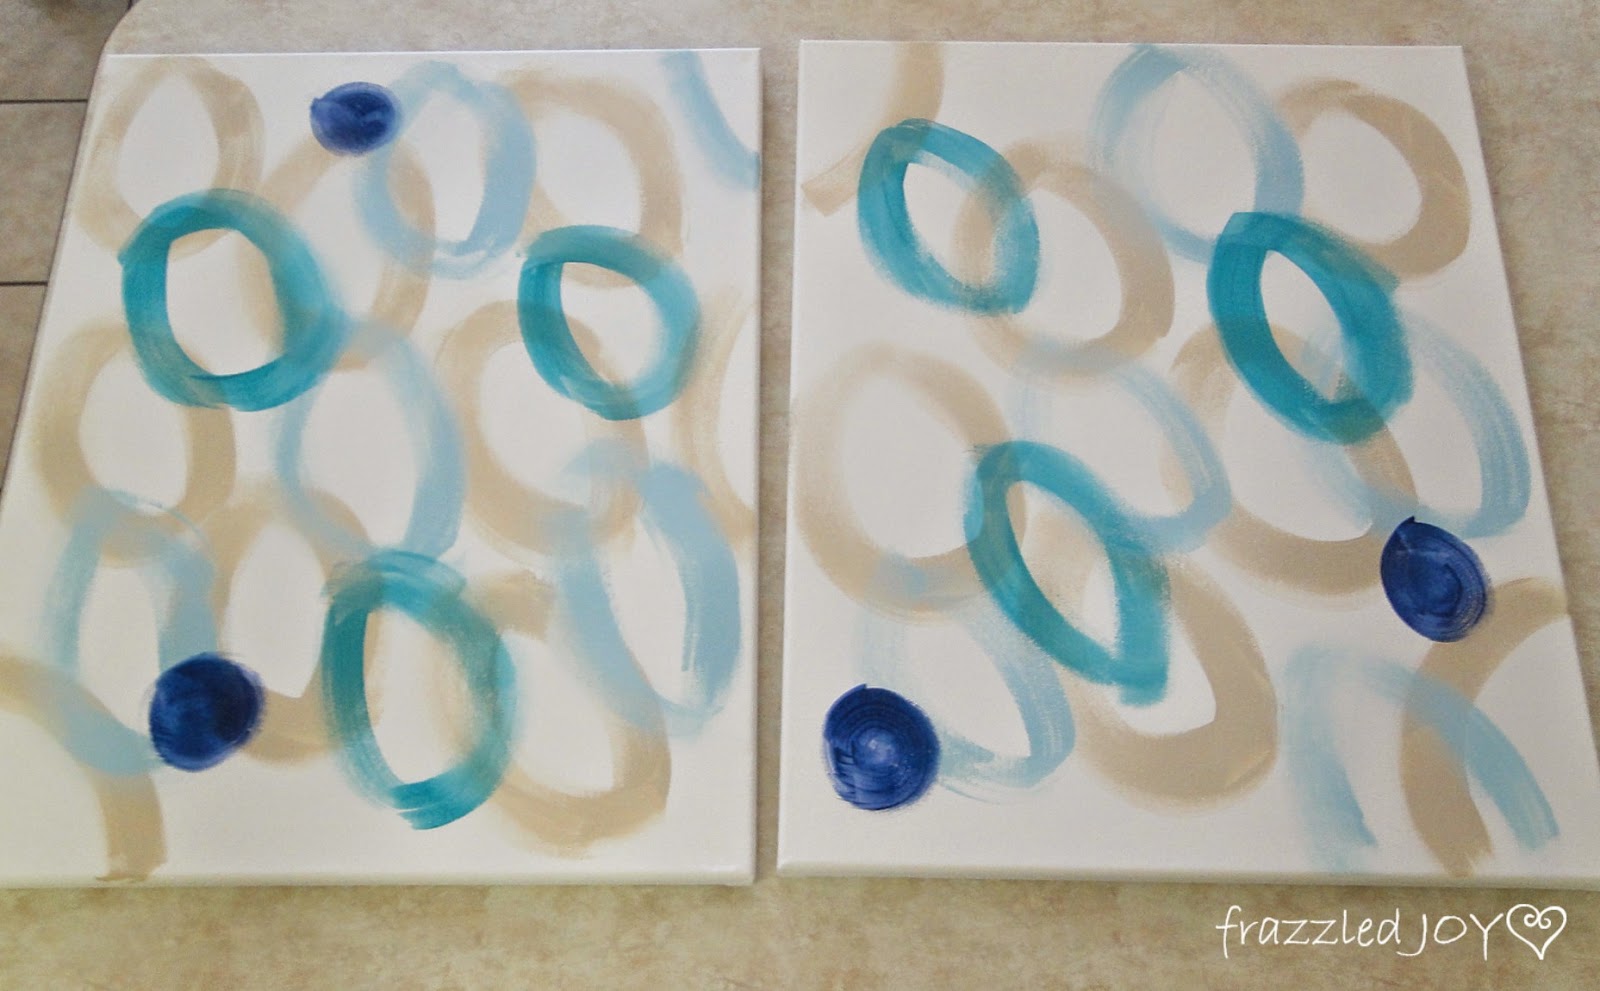
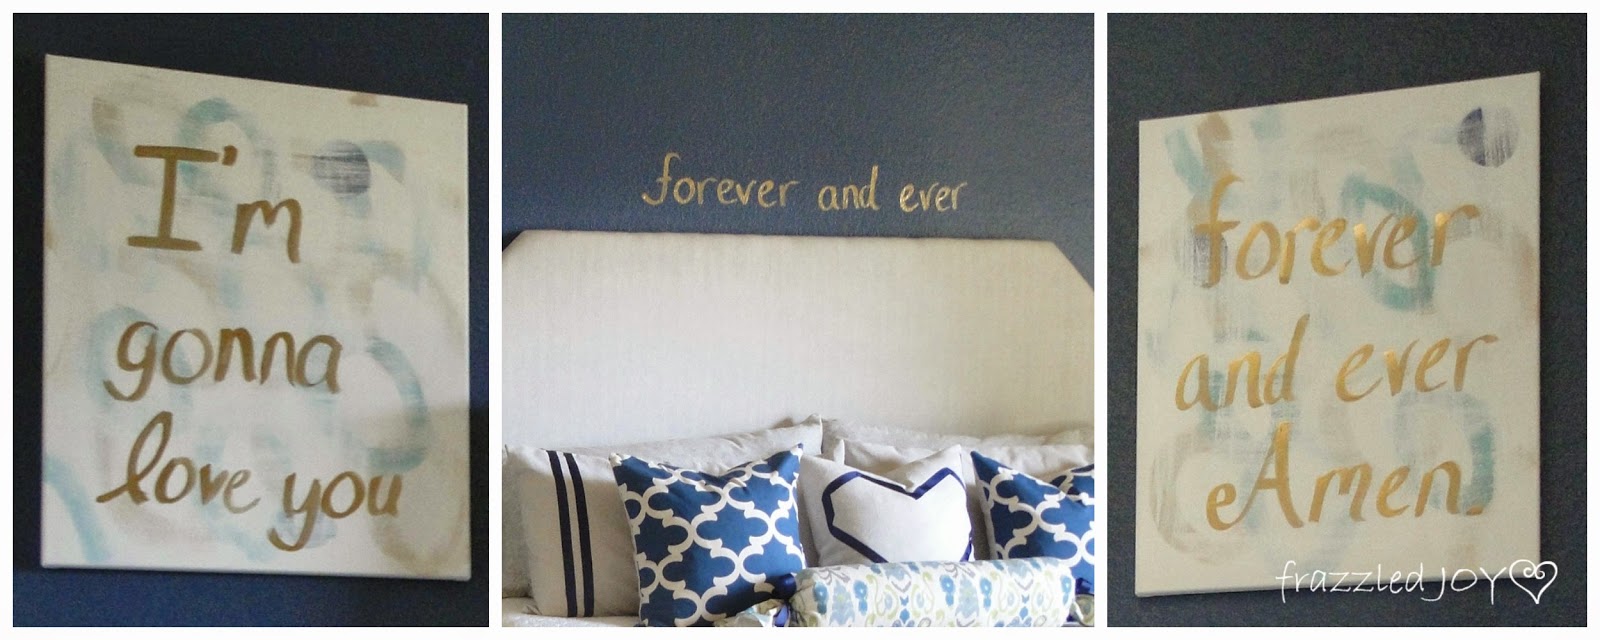
Lastly was the artwork surrounding the bed. I had seen lots of cute ideas around the web with sayings or song lyrics. I had in my head at first to do something over the bed only, but when I put the headboard up I realized there wasn’t much room. I also realized after painting the wall navy that there was quite a bit of space on the sides that I wanted to fill. So, I brainstormed for a long time. Trying to think of a low-cost option. Finally, I decided to try my hand at some ‘abstract’ artwork. Yikes!!
This is what it looked like after the first round of painting.
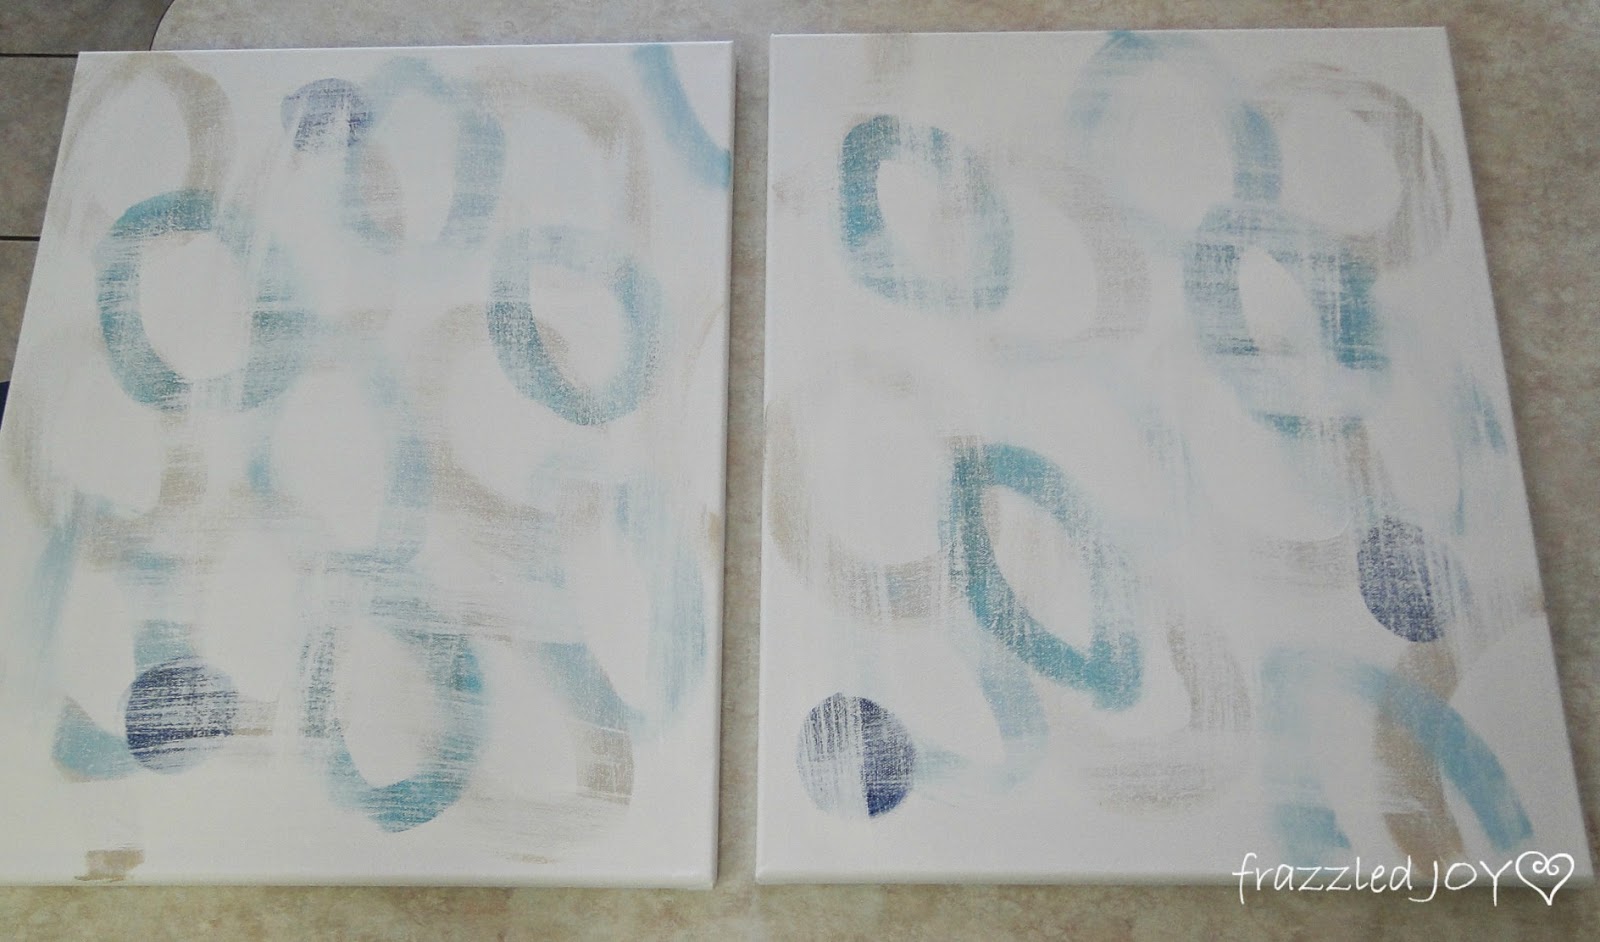
Colorful and definitely abstract. But, I knew I wanted to paint words over the ‘art’ and I thought this would be too busy. So, now worries. I took out some white paint and added a little bit of water to the paint to thin it out a little and then just brushed it on over this lightly, in one direction and then in the other. This was the result.
Perfect!! I could still see the pattern, but it was not as overwhelming. Then, I drew pencil lines to indicate the boundaries of each line of print, and went to work with my gold paint. Yes, this part was a little nerve wracking, but I just took a deep breath and went for it. Knowing that if I hated it, I could always paint over it all and start again!! Lucky for me I loved it :).
If you not familiar with the saying – it’s lyrics from a song sung by Randy Travis. One of our favorites. I’m not gonna say that hubby might have teared up a little when he saw this. 🙂
Thanks for sharing in this makeover, it was challenging, but a blast all at the same time. It felt so good to just be doing something in this room that had been neglected for sooo long!!
A little bonus for your listening pleasure :).


Really pretty and a great transformation.
What pretty updates to your master bedroom! Thanks for sharing them at Monday Funday Link Party! I shared this on Pinterest and Twitter!