Hi there! I’m so happy to be back to blogging!! My posts might seem a little all over the place for the next few weeks. I have a lot of things to share from the summer! Today I would like to start with how to make custom piping trim. The title says “for pillows” but you can use this for anything you would like to add piping to. As far as the level of difficulty, I would say it’s pretty easy. If you can sew a straight line, you can do this!
I think sewing tutorials are really hard to write, but I’m going to do the best I can and hope that the pictures will fill in the gaps.
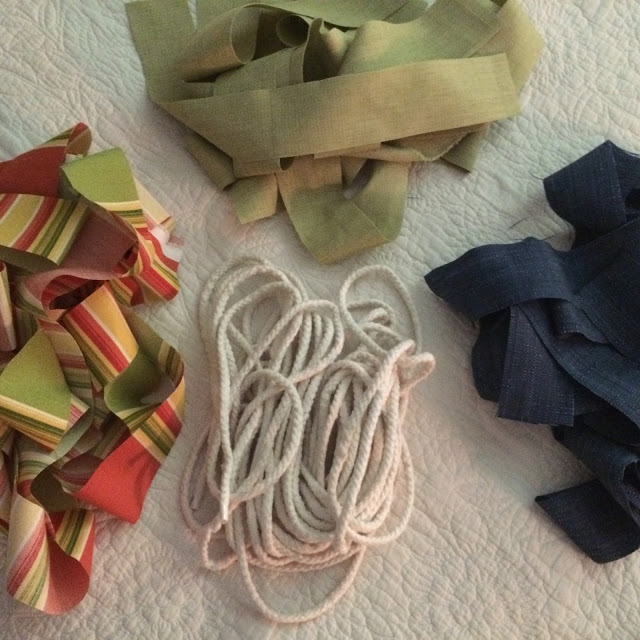
This is what you need to start with. Cording of your desired size – This is sold at most fabric stores in various diameters. I picked a little thicker one this time, I think it was 3/4″ maybe, because I wanted a little more chunky piping. And the fabric of your choice cut into strips.
I have always heard it said that you need to cut your fabric on the bias (or on the diagonal), but I don’t think this is necessary. I have made piping using straight strips of fabric several times and it works just fine.
I like a fairly good size seam allowance so I made the strips 2″ wide.
After you have all your strips cut, you’ll need to sew them together to make one long strip. A 1/4″ seam will work just fine, I made mine a little bigger, it really doesn’t matter. 🙂 Make sure you press open these seams!
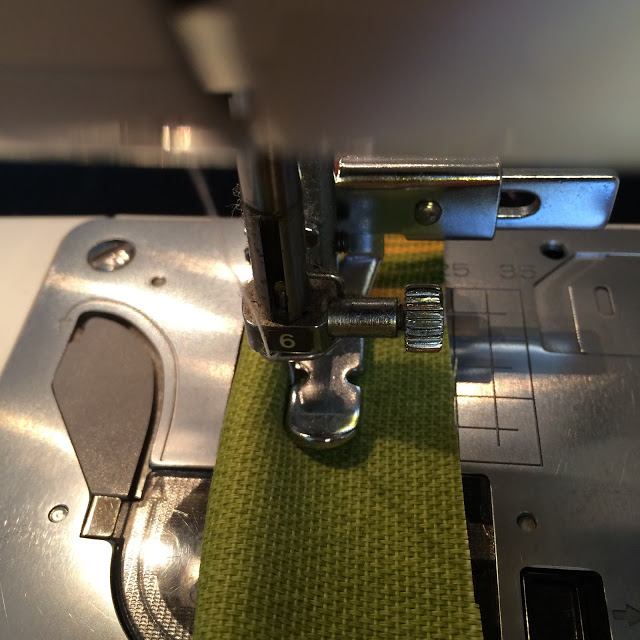
Then, place your cording in the center of your strip, fold the strip in half over the cording, matching up the edges of the fabric.
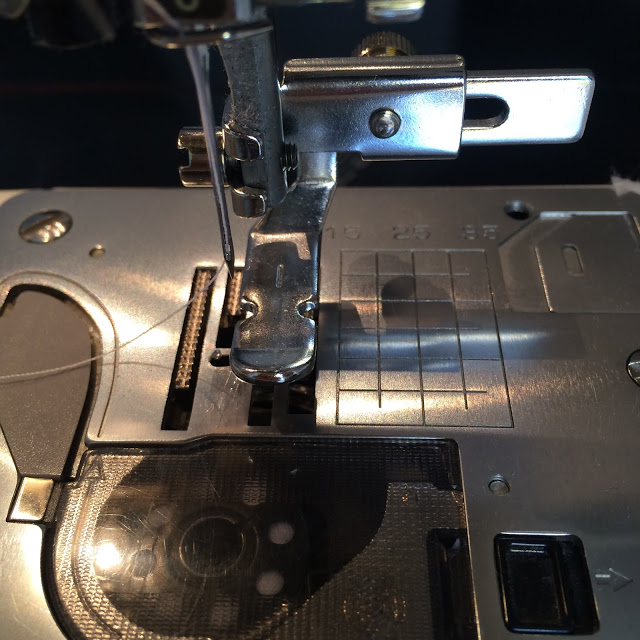
Next, using a zipper foot, stitch as close to the edge of the cording as possible without sewing into the cording.
As you can see from the picture, a zipper foot attachment allows the needle to be to the side of the foot (why do they call it a foot?? I guess it kind of looks like one) instead of in the middle.
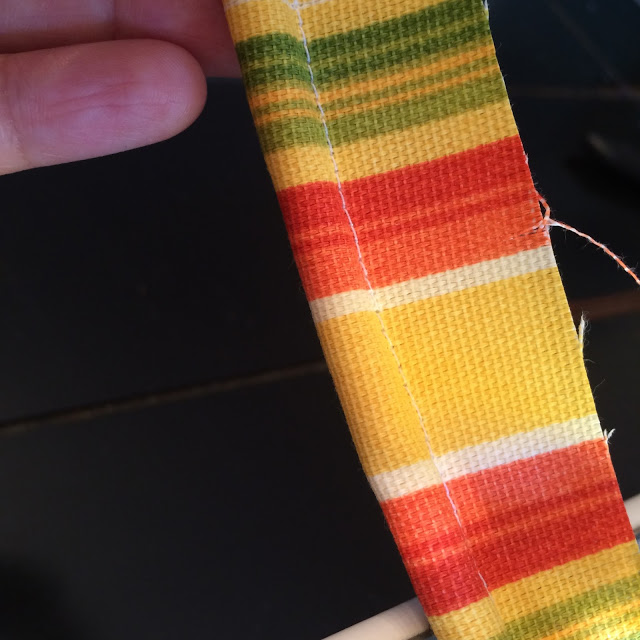
When you are finished you should have a long strip of piping that looks like this.
Now you are ready to trim out any project you would like!! Easy-peasy right?? Please feel free to ask questions if something is not clear.


I've been wanting to try this for ages! Your tutorial is giving me the courage 🙂 Thanks for linking up to the Pretty Preppy Party this month!
Yay! I'm so glad! Thanks for co-hosting a fun party 🙂