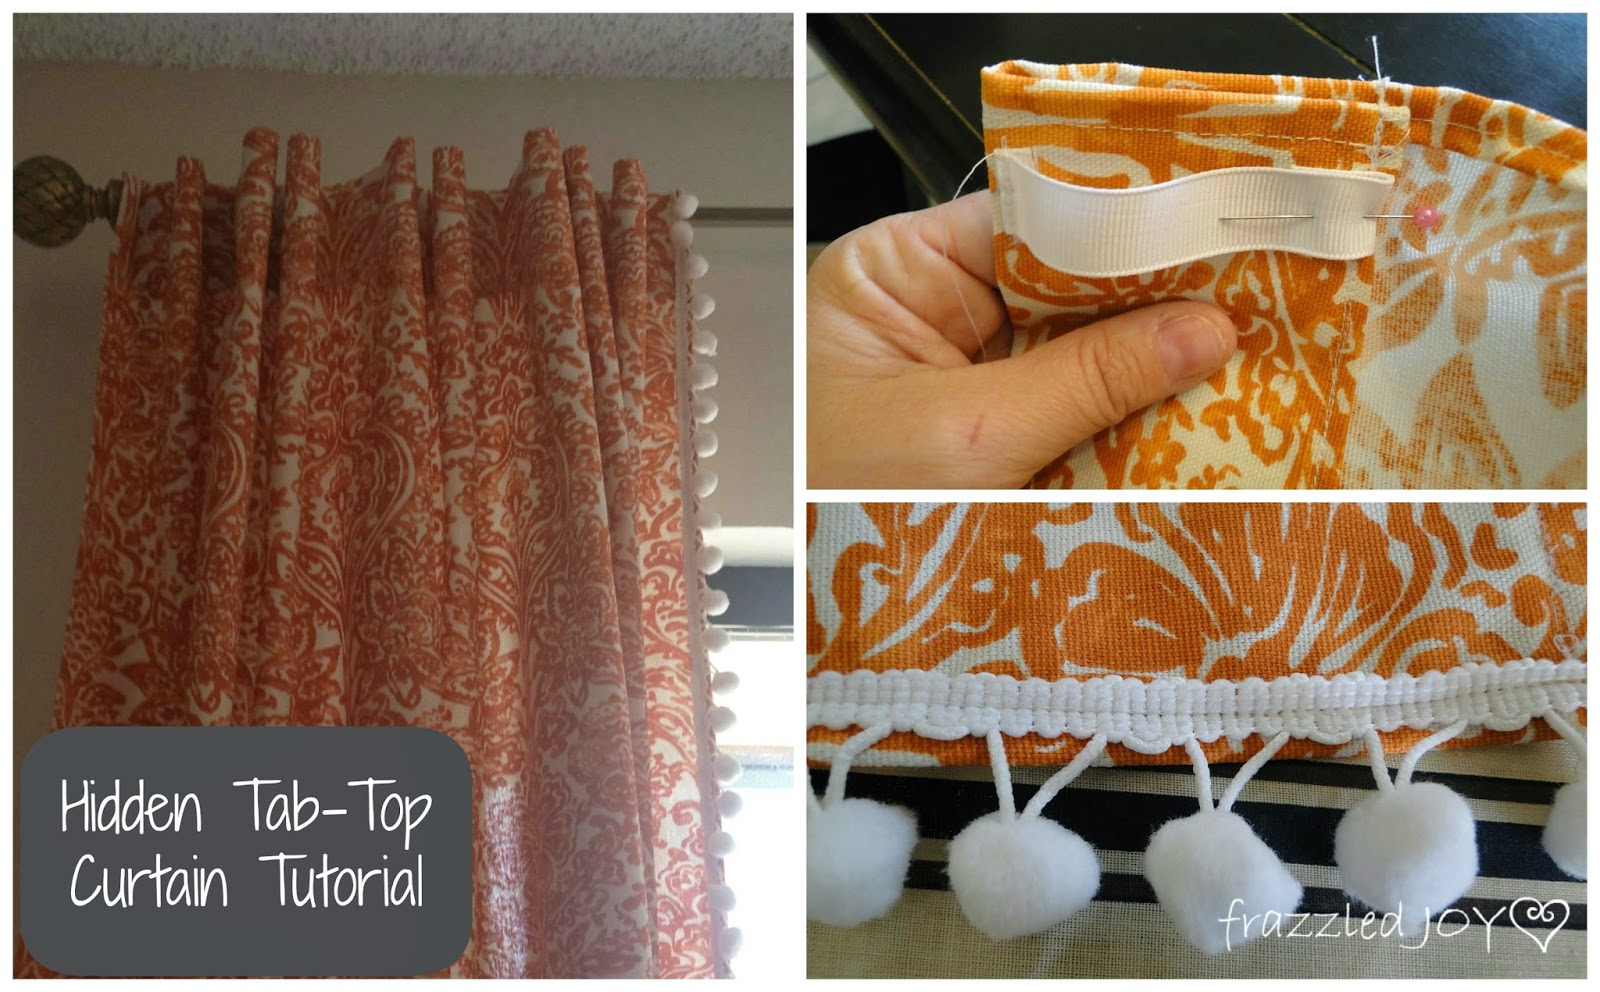
I just realized that when I showed you my dining area reveal, I mentioned that I would come back with a tutorial on the drapes. Oops!! I got excited with my One Room Challenge and totally forgot!! So, I’m back :).
This post is loaded with pics – I don’t know about you, but I learn much better with pictures!
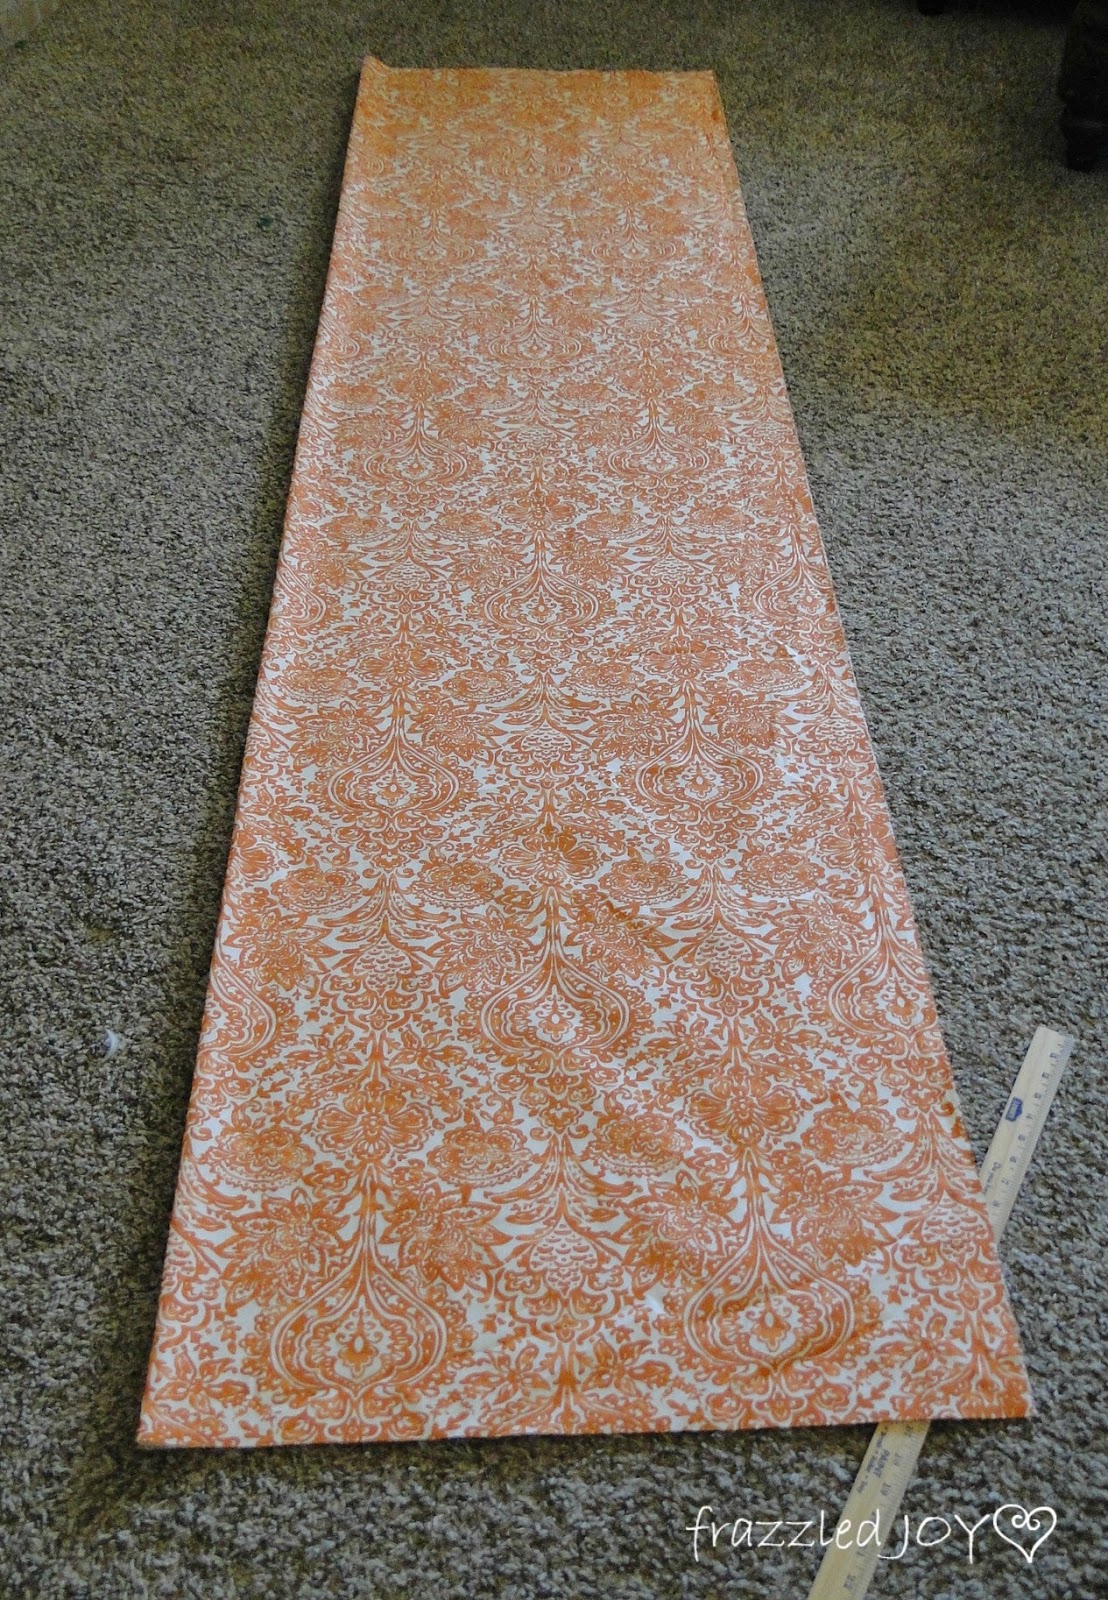
I started by laying out my fabric and measuring for two panels.
I used the width of the fabric for the width of each panel for two reasons – I like full drapes, and the window is large. Once I measured and cut the length for one panel, I simply laid that piece on top and used it for a guide to cut the second panel.
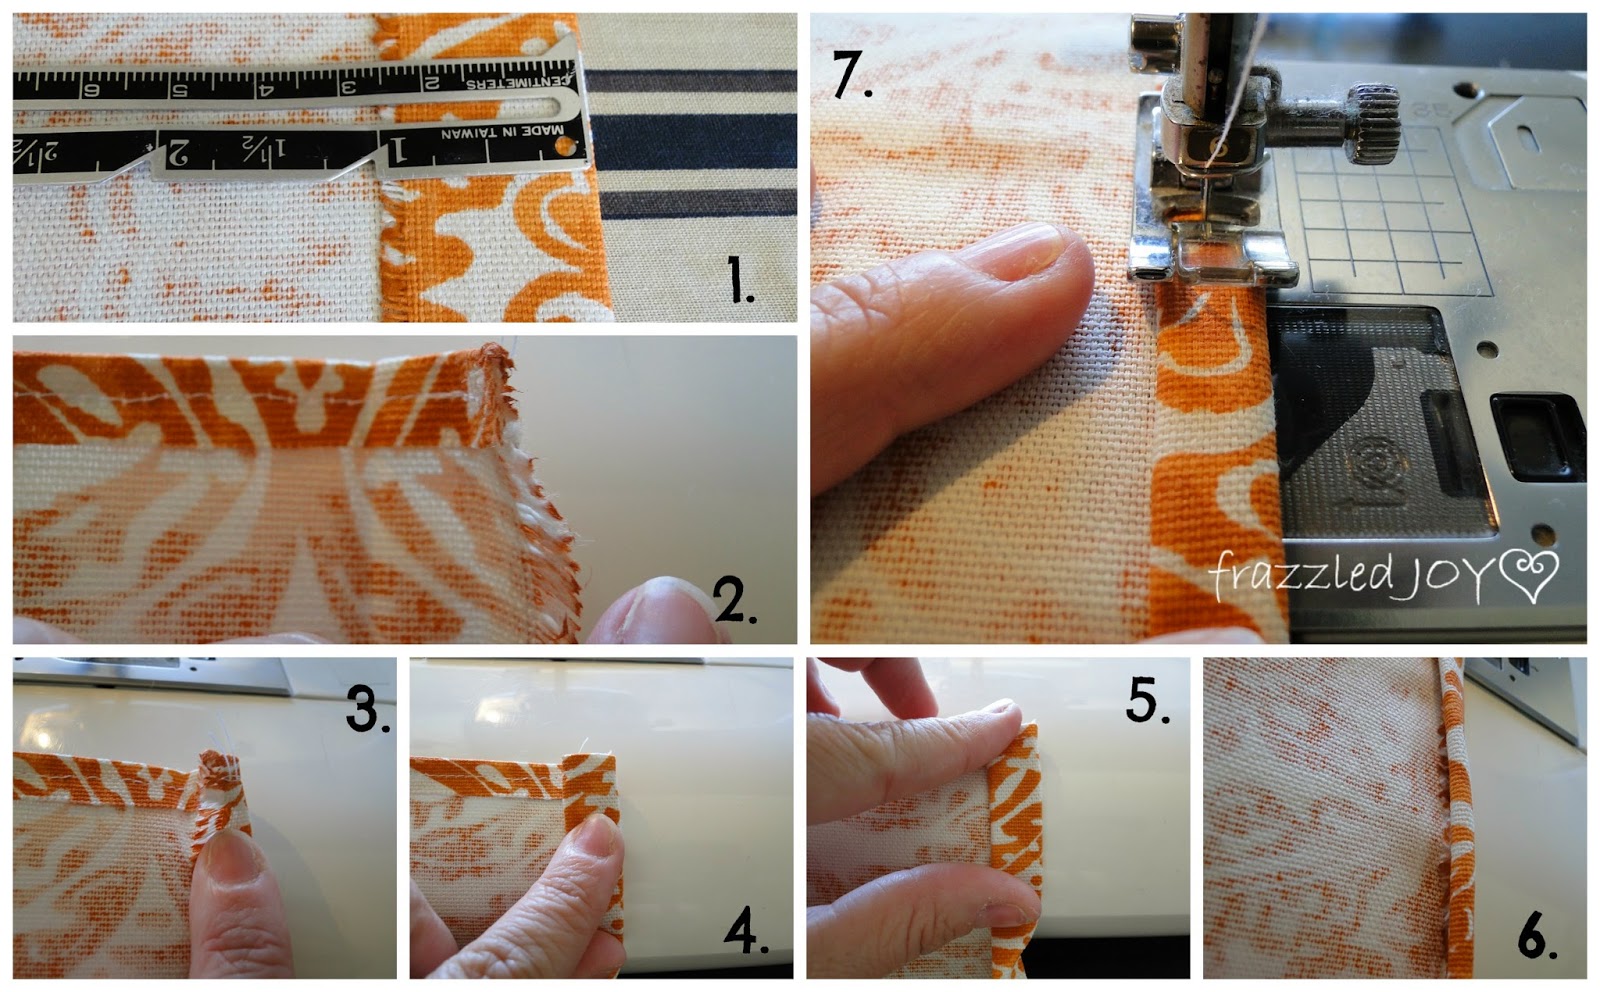
The next step was to hem the sides. I did a simple roll hem, a little larger than I normally make them to accommodate for the salvage edge (the frayed-looking part).
1. Measure, fold over, and press an inch.
2 & 3. Fold the edge into the fold.
4 & 5. Then fold over again on the pressed edge.
6. After you get the fold started, it’s easy to just roll the fold and tuck in the edge.
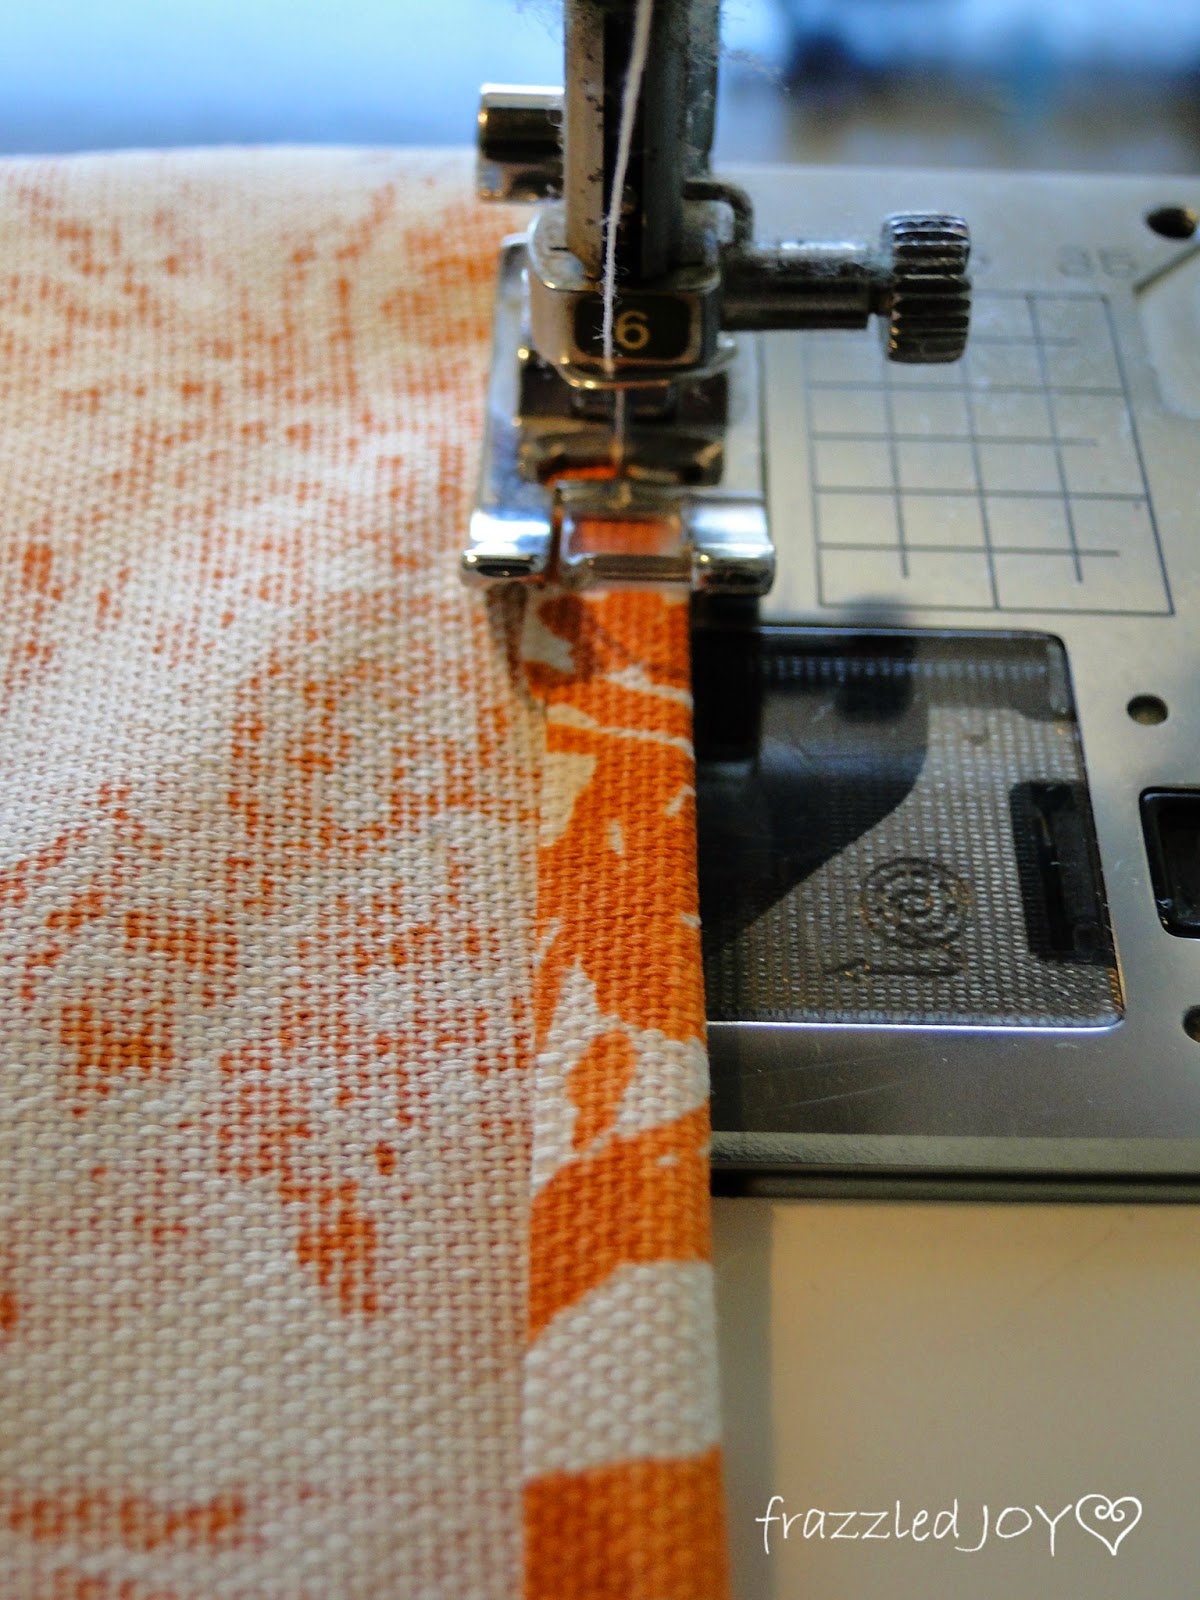
7. Stitch down the middle of the fold.
The next step is to create the top hem. This starts with folding down the raw edge about 1/4″ and sewing it in place.
Then you will want to determine how big you want your top hem to be. It will need to be large enough to accommodate your tabs. I made mine 3″. Measure, fold over and press.
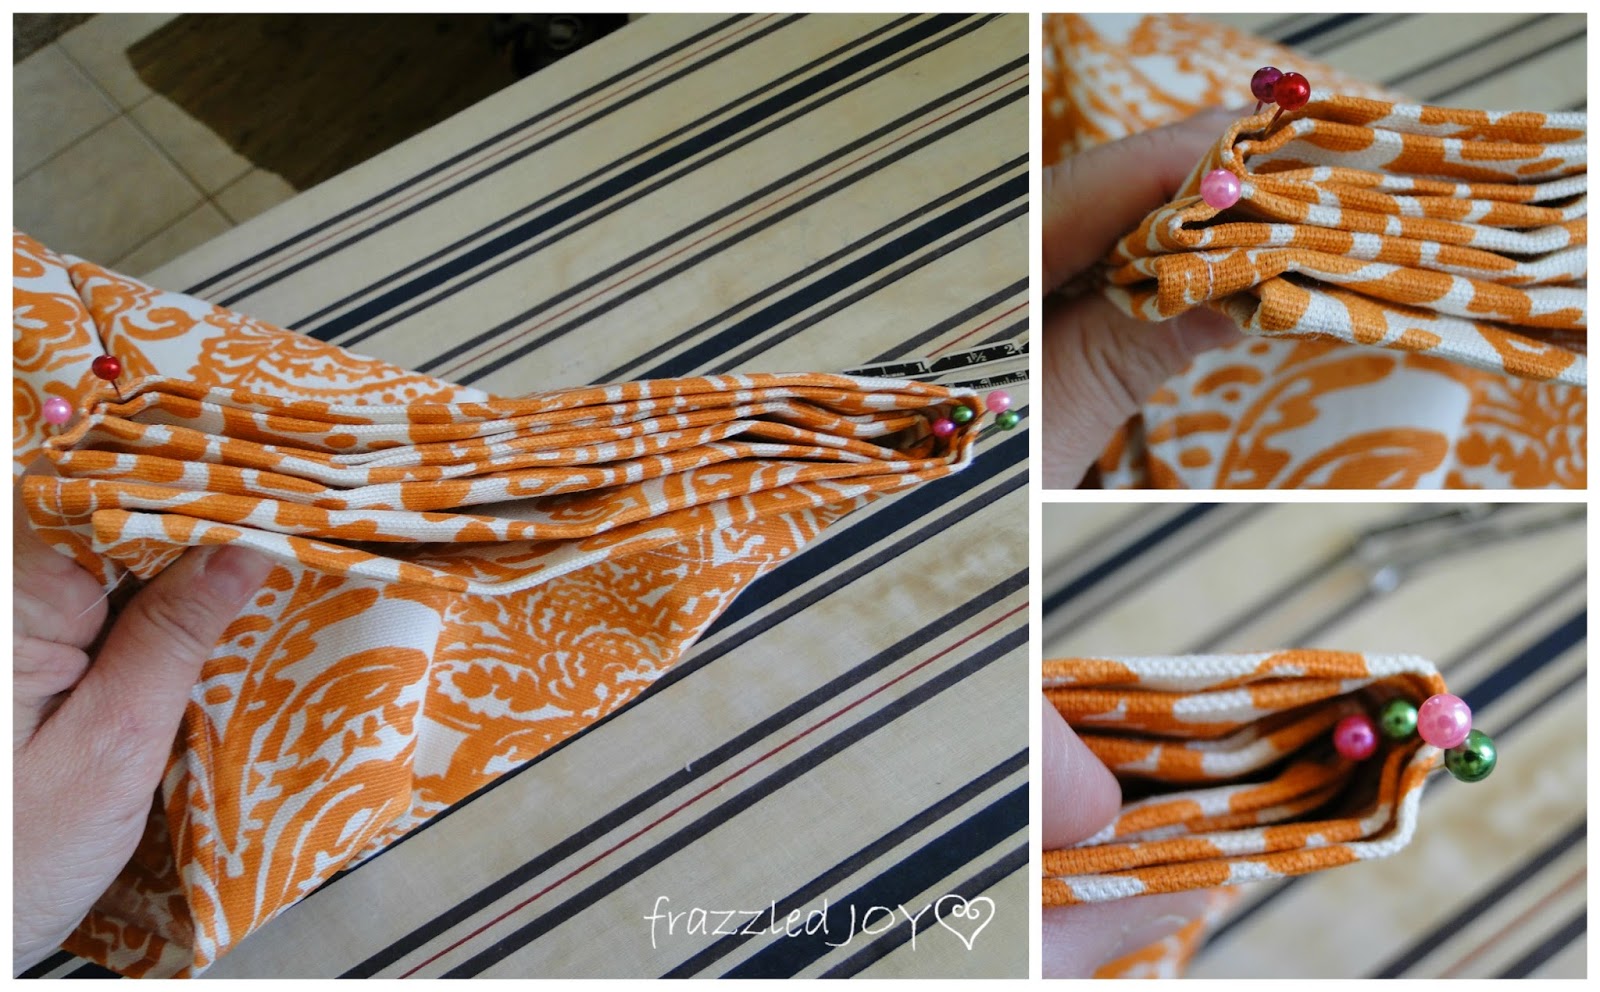
Then you need to determine how many, and how far apart you want your tabs to be. I did this by folding the panel in half, and then half again several times until I reached what I thought looked like an appropriate number of tabs. Use pins to mark your folds.
I decided to use grosgrain ribbon for my tabs, you could use fabric, but that would take a little bit more work, and the ribbon worked great!! Determine how long each tab needs to be – making sure to leave room for the rod, and room to fold over the edges on the end. Each one of my tabs were about 4″. Then pin your tabs in place, using the pins that you used to mark your folds from before.
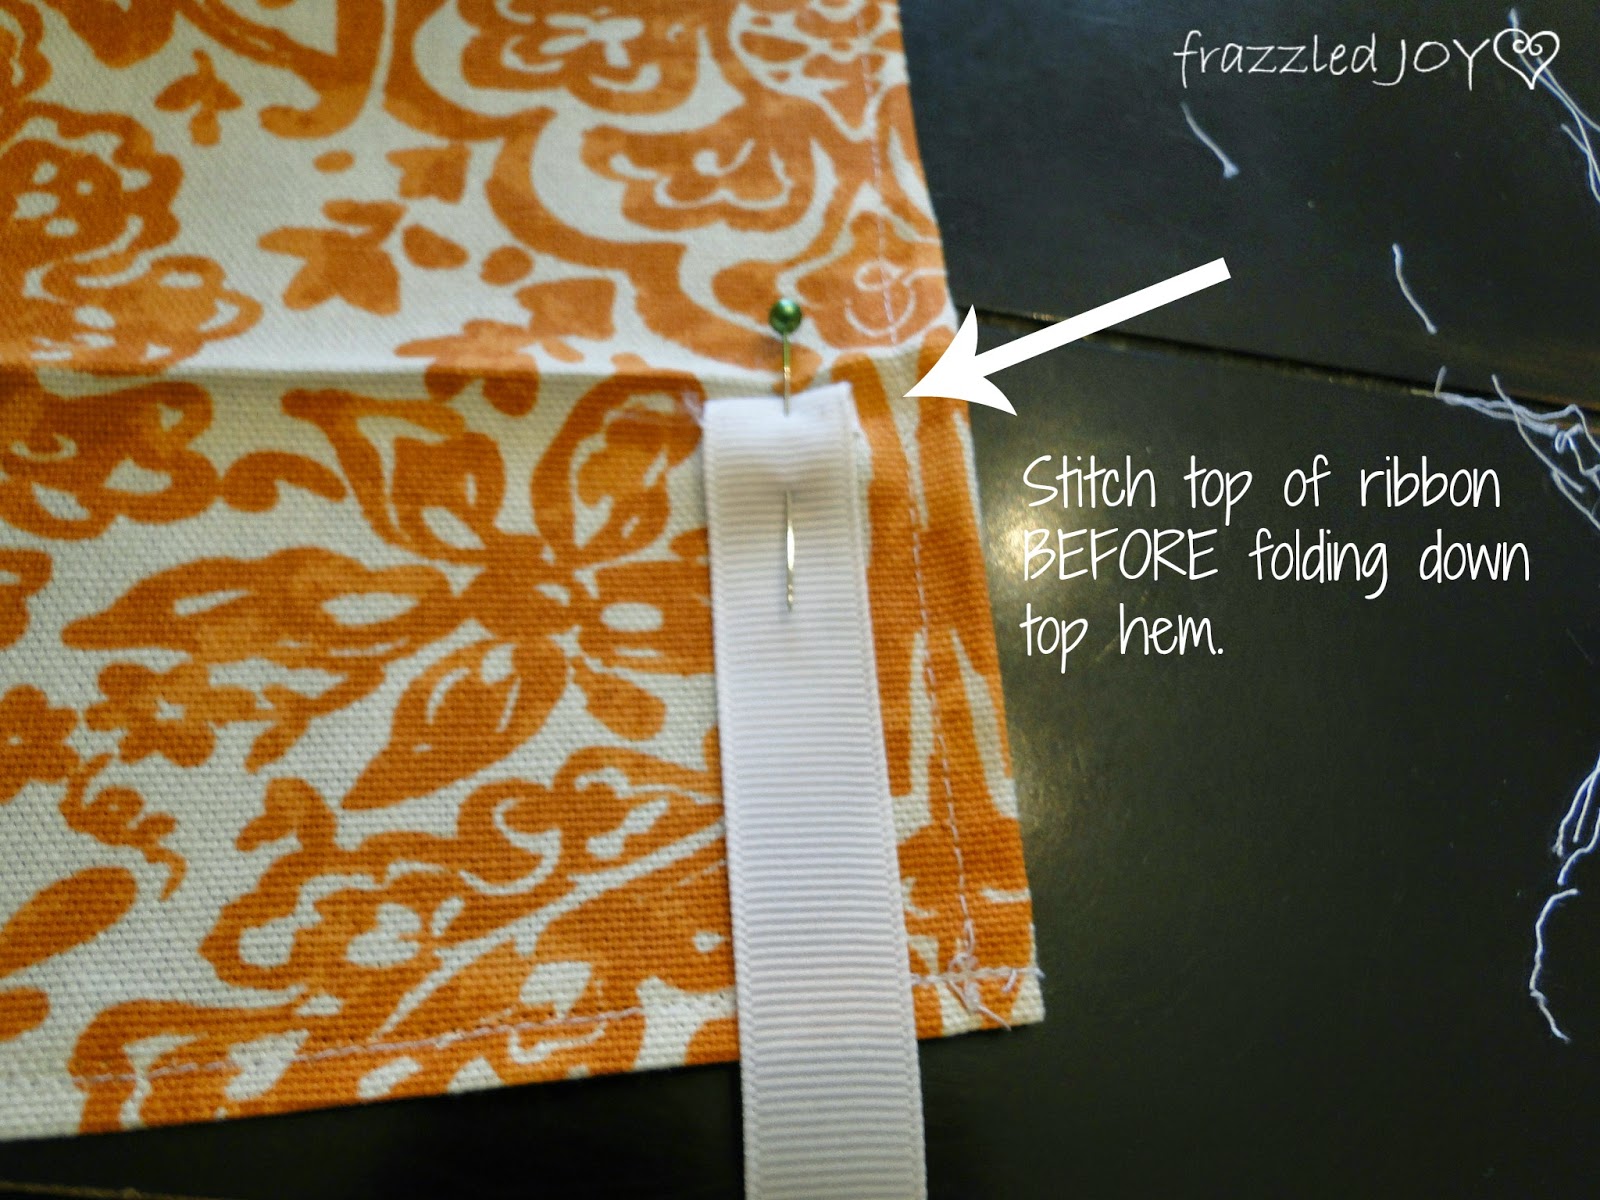
The secret here is that you will need to unfold your hem first. Then pin the tabs in place, just slightly below the pressed fold on the panel. Next stitch down the top of the ribbon tab, just along the top fold of the ribbon.
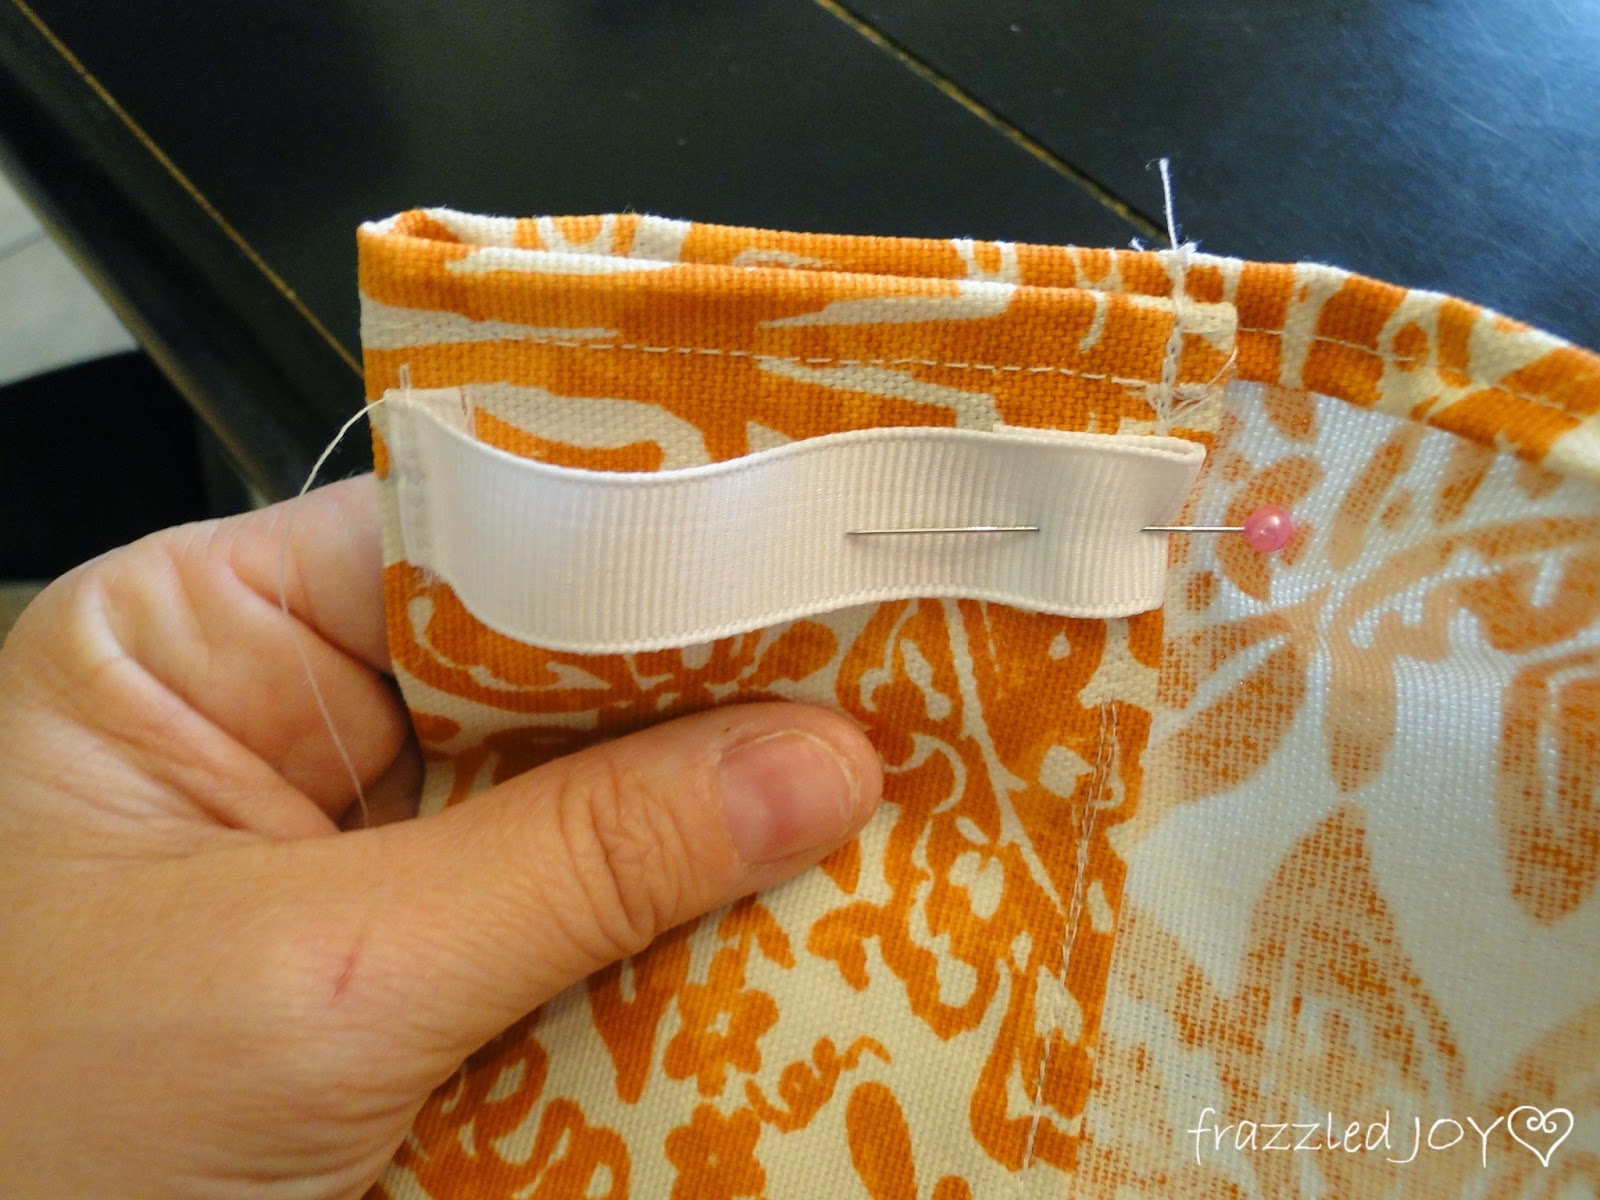
After you have stitched down the top of all the tabs, you are then ready to stitch down the top hem as well as secure the bottom of your tabs. Which, you can do all at once. Fold down your hem, pin your tabs in place along the 1/4″ hem line, and then stitch everything together along that same hem line.
When you are finished you will have something that looks like this.
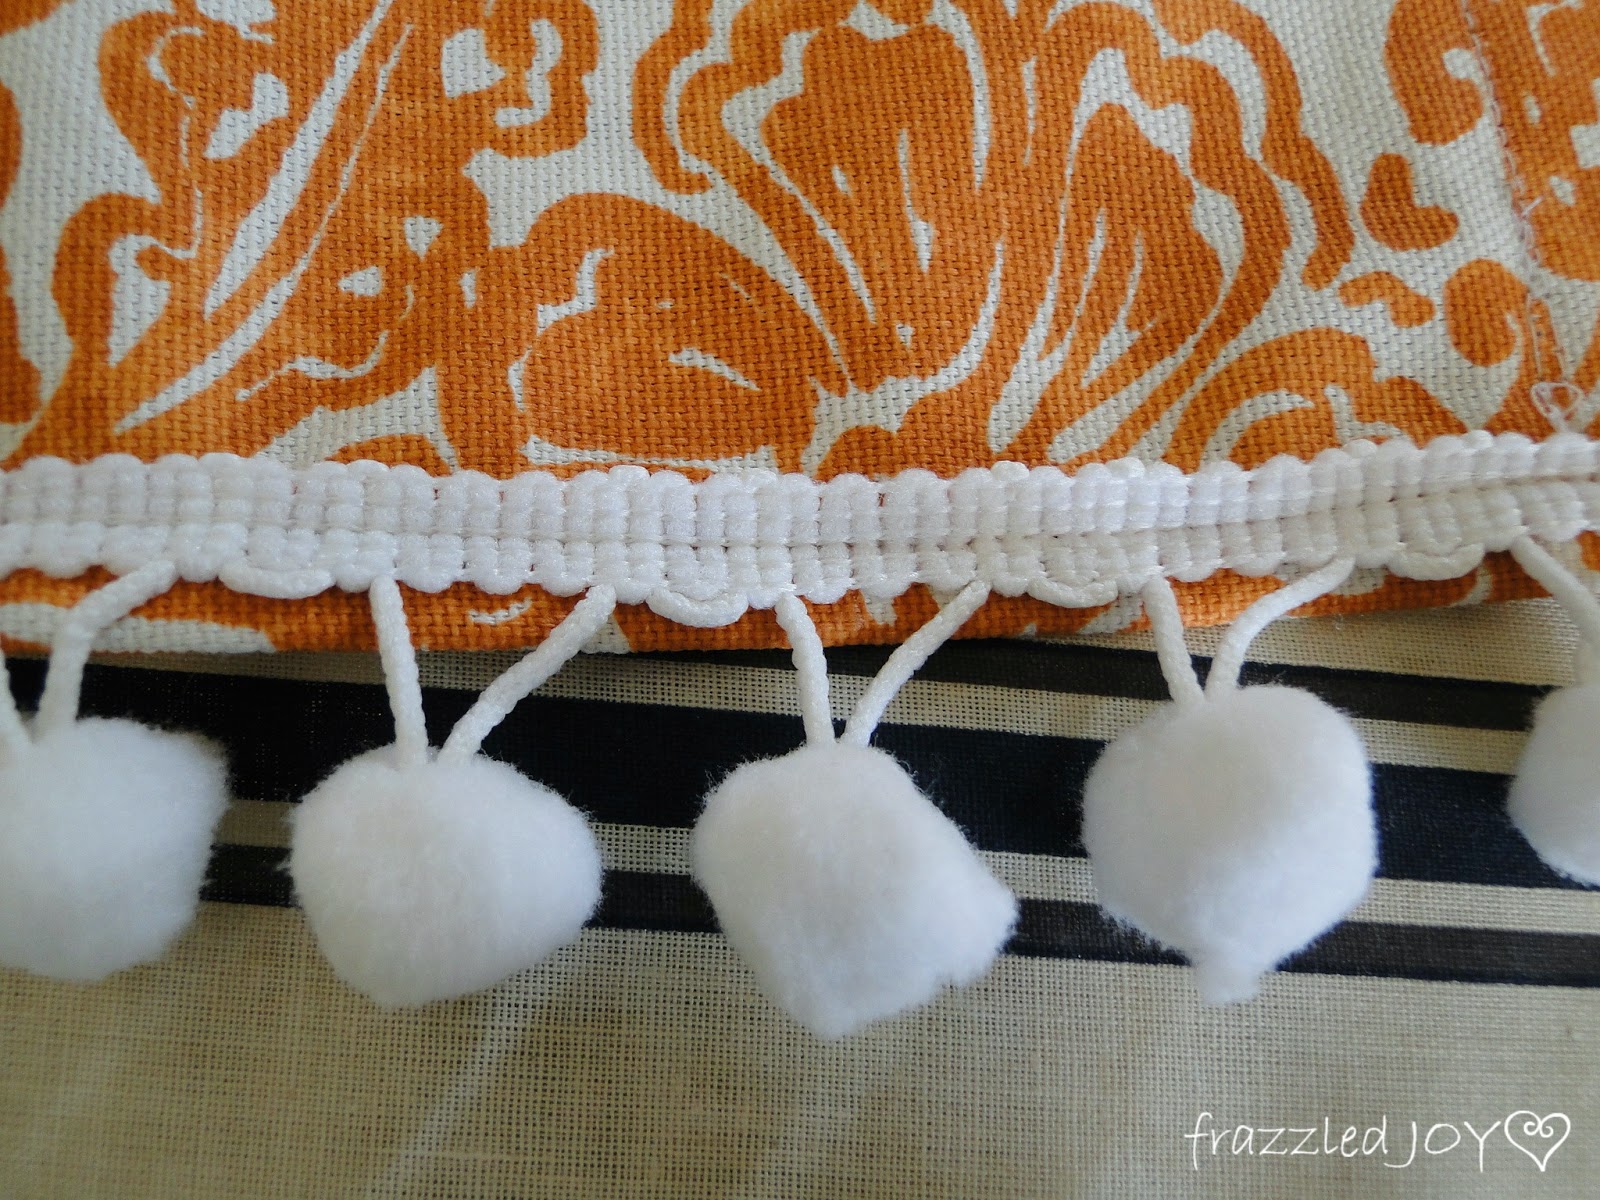
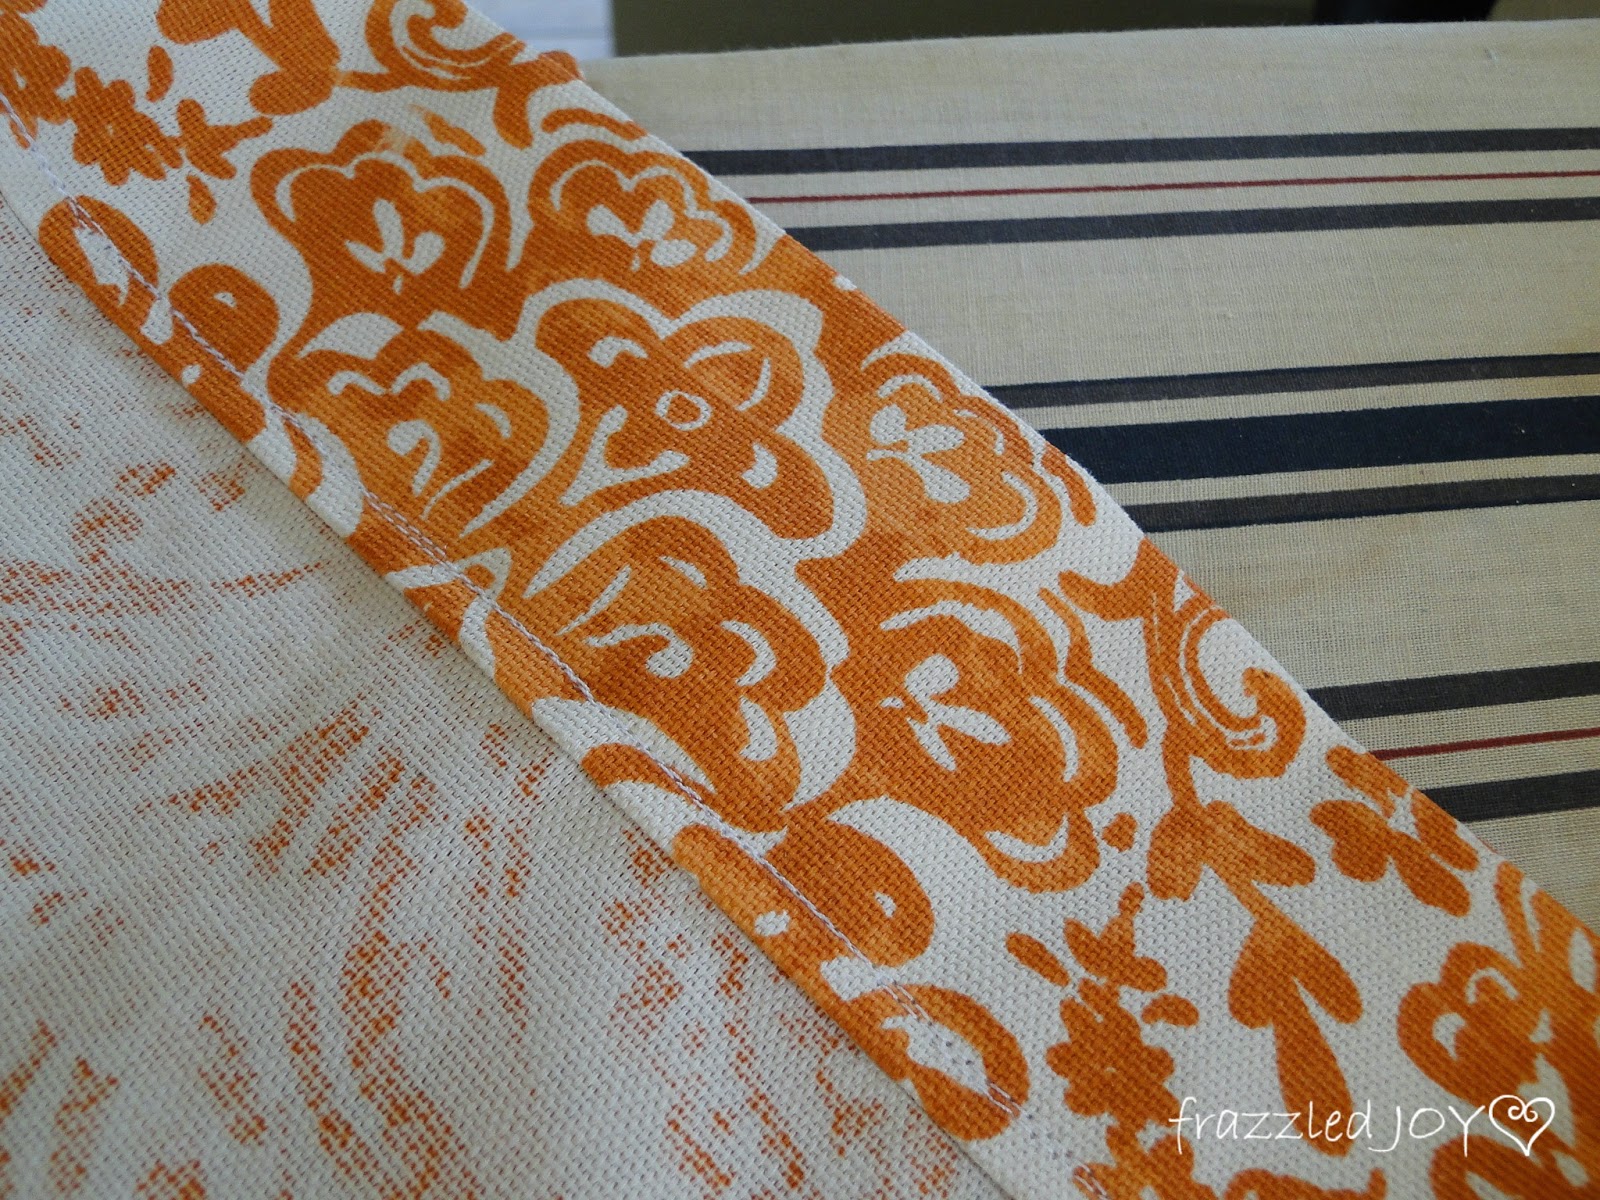
I wanted to add a little personality to my curtains, so I stitched on some pom-pom trim down the insides of each panel.
The last step before hanging the drapes is the bottom hem. To do that you simply follow the same directions as for the top hem – minus the tabs of course.
These tab-top drapes were the easiest to make and the easiest to hang!! And, no I did not line these. I’m not much for lining drapes, unless you are really trying to block light. I’m not too picky as to what they look like from the outside.
I hope this tutorial is easy to follow!! Sewing tutorials are tough :). Please email me with any questions you might have, or feel free to ask in the comments!!
Things are coming together in my Master Bedroom!! Can’t wait to share more with you this Thursday!!

Linking up at Remodelaholic – All Things Windows / Show Me What Ya Got / One Project at a Time / Take-A-Look Tuesday / Tutorials & Tips Link Party / Create It Thursday / Thrifty Thursday / Fridays Unfolded / Frugal Friday / Link Party Palooza / DIY Showcase Link Party / Share Your Creativity / That DIY Party / Frugal Crafty Home Blog Hop /
Inspire Me Monday
Inspire Me Monday





Amazing!! I have always wanted to make these, but thought that they were WAY beyond my ability! You made it look so easy and doable! Yes…lots of pictures are the key for me, too! Thanks for the post…and btw, love your fabric! 🙂
Beautiful!
Great tutorial, you make it look easy. Your curtains are a fun shade of orange.
Wow! That is really easy. I may try that when I update my dining room curtains. I've only had the material about 6 months. 🙂
What a great tutorial!!! I have been hesitant on making my drapes, because I feel like it would be such a task. I think I'm going to use the ribbon idea! Thanks so much for sharing. Stopping by from the Frugal Crafty Home blog hop!