For a couple of years now I have been seeing, pinning, and reading posts from other bloggers on framing the large vanity mirrors from the 80s. Of which I have two. All along I thought – simple, inexpensive, DIY update.
And then this past week I decided to give it a go. I picked out my trim, cut the trim, finished the trim, and prepared to hang the trim. Duh, duh, duh. In no way could I have prepared myself for the peril and frustration that was awaiting me!!
Let me just start by saying, I am not afraid to DIY anything! I will try just about anything completely on my own. However, you must know, that often times, I am coming up with solutions for unforeseen problems all. along. the. way. And this time was one of those times.
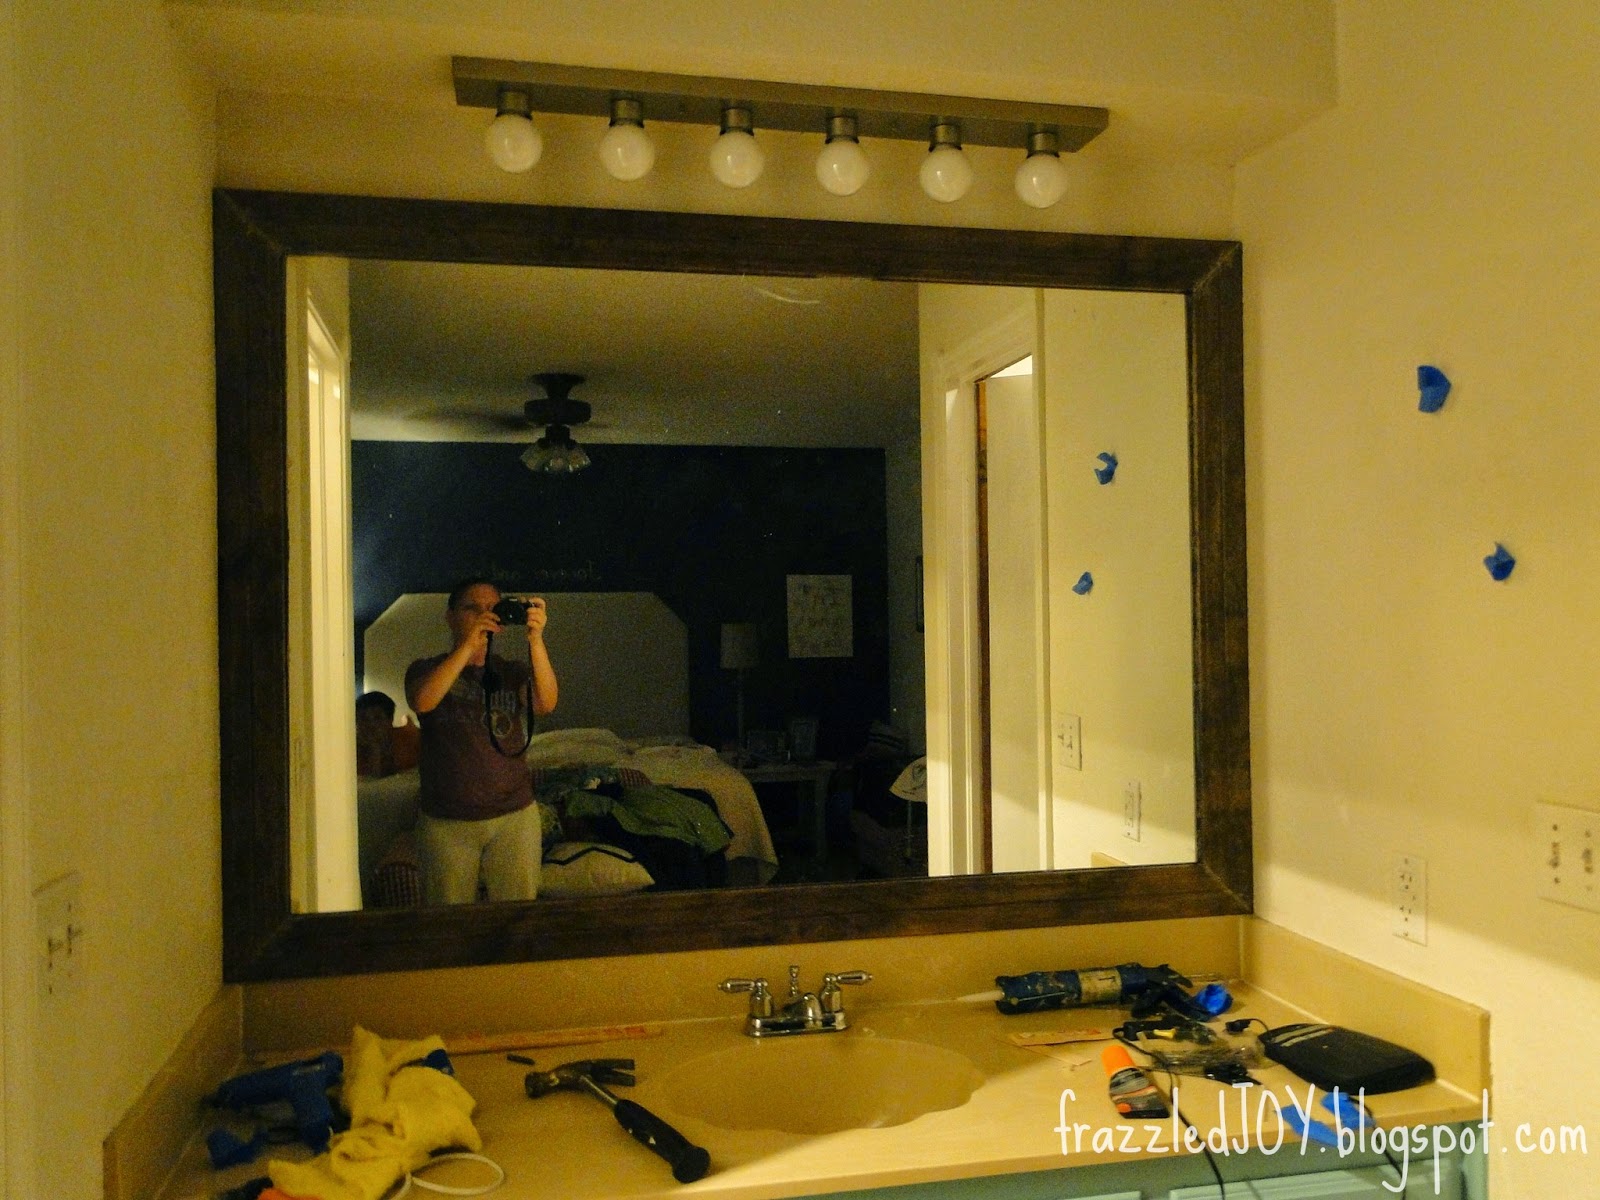
So, let’s start at the start. (Terrible lighting in this room + inexperienced photographer = not so good pics, but I tried.)
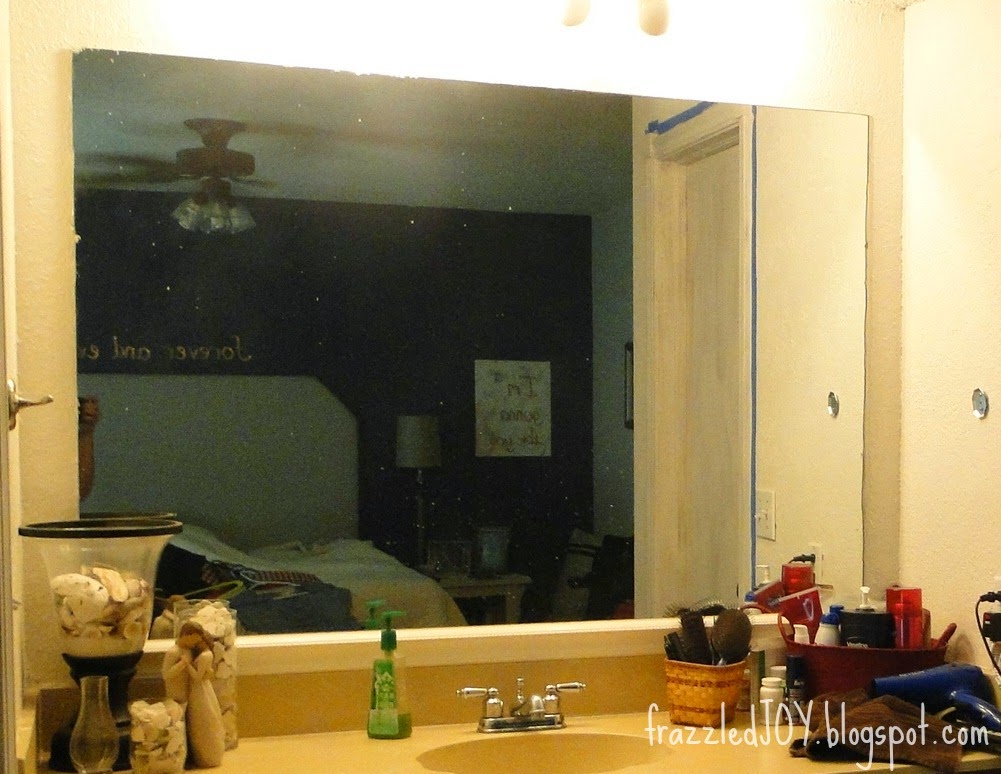
And, yes if you’re new here, our master bathroom vanity area is open to our master bedroom.
I decided that in all the light colored surroundings in this area, I wanted to stain the trim with a dark stain rather than painting it. So, I did that. My go to staining supplies.
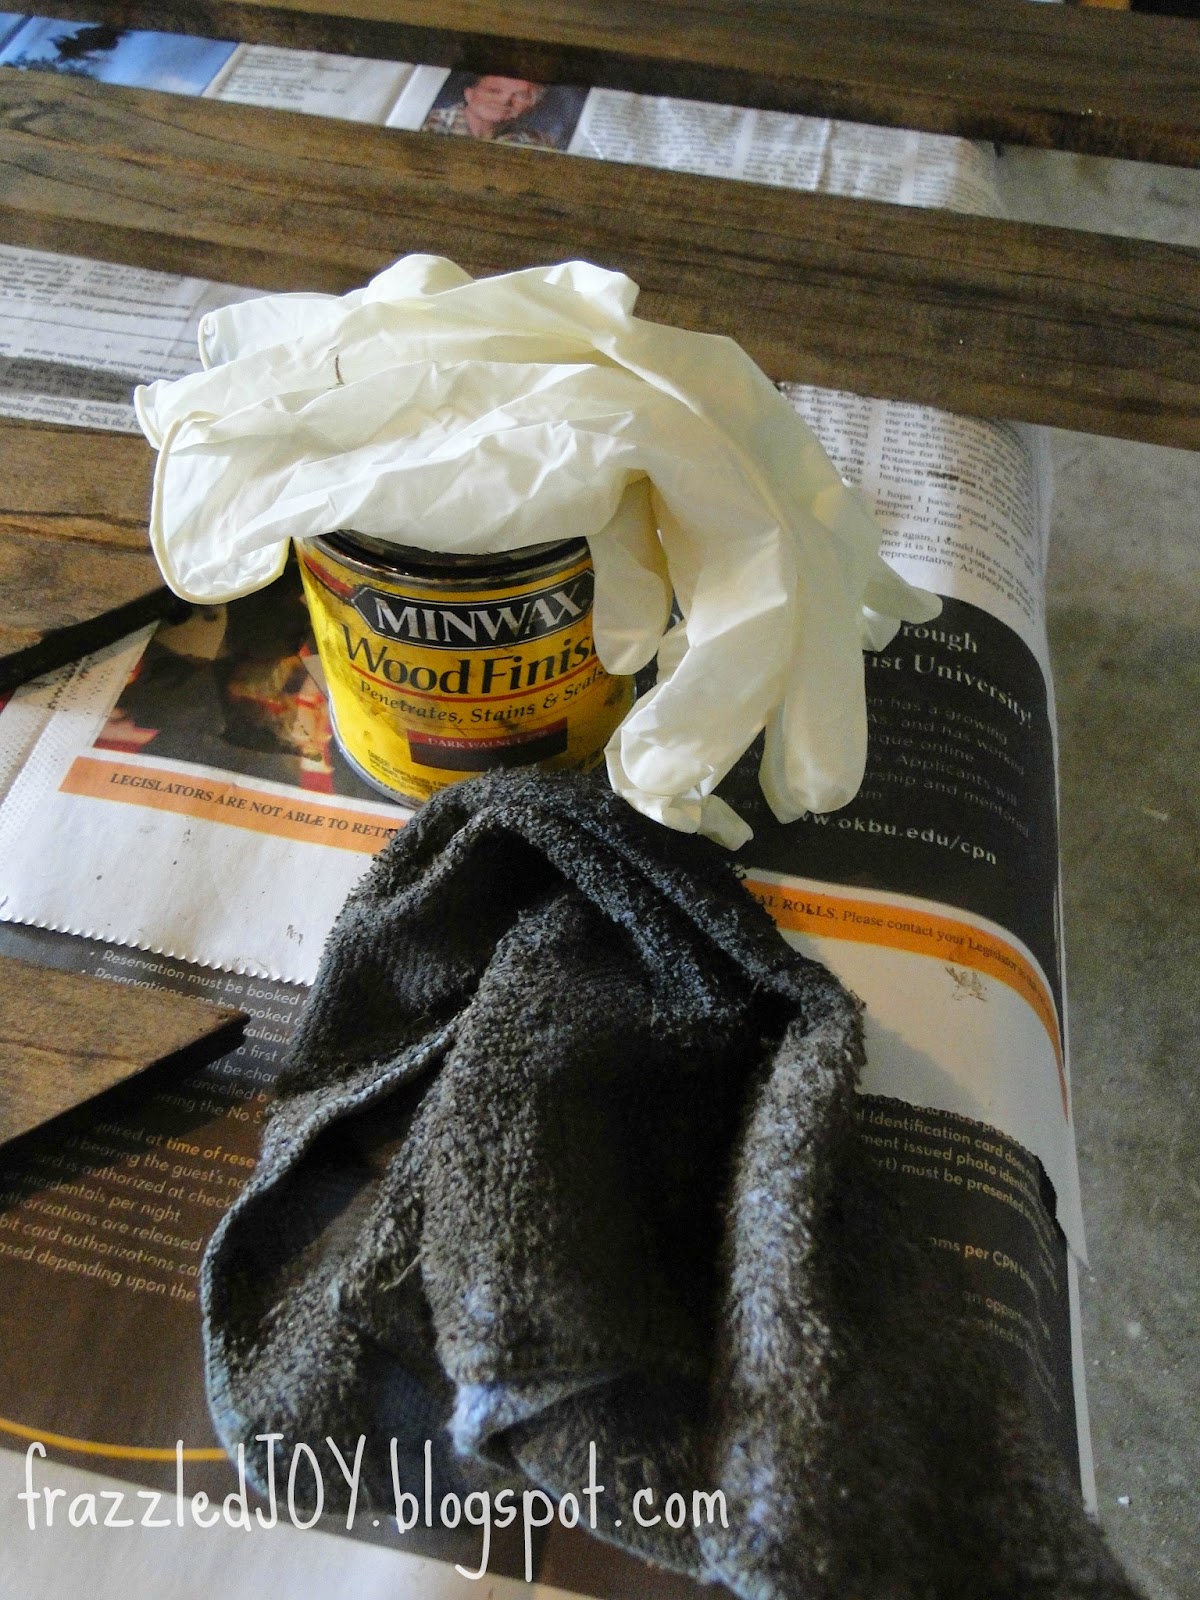
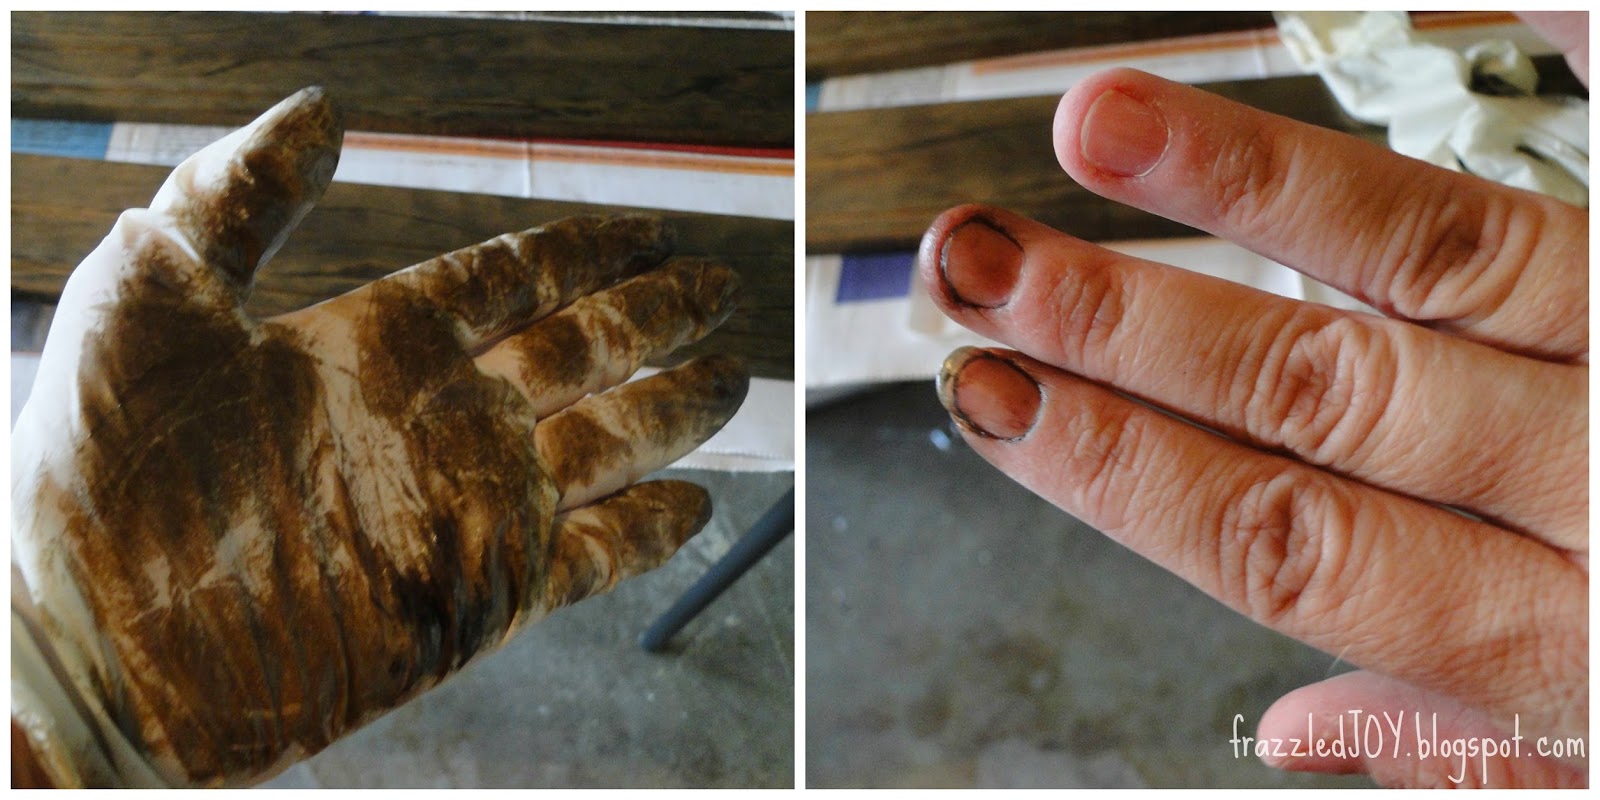
I prefer to apply stain with a rag rather than a brush. I just feel like I have more control as to how much is going on and how quickly it’s coming off. Definitely a must for this method is gloves!! This is what the gloves looked like after, and what my fingers looked like from forgetting the gloves at first. 😉
Then it was time to attach the trim to the mirror/wall. And time for the madness…. Most of the tutorials that I referenced constructed the frame before adhering it to the mirror, but considering the crooked mirror and the crooked walls surrounding the mirror I didn’t think that would be the best for my application. If you are able, I would recommend assembling the frame first, as shown in this tutorial.
As I mentioned – crooked mirror – I discovered was that the mirror was about 1/4″ off of being centered on the wall. Annoying considering I was planning on the trim going all the way from the edge of the mirror to the corner of the wall. Also, I had not considered the depth of the mirror when planning how to attach the trim to the wall. In my experience with trim, I have used liquid nails to adhere it to the surface, which I have been very successful with. However, I have never used trim this large, nor on an uneven surface. Puzzle #1. My (partial) solution:
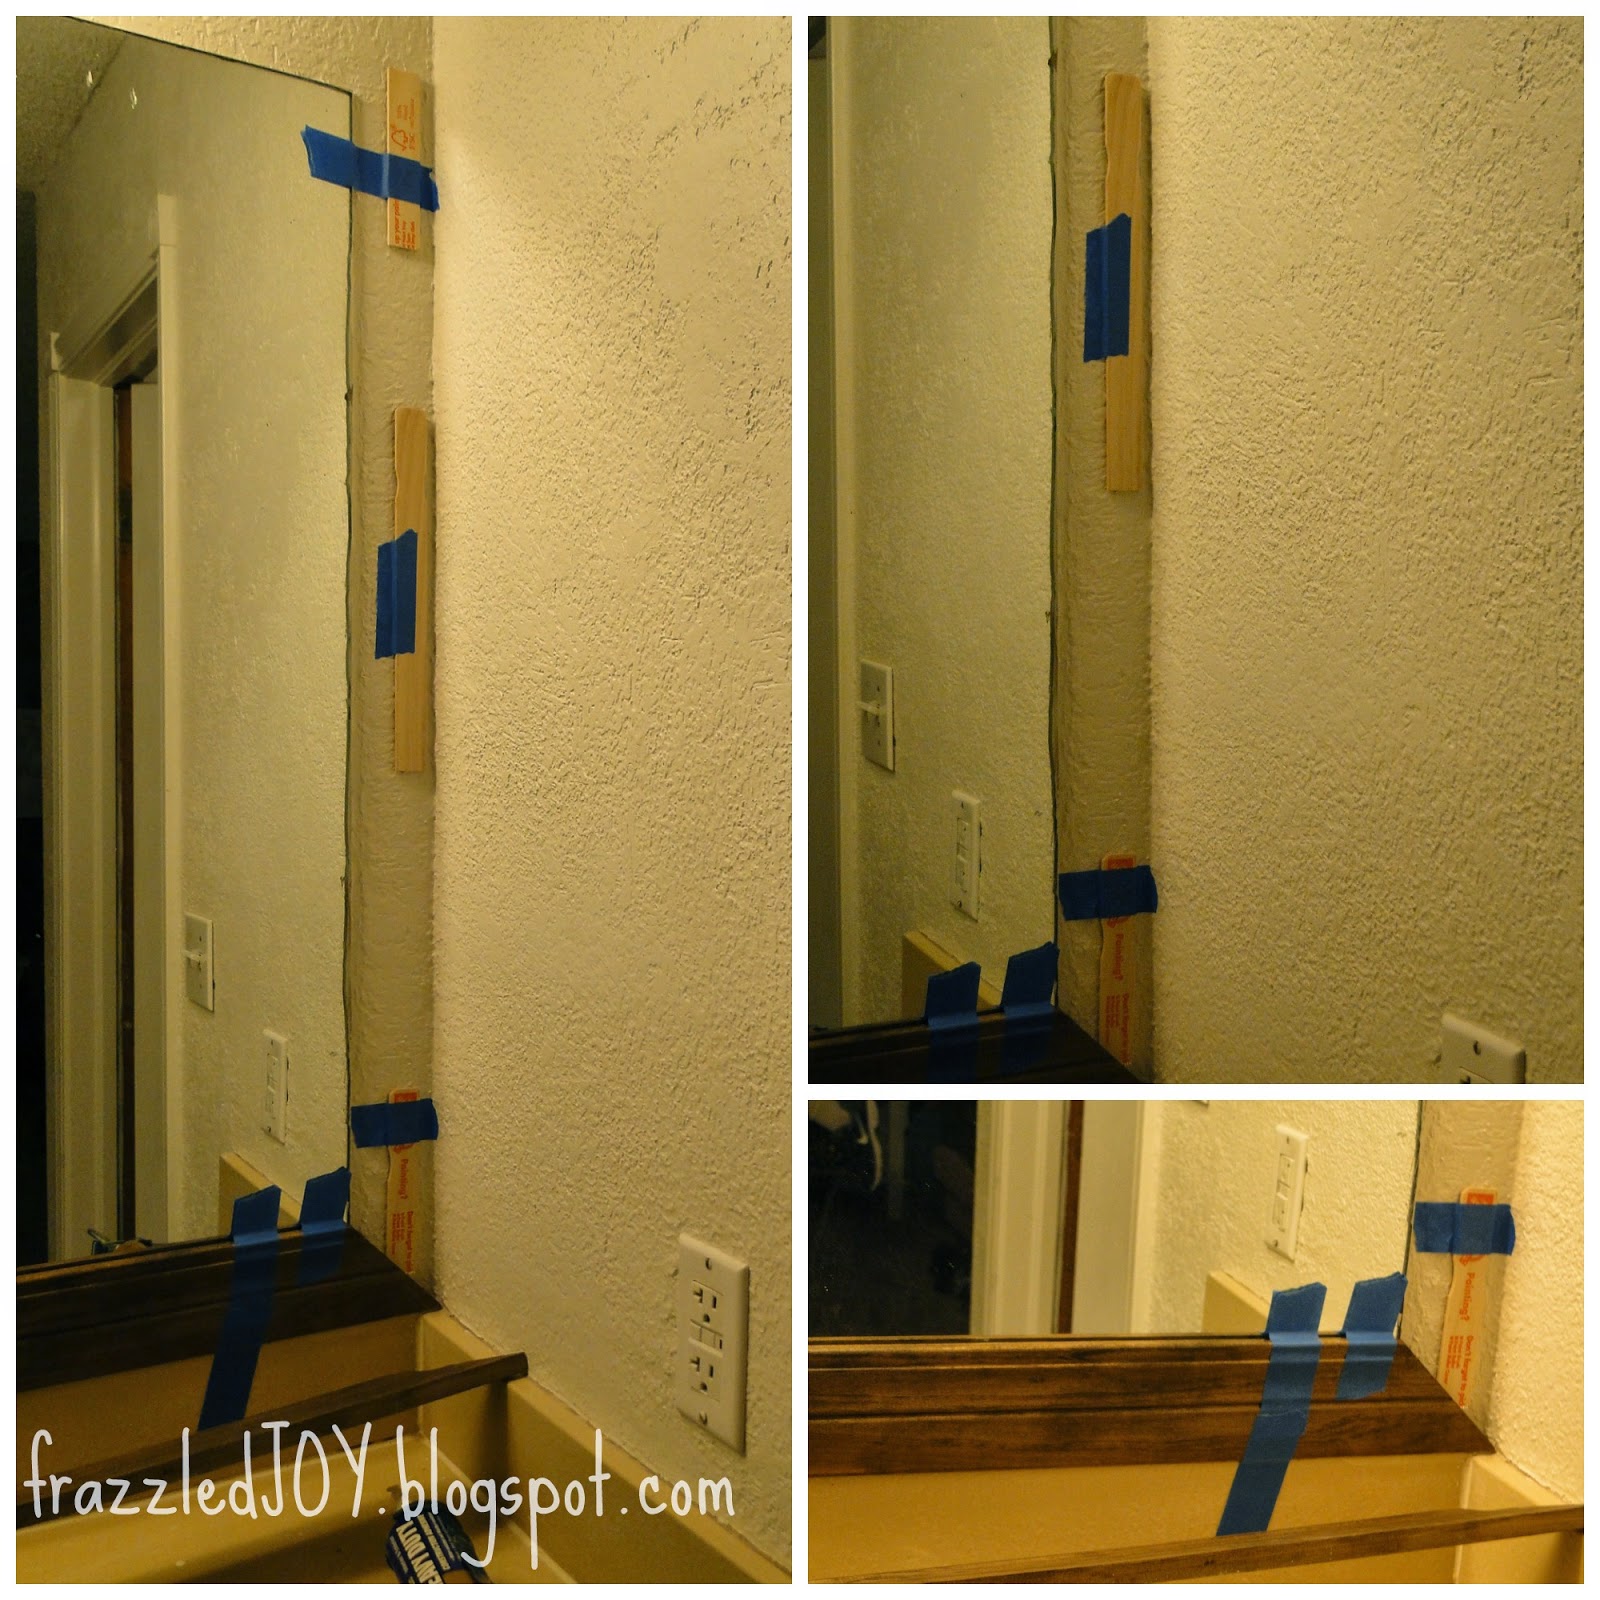
Yes, those are paint sticks… I needed something that was a similar depth as the mirror to give me a surface the glue to adhere the trim to, and these fit the bill, and I didn’t have to go back to the store. Puzzle #2 came to light when I tried to hold the pieces in place to dry with my usual method – painter’s tape – the trim was too heavy for that…so I had to use some finishing nails. Which was fine. The glue will be what holds the pieces in place for good, I just needed something other than myself to hold them in place until the glue dried!!
You can’t see from this picture well, but this was after about an hour and a half of sweating trying to get this dumb trim to do what I wanted. Something I expected to take about 45 minutes!!
So, I let it rest until the next day and then I added another small piece of trim to the inside – which was necessary to solve the first problem of the 1/4″ off-center.
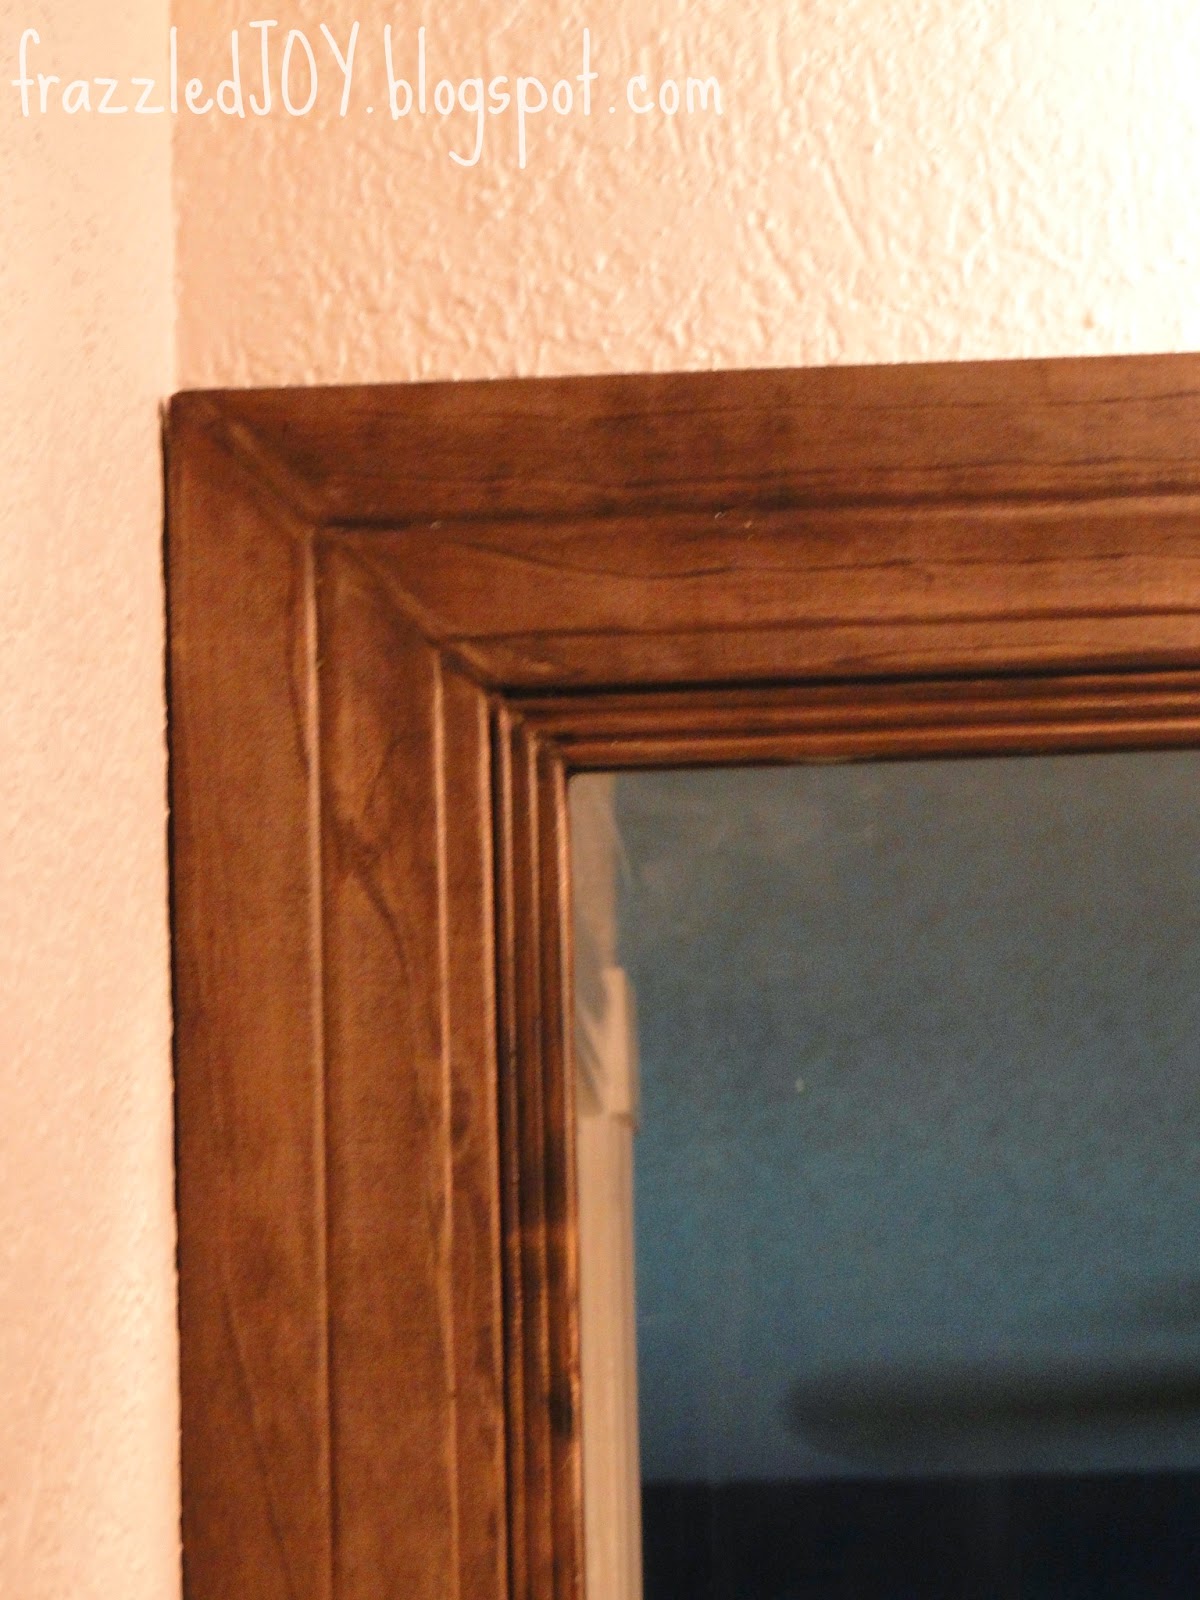
Here it is in all it’s glory after all the blood, sweat, and tears, and angry growls!!
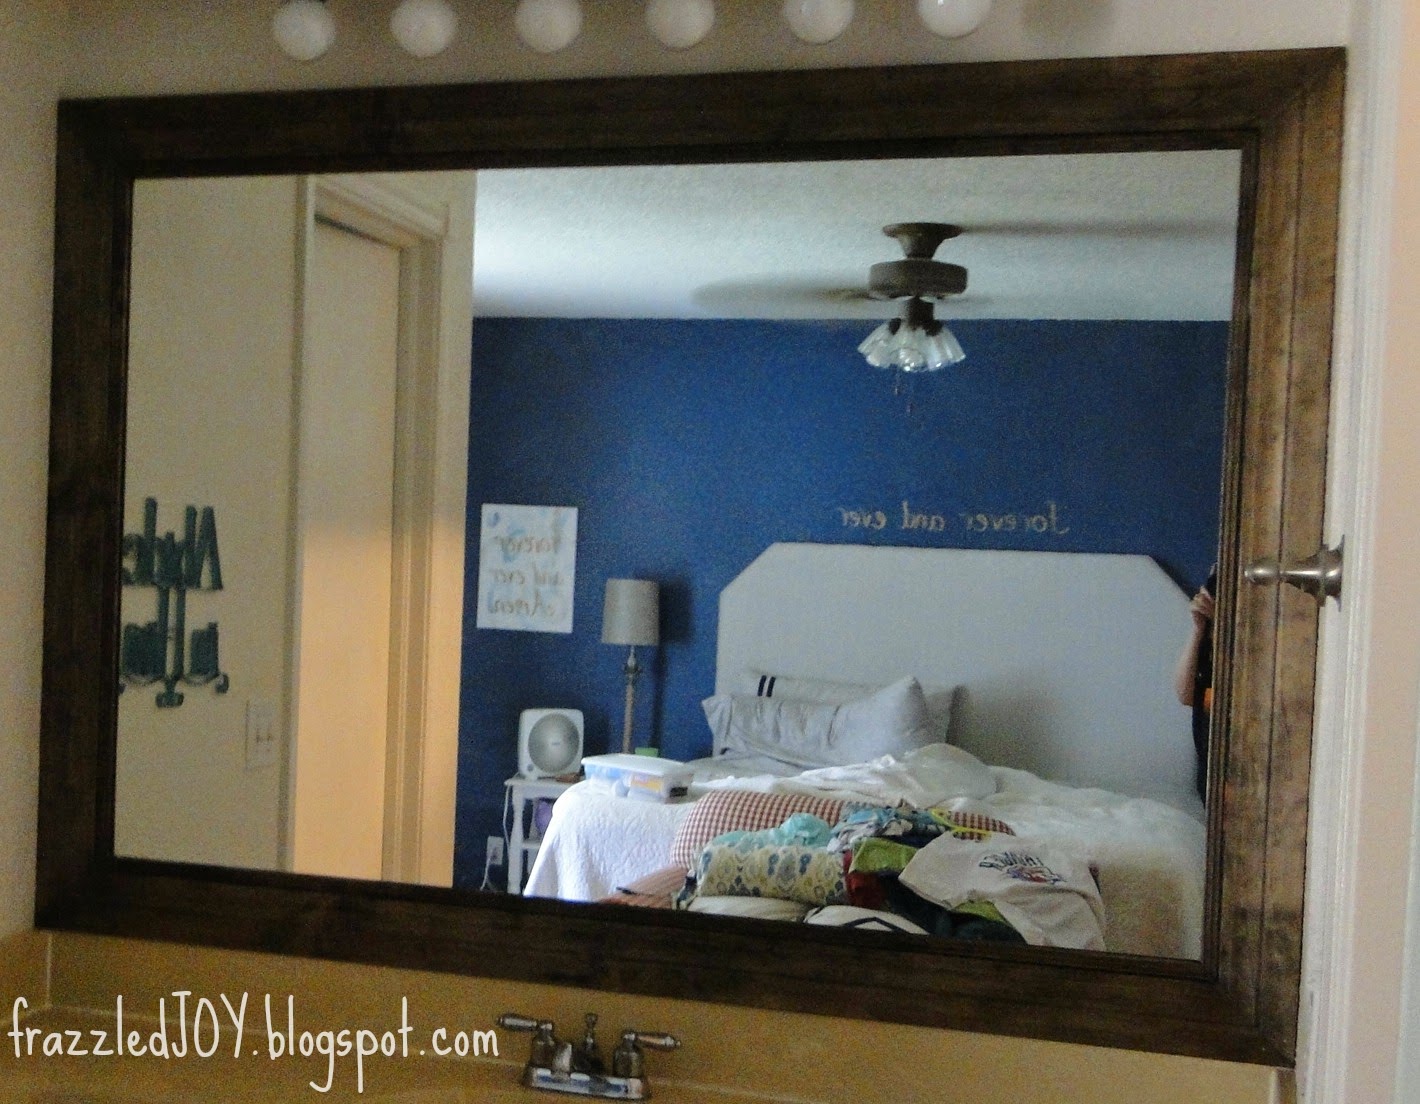
And, yes, that is my unmade bed in the reflection!! Keepin’ it real friends!! I don’t know about you, but when I am victorious over a project that has eaten my lunch, making my bed is not my first priority!! HA!! I really love how it turned out! 🙂
I am sharing this with you more as an encouragement than a tutorial. Than are far better tutorials out there like this one. But, I want you to know and understand that just because it’s easy peasy for one person, doesn’t mean it’s going to be for you. BUT…that doesn’t mean you shouldn’t try it!! I blog about projects to show that you don’t have to be trained to do some simple updates around your house. You don’t have to pay professionals to do things for you. Have fun!! Dive in head-first. Don’t worry about things going wrong – because most likely they will!! But, that’s why God gave us a brain – to figure things out!! Decorating and DIY is an adventure for me, and I love trying new things. And, in the end, I find myself standing back and gazing in shock that I actually did that!! Cool!!
So, now it’s your turn!! Go out and DIY today!! If I can do it, you can do it!!


Linking up at Frugal Crafty Home Blog Hop / Monday Funday / Your Designs This Time / Inspire Me Monday / Tutorials & Tips Link Party / Take-A-Look Tuesday / One Project at a Time / Show Me What Ya Got / Hit Me With Your Best Shot / Wow Us Wednesdays / Work it Wednesday / Create It Thursday / Enchanting Inspiration Link Party / Fridays Unfolded / Frugal Friday / Remodelaholic Anonymous / Link Party Palooza / Share Your Creativity / That DIY Party / DIY Sunday Showcase


Love your framed mirror. It makes the space look more put together and finished. It really looks nice!
What a fabulous makeover of your mirror! I love the color of stain you used too! Thanks for sharing at Monday Funday Link Party!! Shared!
It looks great, Denise! I hate "easy" projects that turn difficult quickly! Glad you figured it out.
I have the same type of mirror in my master and a very similar paint color in my master bedroom! Looks like we have a lot in common with our decor style! Thanks for sharing this at Frugal Crafty Home Blog Hop–this post has been pinned!
Thanks so much Jennifer!!
Thank you for sharing Heather!! Yay!!
How fun!! Thanks so much Carrie!!
It turned out great! Thanks for sharing with us at Your Designs This Time!
Hi Denise, visiting from That DIY Party. Builders grade bathroom mirrors look so much better when framed and yours is no exception. Love how you like to get your hands dirty when staining too – using a rag is my preference too.
Marie@The Interior Frugalista