I’m back today to share with you that the back splash is done!! I’m so happy to be able to cross another big project off the list. I took LOTS of pictures, but I don’t want this post to be too long so we are just going to stick with the smaller area around my cook top for the how-to.
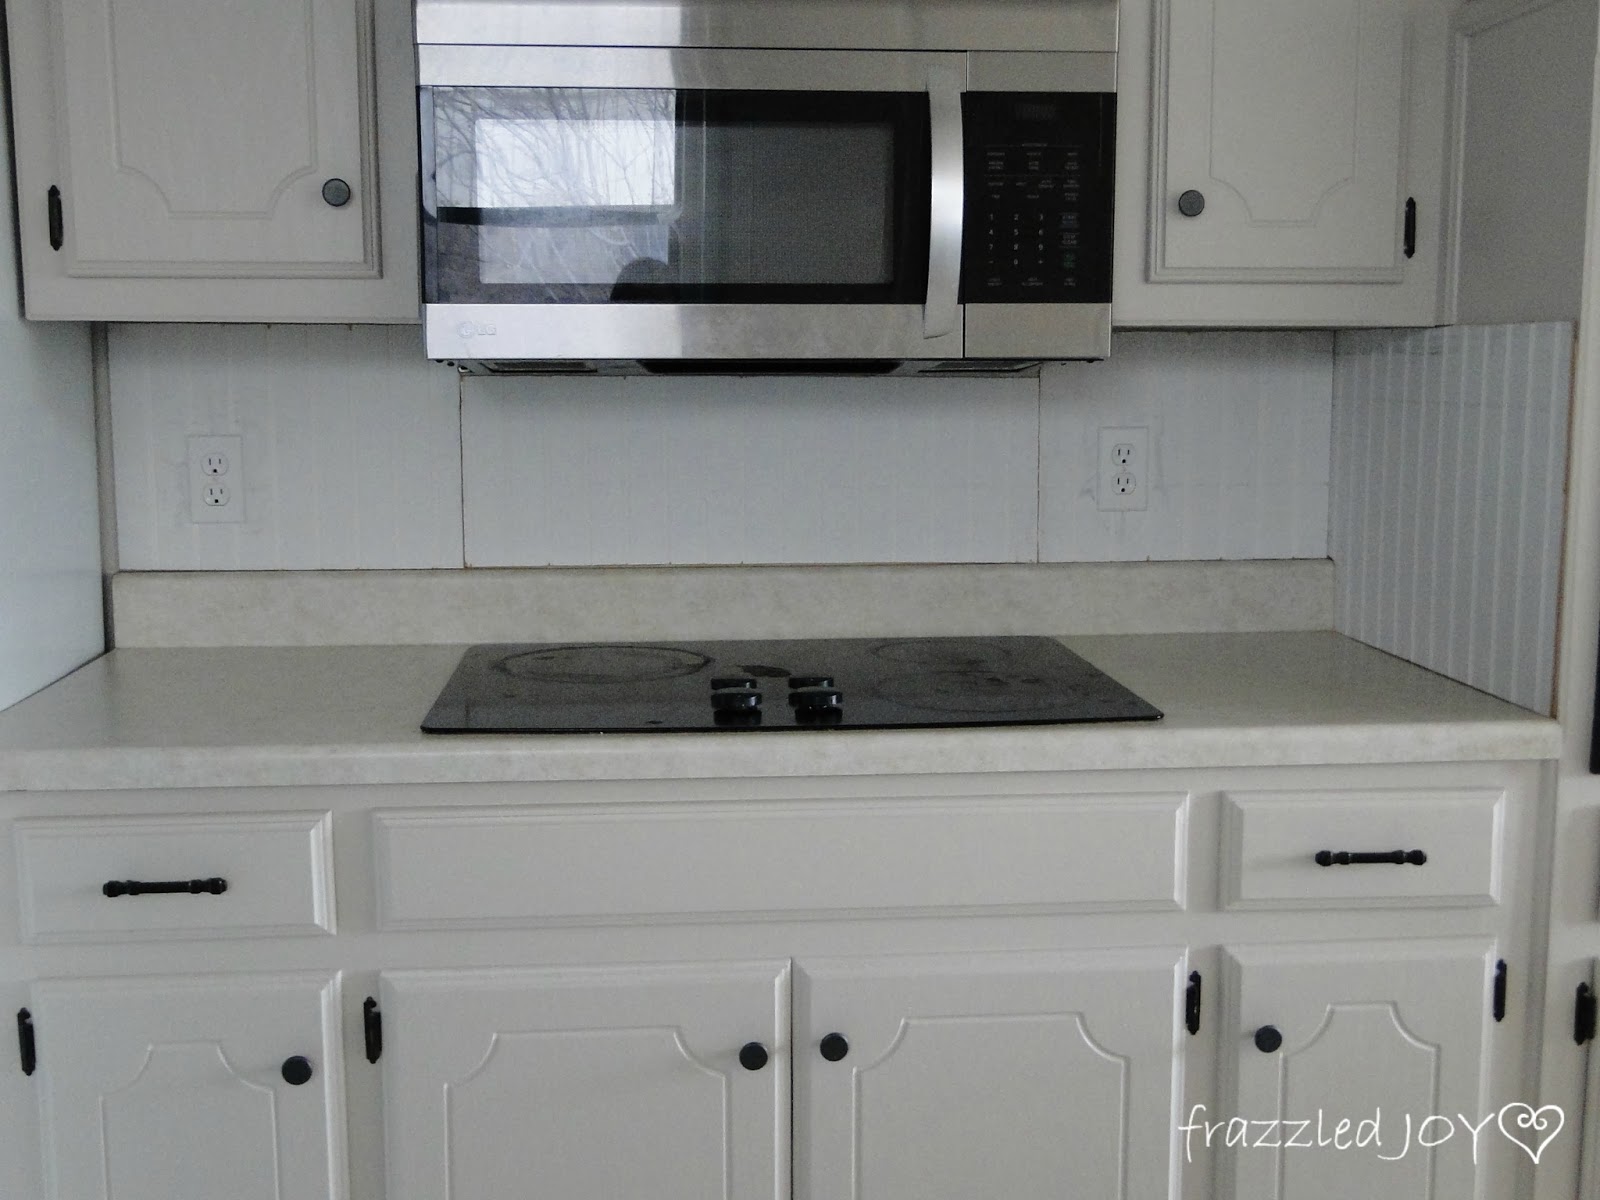
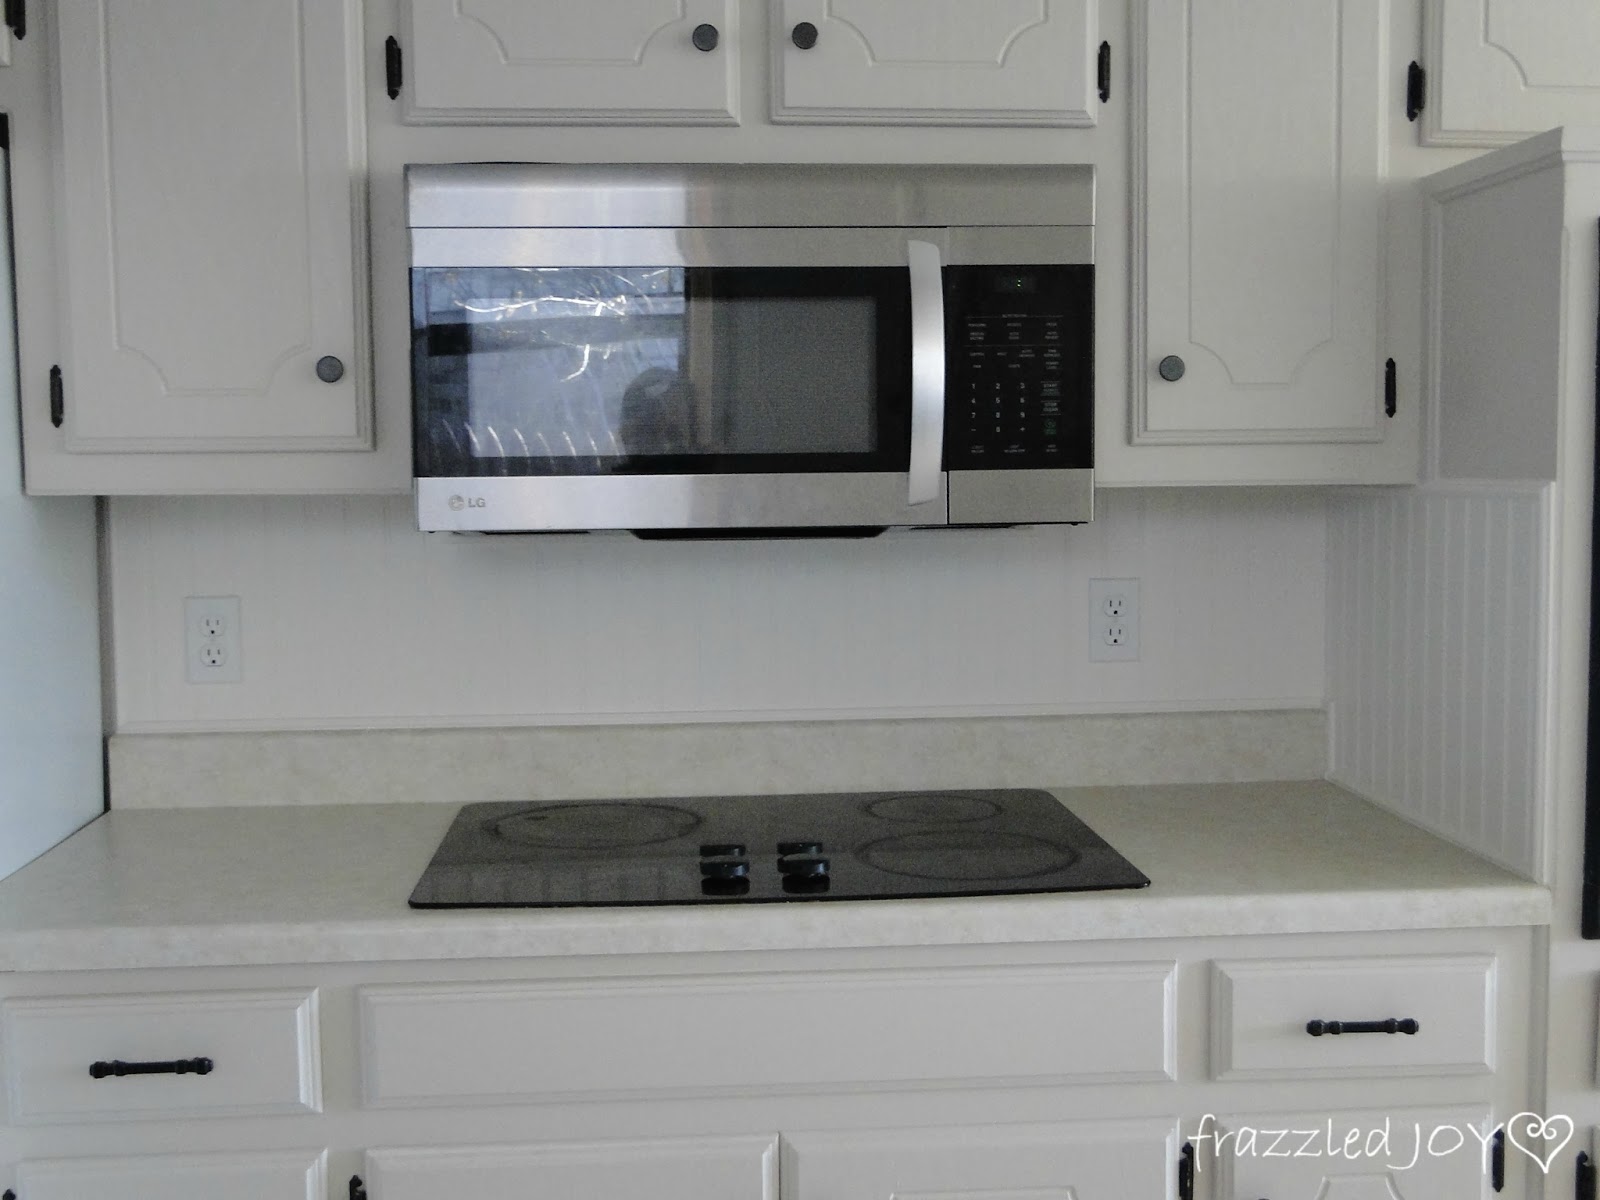
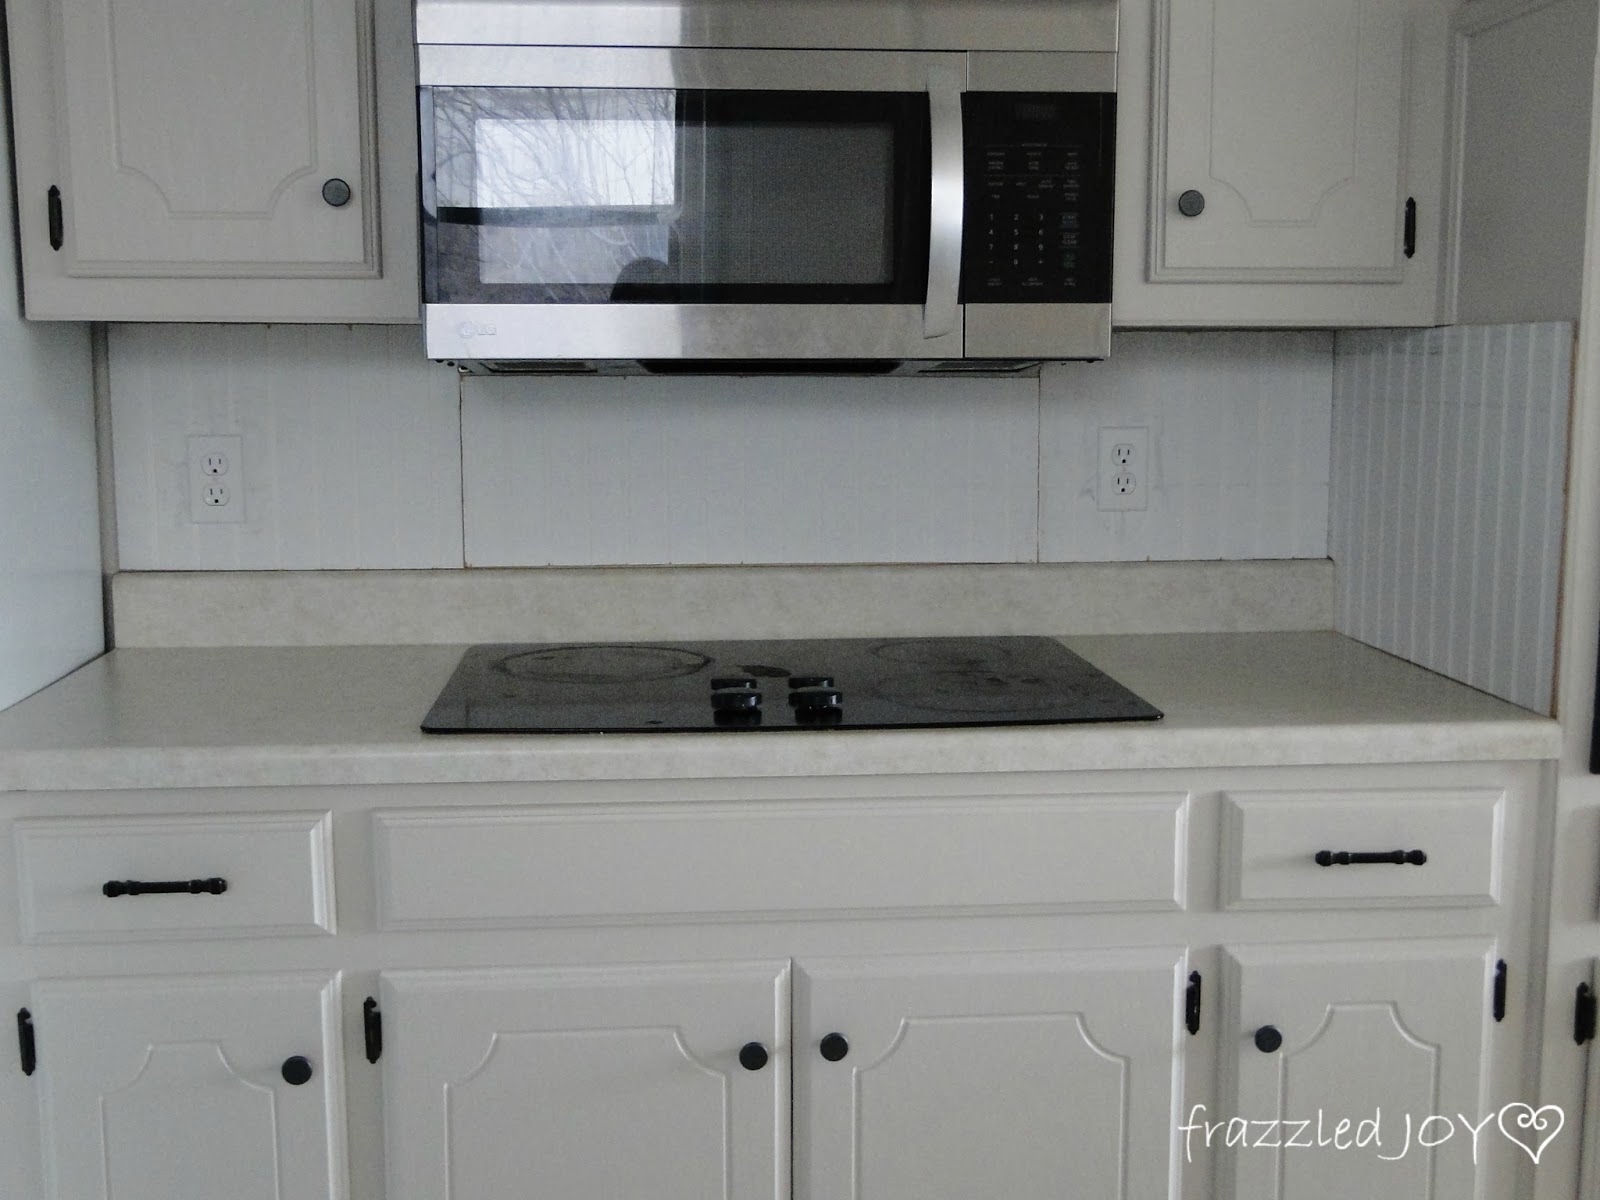
If you remember I shared with you a while back what it looked like after we got the beadboard in place.
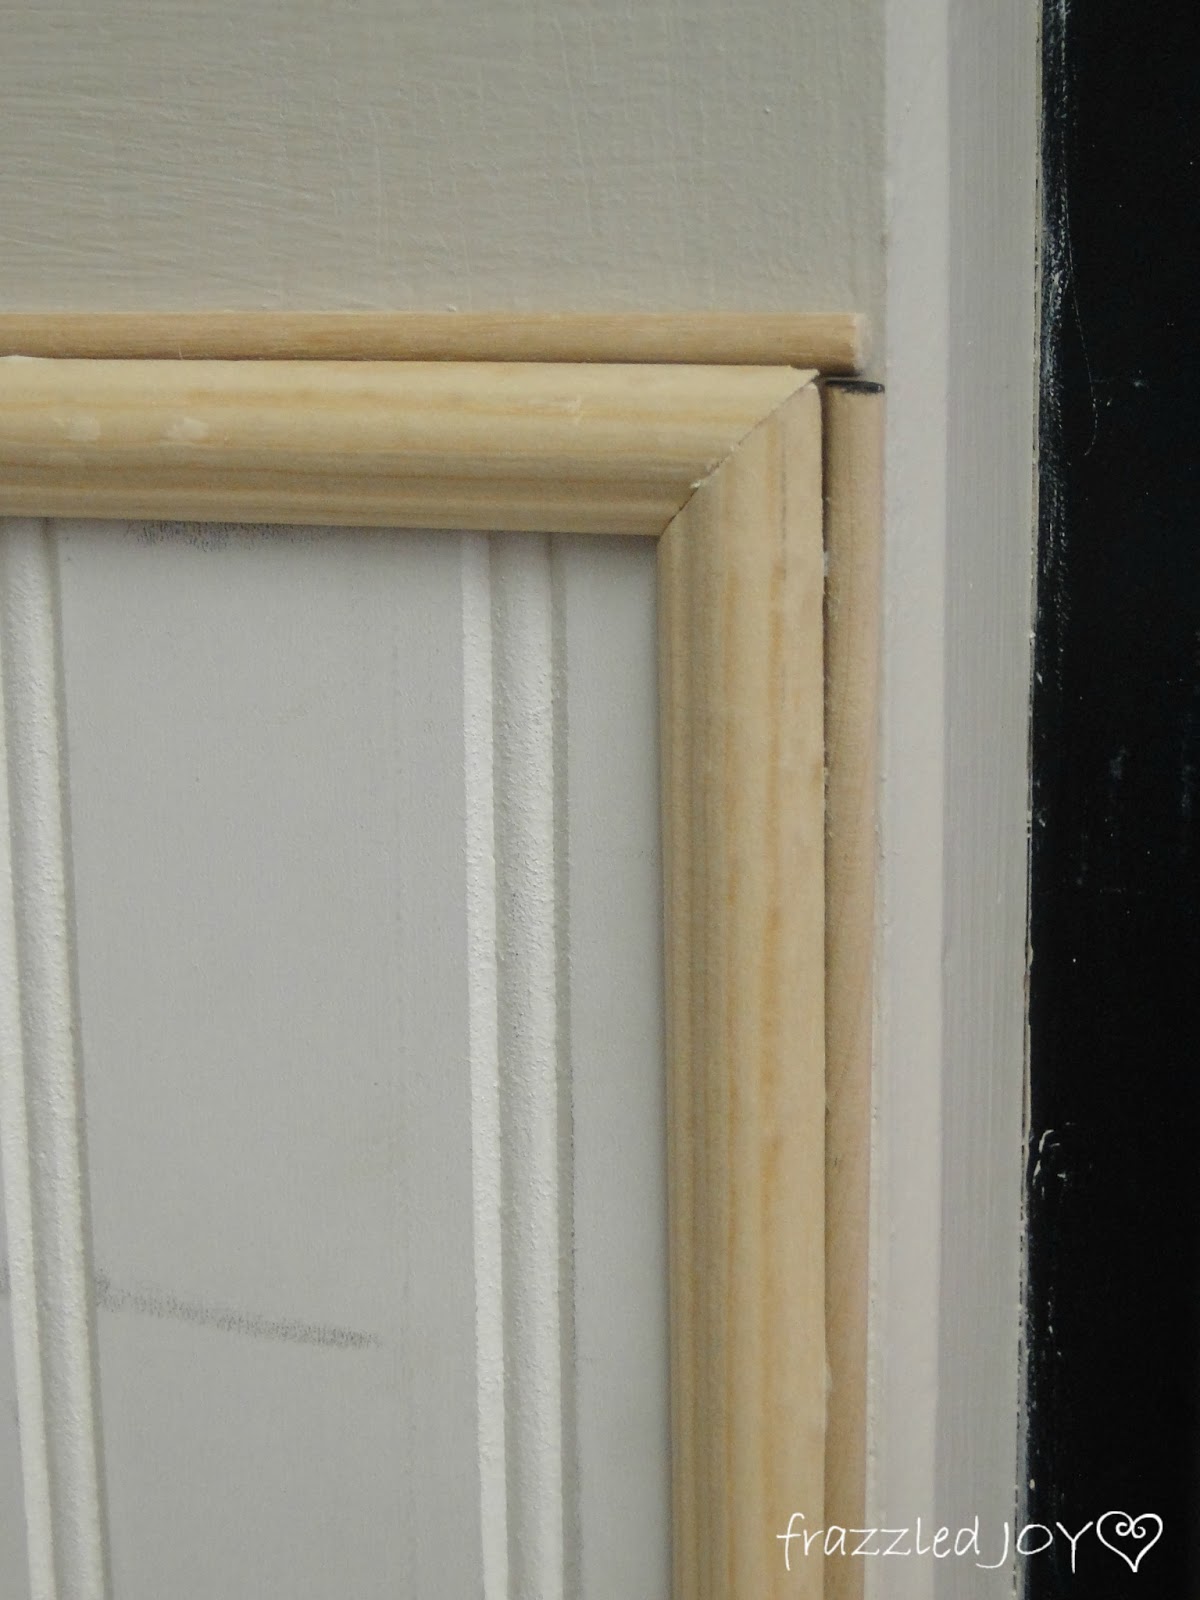
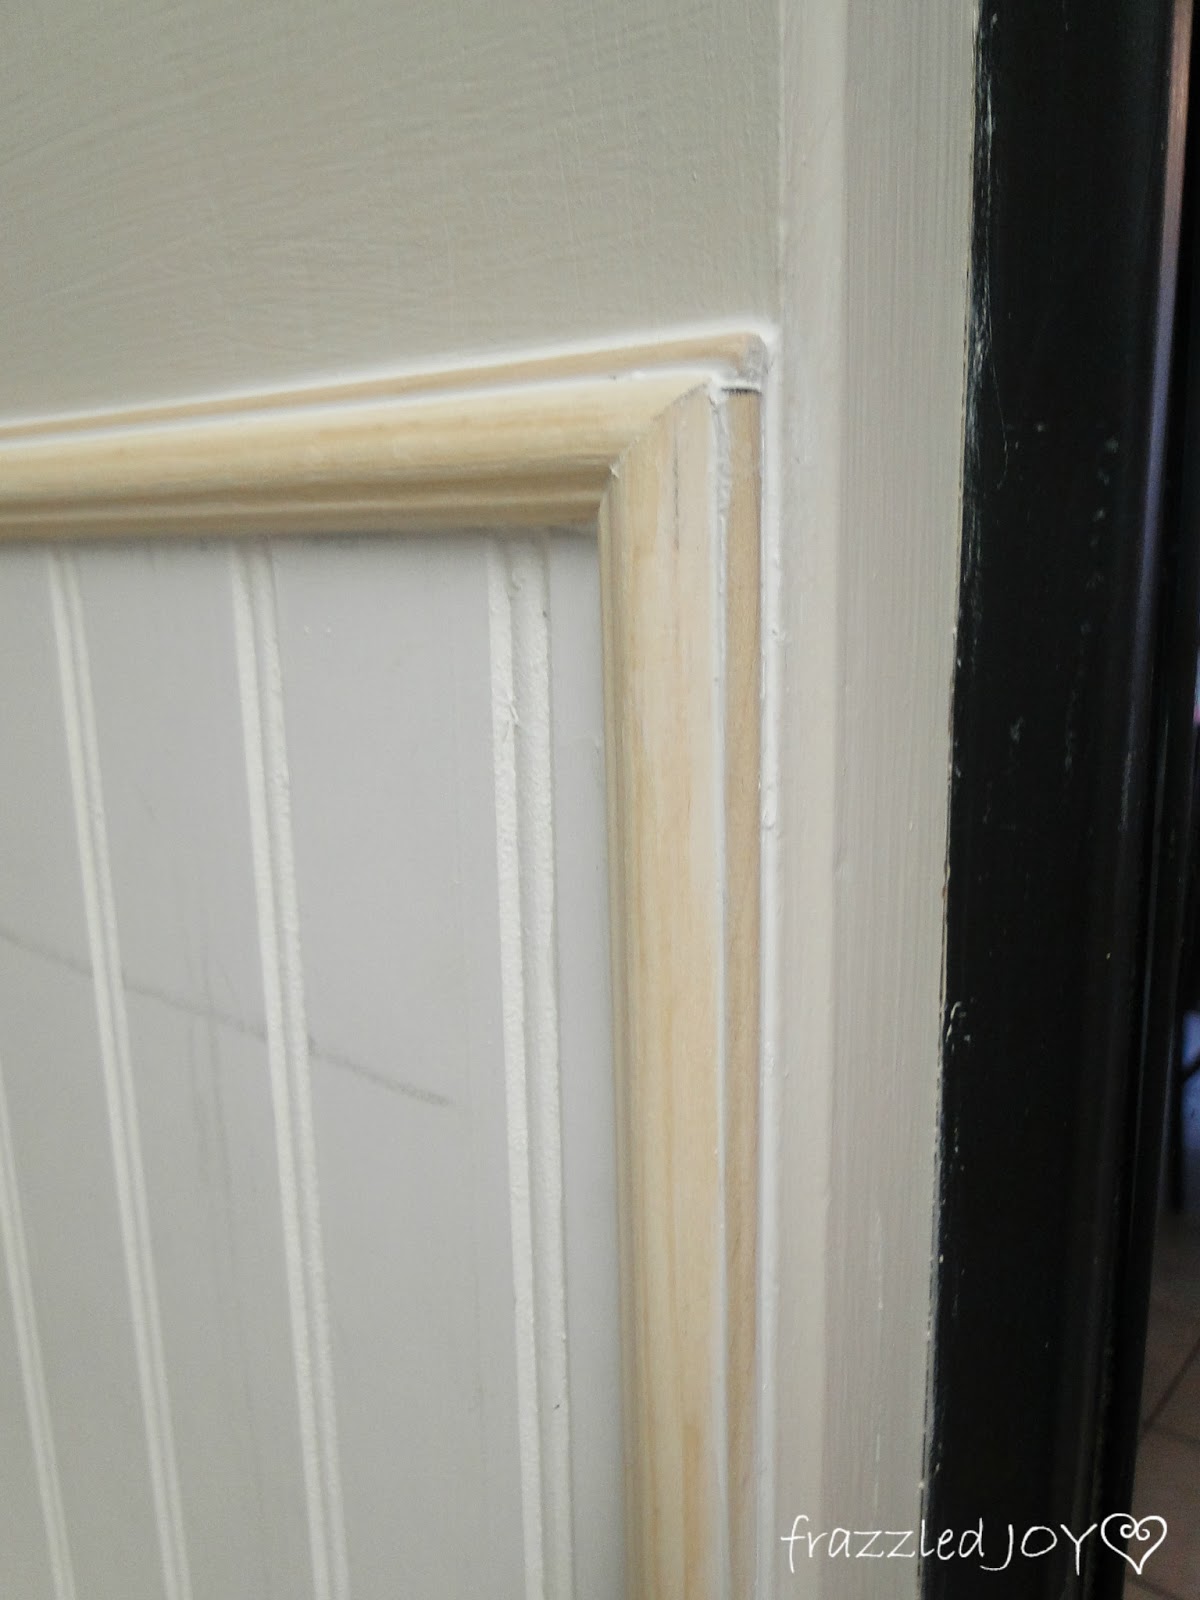
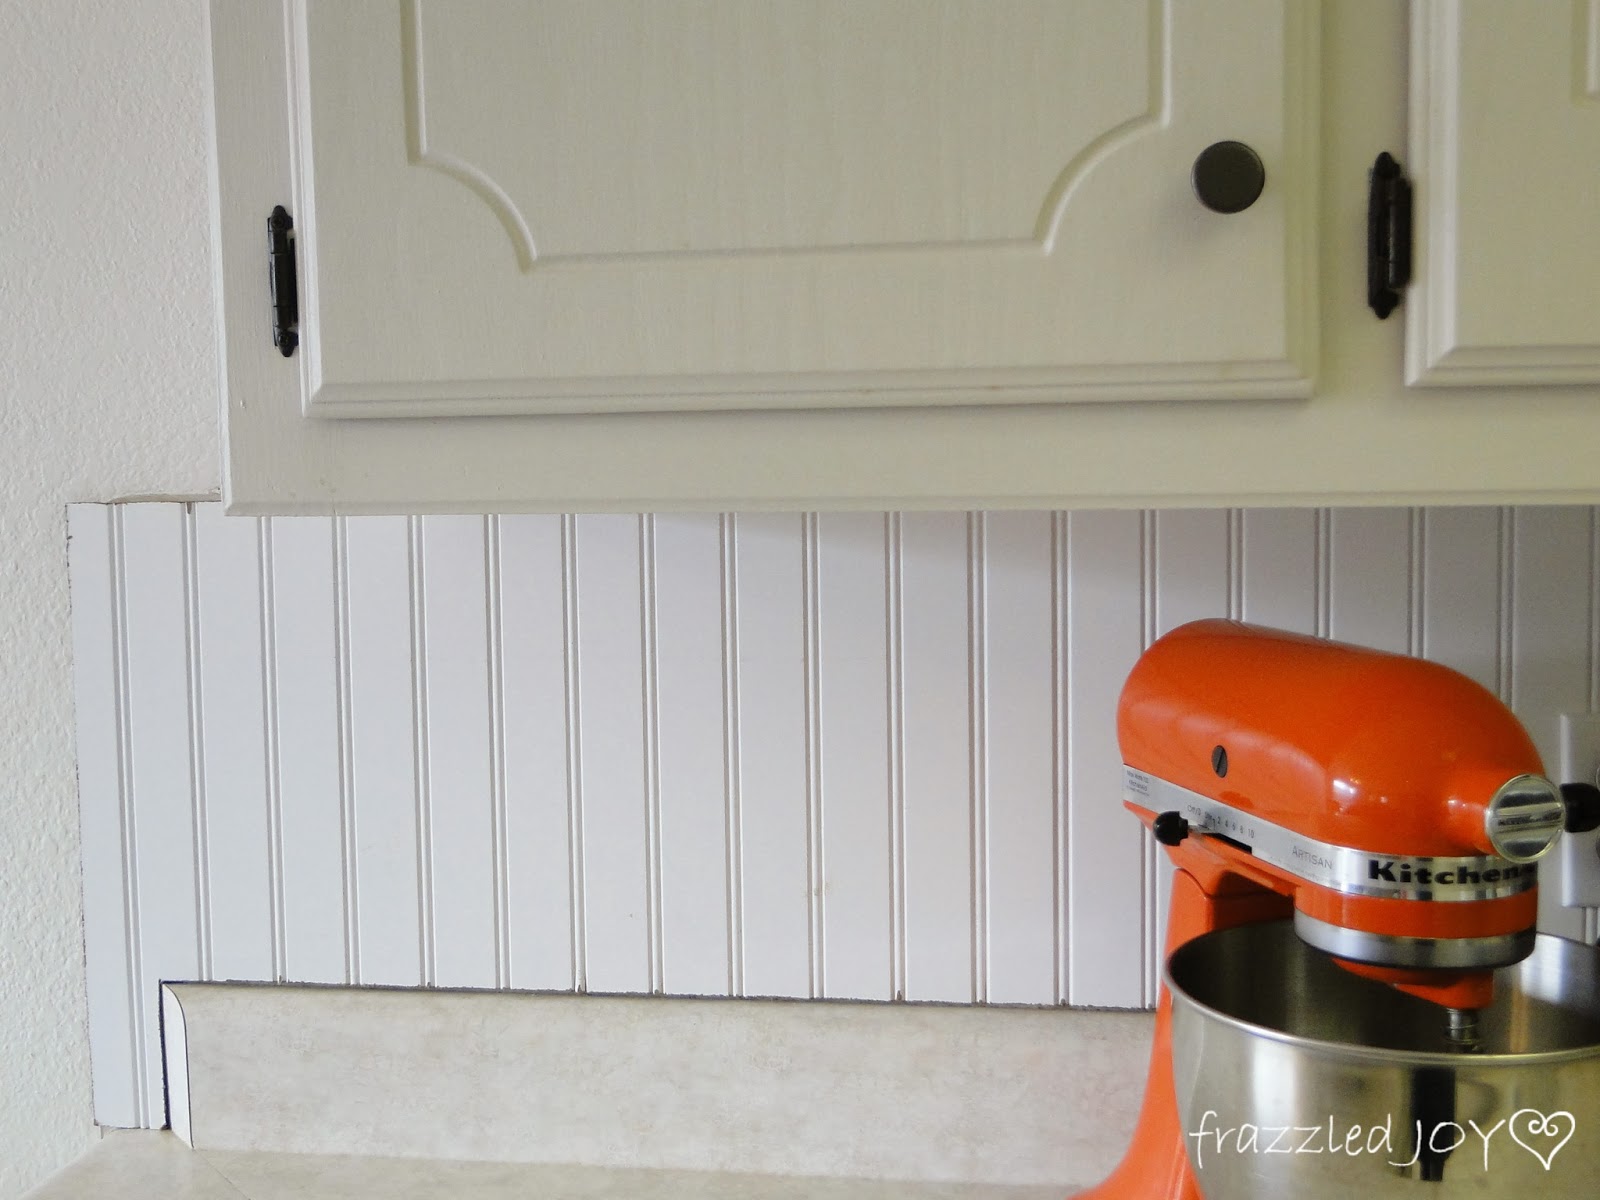
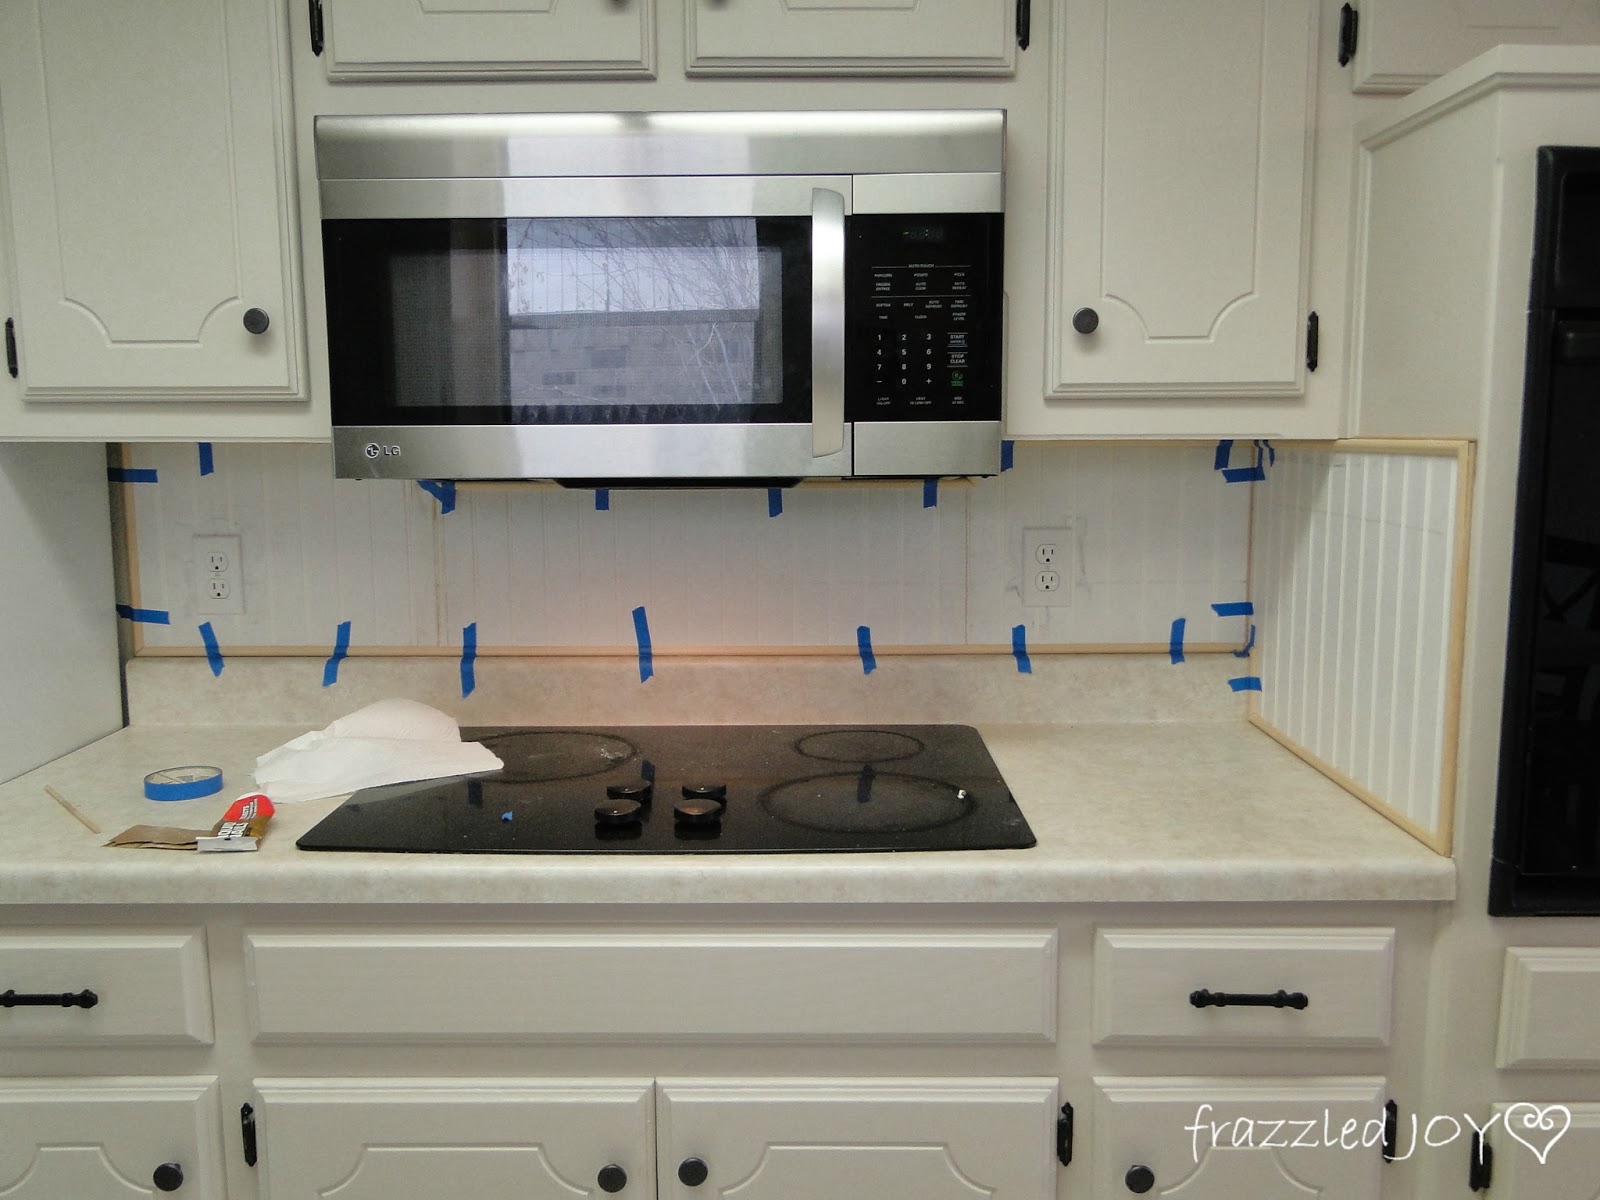
No where near complete at this stage – lots of imperfections to hide. I did some perusing of the trim isles at Home Depot and picked some very simple trim. The edges needed something to fill the gap created by adding the beadboard. So, I took Sarah’s advice and got some dowel rods from Hobby Lobby. This worked great!!
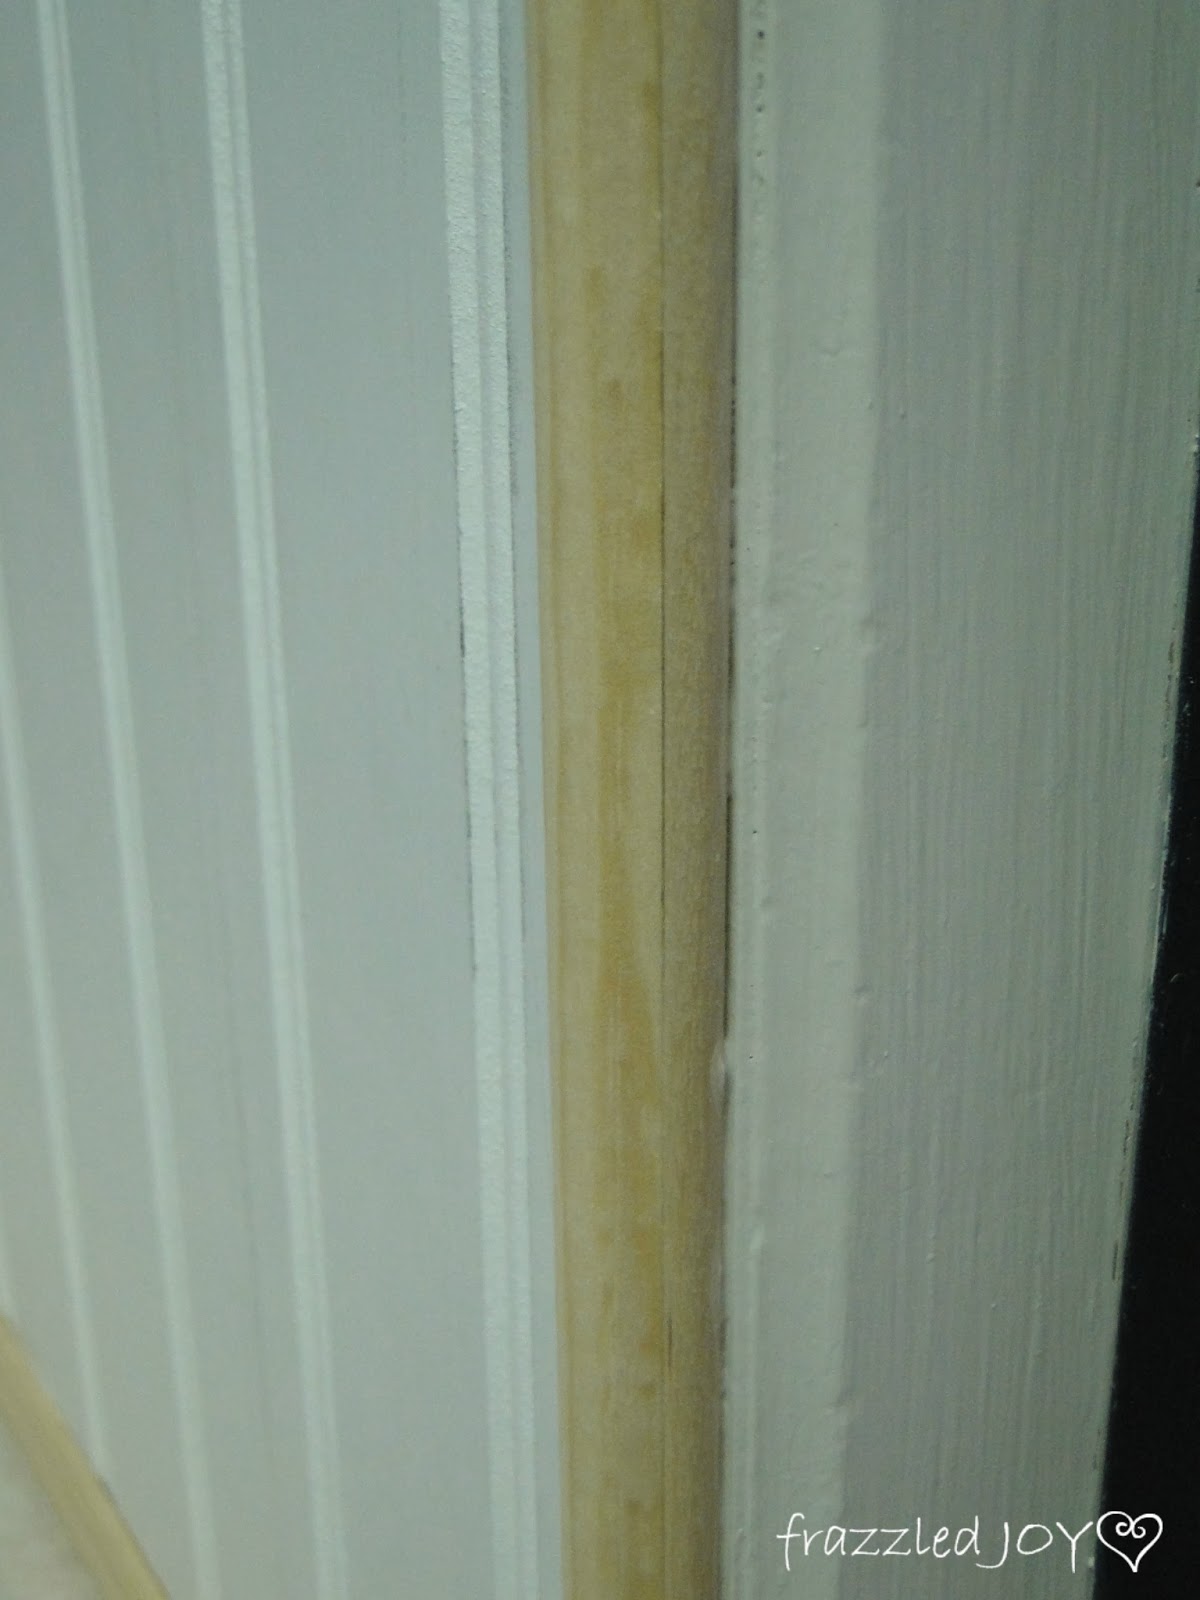
From the side you can hardly see how it’s done.
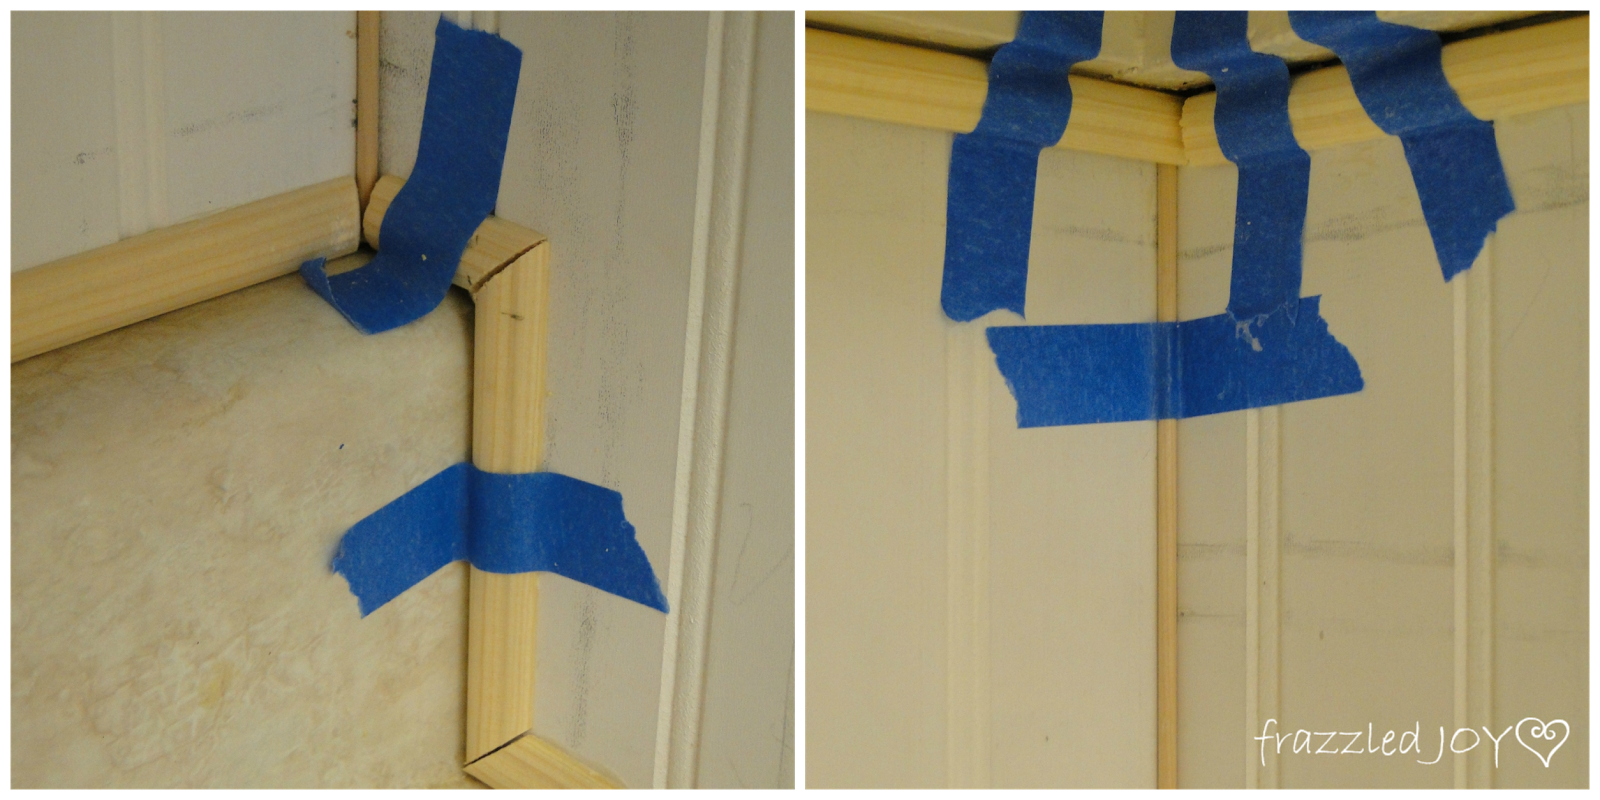
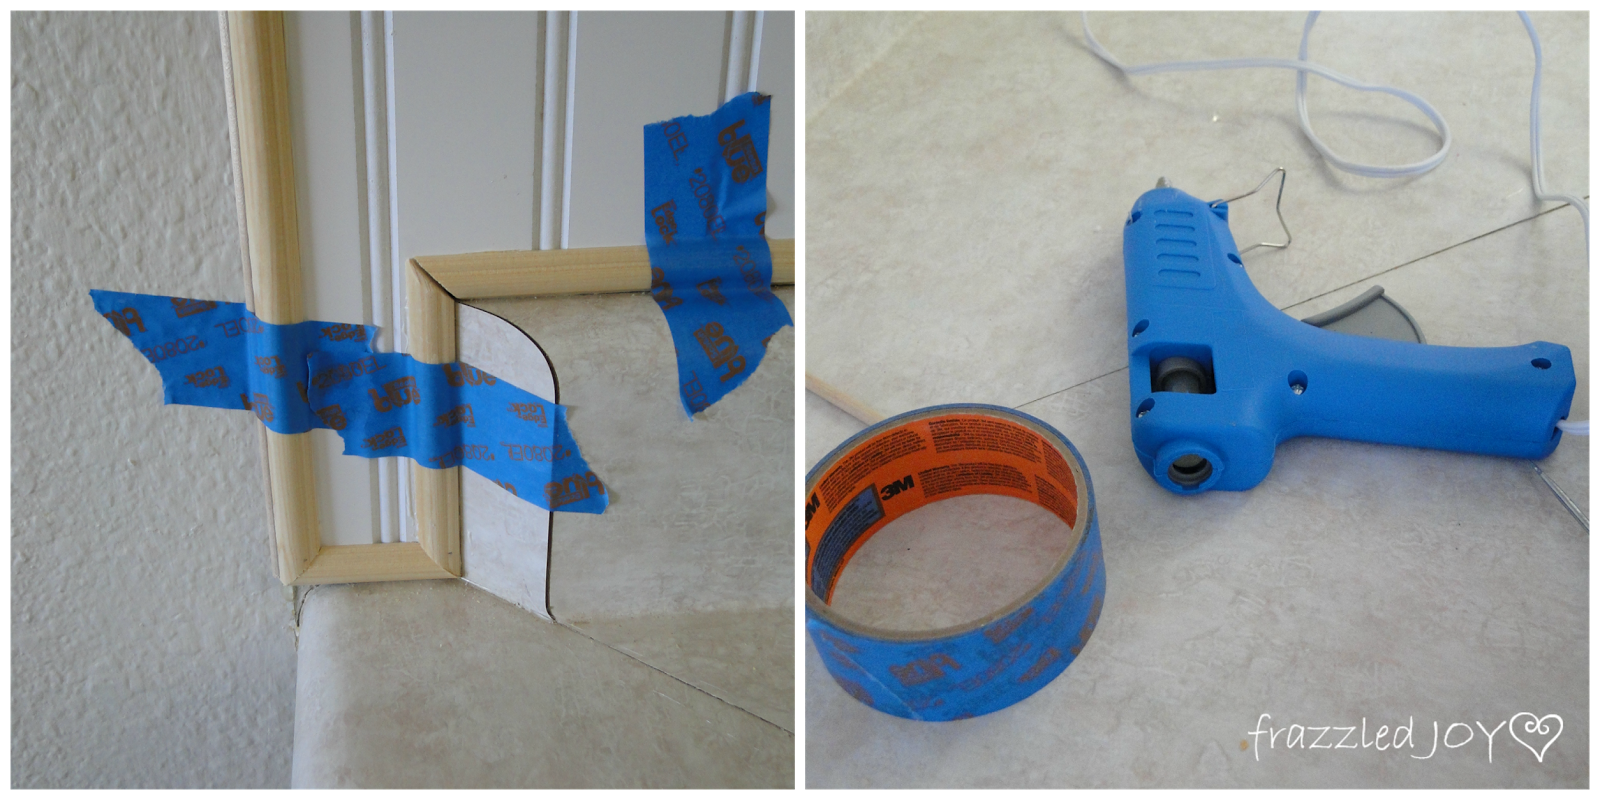
I simply used the same tube of liquid nails glue to attach the pieces that I used in when attaching the trim to my doors. Painter’s tape comes in handy for these applications to hold the pieces in place while the glue dries. Even though the trim is very light-weight, sometimes things get bumped out of place, especially in tight quarters like these.
These trim pieces come in 8′ links, and even though I tried my best to get the straightest pieces I could find, some were still mysteriously wonky. So…I pulled out my hot glue gun to help stick things down in places where the tape wouldn’t hold them down. Whatever works people!
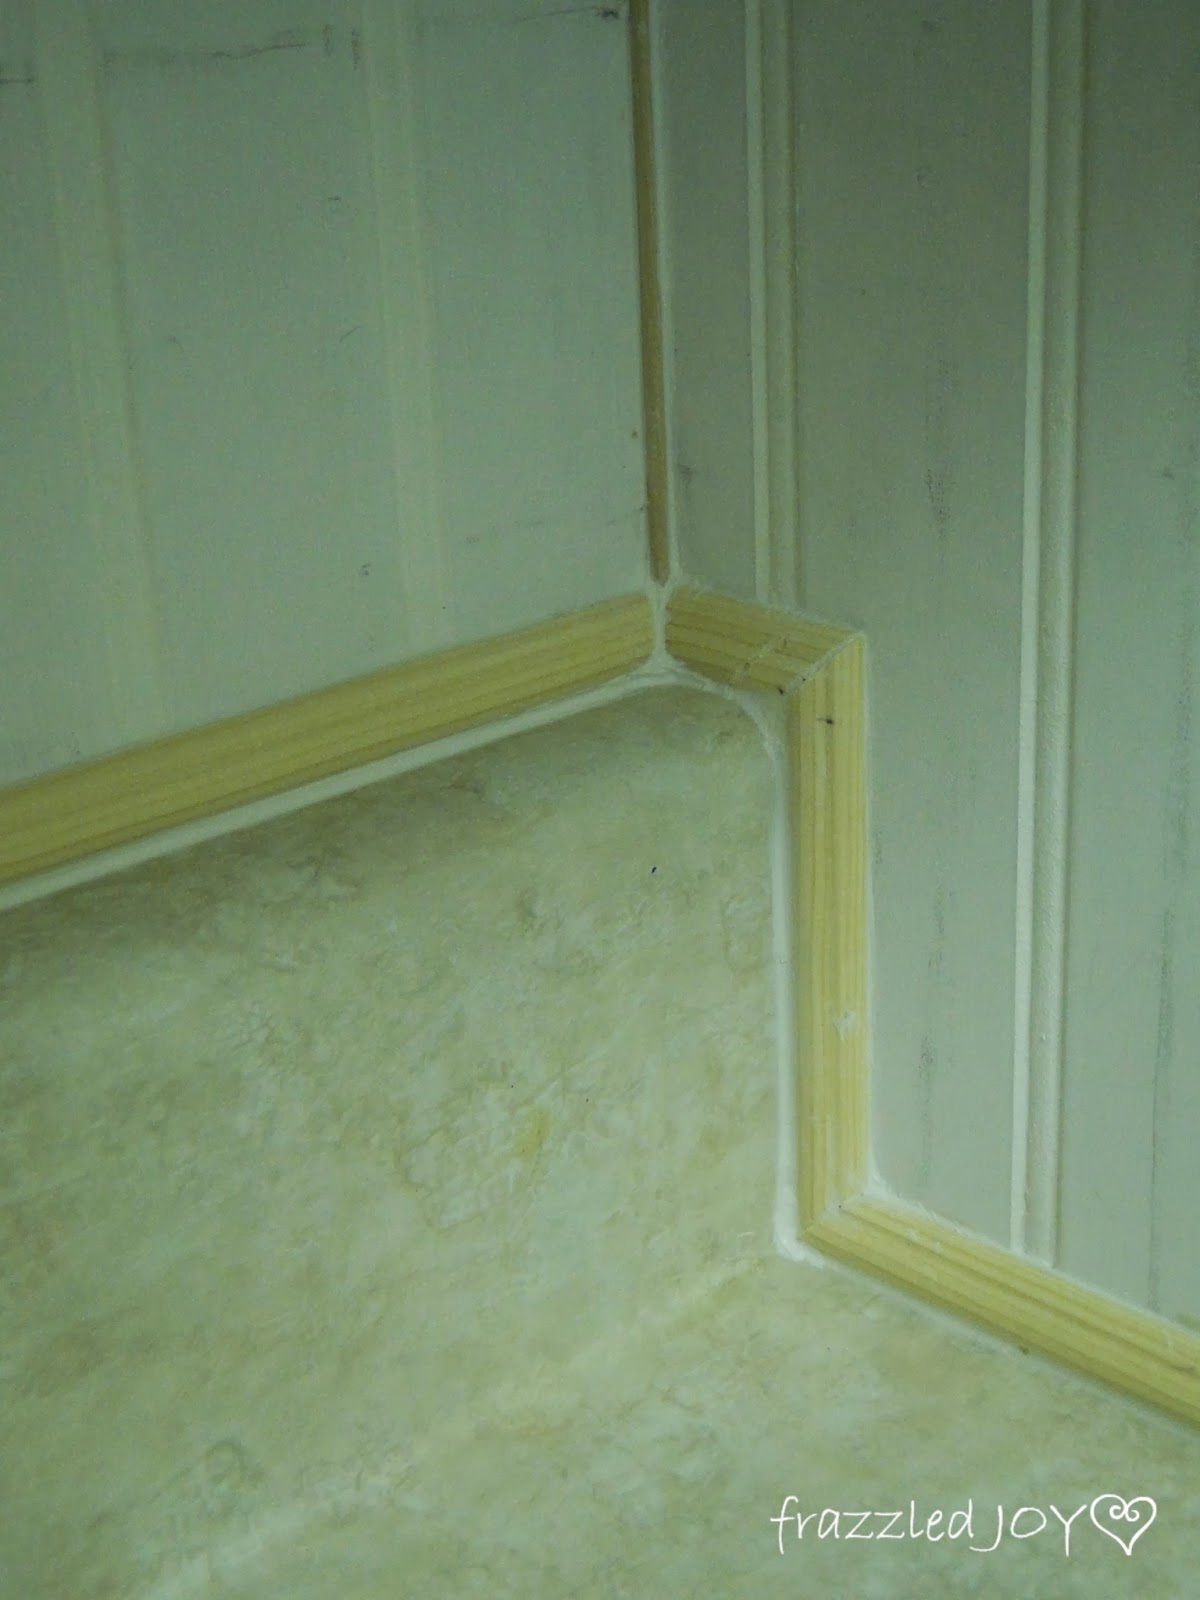
By the way – that corner right there about did. me. in. I re-cut more than one piece trying to get the size and angle right!!
You can check out my door update project here for more info on how to measure and cut trim like this.
Next, caulk. Trim is your friend because it covers imperfections. But, caulk is an even better friend because it makes everything look like one piece.
You can see in the photo above, I used a smaller dowel rod in the corners because I really didn’t want a big bulky trim there. I like the way it turned out.
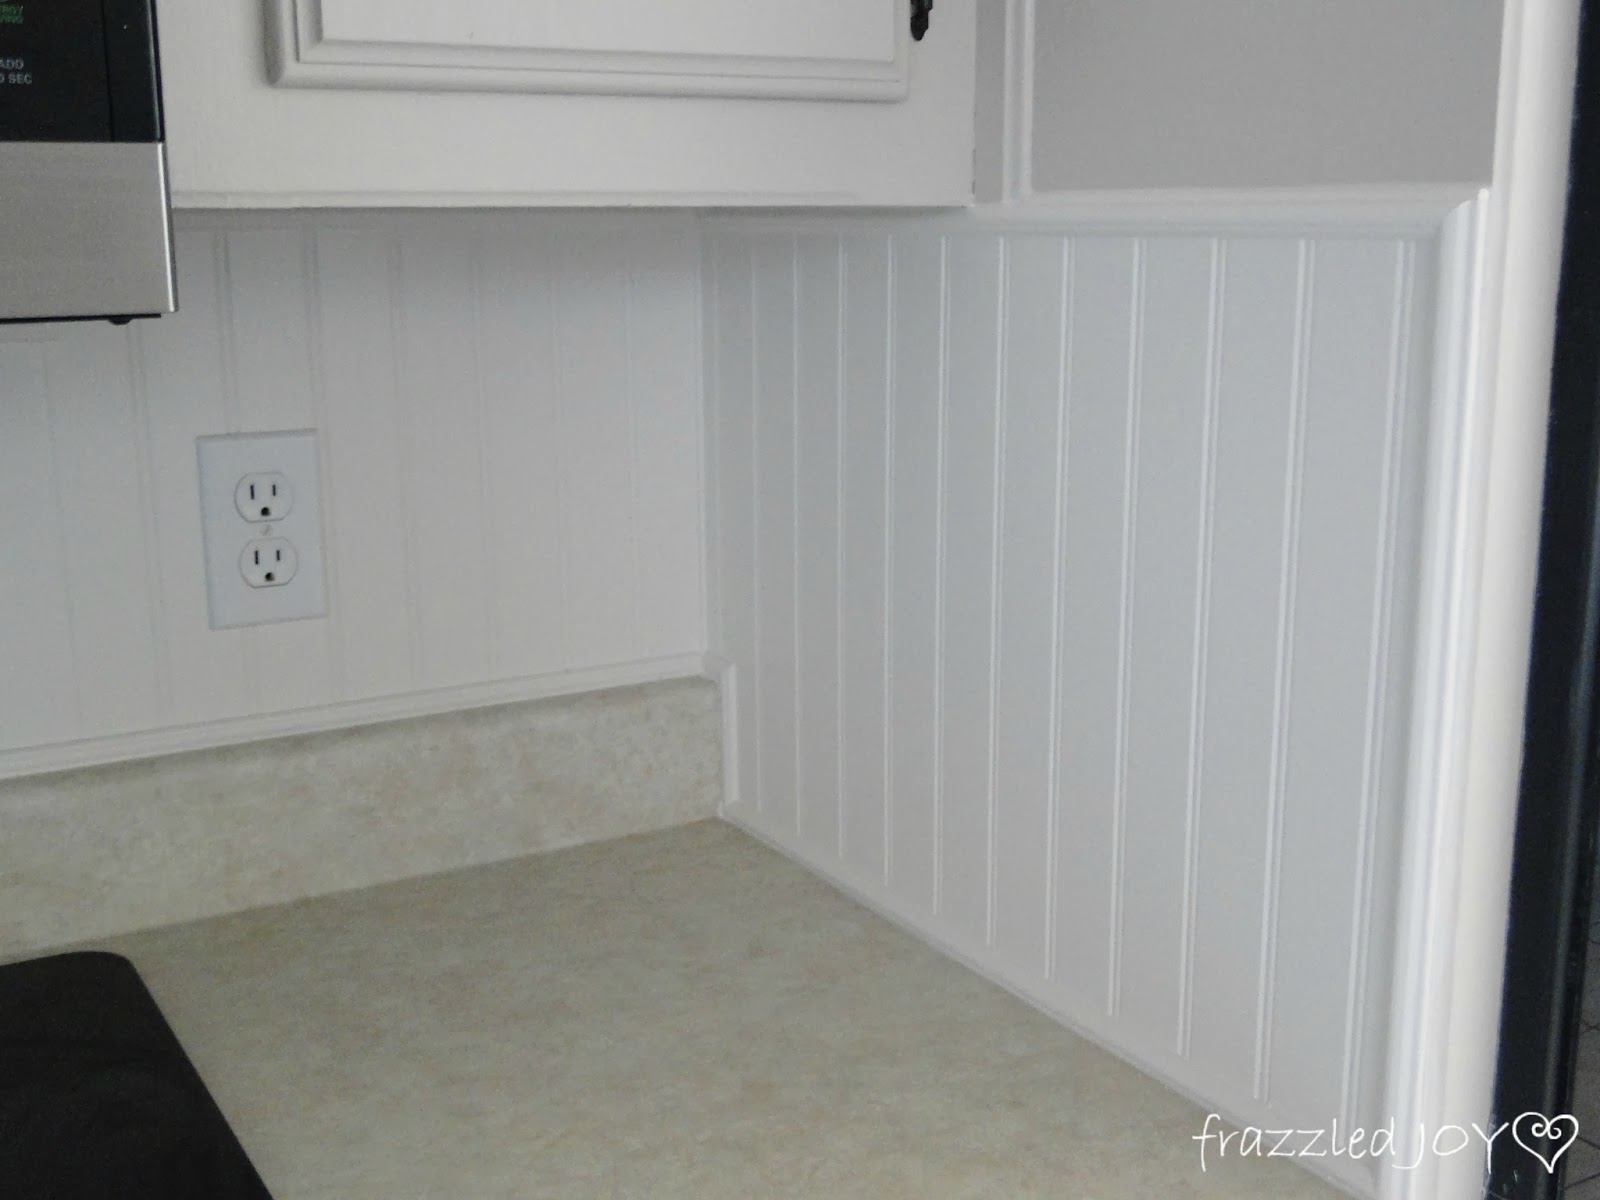
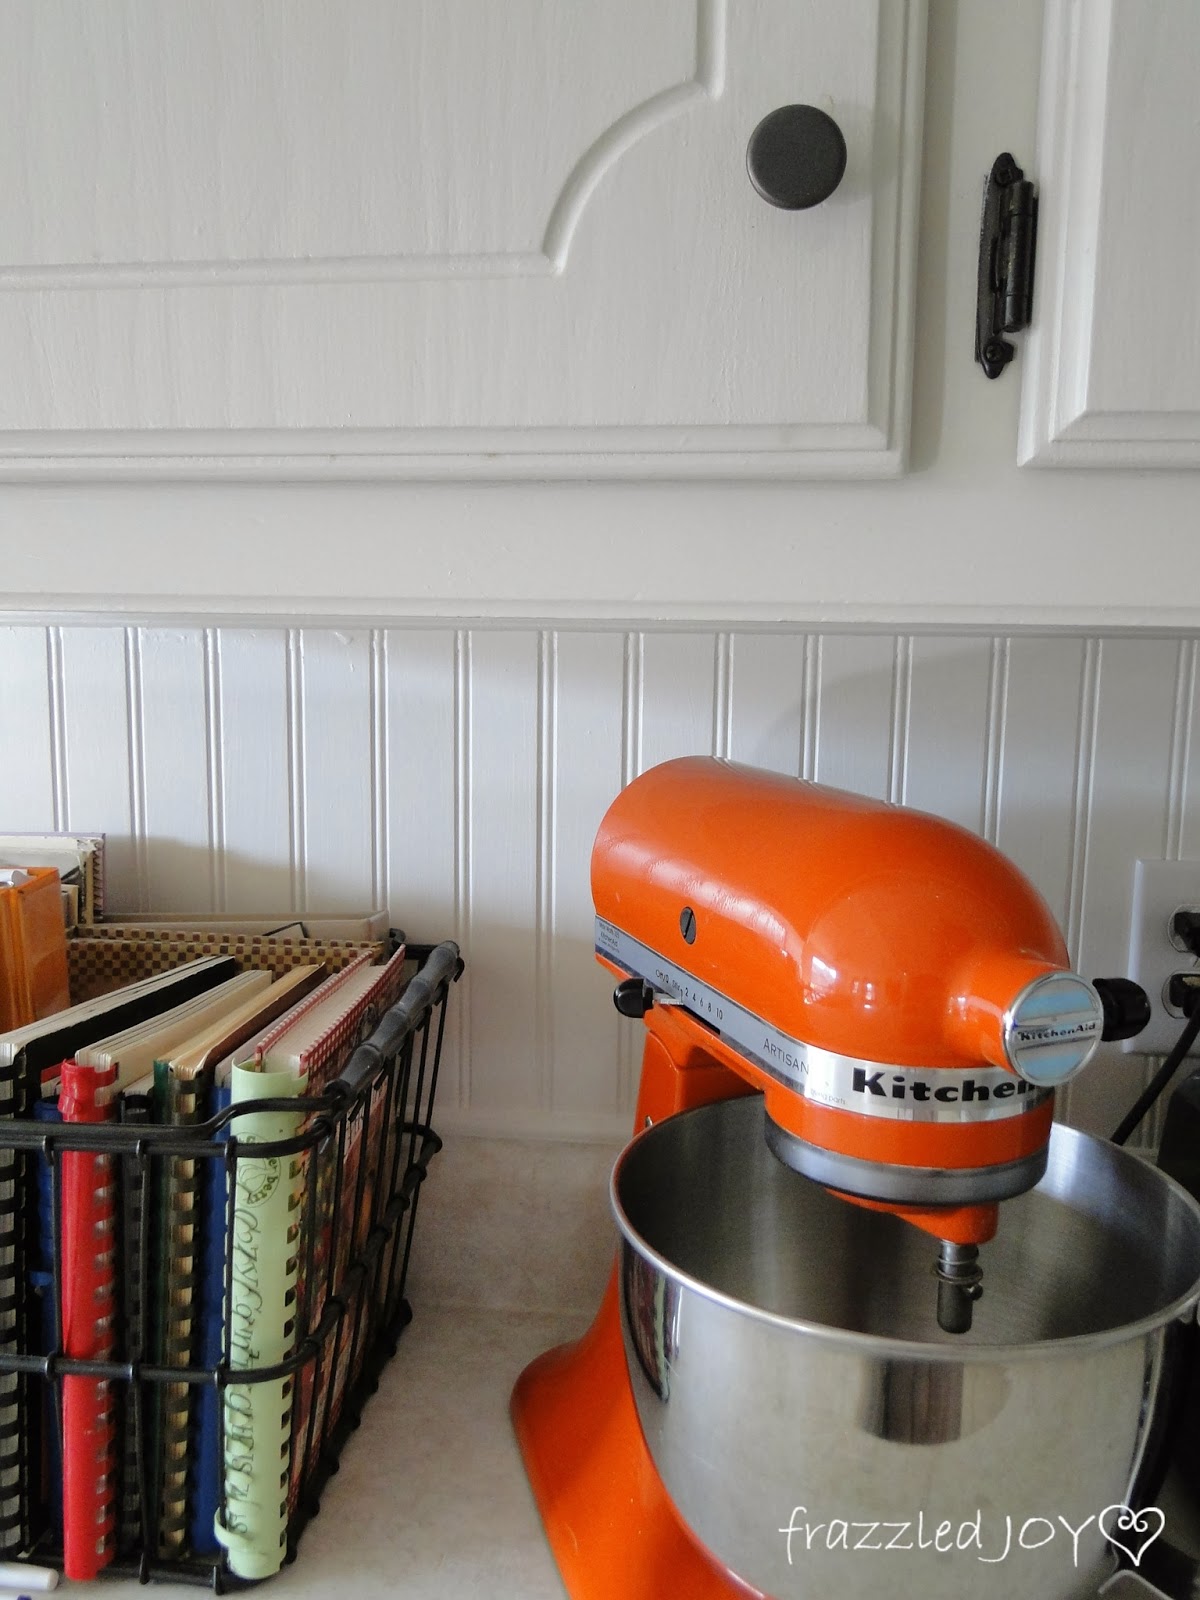
Then everything got a coat of paint. I used the antique white semi-gloss that I used on the trim in the kitchen.
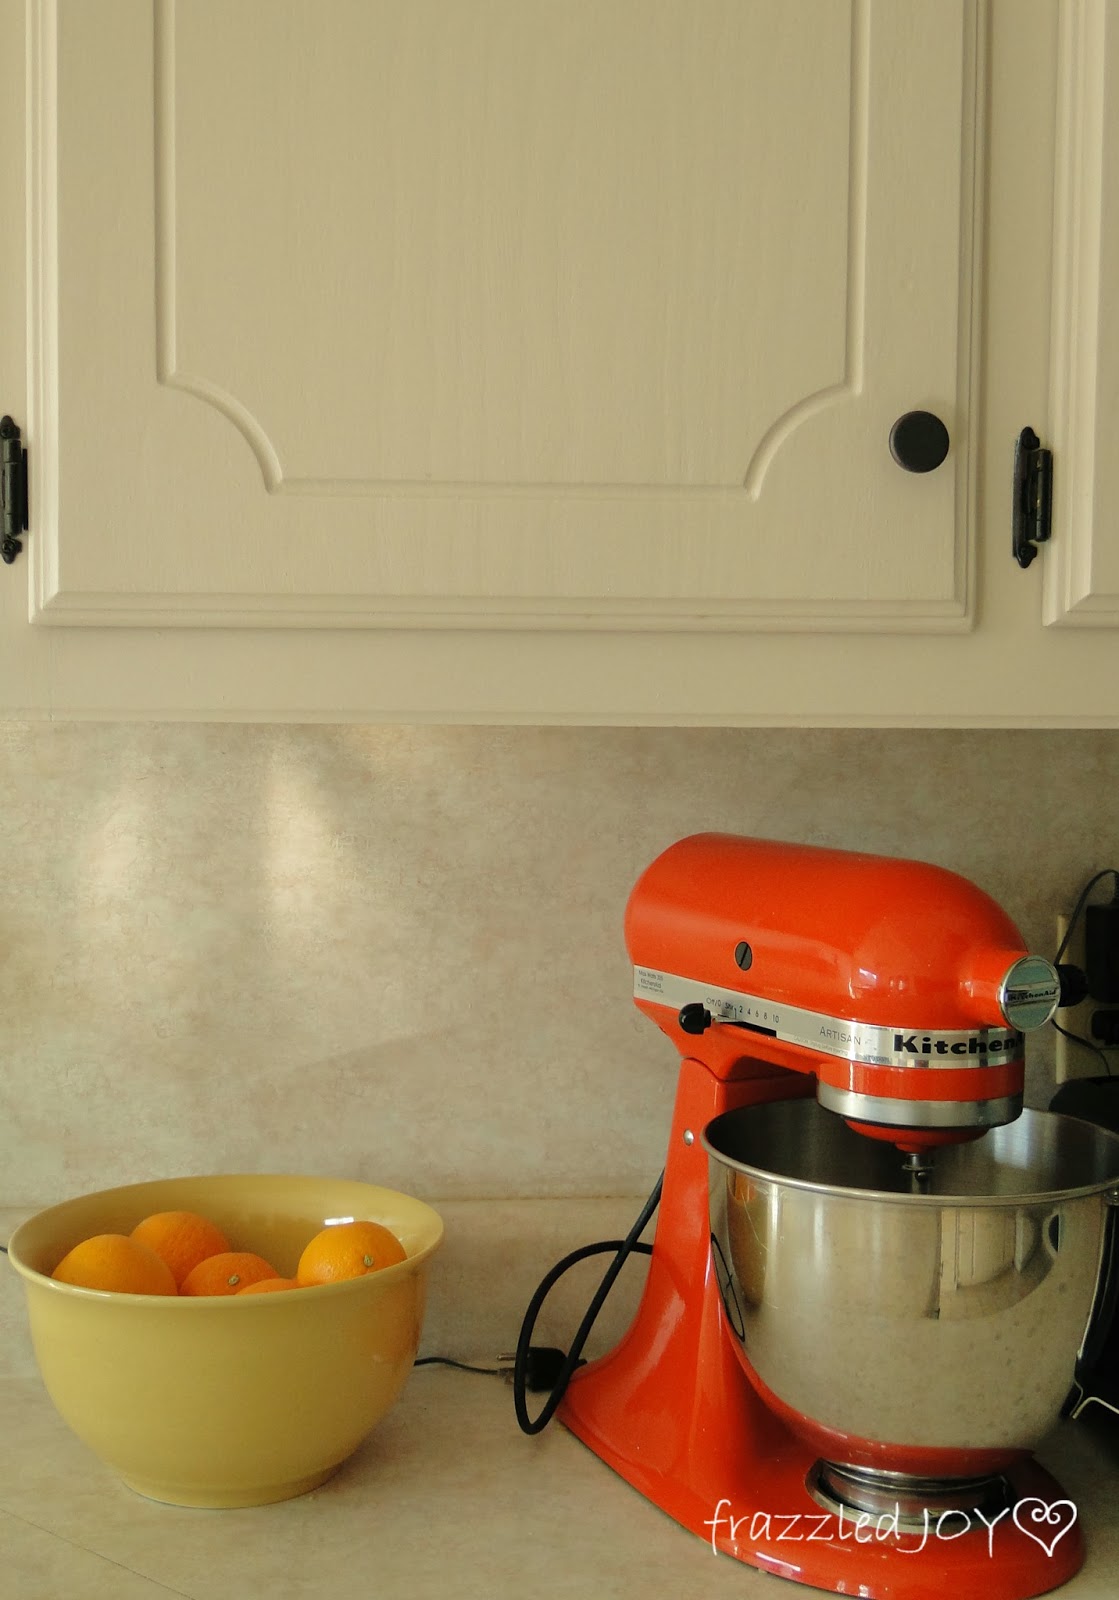
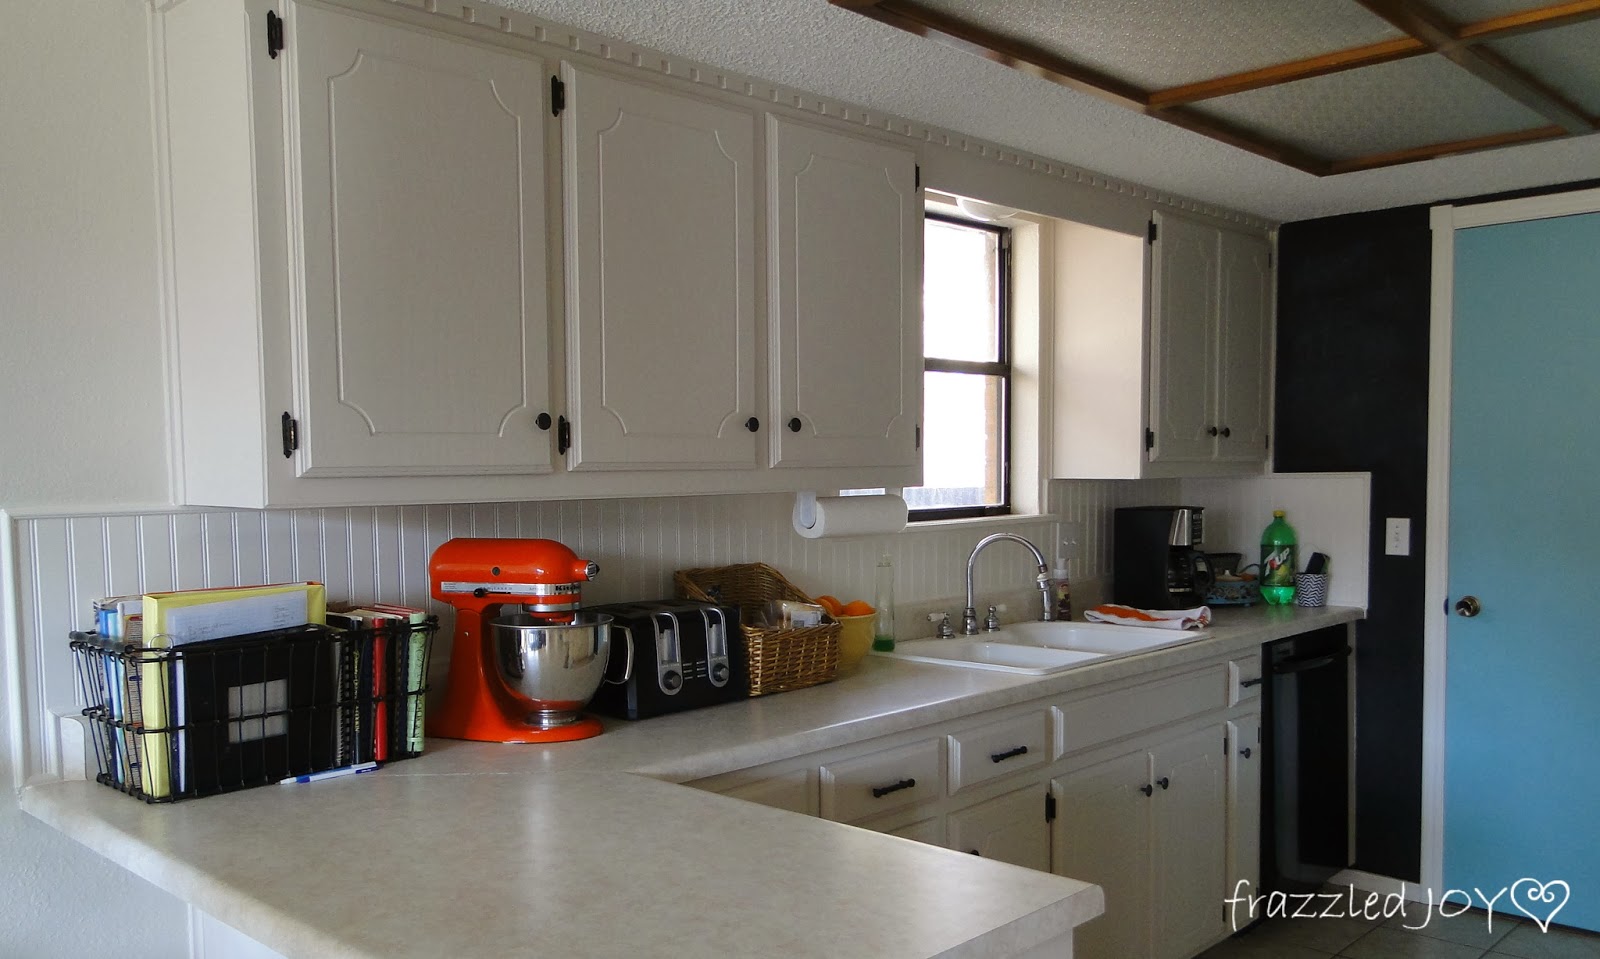
Here are some before, during, after pics for reference.
{I love my orange kitchen-aid mixer :)}
And here are the before, during, and after pics of the cook top area.
One more pic.
This project ended up costing me around $75. Since I used paint, glue, and leftover beadboard, I saved some money there, but I do believe it would have still been under $100 if I would have had to buy everything. Not bad!! It’s just the look I was going for. Step-by-step, we are getting there!!
Linking up with March Before and After Party / Tuesday’s Treasures / Tutorials & Tips Link Party / Take-A-Look Tuesday / One Project at a Time / Show Me What Ya Got / Hit Me With Your Best Shot / Create It Thursday / All Things Thursday Blog Hop / Work It Wednesday / Thrifty Thursday / Friday’s Unfolded / The Creative Connection Link Party / Frugal Friday / Creativity Unleashed / Link Party Palooza / Share Your Creativity / That DIY Party / Frugal Crafty Home Blog Hop


It looks so good, Denise! The before and after difference is amazing. Yes, that hard work on the trim and caulk definitely is worth it in the end!
Thank you so much for posting your how-to, Denise! I am going to install bead board in my mom's bathroom after I get through tile removal, and your tips will be so helpful! Love the dowel idea! The finished product looks so great in your kitchen!!
It looks fantastic! We added a beadboard backsplash at our old house, but haven't decided whether to replicate it here in our "new" house. I LOVE the look of beadboard! 🙂